Home>Home and Garden>How To Clean Electric Razor

Home and Garden
How To Clean Electric Razor
Published: February 29, 2024
Learn the best techniques for cleaning your electric razor at home. Keep your grooming tools in top condition with these simple home and garden tips.
(Many of the links in this article redirect to a specific reviewed product. Your purchase of these products through affiliate links helps to generate commission for Regretless.com, at no extra cost. Learn more)
Table of Contents
Introduction
Cleaning an electric razor is an essential aspect of its maintenance, ensuring optimal performance and longevity. Over time, hair, skin oils, and shaving products can accumulate on the razor's blades and within its components, leading to a decline in cutting efficiency and hygiene. By regularly cleaning your electric razor, you can maintain its functionality and hygiene, resulting in a smoother and more comfortable shaving experience.
In this comprehensive guide, we will walk you through the step-by-step process of cleaning your electric razor effectively. Whether you're new to electric shaving or seeking to refine your maintenance routine, these practical tips will help you keep your razor in top condition.
Proper cleaning not only enhances the performance of your electric razor but also contributes to its longevity. Neglecting to clean the razor can lead to a buildup of debris, potentially causing the blades to become dull and reducing the overall effectiveness of the razor. Additionally, a clean razor helps to prevent skin irritation and infections that can result from using a dirty device.
By following the steps outlined in this guide, you can ensure that your electric razor remains in optimal condition, providing you with a consistently smooth and comfortable shaving experience. So, let's delve into the process of cleaning your electric razor and discover the simple yet effective methods to maintain its performance and hygiene.
Read more: How To Clean A Tie
Step 1: Disassemble the Razor
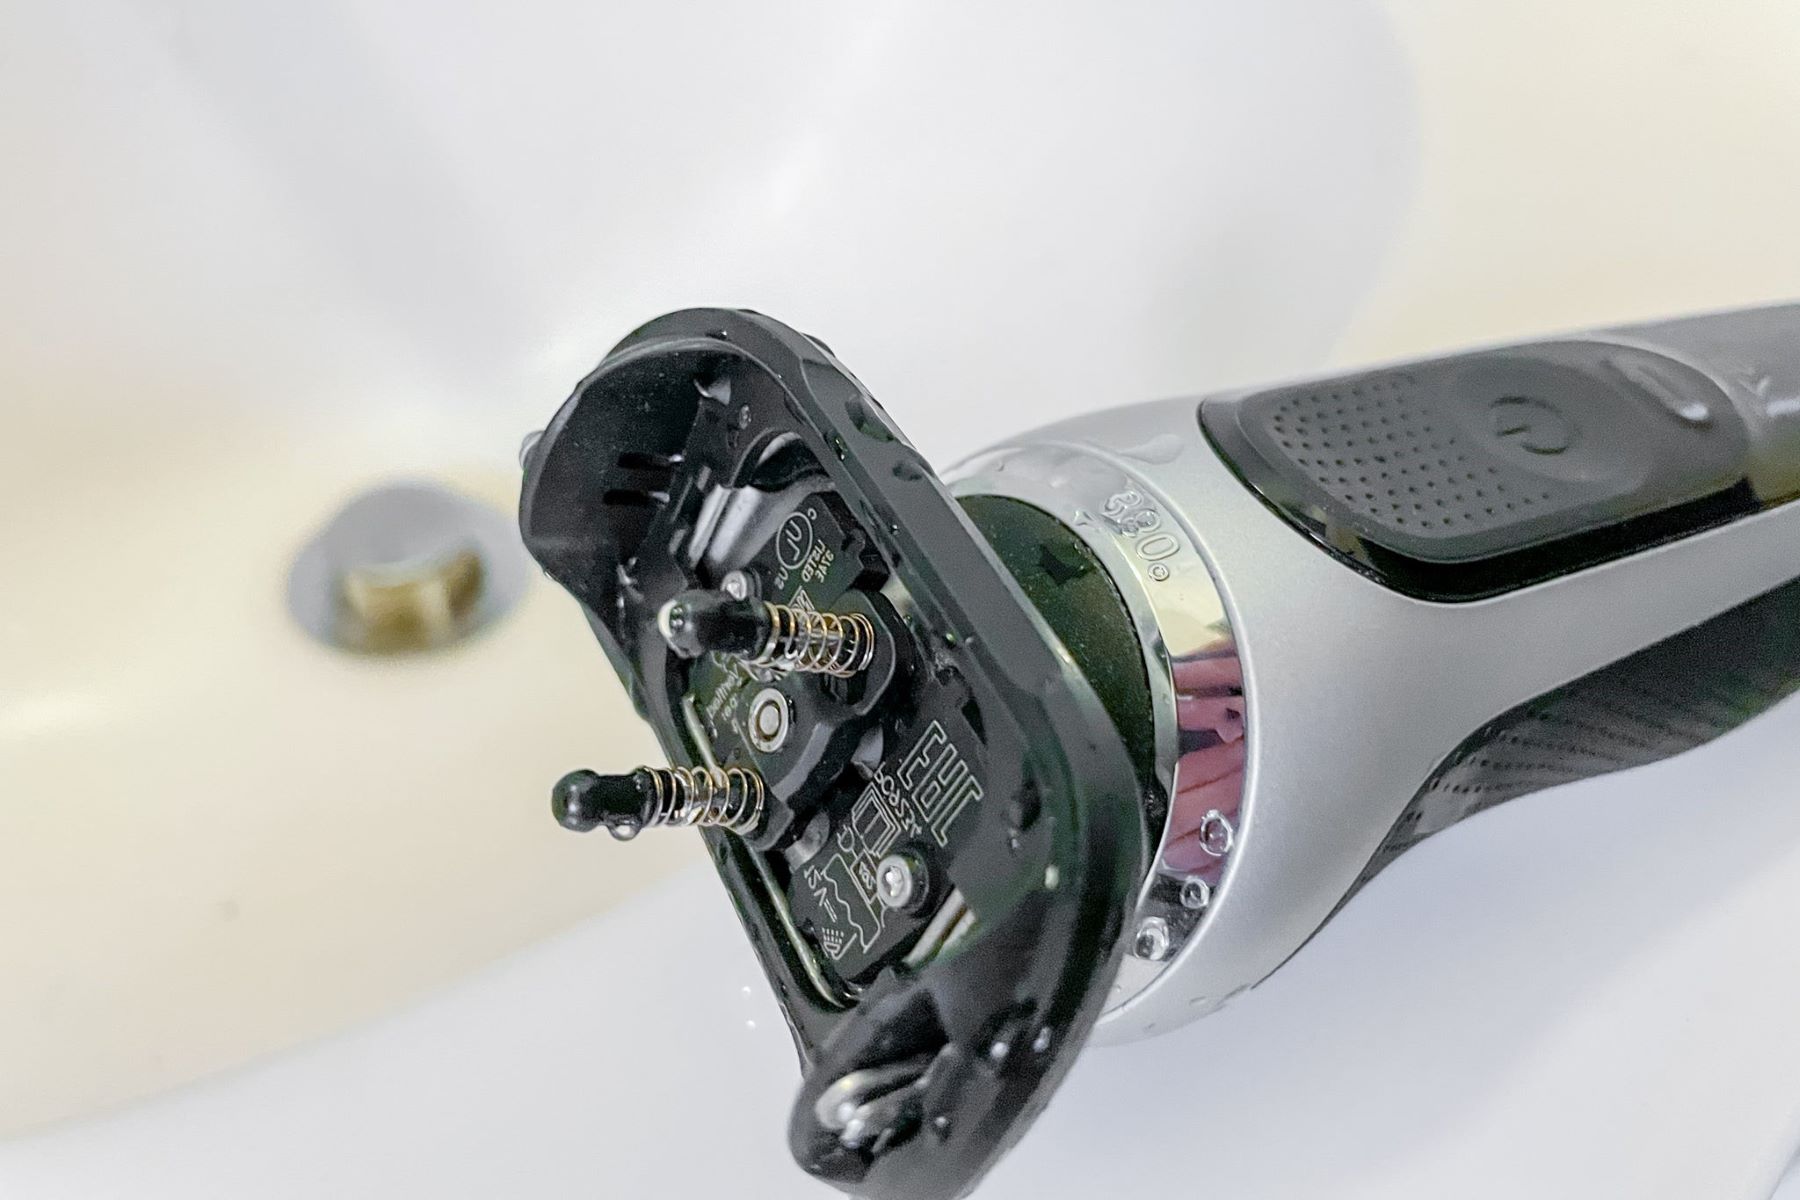
Disassembling your electric razor is the first crucial step in the cleaning process. Before starting, ensure that the razor is turned off and unplugged to prevent any accidents. Most electric razors are designed to be easily disassembled for cleaning purposes. Here's a detailed guide on how to disassemble your electric razor:
-
Remove the Head Assembly: For most electric razors, the head assembly can be easily detached by pressing a release button or by gently pulling it off the body of the razor. This exposes the blades and the inner components, allowing for thorough cleaning.
-
Detach the Trimmer Attachment (if applicable): If your electric razor features a trimmer attachment, carefully detach it from the main body of the razor. This step is essential for cleaning both the trimmer and the main shaving unit effectively.
-
Unscrew the Foil Guard (if applicable): Some electric razors have a foil guard that covers the blades. If your razor has this component, carefully unscrew and remove it to access the blades and the foil for cleaning.
-
Separate the Blade and Foil: If your electric razor has a foil and cutter blade system, gently separate the two components. This allows for a more thorough cleaning of each part, ensuring that no hair or debris is left behind.
By disassembling the razor into its individual components, you can effectively clean each part, ensuring that no hair, skin oils, or shaving products are left behind. This meticulous approach to disassembly sets the stage for a comprehensive cleaning process, ultimately contributing to the razor's optimal performance and longevity.
Once the razor is disassembled, you can proceed to the next step of cleaning the razor head, where the blades and foil are located.
Step 2: Clean the Razor Head
Cleaning the razor head is a crucial step in maintaining the cutting efficiency and hygiene of your electric razor. The razor head, which houses the blades and foil, is particularly prone to accumulating hair, skin oils, and shaving products over time. By following these detailed steps, you can effectively clean the razor head and ensure that it operates at its best:
-
Brushing the Blades and Foil: Begin by using the provided cleaning brush or a small, soft-bristled brush to gently remove any hair or debris from the blades and foil. Ensure that the brush reaches between the blades and along the edges of the foil to dislodge any trapped particles.
-
Rinsing the Components: After brushing off the visible debris, rinse the blades and foil under running water to further dislodge any remaining hair or shaving products. Use lukewarm water to ensure thorough cleaning without causing damage to the delicate components.
-
Applying Cleaning Solution: To achieve a deeper clean, apply a small amount of electric razor cleaning solution or a mild liquid soap to the blades and foil. Gently rub the solution into the components to help dissolve any stubborn residue and sanitize the surfaces.
-
Thorough Drying: Once the blades and foil have been cleaned and rinsed, carefully pat them dry with a clean, lint-free cloth. Ensure that no moisture remains on the components before reassembling the razor.
-
Sanitizing the Razor Head: For an added layer of hygiene, consider using a specialized razor head sanitizer or alcohol-based cleaning spray to disinfect the blades and foil. This step helps eliminate bacteria and germs that may have accumulated on the razor head.
By meticulously cleaning the razor head, you can ensure that the blades remain sharp and free from debris, allowing for a consistently smooth and efficient shave. Additionally, maintaining a clean razor head contributes to overall hygiene, reducing the risk of skin irritation and infections that can result from using a dirty razor.
Once the razor head is thoroughly cleaned, you can proceed to the next step of cleaning the razor body, ensuring that all components are maintained to the highest standard for optimal performance.
Step 3: Clean the Razor Body
Cleaning the razor body is an essential aspect of maintaining the overall hygiene and functionality of your electric razor. The body of the razor, including the handle and any additional attachments, can accumulate dirt, skin oils, and product residue over time. By following these detailed steps, you can effectively clean the razor body and ensure that every component is maintained to the highest standard:
-
Wiping the Exterior: Begin by using a soft, damp cloth to wipe the exterior of the razor body. This helps remove any surface dirt, skin oils, or product residue that may have accumulated. Pay close attention to any textured or grooved areas on the handle, as these areas can trap debris and require thorough cleaning.
-
Cleaning the Trimmer Attachment (if applicable): If your electric razor features a detachable trimmer attachment, it's important to clean this component as well. Use a small brush or a damp cloth to remove any hair or debris from the trimmer attachment. Ensure that the attachment is completely dry before reattaching it to the razor body.
-
Inspecting the Charging Port: Carefully inspect the charging port of the razor body for any debris or buildup. If necessary, use a can of compressed air to gently remove any dirt or lint from the charging port. This ensures that the razor can be charged effectively without any obstructions.
-
Sanitizing the Handle: To maintain hygiene, consider using a disinfectant wipe or a small amount of rubbing alcohol on a cloth to sanitize the handle of the razor. This step helps eliminate bacteria and germs that may have accumulated on the surface, promoting a clean and hygienic shaving experience.
-
Drying and Reassembly: After cleaning the razor body, ensure that all components are thoroughly dried before reassembling the razor. Use a clean, dry cloth to remove any remaining moisture from the surfaces. Once dry, reattach the trimmer (if applicable) and any additional components to the razor body, ensuring a secure fit.
By meticulously cleaning the razor body, you can maintain the overall hygiene and functionality of your electric razor. A clean razor body not only enhances the aesthetic appeal of the device but also contributes to a more comfortable and hygienic shaving experience. Additionally, regular cleaning of the razor body helps prevent the buildup of dirt and debris, ensuring that the razor remains in optimal condition for long-term use.
Step 4: Reassemble the Razor
Once the individual components of your electric razor have been thoroughly cleaned, it's time to reassemble the razor to its original configuration. Proper reassembly ensures that the razor functions optimally and that all parts are securely in place. Follow these detailed steps to reassemble your electric razor with precision and care:
-
Reattaching the Foil Guard and Trimmer Attachment: If you removed the foil guard and trimmer attachment during the disassembly process, carefully reattach these components to the razor body. Ensure that the foil guard is securely in place, covering the blades, and that the trimmer attachment snaps into position without any resistance.
-
Aligning the Blades and Foil: If your electric razor features a foil and cutter blade system, align the blades and foil in their designated positions. Take care to ensure that the components fit together seamlessly, allowing for smooth and efficient operation during shaving.
-
Securing the Head Assembly: Place the cleaned razor head back onto the body of the razor, ensuring that it aligns properly with the attachment points. Depending on the model of your electric razor, you may need to press or twist the head assembly to secure it in place. Verify that the head assembly is firmly attached before proceeding.
-
Testing the Reassembled Razor: Before using the razor, it's advisable to turn it on and briefly run it to confirm that all components are functioning as intended. Listen for any unusual sounds or vibrations that may indicate improper reassembly. If everything appears to be in order, proceed to the final step.
-
Charging the Razor (if necessary): If your electric razor requires charging, ensure that it is fully charged before use. Connect the razor to the charging cable and allow it to charge for the recommended duration. A fully charged razor ensures uninterrupted shaving sessions and optimal performance.
By meticulously reassembling your electric razor, you can ensure that all components are securely in place, allowing for smooth and efficient operation. Proper reassembly is essential for maintaining the longevity and functionality of your razor, contributing to a reliable and consistent shaving experience.
With the razor reassembled and ready for use, you can proceed to the final step, where we'll explore essential maintenance tips to keep your electric razor in top condition for the long term.
Read more: How To Clean Diva Cup
Step 5: Maintenance Tips
Maintaining your electric razor goes beyond the cleaning process and involves ongoing care to ensure its longevity and optimal performance. By incorporating these essential maintenance tips into your routine, you can prolong the life of your razor and continue to enjoy a smooth and comfortable shaving experience.
-
Regular Cleaning Schedule: Establish a regular cleaning schedule for your electric razor to prevent the buildup of hair, skin oils, and product residue. Depending on your usage frequency, aim to clean the razor head and body at least once a week. Consistent cleaning not only maintains hygiene but also prevents the blades from becoming dull due to debris accumulation.
-
Blade Replacement: Monitor the condition of the blades and foil on your electric razor and replace them as needed. Over time, the blades may become dull or worn, leading to a decline in cutting efficiency. Most manufacturers recommend replacing the blades and foil every 12 to 18 months, but this timeline may vary based on individual usage and razor model.
-
Lubrication: Some electric razors benefit from occasional lubrication to ensure smooth operation and reduce friction between the blades and foil. Refer to the manufacturer's guidelines to determine if your razor requires lubrication and the recommended lubricant to use. Proper lubrication can extend the lifespan of the blades and contribute to a more comfortable shaving experience.
-
Storage and Protection: Store your electric razor in a clean and dry environment to prevent dust and debris from accumulating on its components. If your razor includes a protective cap or case, utilize it when the razor is not in use to shield it from external elements. Additionally, avoid exposing the razor to extreme temperatures or moisture, as these conditions can affect its performance and longevity.
-
Battery Care: If your electric razor is battery-powered, it's important to maintain the battery according to the manufacturer's guidelines. This may include fully discharging and recharging the battery periodically to optimize its performance and lifespan. Additionally, avoid overcharging the razor, as this can impact the battery's longevity.
-
Avoiding Impact and Dropping: Handle your electric razor with care to prevent accidental impact or dropping, which can damage its delicate components. A gentle touch and mindful handling can contribute to the longevity of your razor and minimize the need for repairs or replacements.
By integrating these maintenance tips into your electric razor care routine, you can ensure that your razor remains in top condition, providing you with a reliable and enjoyable shaving experience for years to come. Regular maintenance not only preserves the functionality of the razor but also contributes to overall hygiene and comfort during each shave.
Conclusion
In conclusion, maintaining the cleanliness and functionality of your electric razor is essential for ensuring a comfortable and effective shaving experience. By following the comprehensive cleaning process outlined in this guide, you can effectively remove debris, skin oils, and product residue from both the razor head and body, contributing to optimal performance and hygiene. The meticulous disassembly and reassembly of the razor, along with the detailed cleaning steps, ensure that every component is thoroughly maintained.
Regular cleaning of the razor head and body not only prevents the buildup of debris but also reduces the risk of skin irritation and infections that can result from using a dirty razor. Additionally, proper maintenance, including blade replacement, lubrication, and battery care, contributes to the longevity of the razor, allowing you to enjoy its benefits for an extended period.
By integrating the recommended maintenance tips into your routine, such as establishing a regular cleaning schedule, monitoring blade condition, and storing the razor appropriately, you can prolong the life of your electric razor and continue to experience smooth and comfortable shaves.
Ultimately, the process of cleaning and maintaining your electric razor is a simple yet crucial aspect of personal grooming. By dedicating a small amount of time to care for your razor, you can ensure that it remains in optimal condition, providing you with a reliable and enjoyable shaving experience. Whether you're a seasoned electric razor user or new to the world of electric shaving, incorporating these cleaning and maintenance practices into your routine will undoubtedly enhance the performance, hygiene, and longevity of your electric razor.
In essence, a clean and well-maintained electric razor not only contributes to a smooth and efficient shave but also reflects a commitment to personal grooming and self-care. By following the steps and tips outlined in this guide, you can take proactive measures to preserve the functionality and hygiene of your electric razor, ensuring that it remains a valuable tool in your daily grooming routine.
