Home>Home and Garden>How To Get Paint Off Of Vinyl Floor
Home and Garden
How To Get Paint Off Of Vinyl Floor
Published: February 26, 2024
Learn effective methods for removing paint from vinyl floors in your home and garden. Discover easy DIY solutions for a spotless finish.
(Many of the links in this article redirect to a specific reviewed product. Your purchase of these products through affiliate links helps to generate commission for Regretless.com, at no extra cost. Learn more)
Table of Contents
Introduction
Dealing with paint spills on a vinyl floor can be a daunting task, but fear not! With the right approach and materials, you can effectively remove paint without damaging the floor's surface. Whether it's a small splatter or a larger spill, taking swift action is key to preventing the paint from setting and becoming more challenging to remove.
In this comprehensive guide, we will walk you through the step-by-step process of removing paint from a vinyl floor. By following these methods, you can restore the pristine appearance of your floor and eliminate any unsightly blemishes. From gathering the necessary materials to executing the cleaning process, we've got you covered with practical tips and techniques.
So, roll up your sleeves and get ready to bid farewell to those pesky paint stains. With a little patience and the right approach, you'll soon have your vinyl floor looking as good as new. Let's dive into the materials needed and the step-by-step process to effectively remove paint from your vinyl floor.
Read more: How To Get Tar Off Skin
Materials Needed
When it comes to removing paint from a vinyl floor, having the right materials at your disposal is crucial for achieving optimal results. Here's a list of essential items that you'll need to effectively tackle this task:
-
Putty Knife or Plastic Scraper: A putty knife or plastic scraper is indispensable for gently lifting and removing excess paint from the surface of the vinyl floor. Opt for a plastic tool to avoid scratching or damaging the floor during the paint removal process.
-
Rubbing Alcohol: This household staple serves as a powerful solvent for breaking down and dissolving paint stains. It effectively loosens the paint, making it easier to remove from the vinyl floor.
-
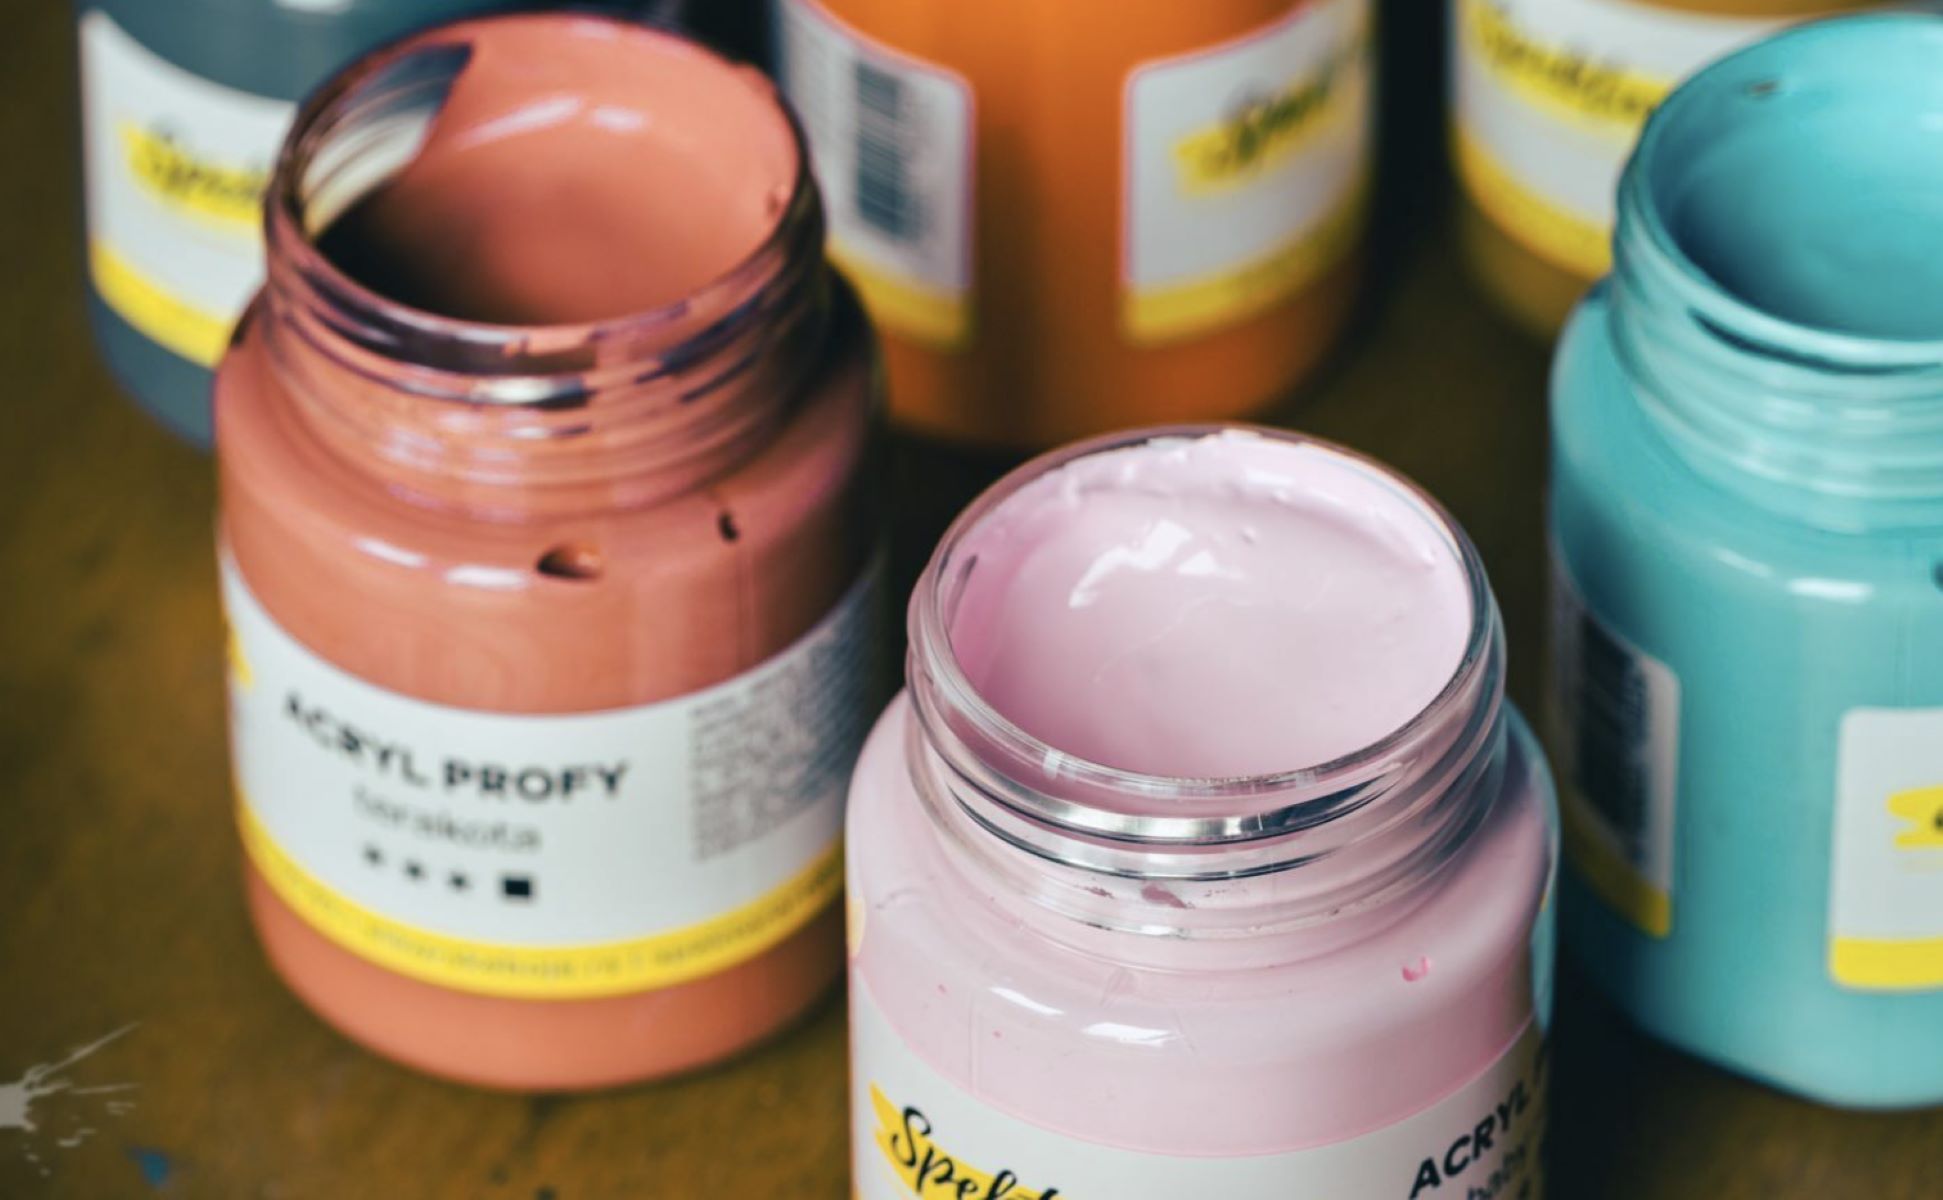
Commercial Vinyl Floor Cleaner: Choose a high-quality vinyl floor cleaner specifically formulated to lift tough stains and maintain the integrity of the floor's surface. Look for a cleaner that is safe for use on vinyl and designed to tackle paint stains.
-
Clean Cloth or Sponge: A clean, soft cloth or sponge is essential for applying rubbing alcohol and commercial cleaner to the affected area. It allows for precise application and gentle scrubbing to lift the paint without causing damage.
-
Warm Water: Having access to warm water is essential for rinsing the floor after the paint removal process. It helps to ensure that any remaining residue and cleaning solution are thoroughly removed from the vinyl surface.
-
Mild Dish Soap: A mild dish soap can be used in conjunction with warm water to create a gentle cleaning solution for the final rinse. It aids in removing any lingering traces of cleaning agents and leaves the floor looking spotless.
By ensuring that you have these materials on hand, you'll be well-equipped to tackle the task of removing paint from your vinyl floor effectively. With the right tools and products, you can restore the pristine appearance of your floor and bid farewell to those stubborn paint stains.
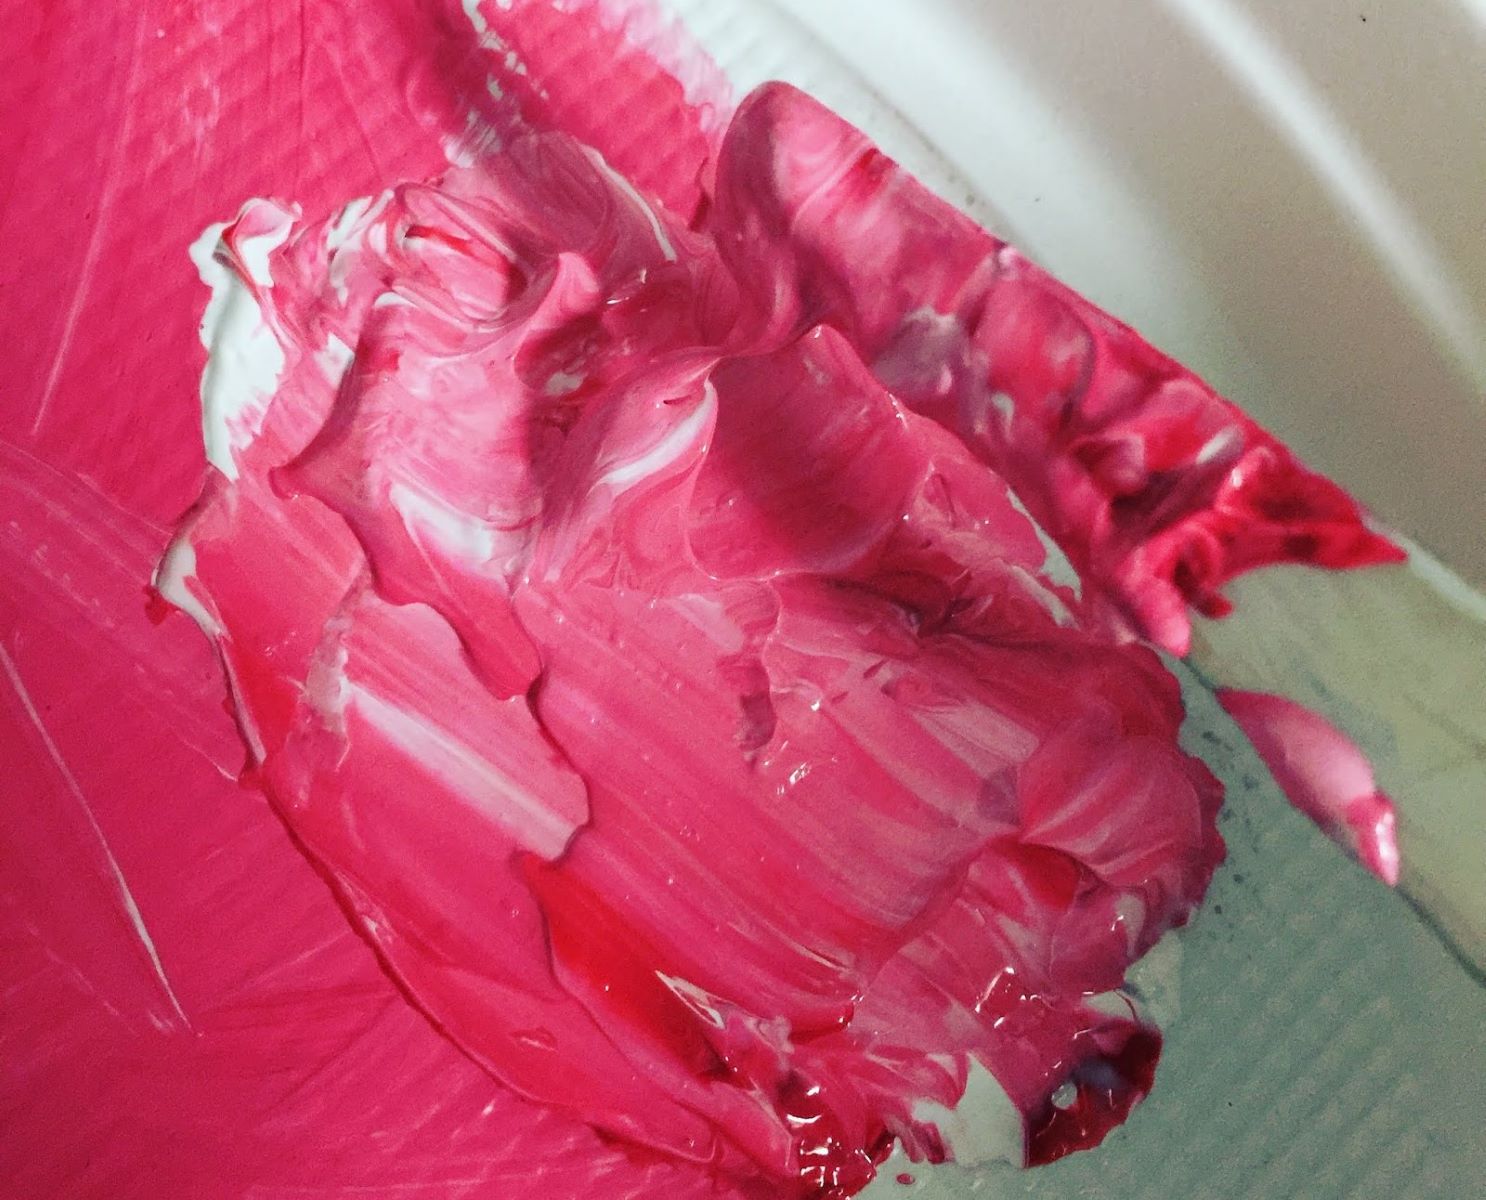
Step 1: Scrape off excess paint
The first step in the process of removing paint from a vinyl floor involves scraping off any excess paint that has not yet dried or set into the surface. This initial action is crucial for preventing the paint from adhering more firmly to the floor, making it easier to remove the majority of the paint before proceeding with further cleaning methods.
To begin, equip yourself with a putty knife or plastic scraper, ensuring that the tool's edge is smooth and free of any rough or sharp areas that could potentially damage the vinyl floor. Gently place the edge of the putty knife or scraper against the excess paint, applying light pressure to lift and loosen the paint from the surface. It's important to exercise caution and avoid using excessive force, as this could result in scratches or damage to the floor.
Work methodically, starting from the outer edges of the paint spill and gradually moving towards the center. By employing a systematic approach, you can effectively lift and remove the majority of the excess paint without spreading it further across the floor. If the paint has begun to dry, it may be more challenging to remove, but persistent and gentle scraping can still yield positive results.
As you scrape off the excess paint, periodically check the edge of the putty knife or scraper for any paint buildup to prevent inadvertently spreading the paint across unaffected areas of the floor. If necessary, use a clean cloth to wipe the tool clean before continuing the paint removal process.
By diligently scraping off the excess paint, you can significantly reduce the amount of paint that needs to be addressed in the subsequent cleaning steps. This proactive approach sets the stage for a more effective and efficient paint removal process, laying the groundwork for the application of targeted cleaning solutions to tackle any remaining paint stains.
With the excess paint successfully removed, you're now ready to move on to the next step in the process of restoring your vinyl floor to its pristine condition. The diligent removal of excess paint sets the stage for the subsequent cleaning methods, ensuring that the remaining paint stains are effectively addressed without the hindrance of additional paint buildup.
Step 2: Apply rubbing alcohol
After successfully scraping off the excess paint from the vinyl floor, the next crucial step in the paint removal process involves the application of rubbing alcohol. Renowned for its efficacy as a solvent, rubbing alcohol serves as a potent ally in dissolving and loosening paint stains, making them more manageable to remove from the floor's surface.
To initiate this step, gather a clean cloth or sponge and saturate it with rubbing alcohol. It's important to ensure that the cloth or sponge is damp but not dripping with excess liquid, as this will allow for precise application of the rubbing alcohol to the affected area. With the saturated cloth or sponge in hand, gently dab and press it onto the paint-stained sections of the vinyl floor.
As the rubbing alcohol comes into contact with the paint, it begins to break down the bonds of the paint, effectively softening and loosening its grip on the floor. This process may require some patience, especially for more stubborn or dried paint stains, but the rubbing alcohol's solvent properties work diligently to weaken the paint's adhesion to the vinyl surface.
In cases where the paint stains are particularly resilient, consider allowing the rubbing alcohol to dwell on the affected areas for a few minutes. This extended contact time provides the rubbing alcohol with the opportunity to penetrate the paint stains more deeply, further facilitating the breakdown of the paint's composition.
Once the rubbing alcohol has been applied and allowed to work its magic, use the cloth or sponge to gently agitate the paint stains. Employing a circular motion, lightly scrub the affected areas to encourage the loosened paint to lift from the floor. Exercise caution during this process to avoid applying excessive pressure, as the goal is to lift the paint without causing damage to the vinyl surface.
As you continue to work the rubbing alcohol into the paint stains, you may begin to notice the paint gradually releasing its hold and transferring onto the cloth or sponge. This visual indication of progress signifies the effectiveness of the rubbing alcohol in dislodging the paint from the floor, paving the way for its eventual removal.
By diligently applying rubbing alcohol and gently agitating the paint stains, you can effectively harness the solvent properties of rubbing alcohol to combat the paint's adhesion to the vinyl floor. This strategic approach sets the stage for the subsequent steps in the paint removal process, ensuring that the remaining paint stains are primed for further targeted cleaning methods.
With the application of rubbing alcohol successfully underway, you're now poised to advance to the next phase of the paint removal process, armed with the knowledge that the solvent properties of rubbing alcohol have set the stage for the effective elimination of paint stains from your vinyl floor.
Step 3: Use a commercial cleaner
With the excess paint removed and the rubbing alcohol having effectively loosened the remaining paint stains, the next pivotal step in the paint removal process involves the utilization of a high-quality commercial vinyl floor cleaner. This specialized cleaner is specifically formulated to tackle tough stains while safeguarding the integrity of the vinyl surface, making it an invaluable asset in the quest to restore the floor to its pristine condition.
To commence this step, procure the chosen commercial vinyl floor cleaner and carefully review the manufacturer's instructions and recommendations for usage. It's essential to adhere to these guidelines to ensure optimal results and prevent any potential damage to the vinyl floor. Additionally, ensure that the selected cleaner is suitable for use on vinyl surfaces and is designed to address paint stains effectively.
Once equipped with the commercial cleaner, prepare a solution by diluting it according to the manufacturer's instructions. This typically involves mixing the cleaner with water to achieve the recommended concentration for tackling paint stains. It's important to exercise caution and avoid using undiluted cleaner, as this could potentially lead to adverse effects on the vinyl floor.
With the diluted commercial cleaner at the ready, apply it to the remaining paint stains on the vinyl floor. Utilize a clean cloth or sponge to gently work the cleaner into the affected areas, ensuring comprehensive coverage of the paint stains. Employing a gentle scrubbing motion, focus on the targeted sections to facilitate the breakdown and removal of the remaining paint residue.
As the commercial cleaner interacts with the paint stains, its specialized formulation goes to work, effectively lifting and dissolving the remaining traces of paint from the vinyl floor. This process may require some patience, especially for more stubborn or persistent paint stains, but the cleaner's potent properties are designed to combat tough stains while preserving the integrity of the vinyl surface.
After applying the commercial cleaner and working it into the paint stains, allow it to dwell on the affected areas for the recommended duration specified by the manufacturer. This dwell time allows the cleaner to penetrate the paint stains thoroughly, maximizing its efficacy in breaking down the paint residue and preparing it for removal.
Following the designated dwell time, utilize a clean cloth or sponge dampened with warm water to rinse the treated areas, effectively removing any residual cleaner and loosened paint from the vinyl floor. Thoroughly rinse and wring out the cloth or sponge as needed to ensure that all traces of the cleaner and paint residue are effectively eliminated.
By leveraging the power of a commercial vinyl floor cleaner, you can effectively address and eliminate the remaining paint stains, restoring the floor to its original luster. This strategic approach ensures that the vinyl surface is thoroughly cleansed and free from unsightly paint blemishes, setting the stage for the final step in the paint removal process.
With the successful application of the commercial cleaner, you're now prepared to proceed to the concluding phase of the paint removal process, equipped with the knowledge that the vinyl floor has been diligently treated and primed for the final steps in achieving a flawless, paint-free appearance.
Read more: How To Get Tree Sap Off Windshield
Step 4: Rinse and dry the floor
With the paint stains effectively addressed and removed from the vinyl floor, the final critical step in the paint removal process involves thoroughly rinsing and drying the floor to ensure that it is free from any residual cleaning agents and paint residue. This pivotal phase is essential for restoring the floor to its pristine condition and ensuring that it retains its original luster without any lingering traces of the paint removal process.
To initiate this step, begin by thoroughly rinsing the treated areas of the vinyl floor with warm water. Using a clean cloth or sponge, dampen it with warm water and gently wipe the affected sections, ensuring that any remaining traces of the commercial cleaner and loosened paint residue are effectively removed. It's important to be thorough in this rinsing process, as it serves to eliminate any lingering cleaning agents and paint residue, leaving the floor impeccably clean.
As you proceed with the rinsing process, periodically rinse and wring out the cloth or sponge to prevent the transfer of residual paint and cleaner onto unaffected areas of the floor. This meticulous approach ensures that the entire surface is diligently cleansed and free from any remnants of the paint removal process, setting the stage for the subsequent drying phase.
Following the thorough rinsing of the vinyl floor, it's imperative to proceed with the drying process to eliminate any remaining moisture and ensure that the floor is left in a pristine, spotless condition. Utilize clean, dry cloths or towels to gently pat and absorb any excess moisture from the treated areas, working methodically to ensure comprehensive drying.
In cases where the affected areas are larger or require more extensive drying, consider utilizing a fan or opening windows to facilitate air circulation and expedite the drying process. This proactive approach helps to ensure that the vinyl floor is thoroughly dried, leaving no room for residual moisture that could potentially compromise its pristine appearance.
As the floor is meticulously rinsed and dried, take the opportunity to inspect the treated areas for any remaining traces of paint or cleaner. If any stubborn remnants are detected, consider repeating the rinsing and drying process to ensure that the floor is impeccably clean and free from any lingering blemishes.
By diligently rinsing and drying the vinyl floor, you can effectively conclude the paint removal process with the assurance that the floor has been restored to its original luster. This meticulous approach ensures that the floor is free from any residual cleaning agents and paint residue, leaving it looking immaculate and rejuvenated.
With the successful completion of the rinsing and drying process, you can now revel in the satisfaction of a vinyl floor that has been meticulously cleansed and restored to its pristine condition, free from the unsightly remnants of paint stains.
Conclusion
In conclusion, successfully removing paint from a vinyl floor requires a strategic and methodical approach, coupled with the utilization of the right materials and techniques. By following the step-by-step process outlined in this guide, you can effectively restore your vinyl floor to its original pristine condition, free from the unsightly blemishes of paint stains.
Commencing with the careful scraping off of excess paint, you set the stage for the subsequent cleaning methods, ensuring that the majority of the paint is lifted from the floor before proceeding further. The application of rubbing alcohol proved instrumental in loosening and dissolving the remaining paint stains, effectively preparing them for targeted removal. Leveraging the power of a commercial vinyl floor cleaner further facilitated the elimination of paint residue, leaving the floor impeccably clean and rejuvenated.
The meticulous rinsing and drying of the vinyl floor served as the final touch, ensuring that any residual cleaning agents and paint residue were thoroughly removed, leaving the floor looking immaculate and revitalized. This comprehensive approach not only effectively removed the paint stains but also safeguarded the integrity of the vinyl surface, preserving its original luster and appeal.
By diligently following these methods and utilizing the recommended materials, you can confidently tackle paint spills on your vinyl floor, knowing that you have the knowledge and tools to restore its pristine appearance. Remember, swift action is key when dealing with paint spills, as addressing them promptly can prevent the paint from setting and becoming more challenging to remove.
With the insights gained from this guide, you are well-equipped to tackle the task of removing paint from your vinyl floor, ensuring that it remains a shining centerpiece of your home. Armed with the right approach and materials, you can bid farewell to those pesky paint stains and revel in the beauty of a flawlessly clean and rejuvenated vinyl floor.