Home>Home and Garden>How To Clean Turf
Home and Garden
How To Clean Turf
Published: February 28, 2024
Learn the best methods for cleaning turf in your home and garden. Discover effective tips and techniques to keep your turf looking fresh and vibrant.
(Many of the links in this article redirect to a specific reviewed product. Your purchase of these products through affiliate links helps to generate commission for Regretless.com, at no extra cost. Learn more)
Table of Contents
Introduction
Maintaining a pristine and inviting outdoor space often involves caring for artificial turf. Whether it's a backyard lawn, a sports field, or a commercial landscaping area, regular cleaning is essential to preserve the turf's appearance and longevity. Over time, various elements such as dust, dirt, leaves, and pet waste can accumulate on the surface, leading to discoloration and potential odor issues. Fortunately, with the right tools and techniques, cleaning artificial turf can be a straightforward and rewarding task.
In this comprehensive guide, we will explore the step-by-step process of effectively cleaning artificial turf to restore its vibrancy and cleanliness. From removing debris to applying a cleaning solution and allowing the turf to dry, each stage plays a crucial role in revitalizing the appearance and hygiene of the turf. By following these instructions, you can ensure that your artificial turf remains a source of pride and enjoyment for years to come.
Let's delve into the essential tools and materials needed to embark on this revitalizing journey for your artificial turf.
Read more: How To Treat And Prevent Turf Burn
Tools and Materials Needed
To embark on the task of cleaning artificial turf effectively, it's essential to gather the right tools and materials. Here's a comprehensive list of what you'll need:
Tools:
-
Rake or Broom: A sturdy rake or broom with synthetic bristles will be instrumental in removing debris and loosening any compacted dirt or pet hair from the turf.
-
Hose or Pressure Washer: A garden hose with a spray nozzle or a pressure washer with adjustable pressure settings will facilitate the rinsing process, ensuring thorough coverage of the turf.
-
Sprayer or Watering Can: A sprayer or watering can will be useful for applying the cleaning solution evenly across the turf surface.
-
Soft Bristle Brush: A soft-bristled brush, such as a scrub brush or a brush with synthetic bristles, will aid in gently scrubbing the turf without causing damage.
-
Towels or Squeegee: Absorbent towels or a squeegee can be used to remove excess water from the turf after rinsing, expediting the drying process.
-
Blotting Paper or Absorbent Powder: For addressing any residual stains or odors, having blotting paper or an absorbent powder specifically designed for artificial turf can be beneficial.
Materials:
-
Artificial Turf Cleaner or Mild Soap: An artificial turf cleaner specifically formulated for synthetic grass or a mild soap, such as dish soap, will serve as the primary cleaning agent.
-
Vinegar Solution: White vinegar diluted with water can be an effective natural alternative for cleaning and deodorizing artificial turf.
-
Water: Access to a water source, whether through a hose or other means, is crucial for rinsing the turf thoroughly.
-
Optional: Odor Neutralizer: If dealing with persistent odors, an odor neutralizer designed for artificial turf can be employed after the cleaning process.
By ensuring that you have these tools and materials at your disposal, you'll be well-equipped to proceed with the subsequent steps of cleaning your artificial turf effectively.
Step 1: Remove Debris
The first crucial step in cleaning artificial turf is to thoroughly remove any accumulated debris. Over time, leaves, twigs, dirt, and other outdoor elements can settle onto the turf, diminishing its visual appeal and potentially causing drainage issues. To effectively tackle this task, begin by using a rake or a stiff-bristled broom to gently loosen and dislodge the debris from the turf surface. It's important to use a tool with synthetic bristles to avoid damaging the turf fibers.
As you work across the turf, pay special attention to areas where debris tends to accumulate, such as around trees, shrubs, or other landscaping features. By employing a systematic approach and working in sections, you can ensure that no area is overlooked. Additionally, be mindful of any pet waste that may be present, as this should be addressed separately using appropriate cleaning methods.
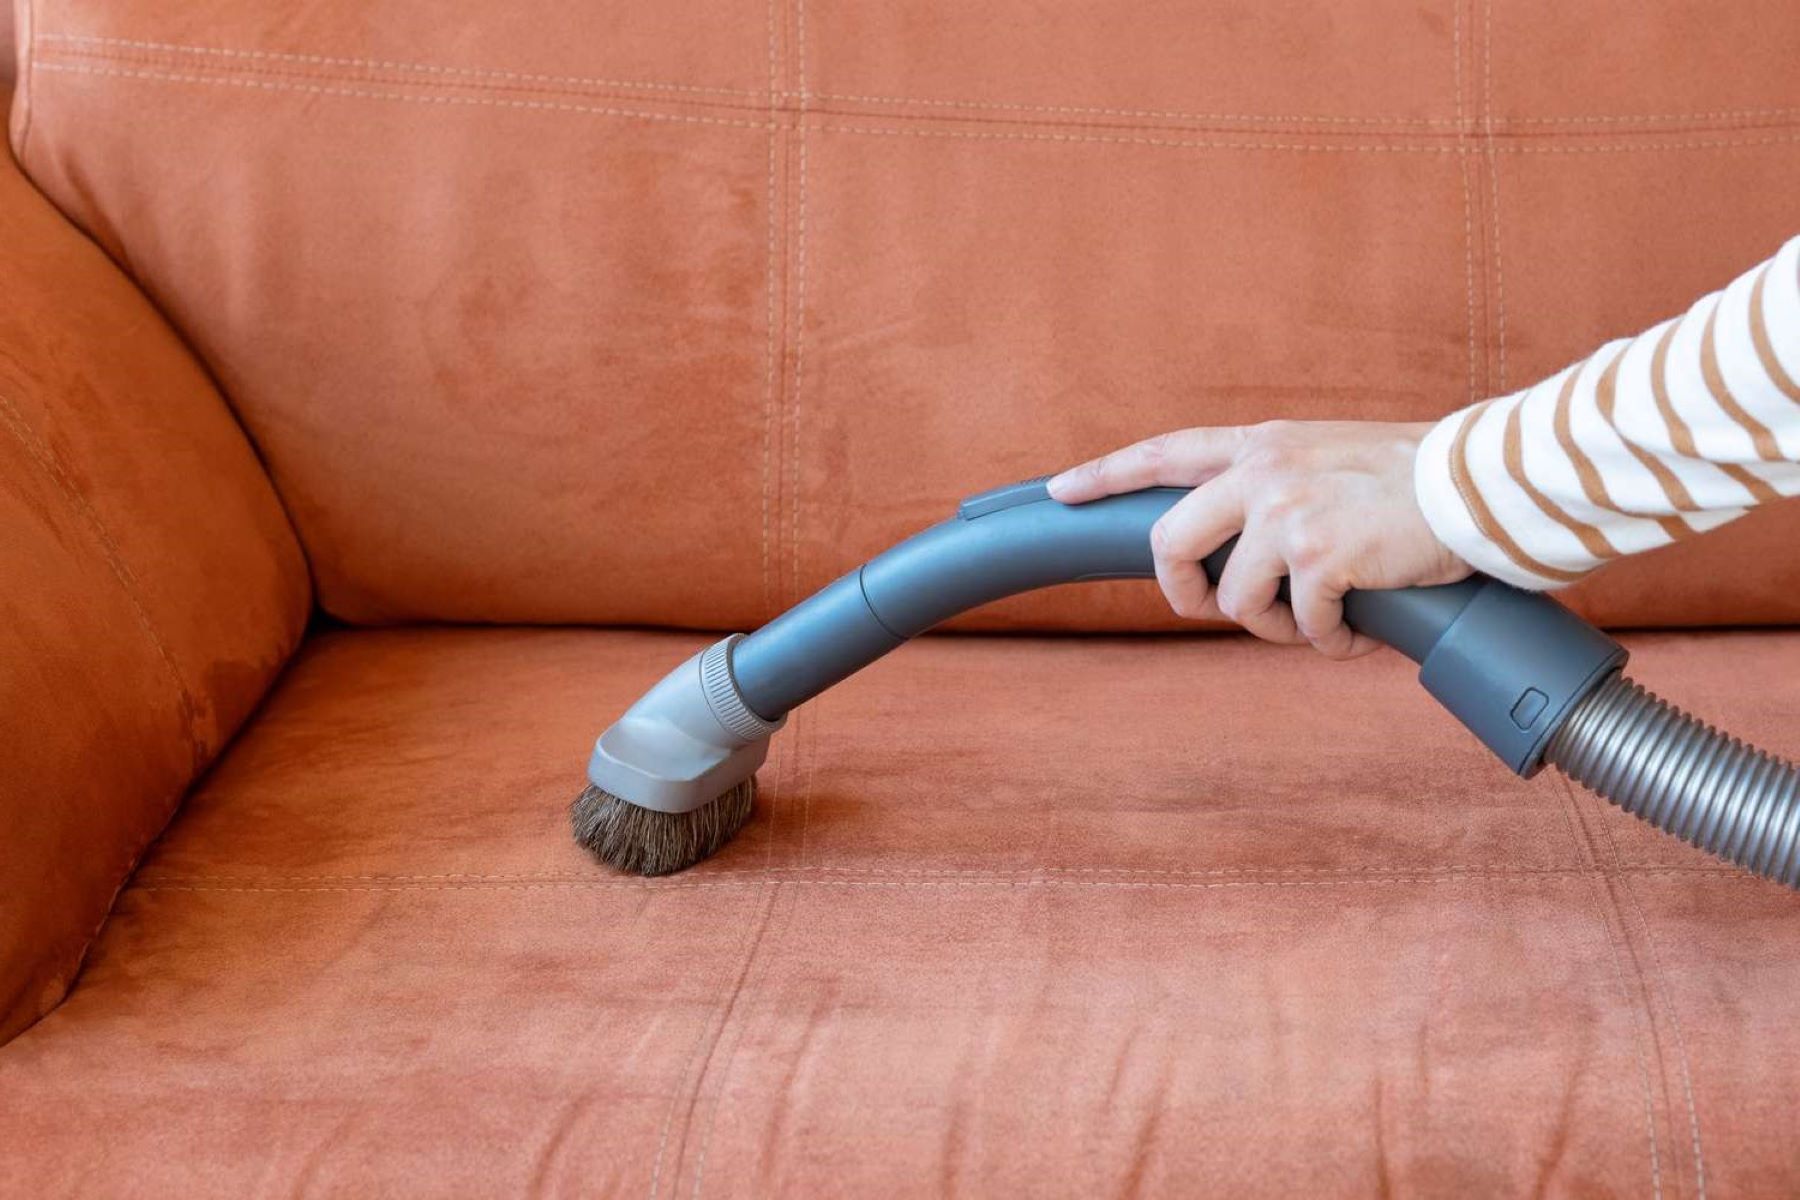
Once the debris has been loosened, carefully gather it into a pile using the rake or broom, making it easier to collect and dispose of. It's important to exercise caution during this process to prevent inadvertently pulling up the turf fibers. If there are any stubborn debris or pet hair entangled within the turf, a handheld vacuum with a soft brush attachment can be used to gently extract these remnants without causing damage.
By diligently removing debris from the artificial turf, you pave the way for the subsequent cleaning steps to be more effective. This initial stage sets the foundation for a thorough and revitalizing cleaning process, ensuring that the turf regains its pristine appearance and optimal functionality.
With the debris successfully cleared, the next step involves rinsing the turf to further eliminate any remaining particles and prepare it for the application of a cleaning solution. This pivotal stage will be explored in detail in the following section, guiding you through the essential process of rejuvenating your artificial turf.
Read more: How To Clean A Tie
Step 2: Rinse the Turf
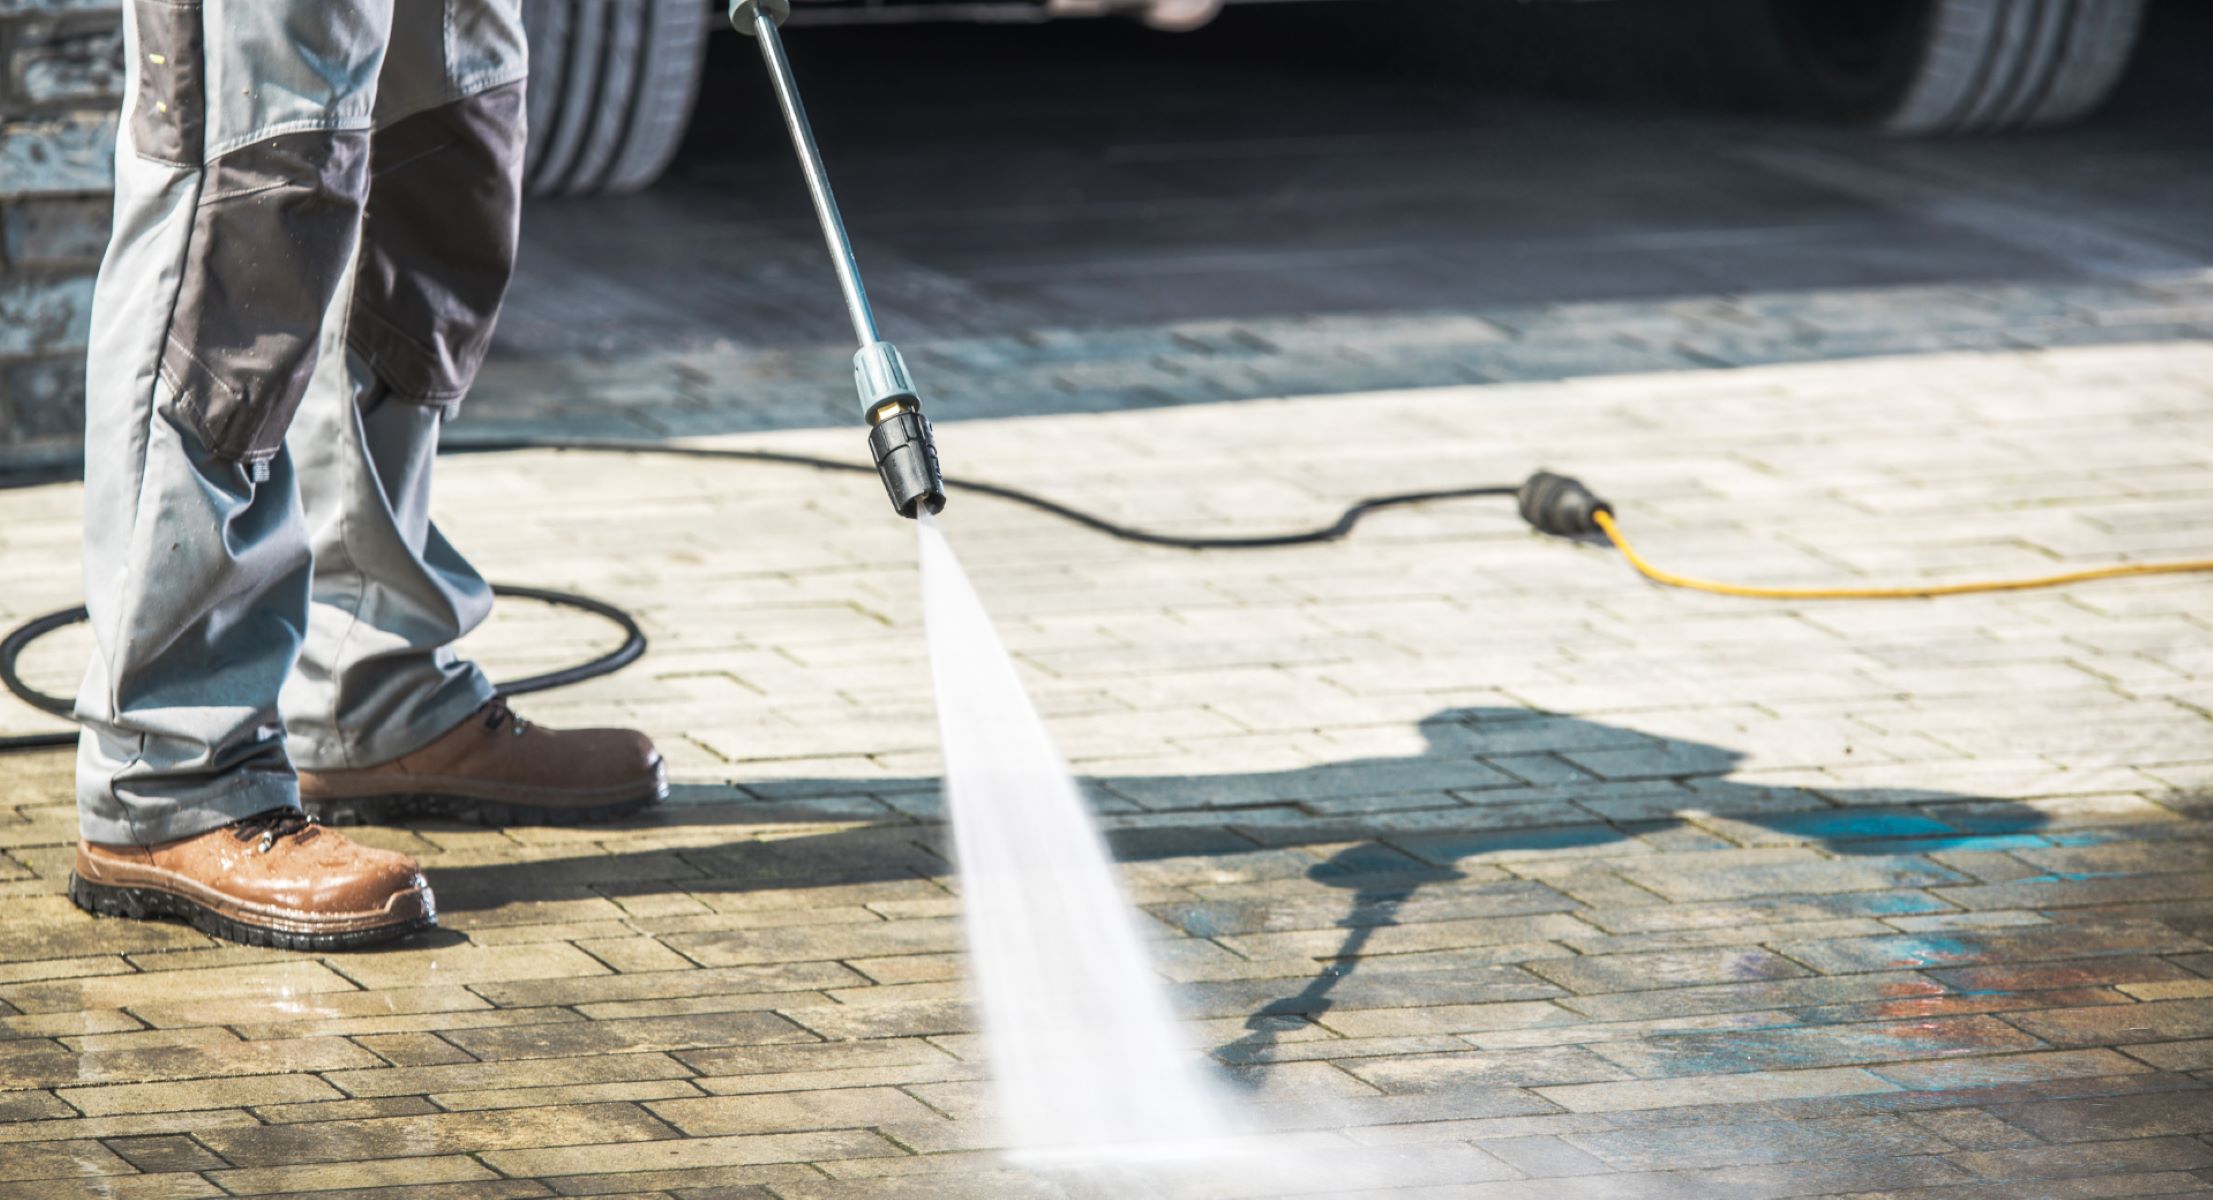
After successfully removing debris from the artificial turf, the next crucial step is to thoroughly rinse the turf to eliminate any remaining particles and prepare it for the application of a cleaning solution. Rinsing the turf serves multiple purposes, including the removal of loose dirt, dust, and organic matter, as well as the rehydration of the turf fibers to restore their natural resilience and vibrancy.
To commence the rinsing process, equip yourself with a garden hose fitted with a spray nozzle or a pressure washer with adjustable pressure settings. It's essential to use a gentle spray setting to avoid causing damage to the turf fibers. Begin at one end of the turf area and systematically work your way across, ensuring that the entire surface is evenly rinsed.
As you direct the water onto the turf, pay close attention to areas where debris was previously concentrated, as well as any spots that may have accumulated pet waste. By methodically covering the entire turf area, you can effectively dislodge and flush out any remaining particles, leaving the turf refreshed and ready for the subsequent cleaning steps.
In the event of stubborn stains or localized soiling, a targeted approach can be employed by focusing the spray on these areas to facilitate more thorough cleansing. Additionally, if you opt to use a pressure washer, exercise caution and adjust the pressure to a gentle setting to prevent any potential damage to the turf.
Once the turf has been thoroughly rinsed, take a moment to assess the surface and ensure that all debris and loose particles have been effectively removed. At this stage, the turf should appear visibly cleaner and revitalized, setting the stage for the application of a cleaning solution to further enhance its appearance and hygiene.
With the turf successfully rinsed, the subsequent step involves the application of a cleaning solution to address any residual stains, odors, and microbial growth. This pivotal stage will be explored in detail in the following section, guiding you through the essential process of rejuvenating your artificial turf.
Step 3: Apply Cleaning Solution
With the artificial turf effectively cleared of debris and thoroughly rinsed, the next critical step involves the application of a cleaning solution to address any residual stains, odors, and microbial growth. The choice of cleaning solution is pivotal in ensuring the restoration of the turf's pristine appearance and hygienic condition.
When selecting a cleaning solution for artificial turf, it's essential to opt for products specifically formulated for synthetic grass. These solutions are designed to effectively lift and remove stains, neutralize odors, and inhibit microbial growth without causing damage to the turf fibers. Alternatively, a mild soap, such as dish soap, can be diluted with water to create a gentle yet effective cleaning solution.
To apply the cleaning solution, prepare a sprayer or watering can with the diluted cleaning solution and evenly distribute it across the turf surface. Begin at one end of the turf area and work systematically to ensure comprehensive coverage. Pay special attention to areas where stains or odors are prevalent, as well as high-traffic zones that may require more thorough cleansing.
Once the cleaning solution has been applied, allow it to dwell on the turf for a brief period to facilitate the breakdown and loosening of any embedded contaminants. This dwell time allows the cleaning solution to effectively penetrate the turf fibers and address any underlying issues, preparing the turf for the subsequent scrubbing and rinsing process.
In the event of persistent stains or odors, a targeted approach can be employed by gently agitating the affected areas with a soft-bristled brush to enhance the cleaning action of the solution. It's important to exercise care during this process to avoid causing damage to the turf fibers while effectively addressing localized soiling.
By applying a suitable cleaning solution and allowing it to work its magic, you set the stage for the next pivotal step: brushing and scrubbing the turf to further lift and remove any remaining stains and odors. This essential stage will be explored in detail in the following section, guiding you through the comprehensive process of revitalizing your artificial turf.
With the cleaning solution effectively applied, the subsequent step involves gently brushing and scrubbing the turf to ensure thorough cleansing and prepare it for the final rinsing stage. This pivotal stage will be explored in detail in the following section, guiding you through the essential process of rejuvenating your artificial turf.
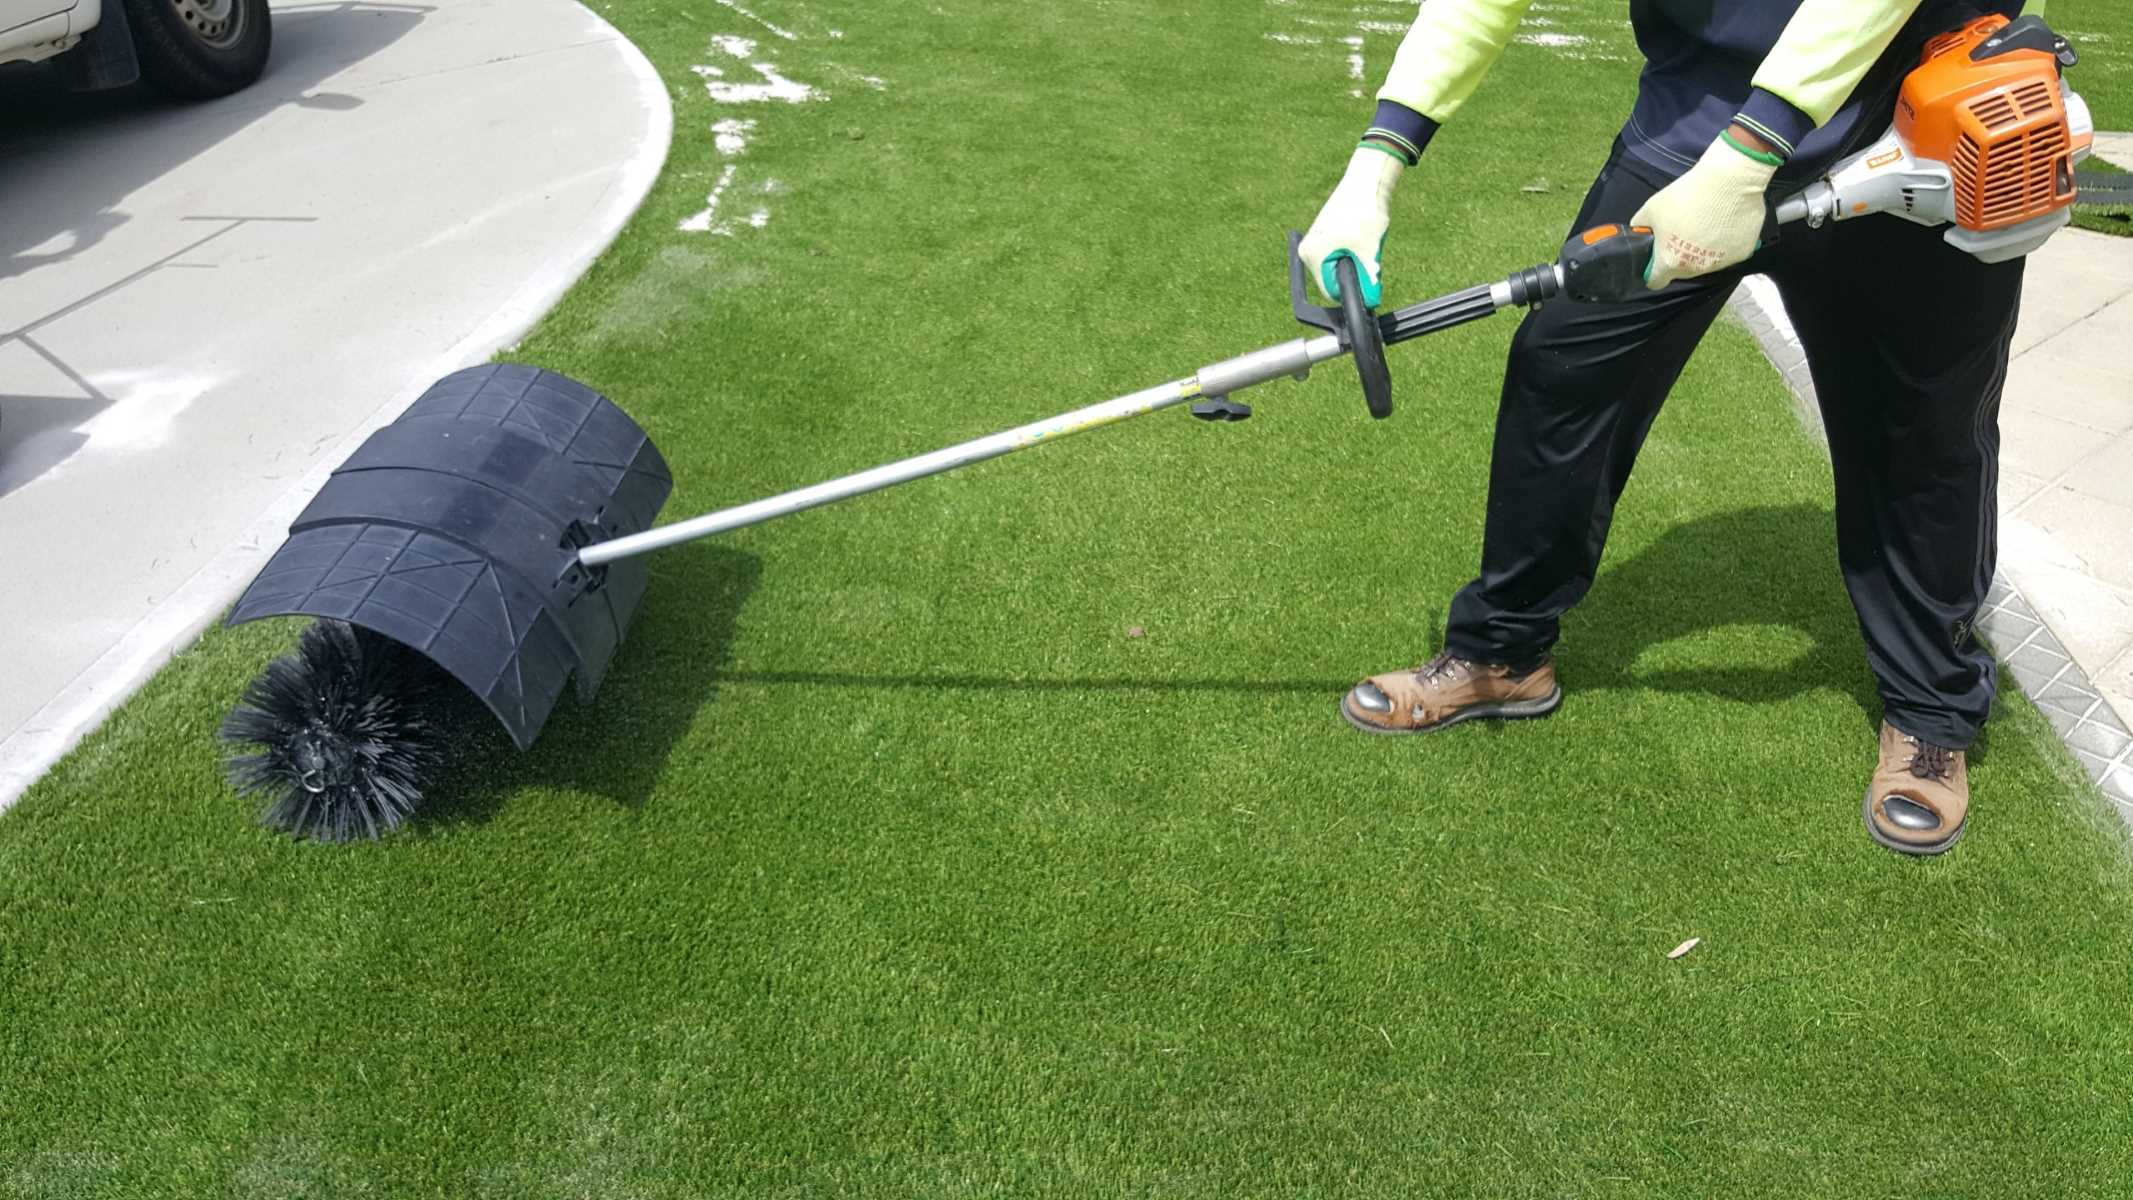
Step 4: Brush and Scrub
Following the application of the cleaning solution, the next crucial step in the artificial turf cleaning process involves gently brushing and scrubbing the turf to ensure thorough cleansing and the effective removal of any remaining stains and odors. This meticulous stage plays a pivotal role in revitalizing the turf's appearance and hygiene, allowing the cleaning solution to work in tandem with mechanical agitation to lift and dislodge embedded contaminants.
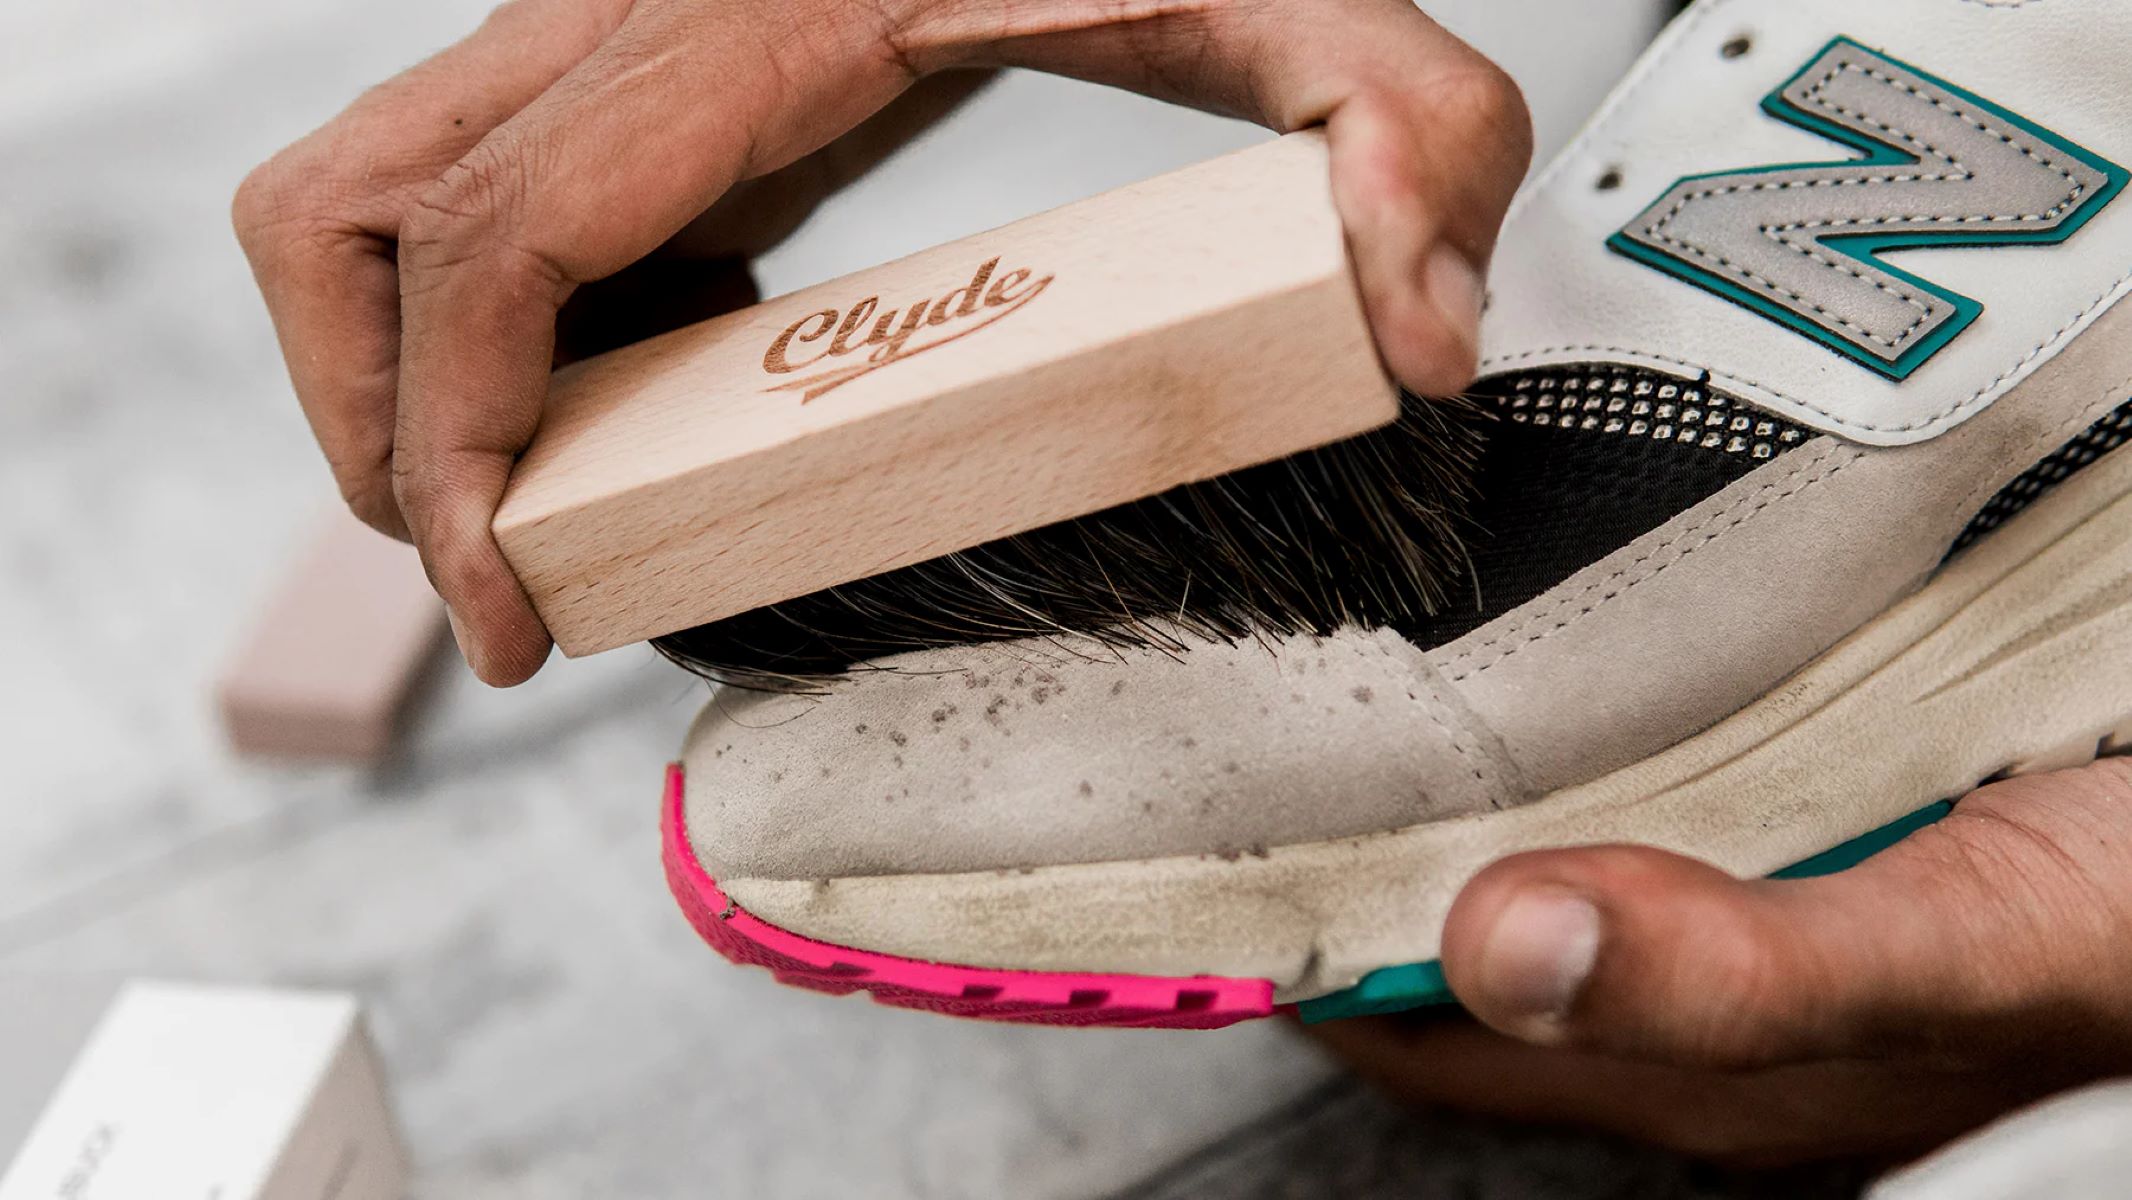
To commence the brushing and scrubbing process, equip yourself with a soft-bristled brush, such as a scrub brush or a brush with synthetic bristles. It's essential to use a brush that is gentle yet effective in dislodging stains and soiling without causing damage to the turf fibers. Begin at one end of the turf area and work methodically, focusing on small sections at a time to ensure comprehensive coverage.
As you gently brush and scrub the turf, pay special attention to areas where stains, odors, or localized soiling are prevalent. Employ a circular or back-and-forth motion to effectively agitate the turf fibers and facilitate the lifting of contaminants. It's important to maintain a gentle yet thorough approach, allowing the cleaning solution to work synergistically with the mechanical action of the brush to achieve optimal cleansing results.
In the event of stubborn stains or odors, a slightly firmer touch can be applied, always being mindful of the turf's delicate nature. By addressing localized soiling with targeted brushing and scrubbing, you can effectively enhance the overall cleanliness and visual appeal of the turf. Additionally, if there are specific areas where pet waste was present, focusing on these zones with extra care can contribute to a more thorough cleansing process.
Throughout the brushing and scrubbing process, periodically assess the turf's appearance to gauge the effectiveness of the cleaning action. By maintaining a systematic approach and ensuring that all areas are diligently addressed, you can optimize the cleansing process and set the stage for the subsequent rinsing stage.
With the turf effectively brushed and scrubbed, the next pivotal step involves the final rinsing to remove any loosened contaminants and residual cleaning solution. This essential stage will be explored in detail in the following section, guiding you through the comprehensive process of rejuvenating your artificial turf.
Step 5: Rinse Again
Following the meticulous brushing and scrubbing of the artificial turf, the next critical step involves a thorough rinsing to remove any loosened contaminants and residual cleaning solution. This pivotal stage serves to ensure that the turf is left revitalized, free from any lingering particles, and ready to undergo the final drying process.
To commence the rinsing process, equip yourself with a garden hose fitted with a spray nozzle or a pressure washer with adjustable pressure settings. It's essential to use a gentle spray setting to avoid causing damage to the turf fibers. Begin at one end of the turf area and systematically work your way across, ensuring that the entire surface is evenly rinsed.
As you direct the water onto the turf, pay close attention to areas where brushing and scrubbing were concentrated, as well as any spots that may have exhibited persistent staining or soiling. By methodically covering the entire turf area, you can effectively dislodge and flush out any remaining particles, leaving the turf refreshed and ready for the subsequent drying process.
In the event of stubborn stains or localized soiling, a targeted approach can be employed by focusing the spray on these areas to facilitate more thorough cleansing. Additionally, if you opt to use a pressure washer, exercise caution and adjust the pressure to a gentle setting to prevent any potential damage to the turf.
Once the turf has been thoroughly rinsed, take a moment to assess the surface and ensure that all remnants of the cleaning solution and loosened contaminants have been effectively removed. At this stage, the turf should appear visibly rejuvenated and free from any residual soiling, setting the stage for the final step: allowing the turf to dry naturally.
With the turf successfully rinsed, the subsequent and final step involves allowing the turf to dry completely, ensuring that it can regain its optimal appearance and functionality. This essential stage will be explored in detail in the following section, guiding you through the comprehensive process of revitalizing your artificial turf.
Read more: How To Clean Diva Cup
Step 6: Allow to Dry
After the thorough rinsing process, allowing the artificial turf to dry naturally is the final and crucial step in the comprehensive cleaning process. Allowing the turf to dry completely not only ensures the removal of residual moisture but also facilitates the restoration of its optimal appearance and functionality.
To initiate the drying process, it's essential to refrain from walking or placing any objects on the turf to prevent potential disruption of the drying fibers. Ideally, the turf should be left undisturbed to air dry, allowing natural airflow and sunlight to expedite the evaporation of any remaining moisture.
Depending on the prevailing weather conditions, the drying time may vary. In sunny and breezy conditions, the turf may dry relatively quickly, typically within a few hours. However, in overcast or humid conditions, the drying process may take longer, necessitating patience and a proactive approach to ensure thorough drying.
Throughout the drying period, periodically assess the turf's surface to gauge the progress and ascertain whether any residual moisture remains. If certain areas appear to retain moisture, gently blotting them with absorbent towels or employing a squeegee can expedite the drying process, ensuring uniform drying across the entire turf surface.
It's important to note that artificial turf should not be subjected to artificial heat sources, such as hairdryers or heat lamps, as this can potentially damage the turf fibers and compromise its integrity. Instead, relying on natural drying methods allows the turf to regain its natural resilience and vibrancy without the risk of damage.
Once the turf has dried completely, take a moment to appreciate the revitalized appearance and cleanliness it now exudes. The vibrant green hues and refreshed texture serve as a testament to the meticulous cleaning process, ensuring that the artificial turf remains a source of pride and enjoyment for all who encounter it.
By allowing the artificial turf to dry naturally, you complete the comprehensive cleaning process, culminating in the restoration of its pristine appearance and optimal functionality. With the turf now revitalized, it stands ready to once again serve as a vibrant and inviting outdoor space, beckoning all to revel in its beauty and allure.
Conclusion
In conclusion, the process of cleaning artificial turf is a transformative journey that not only revitalizes the turf's appearance but also ensures its longevity and functionality. By diligently following the step-by-step approach outlined in this guide, you have embarked on a rewarding endeavor to restore the vibrancy and cleanliness of your artificial turf.
From the initial removal of debris to the final stage of allowing the turf to dry naturally, each step plays a pivotal role in the comprehensive cleaning process. The meticulous attention to detail and the utilization of suitable tools and materials have contributed to the successful rejuvenation of the turf, ensuring that it remains a source of pride and enjoyment for years to come.
As you reflect on the journey of cleaning artificial turf, it's important to recognize the multifaceted benefits that extend beyond visual appeal. The removal of debris and thorough rinsing not only enhance the turf's aesthetic charm but also contribute to its optimal functionality, promoting proper drainage and resilience. Additionally, the application of a suitable cleaning solution and gentle brushing and scrubbing have effectively addressed any residual stains, odors, and soiling, fostering a hygienic and inviting outdoor space.
Furthermore, the final step of allowing the turf to dry naturally underscores the commitment to preserving its integrity and longevity. By embracing natural drying methods, you have ensured that the turf regains its inherent vibrancy and texture without the risk of damage, setting the stage for continued enjoyment and admiration.
As you witness the revitalized appearance and cleanliness of the artificial turf, take pride in the dedication and care invested in this transformative process. The lush green expanse and refreshed texture stand as a testament to the meticulous cleaning journey, inviting all to revel in the beauty and allure of the revitalized turf.
In essence, the comprehensive cleaning process has not only rejuvenated the artificial turf but also reaffirmed the value of regular maintenance and care. By embracing these practices, you can continue to cherish and enjoy the pristine outdoor space, knowing that it has been lovingly restored to its optimal state.
With the artificial turf now exuding vibrancy and cleanliness, it stands as a testament to the transformative power of diligent care and attention. As you bask in the allure of the revitalized turf, may it serve as a reminder of the rewarding journey undertaken to preserve and enhance the outdoor environment, fostering a space of beauty and tranquility for all to cherish.