Home>Automotive>How To Clean Car Headliner
Automotive
How To Clean Car Headliner
Published: February 28, 2024
Learn how to effectively clean your car headliner with our expert automotive tips. Keep your car interior looking fresh and clean with our easy-to-follow guide.
(Many of the links in this article redirect to a specific reviewed product. Your purchase of these products through affiliate links helps to generate commission for Regretless.com, at no extra cost. Learn more)
Table of Contents
Introduction
Cleaning the headliner of your car is an essential part of maintaining its overall appearance and ensuring a comfortable driving experience. The headliner, often overlooked, plays a crucial role in the aesthetics and cleanliness of the vehicle's interior. Over time, it can accumulate dust, dirt, and stains, detracting from the overall appeal of the car's interior.
A clean headliner not only enhances the visual appeal of the car but also contributes to a healthier and more pleasant driving environment. Whether it's a spill, a buildup of dust, or simply the effects of everyday wear and tear, addressing the cleanliness of the headliner is a task that should not be overlooked.
In this comprehensive guide, we will walk you through the step-by-step process of effectively cleaning your car's headliner. By following these simple yet effective methods, you can restore the headliner to its pristine condition, ensuring a fresh and inviting interior for both you and your passengers.
Maintaining a clean headliner not only contributes to the overall aesthetics of the car but also reflects a sense of pride in ownership. With the right tools and techniques, you can easily revitalize the headliner, leaving your car's interior looking and feeling as good as new.
So, let's dive into the details and learn how to clean your car's headliner effectively, ensuring that your vehicle's interior remains a source of pride and comfort.
Step 1: Gather the necessary materials
Before embarking on the task of cleaning your car's headliner, it's essential to gather the necessary materials to ensure a thorough and effective cleaning process. Having the right tools and cleaning agents at your disposal will streamline the task and help achieve optimal results. Here's a comprehensive list of the materials you will need:
-
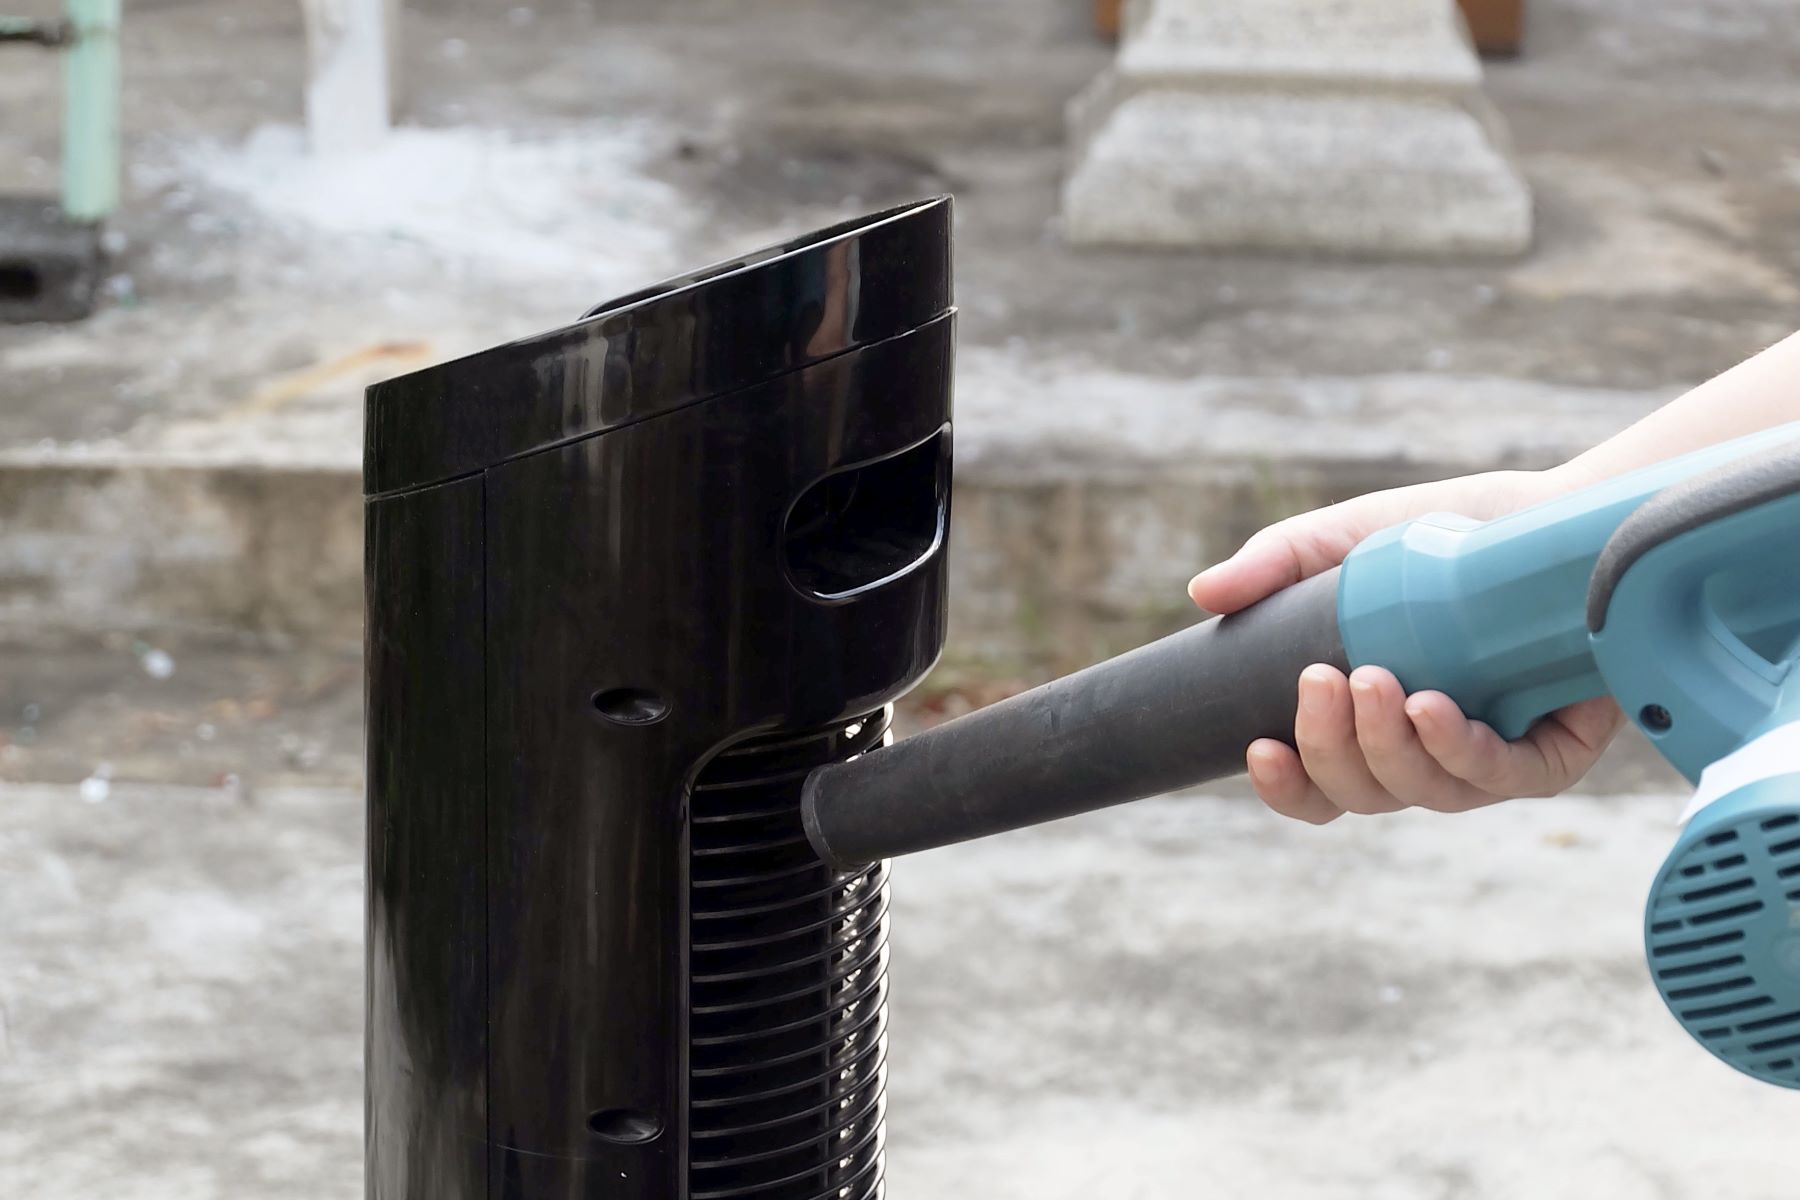
Vacuum Cleaner: A vacuum cleaner with a soft brush attachment is crucial for removing loose dirt, dust, and debris from the headliner. The soft brush attachment ensures that the delicate fabric of the headliner is not damaged during the vacuuming process.
-
Mild Upholstery Cleaner: Choose a gentle, pH-neutral upholstery cleaner specifically designed for use on car interiors. Avoid harsh chemicals that may damage the fabric or cause discoloration.
-
Microfiber Cloths: These soft, lint-free cloths are ideal for spot cleaning and drying the headliner. They are gentle on the fabric and help prevent streaking or damage during the cleaning process.
-
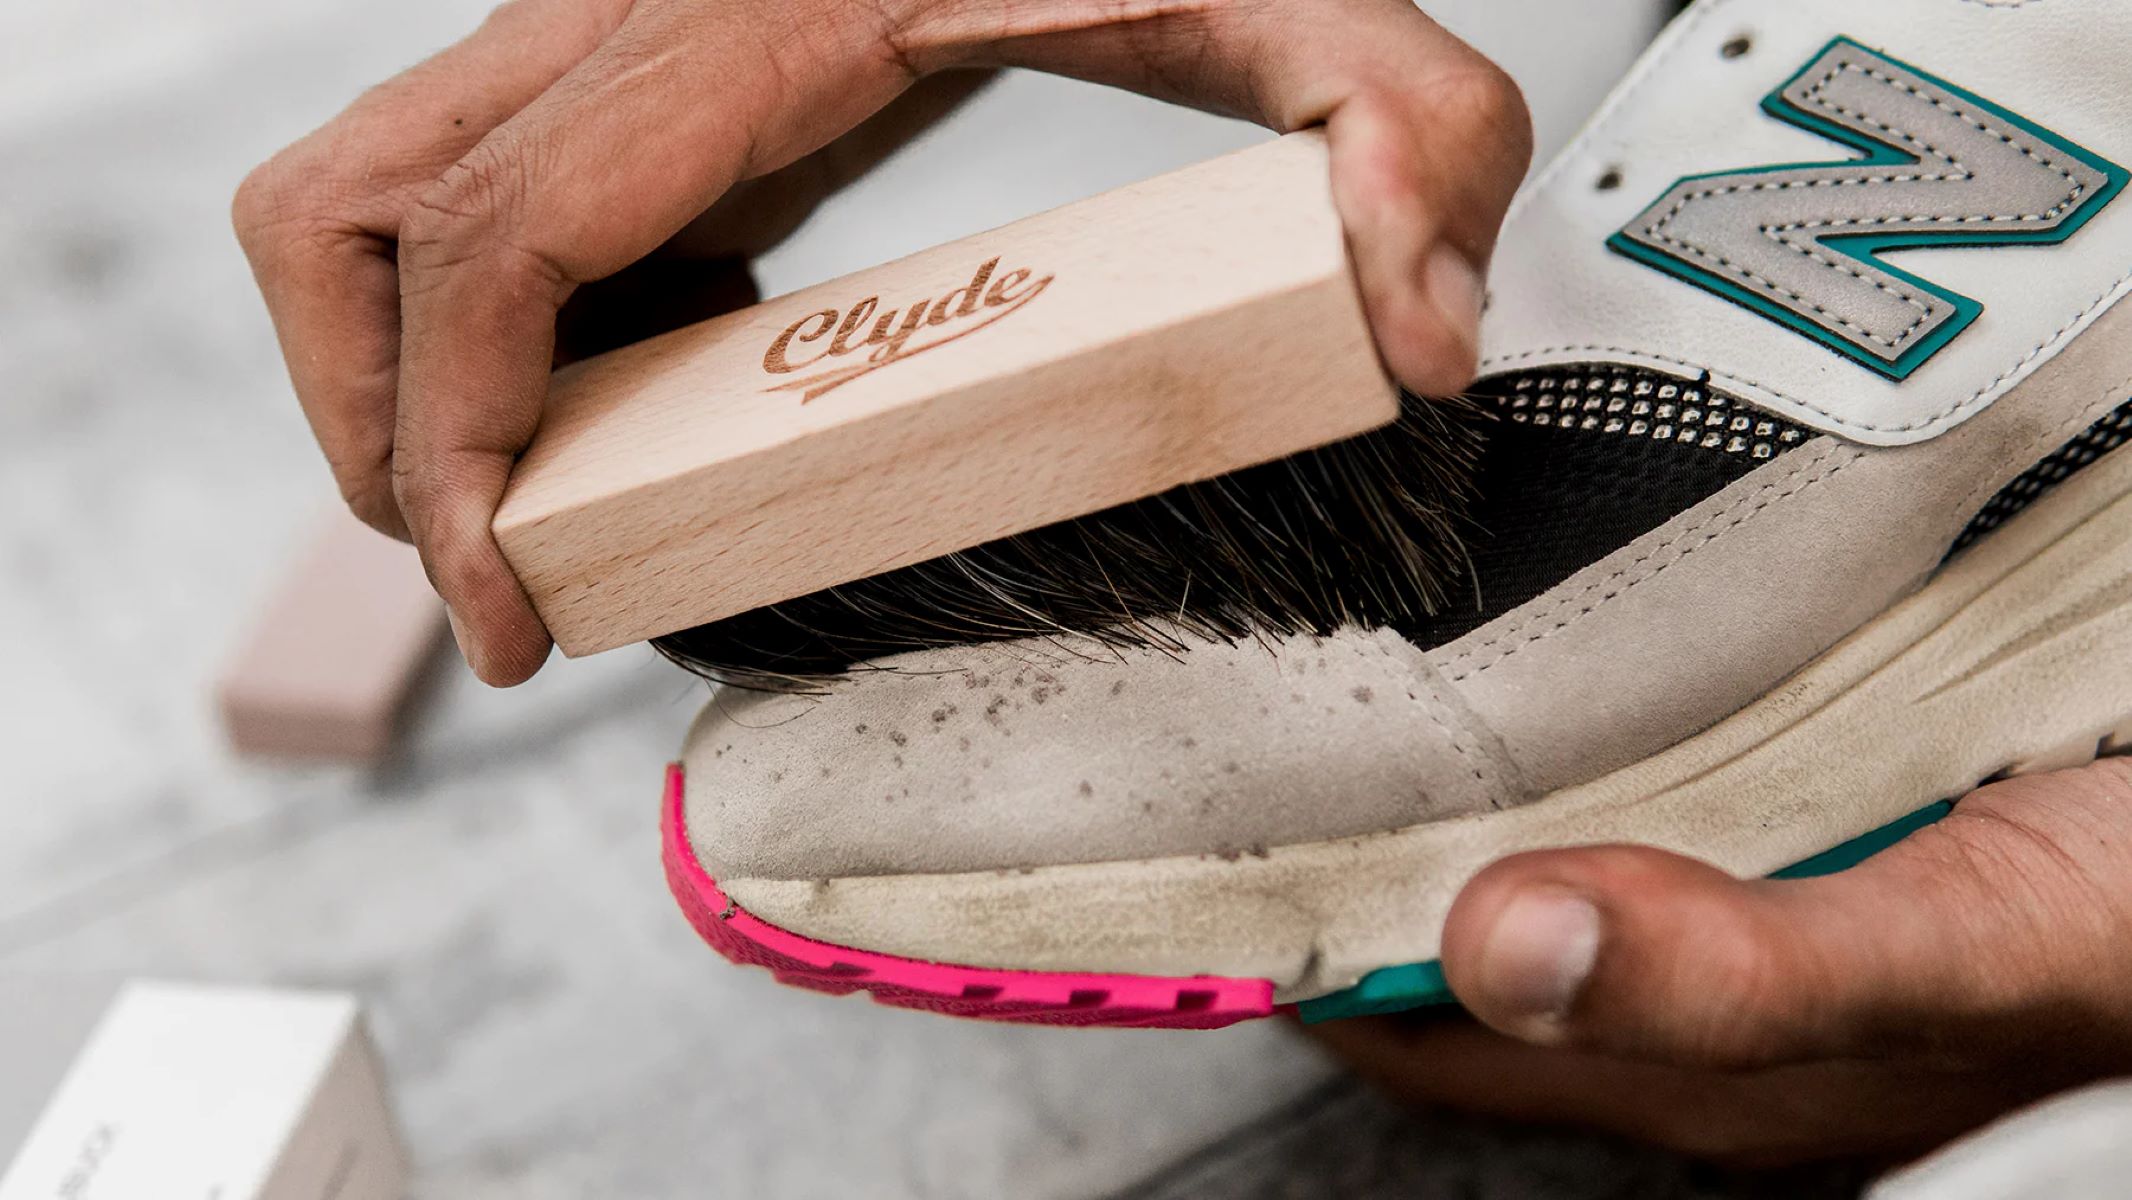
Soft-Bristled Brush: A soft-bristled brush, such as a detailing brush or a clean, soft toothbrush, can be used to gently agitate stains and dislodge stubborn dirt without causing damage to the headliner.
-
Water: Have a small bowl or spray bottle filled with clean, lukewarm water on hand for diluting the upholstery cleaner and rinsing the headliner.
-
Gentle Stain Remover (Optional): If you are dealing with specific stains such as grease, food, or beverage spills, consider having a gentle stain remover specifically formulated for car interiors.
-
Painter's Tape (Optional): If your headliner features any loose or sagging areas, painter's tape can be used to temporarily secure the fabric in place during the cleaning process.
By ensuring that you have all the necessary materials at your disposal, you can proceed with confidence, knowing that you are well-equipped to tackle the task of cleaning your car's headliner effectively and safely. With these materials in hand, you are ready to move on to the next step in the cleaning process.
Step 2: Vacuum the headliner
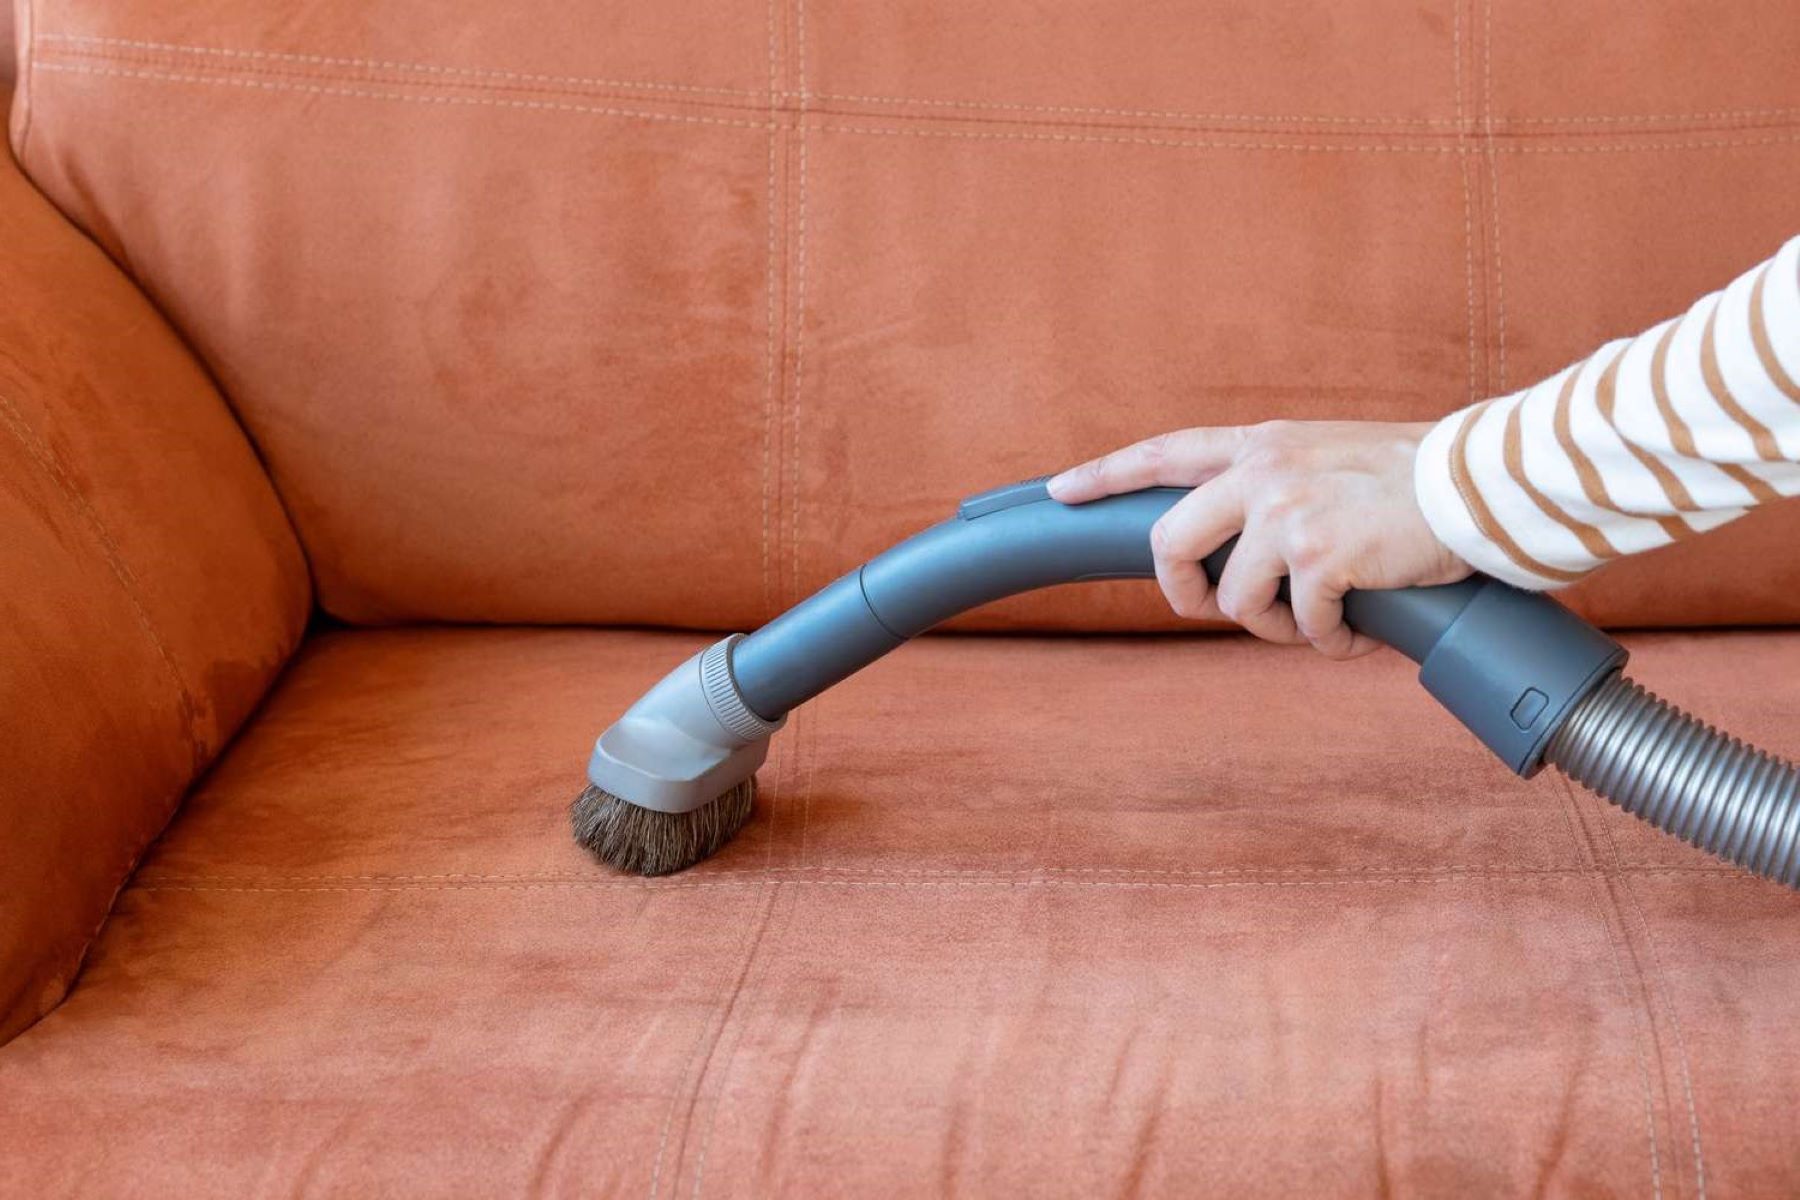
The first step in the cleaning process involves thoroughly vacuuming the headliner to remove loose dirt, dust, and debris. A vacuum cleaner equipped with a soft brush attachment is essential for this task. The soft brush attachment ensures that the delicate fabric of the headliner is not damaged during the vacuuming process.
To begin, carefully attach the soft brush to the hose of the vacuum cleaner. It's important to handle the vacuum with care to avoid any accidental contact with the headliner, which could potentially cause damage. Starting from the front of the headliner, gently run the soft brush attachment across the surface, using light and even strokes to effectively lift and remove any loose particles.
When vacuuming, pay close attention to the edges and seams of the headliner, as dirt and debris tend to accumulate in these areas. Additionally, be thorough in your approach, ensuring that the entire surface of the headliner is carefully vacuumed. It's important to work systematically, moving from one section to the next, to ensure comprehensive coverage.
As you vacuum, take note of any areas that may require additional attention. Stubborn dirt or debris can sometimes be dislodged by gently tapping the headliner from the back while vacuuming the affected area from the front. This technique helps to loosen and remove embedded particles without causing damage to the fabric.
By diligently vacuuming the headliner, you effectively prepare the surface for the subsequent cleaning steps. Removing loose dirt and debris not only improves the overall cleanliness of the headliner but also sets the stage for targeted spot cleaning and the application of a gentle cleaning solution.
Once the vacuuming process is complete, take a moment to inspect the headliner for any remaining debris or areas that may require further attention. With the initial step of vacuuming successfully accomplished, you are now ready to proceed to the next phase of the cleaning process, ensuring that your car's headliner receives the thorough care it deserves.
Step 3: Spot clean any stains
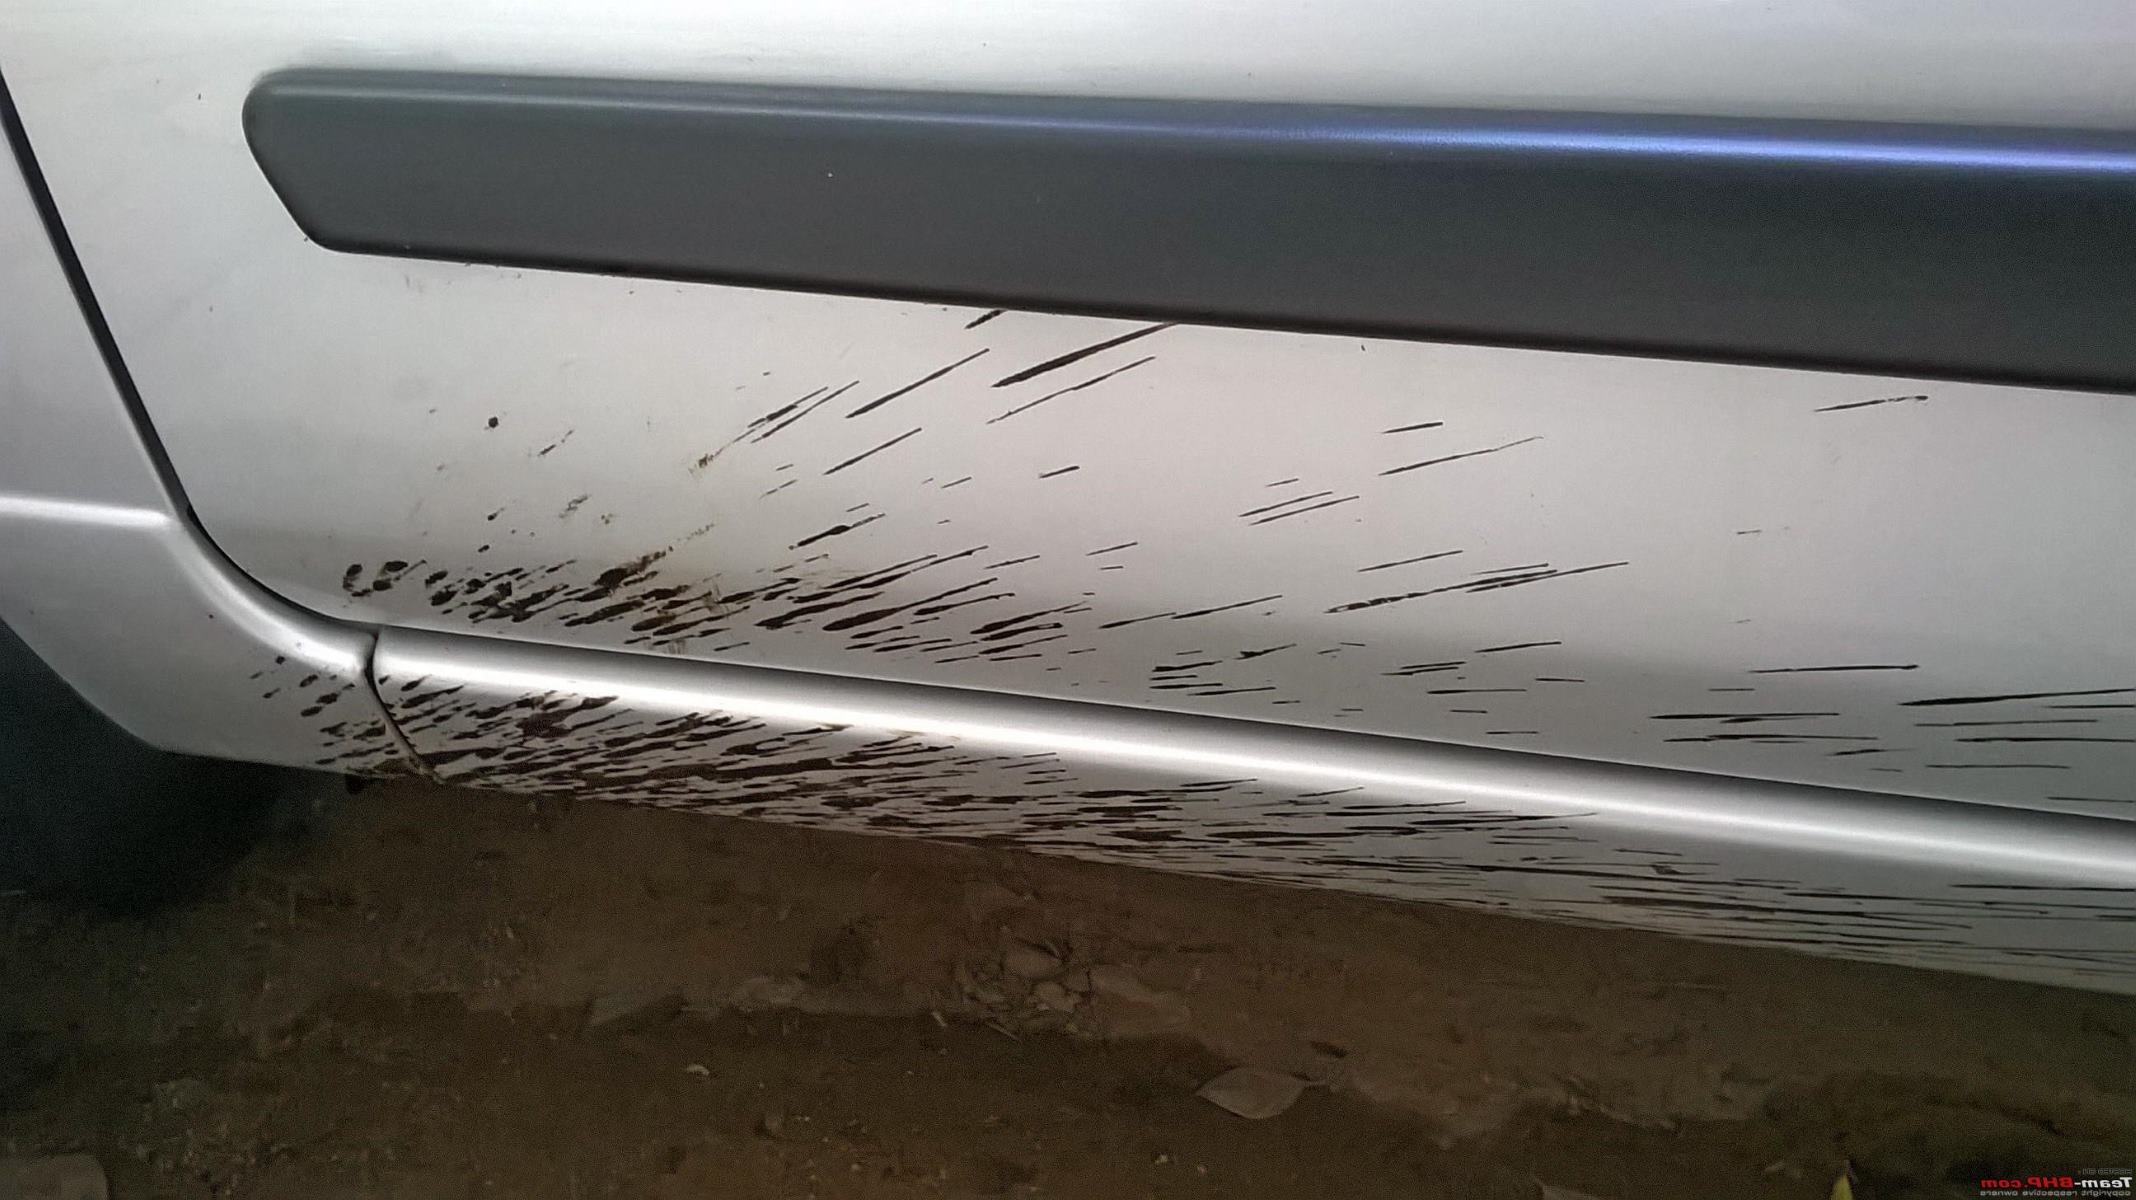
Spot cleaning is a crucial step in the process of cleaning your car's headliner, especially when dealing with specific stains or localized areas of dirt and grime. Whether it's a food or beverage spill, grease marks, or other stubborn stains, targeted spot cleaning allows you to address these blemishes effectively without compromising the overall integrity of the headliner.
To begin spot cleaning, it's essential to approach the task with care and precision. Start by identifying the specific stains or areas of concern on the headliner. Using a gentle stain remover formulated for car interiors, apply a small amount of the product to a clean, microfiber cloth. It's important to avoid saturating the headliner with the stain remover, as excessive moisture can lead to damage or discoloration.
With the stain remover applied to the cloth, gently blot the affected area of the headliner, working from the outer edges of the stain towards the center. Avoid rubbing or scrubbing vigorously, as this can spread the stain and potentially damage the fabric. Instead, use a dabbing motion to lift the stain from the fabric, periodically inspecting the cloth to monitor the transfer of the stain.
For particularly stubborn stains, you may need to repeat the blotting process several times, applying additional stain remover as needed. It's important to exercise patience and avoid rushing the spot cleaning process, as gradual and deliberate treatment often yields the best results.
As you work on spot cleaning the stains, periodically assess the progress to determine if further treatment is necessary. If the stain persists after initial attempts, consider using a slightly more concentrated solution of the gentle stain remover, always being mindful of the fabric's sensitivity to moisture and cleaning agents.
Once the stain has been effectively lifted from the headliner, use a clean, damp microfiber cloth to gently blot the treated area, removing any residual traces of the stain remover. It's crucial to ensure that no excess moisture remains on the headliner, as this can lead to water spots or discoloration.
By meticulously spot cleaning any stains on the headliner, you can effectively restore the fabric to its original, pristine condition. This targeted approach not only enhances the overall cleanliness of the headliner but also contributes to a visually appealing and well-maintained car interior.
With the spot cleaning process successfully completed, you are now ready to proceed to the next step in the comprehensive cleaning process, ensuring that your car's headliner receives the meticulous care it deserves.
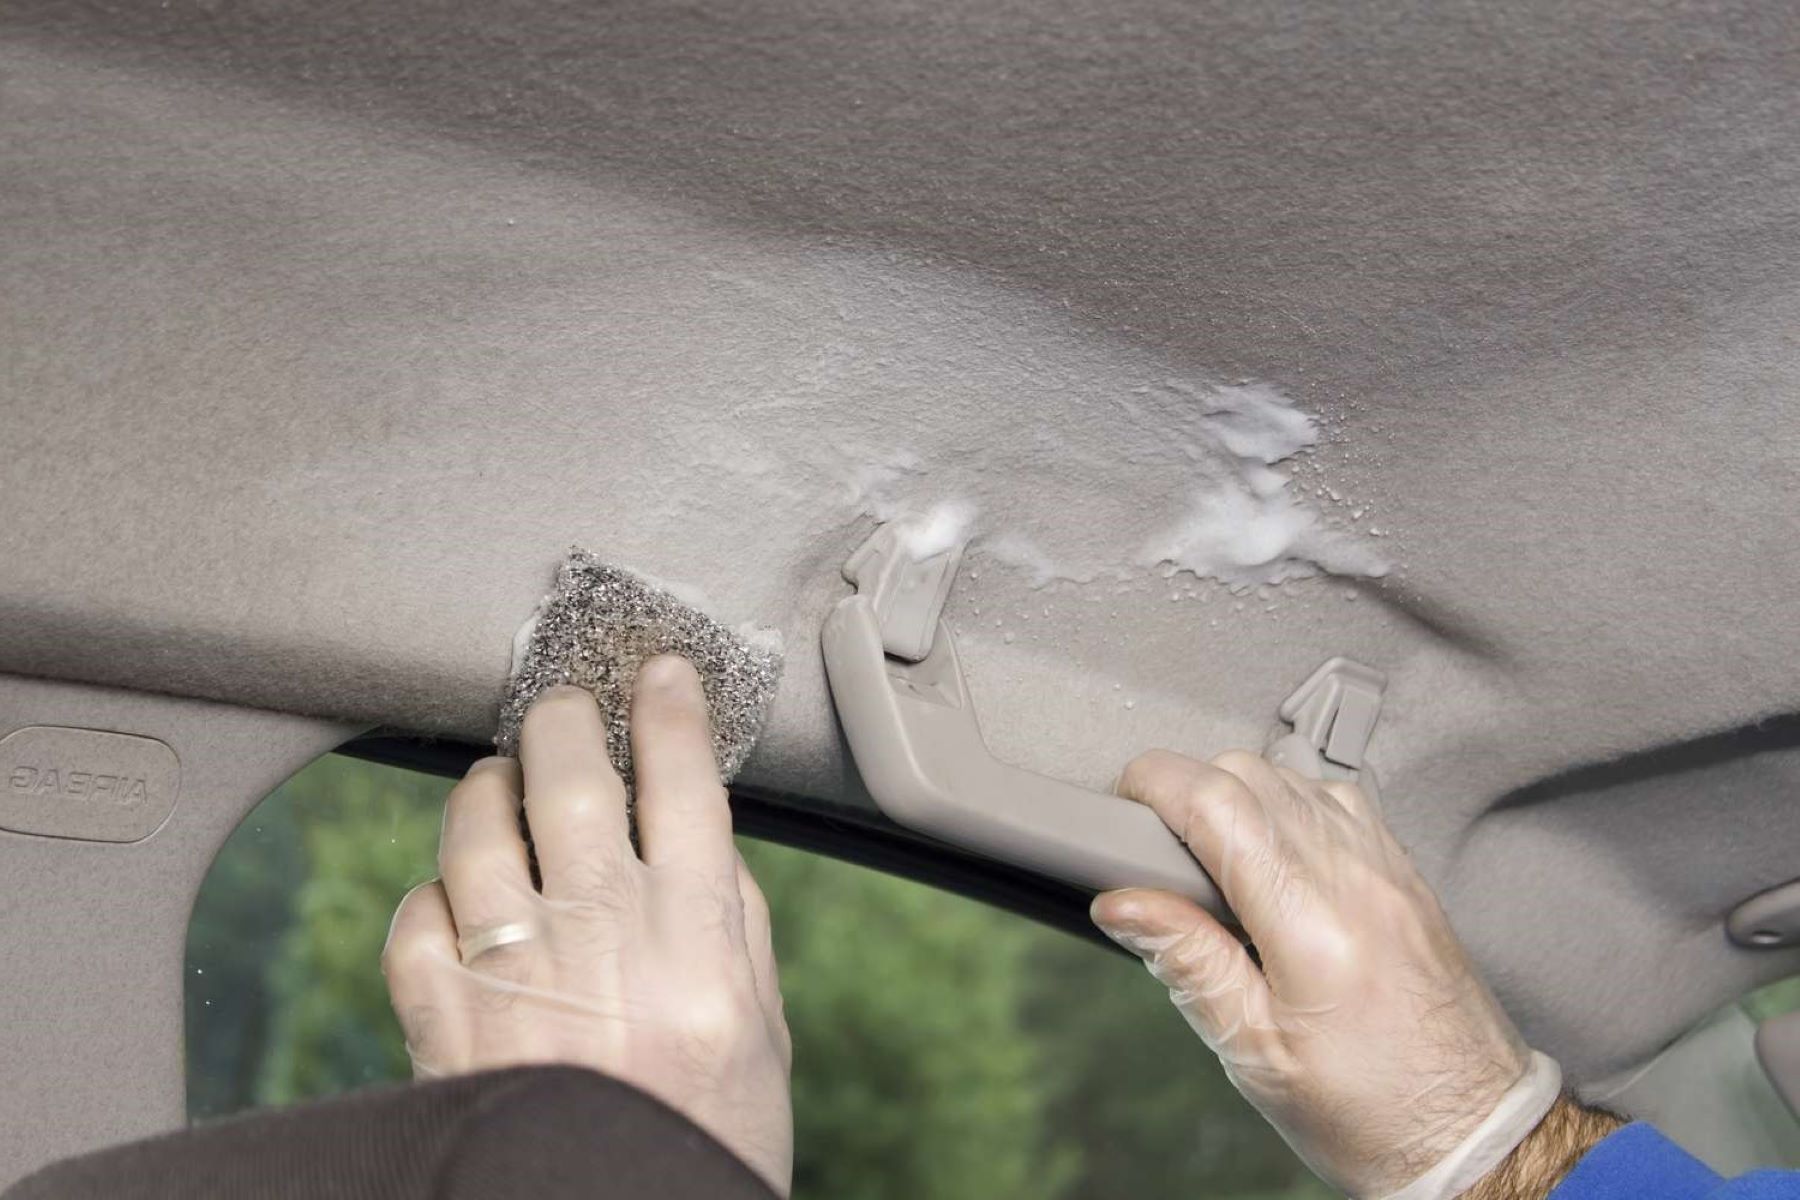
Step 4: Use a gentle cleaning solution
After spot cleaning any stubborn stains on the headliner, the next step involves using a gentle cleaning solution to effectively cleanse the entire surface. Choosing the right cleaning solution is crucial to ensure that the delicate fabric of the headliner is not compromised during the cleaning process. Opt for a mild upholstery cleaner specifically formulated for car interiors, preferably a pH-neutral solution that is gentle yet effective.
To begin, dilute the upholstery cleaner according to the manufacturer's instructions, typically mixing it with clean, lukewarm water in a spray bottle or small bowl. It's important to avoid using the cleaning solution in its undiluted form, as excessive moisture can potentially damage the fabric or lead to discoloration.
Once the cleaning solution is prepared, lightly mist it onto a clean, microfiber cloth rather than directly onto the headliner. This controlled application method helps prevent over-saturation and ensures that the cleaning solution is evenly distributed across the fabric. Begin by gently wiping the dampened cloth across the surface of the headliner, working in small sections to ensure comprehensive coverage.
As you apply the cleaning solution, use gentle, circular motions to agitate the fabric, effectively lifting any embedded dirt or grime. It's important to exercise caution and avoid excessive pressure, as aggressive scrubbing can damage the delicate fibers of the headliner. Focus on areas that may have accumulated dirt or residue, such as near the edges, around the visors, and along the door frames.
Throughout the cleaning process, periodically inspect the microfiber cloth to monitor the transfer of dirt and grime. As the cloth becomes soiled, rotate to a clean section or use a fresh cloth to prevent re-depositing dirt onto the headliner. This meticulous approach ensures that the cleaning process is thorough and effective, leaving the headliner looking revitalized and refreshed.
Once the entire surface has been treated with the cleaning solution, use a separate clean, damp microfiber cloth to gently wipe down the headliner, removing any residual traces of the cleaning solution. This final step helps ensure that no excess moisture or cleaning residue remains on the fabric, promoting a clean and uniform appearance.
By utilizing a gentle cleaning solution and employing careful application techniques, you can effectively cleanse the headliner, removing accumulated dirt and grime while preserving the integrity of the fabric. With the cleaning process successfully completed, the headliner is now primed for the final step of blotting and drying, ensuring that your car's interior maintains a fresh and inviting appeal.
Read more: How To Clean A Tie
Step 5: Blot and dry the headliner
After the application of the gentle cleaning solution, the next crucial step is to blot and dry the headliner effectively. This step is essential to ensure that the fabric is thoroughly cleansed and that excess moisture is removed, leaving the headliner looking and feeling fresh.
To begin the blotting and drying process, use a clean, dry microfiber cloth to gently blot the entire surface of the headliner. The goal is to absorb any residual moisture and cleaning solution, promoting a quick and efficient drying process. It's important to avoid rubbing or pressing too firmly, as this can potentially damage the delicate fibers of the headliner. Instead, employ a gentle blotting motion, periodically rotating the cloth to a dry section to maximize absorption.
As you blot the headliner, pay close attention to any areas that may appear damp or have a lingering residue of the cleaning solution. Thorough and systematic blotting ensures that the fabric is effectively dried, preventing the formation of water spots or discoloration. It's important to take your time during this step, ensuring that the headliner is uniformly dried without rushing the process.
In addition to blotting, it's beneficial to allow the headliner to air dry naturally. With the windows or doors of the car open, the circulation of fresh air aids in the drying process, helping to evaporate any remaining moisture from the fabric. This natural drying method promotes a thorough and even drying of the headliner, leaving it looking clean and revitalized.
During the drying process, it's advisable to avoid using artificial heat sources such as hairdryers or heat guns, as excessive heat can potentially damage the fabric of the headliner. Opting for gentle air drying allows the fabric to retain its integrity while achieving optimal dryness.
Once the headliner is thoroughly dried, take a moment to inspect the fabric for any remaining signs of moisture or cleaning residue. If necessary, use a clean, dry microfiber cloth to gently blot any lingering dampness, ensuring that the headliner is completely dry and free of any residual cleaning solution.
By effectively blotting and drying the headliner, you complete the comprehensive cleaning process, leaving the fabric looking clean, refreshed, and free of moisture. With the headliner now thoroughly cleansed and dried, your car's interior exudes a sense of cleanliness and care, ensuring a pleasant and inviting environment for both you and your passengers.
Step 6: Reattach any loose fabric
Over time, the fabric of the car's headliner may become loose or start to sag, detracting from the overall aesthetic appeal of the interior. Addressing this issue is crucial to ensure that the headliner maintains a taut and uniform appearance. Reattaching any loose fabric requires careful attention to detail and the use of appropriate techniques to restore the headliner to its original state.
To begin the process of reattaching loose fabric, gather a roll of painter's tape or adhesive strips specifically designed for automotive interiors. These materials provide temporary support and help secure the fabric in place during the reattachment process. Additionally, have a clean, dry microfiber cloth on hand to ensure that the surface of the headliner is free from any dust or debris that may interfere with the reattachment.
Start by gently lifting the loose or sagging fabric of the headliner, taking care not to apply excessive force that could potentially cause further detachment. Once the fabric is lifted, use strips of painter's tape or adhesive strips to affix the fabric to the backing board of the headliner. Work methodically, securing the fabric at regular intervals to ensure a uniform and taut appearance.
As you reattach the loose fabric, pay attention to any wrinkles or creases that may have formed. Smooth out the fabric carefully, ensuring that it lays flat and free from any irregularities. This meticulous approach helps restore the headliner to its original condition, eliminating any unsightly sagging or looseness.
Once the fabric is securely reattached and any wrinkles have been smoothed out, gently press along the taped areas to ensure a firm bond between the fabric and the backing board. This step helps promote a secure and long-lasting reattachment, preventing future sagging or detachment of the fabric.
After the fabric has been successfully reattached and smoothed, carefully remove the painter's tape or adhesive strips, taking care not to disturb the newly secured fabric. As the tape is removed, the fabric should remain in place, now restored to its original taut and uniform position.
By effectively reattaching any loose fabric, you not only enhance the visual appeal of the headliner but also ensure a well-maintained and inviting car interior. With the fabric now securely in place, the headliner exudes a sense of cleanliness and care, contributing to a comfortable and aesthetically pleasing driving environment.
Conclusion
In conclusion, the process of cleaning your car's headliner is a task that yields significant benefits, both in terms of aesthetics and overall driving comfort. By following the step-by-step methods outlined in this comprehensive guide, you can effectively revitalize the headliner, ensuring that your vehicle's interior remains a source of pride and comfort.
A clean headliner not only enhances the visual appeal of the car but also contributes to a healthier and more pleasant driving environment. The meticulous approach to gathering the necessary materials, vacuuming the headliner, spot cleaning stains, using a gentle cleaning solution, and blotting and drying the fabric ensures that the headliner is thoroughly cleansed and revitalized.
The careful attention to detail in reattaching any loose fabric further enhances the overall appearance of the headliner, leaving the car's interior looking and feeling as good as new. The use of gentle cleaning agents and precise application techniques ensures that the delicate fabric of the headliner is preserved, promoting a clean and uniform appearance.
Maintaining a clean headliner not only contributes to the overall aesthetics of the car but also reflects a sense of pride in ownership. With the right tools and techniques, you can easily restore the headliner, leaving your car's interior looking and feeling as good as new.
By diligently following the steps outlined in this guide, you can achieve a fresh and inviting interior for both you and your passengers. The revitalized headliner not only enhances the overall appeal of the car but also reflects a commitment to maintaining a clean and well-cared-for vehicle.
In essence, the process of cleaning your car's headliner is a simple yet impactful way to elevate the appearance and comfort of your vehicle's interior. With the knowledge and techniques gained from this guide, you are well-equipped to ensure that your car's headliner remains a source of pride and cleanliness, contributing to a positive and enjoyable driving experience.