Home>Arts and Culture>How To Bind A Quilt

Arts and Culture
How To Bind A Quilt
Published: March 4, 2024
Learn the art of quilt binding with our step-by-step guide. Discover expert tips and techniques for creating beautiful, professional-looking quilt edges. Perfect for arts and culture enthusiasts!
(Many of the links in this article redirect to a specific reviewed product. Your purchase of these products through affiliate links helps to generate commission for Regretless.com, at no extra cost. Learn more)
Table of Contents
Introduction
Quilting is a timeless craft that has been cherished for generations, encompassing both practicality and artistic expression. One of the essential finishing touches to a quilt is the binding, which not only secures the edges but also adds a decorative border, framing the intricate patchwork within. Whether you are a seasoned quilter or just beginning your quilting journey, mastering the art of binding is a valuable skill that will elevate the overall look and durability of your quilt.
Binding a quilt involves encasing the raw edges of the quilt with a fabric strip, creating a clean and polished border. This process not only adds structural integrity to the quilt but also provides an opportunity to incorporate complementary or contrasting colors and patterns, enhancing the visual impact of the finished piece. Additionally, a well-executed binding contributes to the longevity of the quilt, protecting the edges from fraying and wear over time.
While the prospect of binding a quilt may seem daunting to beginners, with the right guidance and techniques, it can become an enjoyable and rewarding aspect of the quilting process. From selecting the appropriate fabric for the binding to mastering the art of mitering corners, each step contributes to the cohesiveness and professional finish of the quilt.
In the following sections, we will delve into the intricacies of binding a quilt, providing a comprehensive guide that encompasses the selection of suitable binding fabric, the precise cutting and preparation of binding strips, the methodical attachment of the binding to the quilt, the art of mitering corners for a seamless finish, and the final steps to complete the binding with finesse. Whether you are creating a quilt as a cherished gift or a personal keepsake, mastering the art of binding will undoubtedly elevate the craftsmanship and aesthetic appeal of your quilting endeavors.
Read more: How To Be A Player
Choosing the Right Binding
Selecting the appropriate fabric for the binding is a pivotal decision that significantly influences the overall aesthetic and durability of the quilt. The binding serves as a prominent frame for the quilt, accentuating its design and providing a cohesive border. When choosing the binding fabric, several factors should be considered to ensure a harmonious and enduring finish.
Fabric Type: Opting for a high-quality 100% cotton fabric is often recommended for binding due to its durability, ease of manipulation, and compatibility with the quilt top and backing. Cotton fabric possesses the necessary strength to withstand the wear and tear that the binding will endure, ensuring that the quilt remains intact for years to come.
Color and Pattern: The binding fabric presents an opportunity to enhance the visual impact of the quilt. It can either complement the predominant colors within the quilt or serve as a contrasting border to add a striking visual element. Careful consideration should be given to the color and pattern of the binding fabric to ensure that it harmonizes with the quilt's design while adding a distinct finishing touch.
Width: The width of the binding strip is a crucial aspect that impacts both the visual appeal and functionality of the quilt. A binding width of 2.25 inches is commonly recommended, as it provides sufficient coverage to secure the edges of the quilt while allowing for ease of manipulation during the binding process. However, the width can be adjusted based on personal preference and the desired aesthetic outcome.
Pre-Washed Fabric: Pre-washing the binding fabric is a consideration that can prevent potential color bleeding or shrinkage issues after the quilt is completed. While some quilters prefer the crinkled texture that unwashed fabric provides, pre-washing the fabric can mitigate the risk of unexpected color transfer or distortion, ensuring that the binding maintains its integrity over time.
By carefully considering these factors and selecting the right binding fabric, quilters can elevate the visual appeal and longevity of their quilts, ensuring that the binding serves as a seamless and enduring border that complements the intricate patchwork within.
Cutting and Preparing the Binding Strips
The process of cutting and preparing the binding strips is a crucial step that sets the foundation for a well-executed and visually appealing binding. Precision and attention to detail are paramount during this phase, as the quality of the binding strips directly impacts the overall finish of the quilt.
Fabric Selection
Before cutting the binding strips, it is essential to select the fabric for the binding. As mentioned earlier, high-quality 100% cotton fabric is often preferred for its durability and ease of manipulation. Once the fabric is chosen, it should be pressed to remove any wrinkles or creases, ensuring a smooth and even surface for cutting.
Cutting the Strips
The width of the binding strips is a key consideration, with 2.25 inches being a common recommendation. To achieve this width, the fabric is carefully measured and cut into continuous strips, ensuring that the edges are straight and the strips are uniform in width. A rotary cutter and clear quilting ruler are invaluable tools for achieving precise and consistent strips.
Read more: How To Draw A Strawberry
Joining the Strips
In cases where the quilt requires multiple binding strips to cover its perimeter, the strips must be joined together seamlessly. This is achieved by aligning the ends of two strips at a 90-degree angle, right sides together, and sewing a diagonal seam to create a continuous length of binding. Care should be taken to trim the excess fabric and press the seam open to reduce bulk and ensure a smooth transition between strips.
Pressing and Folding
Once the binding strips are cut and joined, they are pressed in half lengthwise, wrong sides together, to create a crisp fold. This step is essential for achieving a clean and professional look, as it establishes a defined edge that will encase the raw edges of the quilt. The folded binding strips are then carefully wound into a manageable bundle, ready for attachment to the quilt.
By meticulously cutting and preparing the binding strips with precision and care, quilters set the stage for a successful binding application. Attention to detail during this phase ensures that the binding not only secures the edges of the quilt but also adds a polished and cohesive border that enhances the overall presentation of the quilt.
Attaching the Binding to the Quilt
The process of attaching the binding to the quilt marks a pivotal stage in the quilting journey, where the meticulous craftsmanship and attention to detail culminate in a seamless and enduring finish. This phase requires precision and methodical application to ensure that the binding not only secures the edges of the quilt but also contributes to its overall aesthetic appeal.
Preparation
Before commencing the attachment of the binding, it is essential to prepare the quilt for this phase. The quilt should be laid out on a flat surface, ensuring that the edges are smooth and free from any wrinkles or folds. Additionally, the binding strips, meticulously cut and prepared in the previous steps, should be within reach, ready to be seamlessly integrated with the quilt.
Read more: How To Draw A Dragon
Starting Point
To initiate the attachment of the binding, leave a tail of approximately 8-10 inches at the beginning of the quilt, unattached to the edge. This tail will later be incorporated into the finishing steps, ensuring a clean and concealed join. Beginning on one side of the quilt, align the raw edges of the binding with the raw edges of the quilt, leaving the tail free, and leaving a small unsewn section to facilitate the joining of the ends later.
Securing the Binding
Using a quarter-inch seam allowance, start sewing the binding to the quilt, ensuring that the stitches are secure and evenly spaced. As you approach the first corner, stop sewing a quarter-inch away from the edge, pivot the quilt, and continue sewing from the corner, leaving the needle down to maintain a precise seam. This technique allows for a smooth transition around the corners, ensuring that the binding lays flat and neatly encases the quilt's edges.
Mitigating Bulk
As the binding is attached, attention should be given to mitigating bulk at the corners and junctions. This is achieved by folding the binding at a 45-degree angle when approaching a corner, ensuring that the fold aligns with the edge of the quilt. By carefully manipulating the binding, the corners can be neatly mitered, creating a clean and professional finish that enhances the overall presentation of the quilt.
Continuous Attachment
Continuing around the perimeter of the quilt, the binding is meticulously secured, ensuring that the raw edges are fully encased and the stitches are consistently applied. As the initial binding strip nears its end, the tail left at the beginning is carefully integrated, creating a seamless join that conceals the transition and maintains the integrity of the binding.
Read more: How To Graph A Parabola
Final Stitches
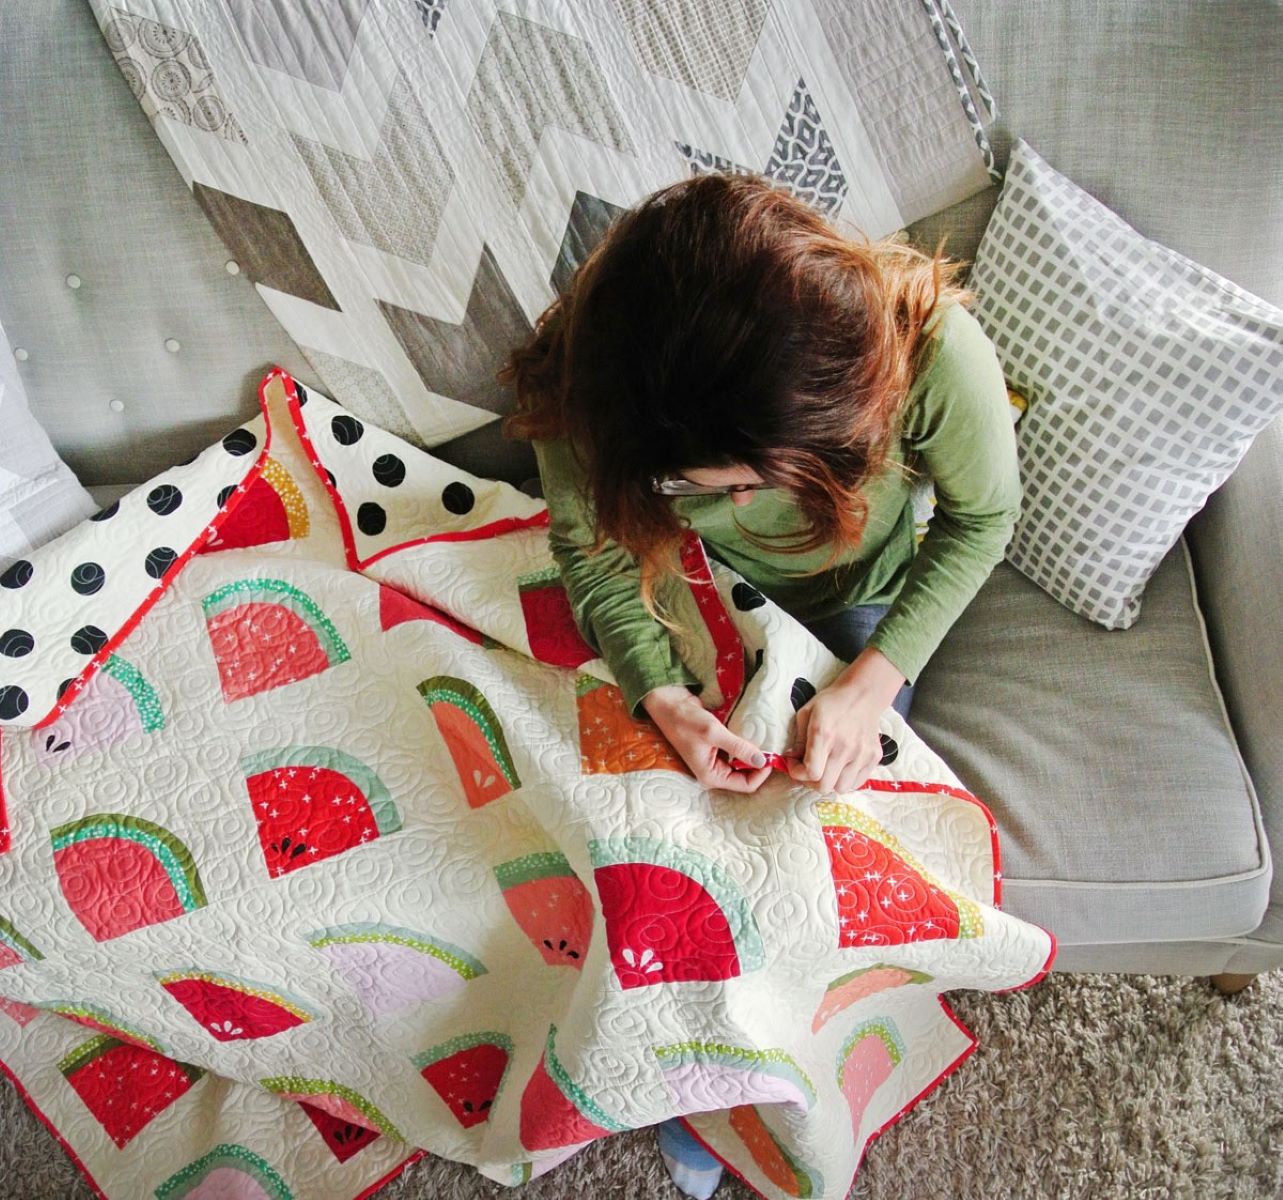
Upon reaching the starting point, the binding is overlapped and trimmed to create a clean join. The quilt is then folded, and the binding is meticulously hand-stitched to the back of the quilt, concealing the raw edges and completing the attachment process with finesse.
By meticulously attaching the binding to the quilt, quilters infuse their craftsmanship and dedication into the finishing touches, ensuring that the binding not only secures the edges but also contributes to the overall durability and visual appeal of the quilt. This phase represents a culmination of precision and artistry, elevating the quilt to a polished and enduring work of art.
Mitering the Corners
Mitering the corners of the quilt binding is a pivotal step that demands precision and attention to detail, culminating in a seamless and professional finish. This technique ensures that the binding elegantly transitions around the corners, creating crisp angles and neatly encasing the quilt's edges. Mitered corners not only contribute to the visual appeal of the quilt but also enhance its structural integrity, showcasing the quilter's dedication to craftsmanship.
To miter the corners, the binding is initially attached to the quilt, leaving a small unsewn section before reaching the corner. As the binding approaches the corner, the following steps are meticulously executed to achieve perfectly mitered corners:
-
Pivoting the Binding: When the sewing machine needle is a quarter-inch away from the edge, it is crucial to stop and pivot the quilt. This maneuver ensures that the next seam aligns precisely with the edge of the quilt, allowing for a seamless transition around the corner.
-
Creating a 45-Degree Fold: With the quilt positioned to facilitate the corner fold, the binding is carefully folded up, creating a 45-degree angle that aligns with the edge of the quilt. This precise fold is essential for achieving a clean and sharp corner, eliminating excess bulk and ensuring a polished appearance.
-
Securing the Fold: Once the 45-degree fold is established, it is secured in place by folding the binding back down, aligning it with the next edge of the quilt. This meticulous maneuver ensures that the binding seamlessly continues along the quilt's perimeter, maintaining a consistent width and encasing the raw edges with finesse.
-
Continuing the Seam: After securing the fold, the sewing machine needle is lowered precisely at the corner, allowing for a seamless continuation of the seam along the next edge of the quilt. This technique ensures that the binding lays flat and taut around the corner, creating a professional and visually appealing transition.
By meticulously mitering the corners, quilters elevate the overall presentation of the quilt, infusing it with a sense of artistry and attention to detail. The crisp angles and seamless transitions achieved through mitered corners not only contribute to the visual appeal of the quilt but also reflect the quilter's dedication to achieving a polished and enduring finish.
Finishing the Binding
Completing the binding of a quilt is a pivotal phase that demands meticulous attention to detail and a commitment to achieving a polished and enduring finish. As the binding is meticulously attached to the quilt, the final steps are essential for concealing the raw edges, securing the binding, and ensuring that the quilt is presented with finesse. The finishing phase encompasses the integration of the binding tails, hand-stitching the binding to the back of the quilt, and meticulously addressing any remaining raw edges, culminating in a seamless and professional presentation.
Upon reaching the starting point of the binding, the initial tail left unattached is carefully integrated with the ending tail, creating a concealed join that maintains the continuity of the binding. This meticulous maneuver ensures that the transition is seamless, concealing the join and preserving the integrity of the binding. The tails are overlapped and trimmed with precision, setting the stage for the final step of hand-stitching the binding to the back of the quilt.
Hand-stitching the binding to the back of the quilt is a labor of love that requires patience and precision. Using a fine needle and coordinating thread, the binding is meticulously secured to the back of the quilt, concealing the raw edges and ensuring a clean and professional finish. This phase not only contributes to the durability of the binding but also adds a personalized touch, infusing the quilt with the quilter's dedication and artistry.
As the hand-stitching progresses, any remaining raw edges are meticulously addressed, ensuring that the binding lays flat and the corners maintain their crisp angles. This meticulous attention to detail ensures that the binding not only secures the edges of the quilt but also contributes to its overall aesthetic appeal. The final stitches are executed with care and precision, ensuring that the binding is seamlessly integrated with the quilt, presenting a cohesive and enduring finish.
By meticulously completing the binding, quilters infuse their craftsmanship and dedication into the finishing touches, ensuring that the binding not only secures the edges but also contributes to the overall durability and visual appeal of the quilt. This phase represents a culmination of precision and artistry, elevating the quilt to a polished and enduring work of art.

