Home>Arts and Culture>How To Draw A Strawberry
Arts and Culture
How To Draw A Strawberry
Published: March 4, 2024
Learn how to draw a realistic strawberry with step-by-step instructions. Explore your creativity with this fun arts and culture tutorial.
(Many of the links in this article redirect to a specific reviewed product. Your purchase of these products through affiliate links helps to generate commission for Regretless.com, at no extra cost. Learn more)
Table of Contents
Introduction
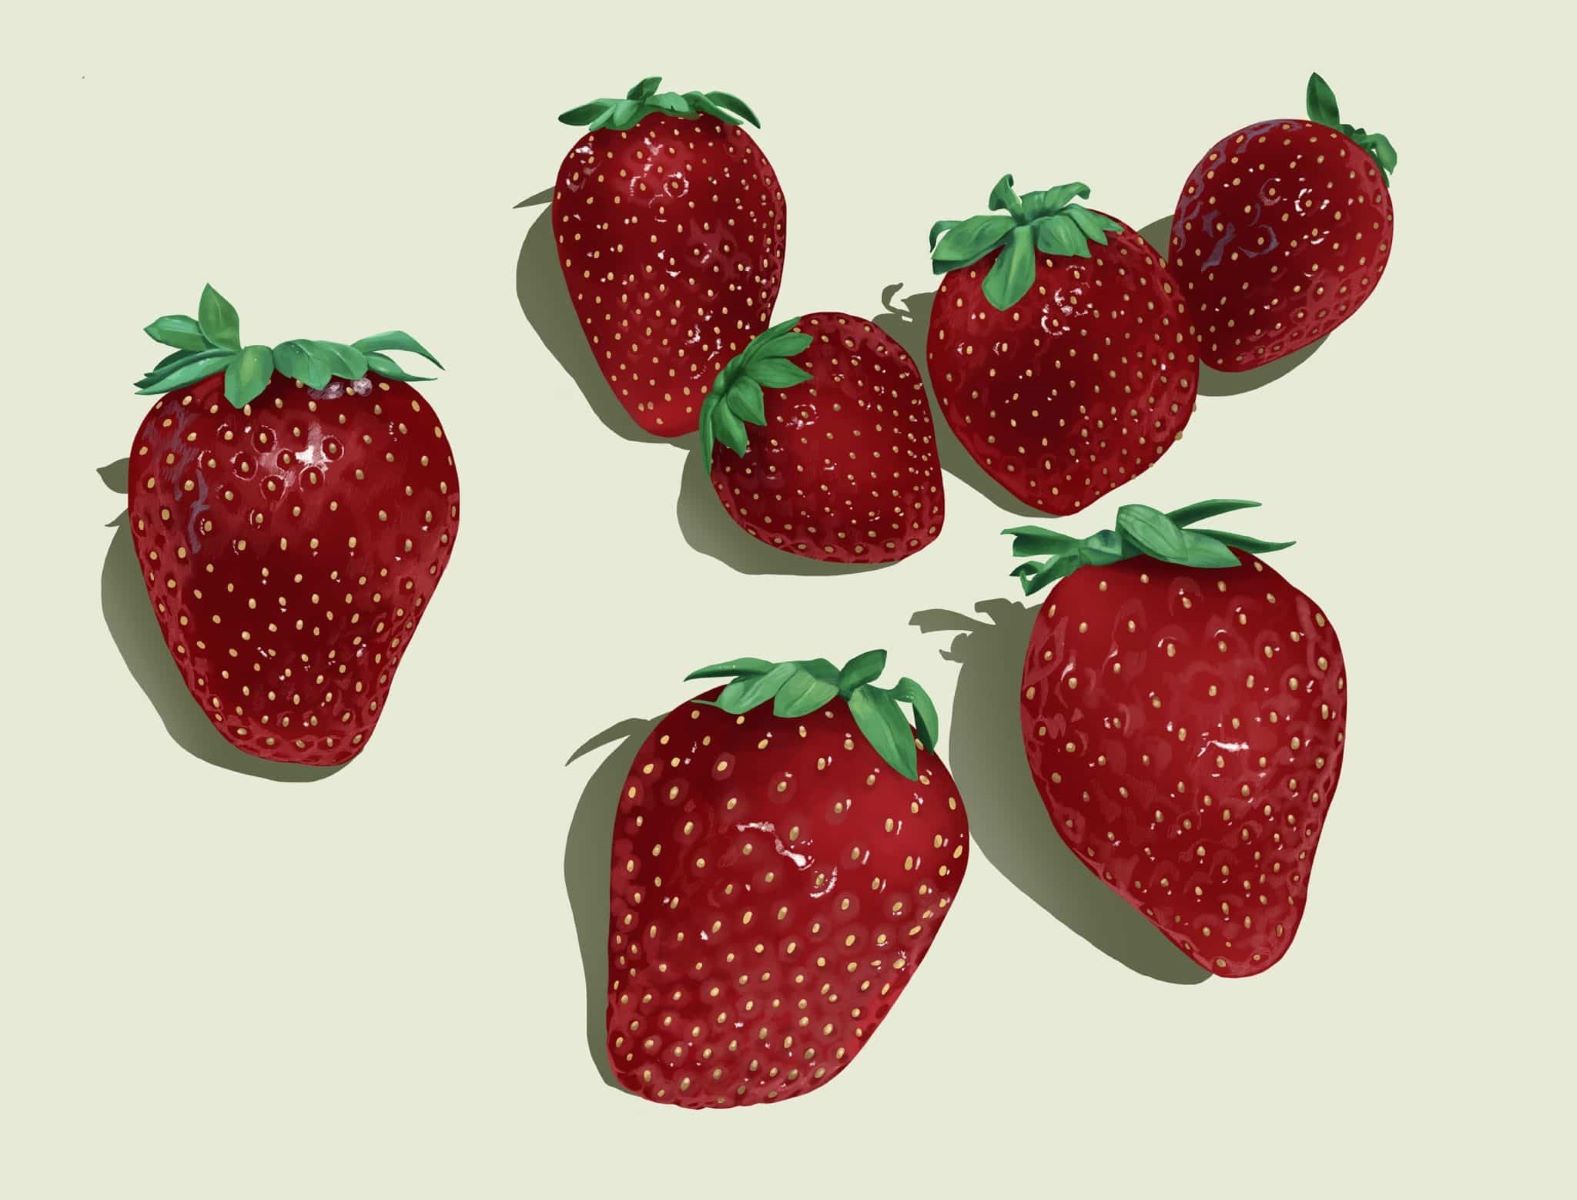
Drawing is a wonderful way to express creativity and bring imagination to life. Whether you are an aspiring artist or simply looking to try your hand at a new hobby, learning how to draw a strawberry can be a delightful and rewarding experience. The vibrant red hue, the tiny seeds, and the delicate green stem make the strawberry a visually appealing subject for artists of all levels.
In this step-by-step guide, we will explore the process of drawing a realistic and enticing strawberry. By following these simple instructions and using basic drawing materials, you can create a charming strawberry illustration that captures the essence of this beloved fruit. So, grab your pencil, paper, and let's embark on this artistic journey together.
Drawing a strawberry not only allows you to hone your artistic skills but also provides a relaxing and meditative activity. As you observe the intricate details of the strawberry, you will learn to appreciate the beauty of nature's creations while translating it onto paper. This process can be both therapeutic and fulfilling, offering a sense of accomplishment as you witness your artwork come to life with each stroke of the pencil.
Whether you are drawing for personal enjoyment, to decorate a greeting card, or to add a touch of whimsy to a homemade recipe book, mastering the art of drawing a strawberry will undoubtedly add a delightful flair to your creative repertoire. So, without further ado, let's gather our materials and embark on this artistic endeavor to capture the essence of this luscious fruit on paper.
Read more: How To Draw A Bike
Materials Needed
To embark on the delightful journey of drawing a realistic strawberry, you will need a few essential materials to bring your artistic vision to life. Here's a list of the items you'll need to get started:
-
Drawing Paper: Select a smooth, sturdy paper that is suitable for sketching and shading. A medium-weight paper with a slight texture can enhance the overall look and feel of your artwork.
-
Pencils: A set of graphite pencils with varying degrees of hardness (ranging from 2H to 6B) will allow you to achieve different levels of shading and detailing in your strawberry drawing. The softer pencils (B grades) are ideal for creating rich, dark tones, while the harder pencils (H grades) are perfect for sketching the initial outline and finer details.
-
Eraser: A good quality eraser is essential for correcting mistakes and refining the details of your drawing. A kneaded eraser, which can be molded into different shapes, is particularly useful for lifting graphite and creating highlights.
-
Blending Stump or Tortillon: These cylindrical tools, made of rolled paper, are used for blending and smudging graphite to create smooth transitions and soft textures in your artwork.
-
Reference Image: While not a physical material, having a reference image of a real strawberry can greatly aid in capturing the intricate details and natural form of the fruit. Whether it's a fresh strawberry from your kitchen or a high-resolution photograph, a visual reference will serve as a valuable guide throughout the drawing process.
-
Optional Colored Pencils or Markers: If you wish to add a pop of color to your strawberry drawing, having a set of colored pencils or markers in red, green, and black can help you enhance the vibrancy and realism of your artwork.
Gathering these materials will set the stage for an enjoyable and fulfilling drawing experience, allowing you to immerse yourself in the captivating world of artistic expression and creativity. With these tools at your disposal, you are ready to embark on the next step: drawing the basic shape of the strawberry.
Step 1: Drawing the Basic Shape
To begin your strawberry drawing, start by lightly sketching the basic shape of the fruit. Using a well-sharpened HB or 2H pencil, create a rough outline of the strawberry's form. The shape of a strawberry is typically conical, with a slightly rounded top and a broader, tapered base. You can visualize it as a combination of a heart and an oval, with a gentle curve at the top and a more pronounced curve at the bottom.
As you sketch the outline, pay attention to the proportions and curves of the strawberry. Keep your lines light and fluid, allowing for adjustments as you refine the shape. It's important to capture the natural asymmetry and irregularities that give the strawberry its unique and organic appearance.
Once you are satisfied with the overall shape, you can proceed to add the distinctive details that make the strawberry visually captivating. These details include the small indentations or "dimples" on the surface of the fruit, which contribute to its textured appearance. By lightly indicating these dimples along the surface of the strawberry, you can begin to infuse your drawing with a sense of depth and realism.
Remember, this initial step is about establishing the foundational structure of the strawberry, so don't worry about adding intricate details at this stage. Focus on capturing the essential form and contours of the fruit, laying the groundwork for the subsequent stages where you will delve into shading and refining the finer elements.
As you progress through this step, take the time to observe the unique characteristics of a real strawberry, paying attention to its curves, proportions, and surface texture. By channeling your observations into your sketch, you can infuse your drawing with a sense of authenticity and charm.
With the basic shape of the strawberry sketched out, you have set the stage for the next phase of the drawing process: adding the seeds that adorn the surface of the fruit. This brings us to the next step in our artistic journey: adding the seeds to our strawberry illustration.
Step 2: Adding the Seeds
Adding the seeds to your strawberry drawing is a pivotal step that infuses the artwork with intricate detail and visual interest. The seeds, or achenes, are a defining feature of the strawberry, contributing to its characteristic texture and pattern. By carefully depicting these tiny seeds, you can elevate the realism of your illustration and capture the essence of this luscious fruit.
Begin by selecting a softer pencil, such as a 2B or 4B, to create the seeds. These pencils allow for darker and more defined markings, mimicking the appearance of the seeds on a real strawberry. With a light touch, gently dot the surface of the strawberry with small oval or teardrop-shaped marks to represent the seeds. Keep in mind that the seeds are not uniformly distributed across the fruit, so vary their placement to achieve a natural and organic look.
As you add the seeds, consider the curvature of the strawberry and how it influences the arrangement of the seeds. The seeds tend to align in curved rows that follow the contours of the fruit, creating a visually pleasing pattern. By observing the reference image and paying attention to the spacing and clustering of the seeds, you can authentically replicate this characteristic feature in your drawing.
To enhance the three-dimensional effect of the seeds, utilize a blending stump or tortillon to gently smudge the areas around the seeds. This subtle shading technique creates a soft shadow effect, making the seeds appear slightly raised from the surface of the strawberry. By incorporating this shading, you can imbue your artwork with depth and dimension, bringing the strawberry to life on paper.
Throughout this process, maintain a delicate touch and exercise patience as you meticulously render each seed. While it may seem meticulous, the attention to detail in depicting the seeds contributes to the overall realism and charm of your strawberry illustration. Embrace the meditative nature of this step, allowing yourself to immerse in the artistry of capturing the intricate beauty of the strawberry's surface.
With the seeds delicately added to your drawing, you have enriched the visual narrative of the strawberry, bringing it one step closer to a lifelike representation. The next phase will involve adding the distinctive stem that crowns the strawberry, further enhancing its natural allure. This leads us to the next step in our artistic exploration: adding the stem to our strawberry illustration.
Step 3: Adding the Stem
The addition of the stem is a crucial element in capturing the authentic charm of a strawberry in your drawing. The stem not only provides a visual contrast to the vibrant red fruit but also serves as a distinctive feature that embodies the essence of a freshly picked strawberry.
To begin, select a well-sharpened HB or 2H pencil to sketch the initial outline of the stem. The stem of a strawberry typically consists of a slender, curved extension that emerges from the top of the fruit. Start by lightly drawing a graceful, curving line that extends from the center of the strawberry's crown, tapering off into a delicate point. Pay attention to the natural flow and curvature of the stem, aiming to capture its organic and sinuous form.
Once the basic outline of the stem is in place, refine the shape by adding subtle undulations and irregularities to mimic the texture of a real strawberry stem. Incorporating gentle, meandering lines and small, jagged details can evoke the rough, fibrous quality of the stem, enhancing the overall realism of your drawing.
Next, introduce shading to the stem to convey its cylindrical form and create a sense of depth. Utilize a softer pencil, such as a 2B or 4B, to add shadow and dimension to the stem. Begin by lightly shading one side of the stem, gradually building up the darkness to create a subtle gradient that simulates the cylindrical shape. Pay attention to the play of light and shadow, allowing the shaded areas to blend seamlessly with the lighter portions, thereby imparting a three-dimensional quality to the stem.
To further enhance the tactile quality of the stem, consider employing a blending stump or tortillon to softly blend and smudge the shaded areas. This technique can impart a velvety texture to the stem, imbuing it with a lifelike appearance and tactile allure.
As you refine the stem, take cues from your reference image to capture the nuanced details and nuances of a real strawberry stem. Observe the subtle variations in color and texture, and strive to replicate these intricacies in your drawing, infusing it with a sense of authenticity and natural beauty.
With the stem delicately rendered, you have added a captivating visual element that complements the luscious fruit, bringing your strawberry illustration one step closer to fruition. The next phase will involve adding the final details that will elevate your artwork to a captivating portrayal of this beloved fruit. This leads us to the next step in our artistic exploration: adding the finishing touches and details to our strawberry illustration.
Read more: How To Draw Bowser
Step 4: Adding Details
As you approach the final stage of your strawberry drawing, it's time to infuse the artwork with intricate details that will elevate its visual appeal and realism. This step allows you to focus on refining the nuances of the strawberry, capturing its unique characteristics and enhancing the overall aesthetic impact of your illustration.
Begin by paying close attention to the surface texture of the strawberry. Notice the subtle variations in color, the tiny blemishes, and the play of light and shadow across the fruit. With a keen eye for detail, use a combination of light and dark pencil strokes to replicate the textural complexity of the strawberry's skin. Employing a cross-hatching technique can help create the illusion of depth and texture, adding a tactile quality to your drawing.
Next, consider the interplay of highlights and shadows on the strawberry. Observe how light interacts with the curved surface, creating areas of brightness and gentle gradations of shadow. By strategically applying lighter tones to the areas where light hits the fruit and deeper shades to the recessed areas, you can imbue your drawing with a sense of volume and dimension, bringing the strawberry to life on paper.
Furthermore, take the opportunity to refine the shape and contours of the strawberry, ensuring that the curves and proportions accurately reflect the natural form of the fruit. Pay attention to the subtle undulations and irregularities that contribute to the strawberry's organic charm, refining the overall shape to achieve a harmonious and visually pleasing composition.
Incorporate additional shading and blending to enhance the three-dimensional quality of the strawberry, focusing on creating smooth transitions between light and dark areas. Utilize a blending stump or tortillon to softly blend the pencil marks, smoothing out any harsh edges and creating a seamless integration of tones.
Finally, consider adding a touch of color to your drawing, particularly to emphasize the vibrant red hue of the strawberry and the verdant green of the stem. If you have colored pencils or markers at your disposal, delicately layering red and green tones can enrich the visual impact of your artwork, adding a captivating vibrancy to the illustration.
By meticulously attending to these details, you can bring your strawberry drawing to fruition, capturing the essence of this beloved fruit with finesse and artistry. With the completion of this step, you have masterfully crafted a captivating portrayal of a strawberry, ready to delight and inspire those who behold its beauty.
Conclusion
In conclusion, the process of drawing a strawberry is a delightful artistic endeavor that allows you to immerse yourself in the captivating world of nature's beauty and express your creativity on paper. Through the step-by-step journey of sketching the basic shape, adding the seeds, incorporating the stem, and refining the intricate details, you have embarked on a rewarding exploration of capturing the essence of this luscious fruit through art.
As you reflect on the completion of your strawberry illustration, take a moment to appreciate the meditative and therapeutic nature of the drawing process. The careful observation of the strawberry's form, texture, and nuances has not only honed your artistic skills but also deepened your connection to the natural world. Each pencil stroke and shading technique has allowed you to infuse your artwork with a sense of authenticity and charm, resulting in a captivating portrayal of this beloved fruit.
Drawing a strawberry transcends the mere act of creating a visual representation; it is a celebration of nature's intricate beauty and a testament to the power of artistic expression. The vibrant red hues, the delicate seeds, and the graceful stem come together to form a visual symphony that evokes a sense of joy and wonder.
Furthermore, the process of drawing a strawberry serves as a reminder of the simple pleasures found in everyday experiences. It encourages you to slow down, observe the world around you, and find inspiration in the seemingly ordinary. As you delicately rendered each detail, you have not only captured the essence of a strawberry but also cultivated a deeper appreciation for the artistry present in the natural world.
Whether you are a seasoned artist or a novice enthusiast, the act of drawing a strawberry offers a gateway to artistic fulfillment and self-expression. It invites you to embrace the beauty of imperfection, celebrate the intricacies of organic forms, and revel in the joy of creating something truly captivating.
As you admire your completed strawberry illustration, take pride in the artistic journey you have undertaken. Your creation is a testament to your creativity, patience, and attention to detail. It stands as a testament to the timeless allure of nature's bounty and the enduring appeal of artistic exploration.
In the end, drawing a strawberry is not just about creating a visual representation; it is about capturing the essence of a beloved fruit and infusing it with your unique artistic sensibilities. It is a testament to the beauty that surrounds us and the endless possibilities for creative expression. So, as you conclude this artistic endeavor, take a moment to savor the experience and revel in the beauty of your strawberry drawing.