Home>Food and Cooking>How To Clean A Wild Turkey

Food and Cooking
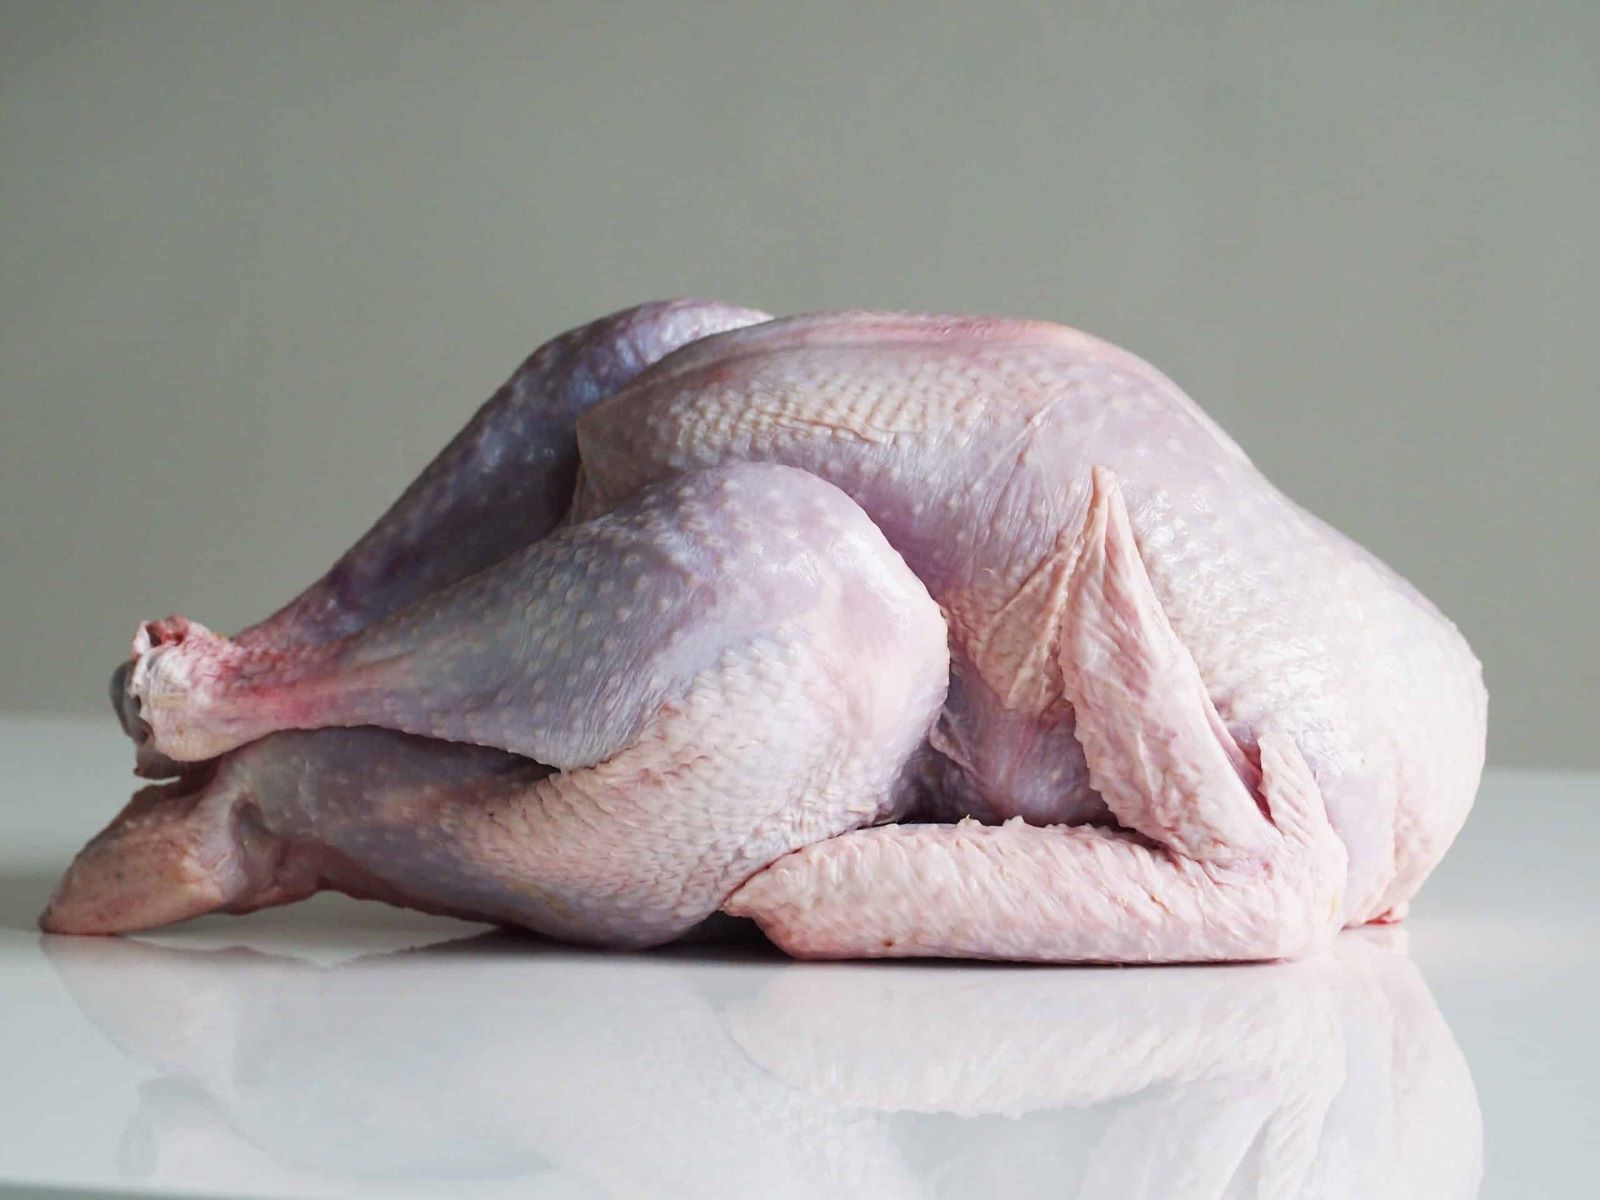
How To Clean A Wild Turkey
Published: February 29, 2024
Learn the best methods for cleaning a wild turkey and preparing it for cooking. Discover expert tips and techniques for a delicious wild game meal. Ideal for food and cooking enthusiasts.
(Many of the links in this article redirect to a specific reviewed product. Your purchase of these products through affiliate links helps to generate commission for Regretless.com, at no extra cost. Learn more)
Table of Contents
Introduction
Cleaning a wild turkey is an essential skill for any hunter or outdoor enthusiast. Whether you've just bagged a turkey during hunting season or received one as a gift from a fellow hunter, knowing how to properly clean and prepare the bird is crucial for ensuring a delicious and safe meal.
In this comprehensive guide, we will walk you through the step-by-step process of cleaning a wild turkey, from preparing the bird for plucking to gutting and cleaning it thoroughly. By following these instructions, you'll be able to transform a freshly harvested wild turkey into a delectable centerpiece for your next feast.
Cleaning a wild turkey may seem daunting at first, especially if you're new to hunting or preparing game meat. However, with the right tools, techniques, and a bit of patience, you can master this essential skill and gain a deeper appreciation for the food on your table.
So, roll up your sleeves, sharpen your knives, and let's dive into the art of cleaning a wild turkey. Whether you're a seasoned hunter or a novice outdoors enthusiast, this guide will equip you with the knowledge and confidence to tackle this rewarding task.
Read more: How To Cook Smoked Turkey Legs
Preparing the Wild Turkey
Before you begin the process of cleaning a wild turkey, it's essential to properly prepare the bird. This involves ensuring that the turkey is in an optimal state for cleaning and plucking. Here's how to prepare the wild turkey for the next steps:
-
Field Dressing: After harvesting the wild turkey, it's crucial to field dress it as soon as possible. This involves removing the entrails and other internal organs to prevent spoilage and preserve the quality of the meat. To field dress the turkey, lay it on its back and make a shallow incision from the breastbone to the vent. Carefully remove the entrails, taking care not to puncture the intestines or other organs.
-
Cooling the Bird: Once the turkey is field dressed, it's important to cool it down promptly. If you're in a remote location, you can hang the bird in a shaded area or place it in a cooler with ice packs to lower its temperature. Cooling the turkey helps prevent bacterial growth and ensures that the meat remains fresh during the cleaning process.
-
Inspecting for Debris: Before proceeding with plucking and cleaning, take a moment to inspect the turkey for any remaining feathers, dirt, or debris. Use a pair of tweezers or a gentle brush to remove any feathers that may be stuck to the bird's skin. Additionally, check for any foreign objects or contaminants that may have come into contact with the turkey during the harvesting process.
By taking the time to properly prepare the wild turkey, you set the stage for a successful and efficient cleaning process. This initial step not only ensures the quality and safety of the meat but also contributes to a more enjoyable cooking and dining experience. With the turkey properly prepared, you're now ready to move on to the next phase: plucking the feathers.
Plucking the Feathers
Plucking the feathers is a crucial step in the process of cleaning a wild turkey. This task requires patience and precision to ensure that the bird's skin remains intact and the feathers are removed thoroughly. Here's a detailed guide on how to pluck the feathers from a wild turkey:
Gather the Necessary Tools
Before you begin plucking, gather the essential tools for the job. You'll need a pair of pliers, a sharp knife or poultry shears, a large pot of hot water, and a clean workspace. Additionally, having a trash bag or container nearby for collecting the feathers will help keep your work area tidy.
Scalding the Turkey
To make the plucking process easier, scald the turkey in hot water. Heat a large pot of water to approximately 150-160°F (65-70°C). Submerge the turkey in the hot water for 1-2 minutes, ensuring that the entire bird is covered. The hot water helps loosen the feathers and makes them easier to remove.
Read more: How To Clean A Tie
Plucking Technique
Once the turkey has been scalded, begin plucking the feathers. Start with the larger wing and tail feathers, gently pulling them in the direction opposite to their natural growth. Use the pliers to grip the base of the feathers firmly and pull them out in smooth, steady motions. Take care not to tear the skin or leave behind any feather remnants.
Detail Work
After removing the larger feathers, focus on the smaller down feathers that cover the turkey's body. These feathers require more attention to ensure thorough removal. Use your fingers or a gentle scraping tool to clear the remaining down feathers from the skin, working methodically to achieve a clean and feather-free surface.
Inspect and Repeat
Once you've completed the plucking process, carefully inspect the turkey to ensure that all feathers have been removed. Pay close attention to areas around the wings, legs, and neck, as feathers can be easily overlooked in these areas. If any feathers remain, repeat the plucking process as needed until the bird's skin is completely free of feathers.
By following these steps, you can effectively pluck the feathers from a wild turkey, preparing it for the next stage of cleaning. With the feathers removed, the turkey is one step closer to being transformed into a delectable dish that will be enjoyed by all who partake in the feast.
Gutting and Cleaning the Turkey
Gutting and cleaning a wild turkey is a critical step in the process of preparing it for consumption. This phase involves removing the internal organs and thoroughly cleaning the bird to ensure the safety and quality of the meat. Here's a detailed guide on how to gut and clean a wild turkey:
Gather the Necessary Tools
Before proceeding with gutting and cleaning, gather the essential tools for the task. You will need a sharp knife, a pair of poultry shears, a clean cutting board, and a large bowl or container for collecting the internal organs. Additionally, having access to clean water for rinsing the turkey is essential for maintaining hygiene throughout the process.
Make the Initial Incisions
Lay the turkey on its back on a stable surface, and begin by making a careful incision along the breastbone. Use a sharp knife to create a clean, straight cut from the base of the breastbone to the vent, taking care not to puncture the internal organs. This initial incision provides access to the turkey's internal cavity for the next steps.
Remove the Internal Organs
Once the initial incision is made, carefully reach into the turkey's cavity and begin removing the internal organs. Start by gently pulling out the entrails, including the heart, liver, and gizzard, and place them in the designated container. Take care to avoid puncturing the intestines, as this can lead to contamination of the meat.
Clean the Cavity
After removing the internal organs, thoroughly clean the turkey's cavity to eliminate any remaining blood, debris, or membrane. Use clean water to rinse the cavity, ensuring that all traces of blood and impurities are removed. Taking the time to clean the cavity meticulously contributes to the overall quality and safety of the meat.
Read more: How To Clean Turf
Trim and Inspect
Once the cavity is cleaned, inspect the turkey for any remaining blood clots, feathers, or debris. Trim any excess fat or tissue from the cavity to prepare the bird for cooking. Additionally, check for any signs of damage or contamination, ensuring that the turkey is in optimal condition for further preparation.
Rinse and Pat Dry
After the gutting and cleaning process is complete, rinse the turkey thoroughly with clean water, inside and out. Once rinsed, pat the bird dry with paper towels to remove excess moisture. This step prepares the turkey for storage or immediate cooking, ensuring that it is clean and ready for the next phase of the culinary journey.
By following these steps, you can effectively gut and clean a wild turkey, setting the stage for a delicious and safe dining experience. With the bird properly gutted and cleaned, you're now ready to move on to the final phase: rinsing and storage.
Final Rinse and Storage
After the gutting and cleaning process, the final rinse and storage of the wild turkey are crucial steps to ensure the meat's freshness and safety. This phase involves thorough rinsing, proper storage, and preparation for cooking or preservation. Here's a detailed guide on how to perform the final rinse and store the cleaned wild turkey:
Rinse the Turkey
Once the turkey has been gutted and cleaned, it's essential to give it a final rinse to remove any remaining traces of blood, debris, or impurities. Place the turkey under running cold water, inside and out, ensuring that all surfaces are thoroughly rinsed. Pay particular attention to the cavity and exterior of the bird, as a comprehensive rinse contributes to the overall cleanliness and quality of the meat.
Read more: How To Clean Broccoli
Inspect for Residue
While rinsing the turkey, take the opportunity to inspect the bird for any lingering residue or contaminants. Check the cavity, skin, and crevices for any overlooked blood clots, feathers, or foreign particles. If any residue is found, gently remove it with a clean cloth or by giving the affected areas an additional rinse.
Pat Dry and Air Circulation
After the final rinse, pat the turkey dry with paper towels both inside and out. Removing excess moisture from the bird's surface helps prevent bacterial growth and ensures that the skin will achieve a desirable texture during cooking. Additionally, allow the turkey to air dry for a short period, promoting air circulation around the bird to further eliminate moisture.
Storage Options
When it comes to storing the cleaned wild turkey, several options are available, depending on your immediate plans for the bird. If you intend to cook the turkey soon, you can refrigerate it at a temperature of 40°F (4°C) or below. Alternatively, if you plan to preserve the turkey for an extended period, consider freezing it. Properly wrapping the turkey in airtight packaging, such as plastic wrap or freezer bags, helps maintain its quality during freezing.
Refrigeration vs. Freezing
If you opt for refrigeration, be mindful of the turkey's storage duration. Freshly cleaned wild turkey can be refrigerated for up to 1-2 days before cooking. On the other hand, freezing the turkey extends its shelf life significantly, allowing you to store it for several months without compromising its quality. Label the packaged turkey with the date of cleaning to track its freshness accurately.
Read more: How To Clean Diva Cup
Ready for Culinary Adventures
With the final rinse and storage completed, the cleaned wild turkey is now ready for culinary adventures. Whether you plan to roast, grill, or prepare the turkey in various culinary styles, the thorough cleaning and proper storage ensure that the meat is primed for a delectable dining experience. By following these steps, you can confidently proceed with your chosen cooking method, knowing that the wild turkey has been meticulously prepared and stored for optimal enjoyment.
This comprehensive guide equips you with the knowledge and techniques to clean, prepare, and store a wild turkey effectively, transforming it from a freshly harvested bird into a centerpiece for a memorable and satisfying meal.
Conclusion
In conclusion, mastering the art of cleaning a wild turkey is a valuable skill that enhances the experience of hunting and outdoor culinary pursuits. By following the step-by-step process outlined in this guide, hunters and outdoor enthusiasts can transform a freshly harvested wild turkey into a delectable centerpiece for a memorable feast.
The journey begins with the crucial step of preparing the wild turkey, which involves field dressing, cooling the bird, and inspecting for debris. This initial preparation sets the stage for a successful cleaning process and contributes to the overall quality and safety of the meat.
Plucking the feathers is a meticulous task that requires patience and attention to detail. By scalding the turkey and employing the proper plucking techniques, hunters can ensure that the bird's skin remains intact while achieving thorough feather removal. This step is essential for preparing the turkey for the subsequent gutting and cleaning phase.
Gutting and cleaning the turkey involves removing the internal organs, cleaning the cavity, and preparing the bird for cooking or preservation. This critical phase ensures the safety and quality of the meat, setting the stage for a delicious culinary experience.
The final rinse and storage of the cleaned wild turkey are essential for maintaining the meat's freshness and safety. Thorough rinsing, proper drying, and strategic storage options, whether refrigeration or freezing, ensure that the turkey is primed for culinary adventures, whether it's for immediate cooking or preservation for future meals.
By mastering the process of cleaning a wild turkey, hunters and outdoor enthusiasts gain a deeper appreciation for the food on their table and the journey from harvest to feast. This guide equips individuals with the knowledge and techniques to tackle this rewarding task, fostering a sense of connection to nature and the culinary traditions associated with wild game.
In the end, the art of cleaning a wild turkey is not only a practical skill but also a testament to the time-honored tradition of harvesting and preparing food from the natural world. Whether shared with family and friends or savored in solitude, the fruits of this labor are a testament to the rich tapestry of the outdoor experience and the bounties it provides.
