Home>Home and Garden>The Ultimate Hack To Fix A Leaky Outdoor Faucet In Seconds!

Home and Garden
The Ultimate Hack To Fix A Leaky Outdoor Faucet In Seconds!
Published: January 17, 2024
Discover the ultimate hack for fixing a leaky outdoor faucet in seconds! Get expert tips and tricks for home and garden maintenance.
(Many of the links in this article redirect to a specific reviewed product. Your purchase of these products through affiliate links helps to generate commission for Regretless.com, at no extra cost. Learn more)
Table of Contents
Introduction
A leaky outdoor faucet can be a frustrating nuisance for homeowners. Not only does it lead to wastage of water and increased utility bills, but it can also cause damage to the surrounding area if left unattended. The constant dripping can create a muddy mess around the faucet, making the outdoor space less inviting and potentially hazardous.
In this comprehensive guide, we will delve into the ultimate hack to fix a leaky outdoor faucet in seconds. By following the step-by-step instructions and utilizing the right tools and materials, you can effectively address this common household issue with ease. Whether you're a seasoned DIY enthusiast or a novice homeowner, this solution is designed to be straightforward and accessible to all.
Let's explore the underlying causes of a leaky outdoor faucet and equip ourselves with the essential knowledge and resources to tackle this problem head-on. With the right approach and a willingness to roll up your sleeves, you'll soon bid farewell to the incessant dripping and regain control of your outdoor water source.
Understanding the problem
A leaky outdoor faucet is a common household issue that stems from various factors. Understanding the root causes of this problem is crucial for implementing an effective solution. One of the primary reasons for a leaky outdoor faucet is a worn-out or damaged washer. Over time, the constant usage and exposure to the elements can lead to deterioration of the washer, resulting in water seepage around the faucet handle. Additionally, the faucet's internal components, such as the O-ring or valve seat, may also degrade, leading to leaks.
Another common culprit behind a leaky outdoor faucet is a loose or damaged packing nut. The packing nut is responsible for securing the faucet's stem in place and preventing water from escaping. If this component becomes loose or damaged, it can cause water to leak from the faucet's handle or spout.
Moreover, extreme weather conditions, such as freezing temperatures, can contribute to a leaky outdoor faucet. When water freezes inside the faucet, it expands, potentially causing cracks or damage to the internal components. Once the ice thaws, the compromised areas may allow water to leak out when the faucet is in use.
Furthermore, improper installation or inadequate maintenance of the outdoor faucet can lead to leaks. If the faucet was not installed correctly or if it lacks the necessary waterproof seals and fittings, it can result in persistent leaks.
By recognizing these underlying issues, homeowners can take proactive measures to address the root cause of the leaky outdoor faucet. With a clear understanding of the potential factors contributing to the problem, you can proceed with confidence in resolving the issue effectively.
Tools and materials needed
To effectively address a leaky outdoor faucet, you'll need a few essential tools and materials to facilitate the repair process. Ensuring that you have the right equipment at your disposal will streamline the task and contribute to a successful outcome. Here's a comprehensive list of the tools and materials needed to fix a leaky outdoor faucet:
Tools:
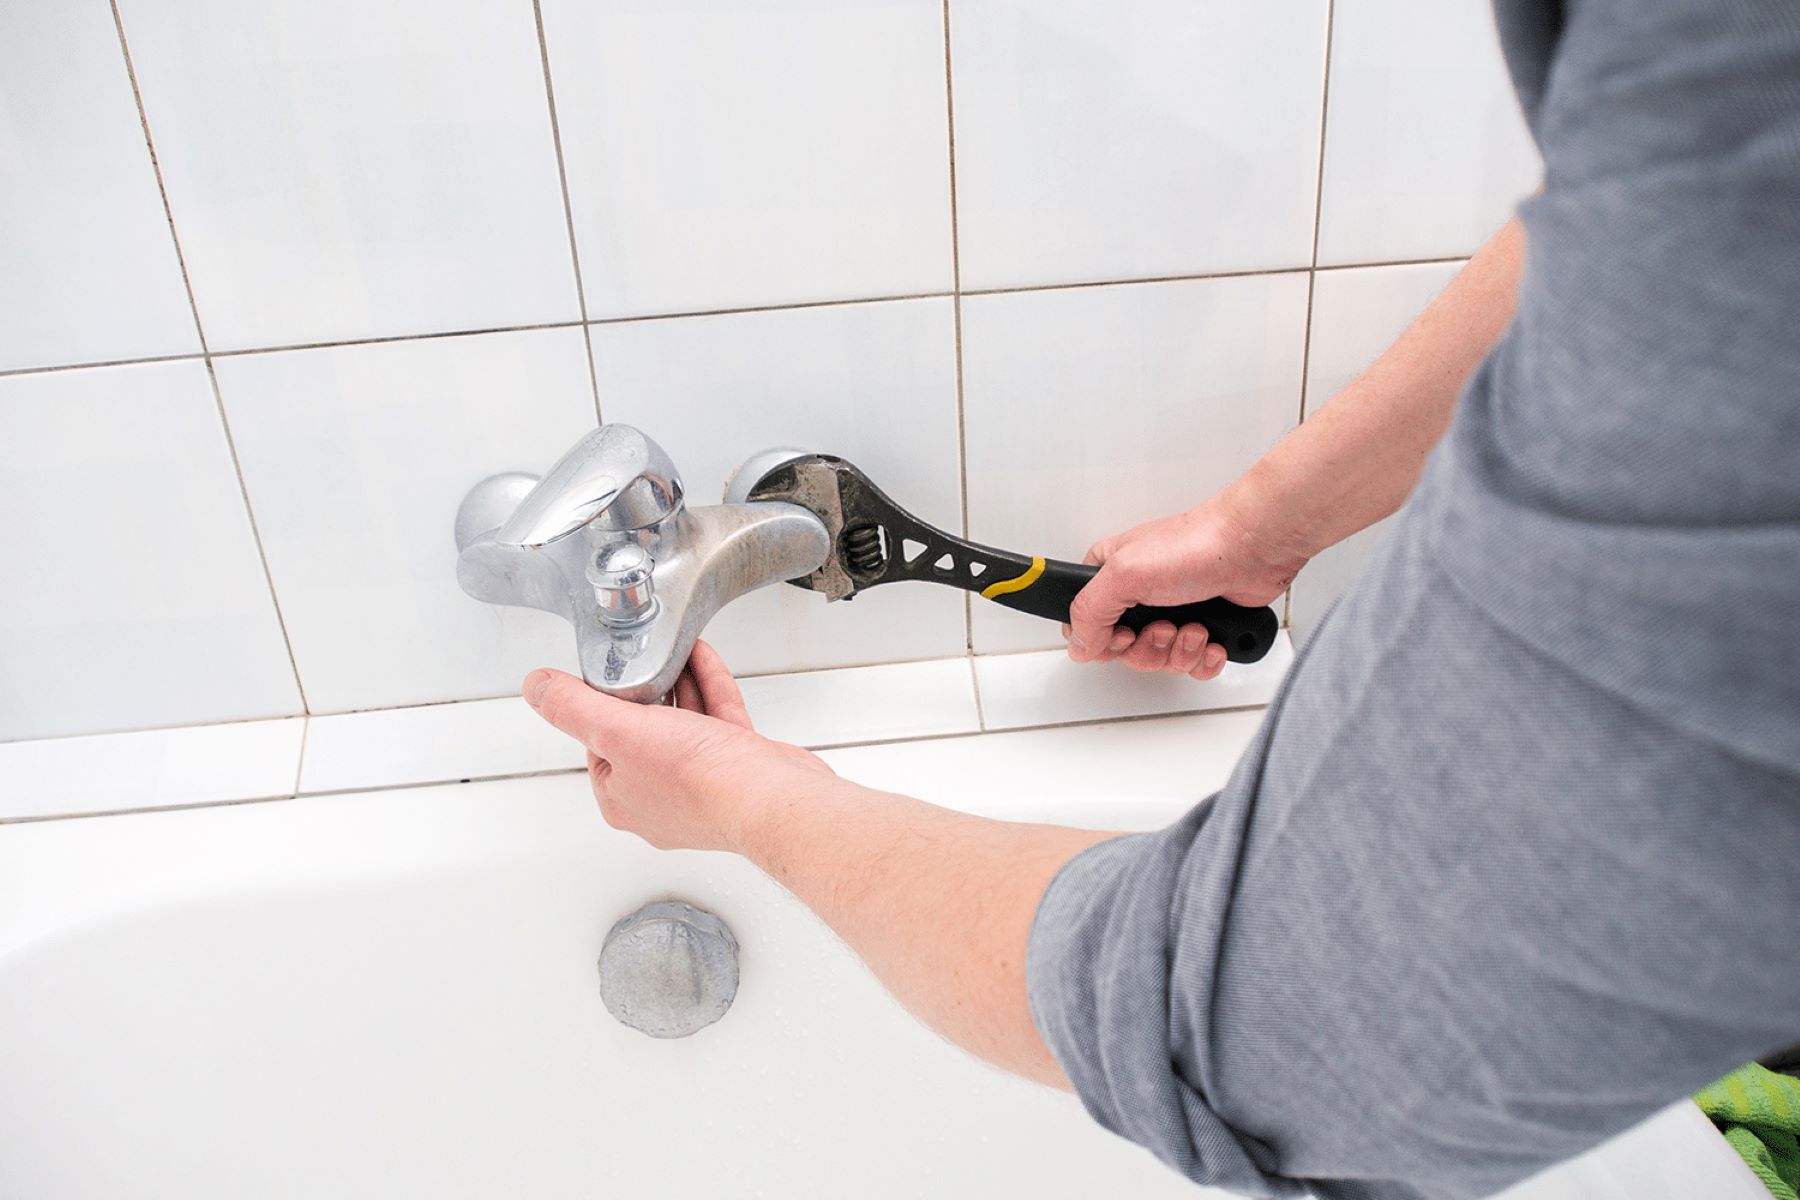
- Adjustable wrench: This versatile tool will enable you to loosen and tighten various components of the outdoor faucet, facilitating disassembly and reassembly during the repair process.
- Screwdriver: A flathead or Phillips screwdriver may be required to remove screws and access internal faucet components for inspection and repair.
- Pliers: Having a set of pliers, such as slip-joint or tongue-and-groove pliers, will aid in gripping and maneuvering parts with precision.
- Pipe wrench: If the leak originates from the pipe connections, a pipe wrench will be indispensable for securing or adjusting the pipe fittings.
- Allen wrench set: Some outdoor faucet models may feature set screws or specialized fasteners that require an Allen wrench for adjustment or removal.
Materials:
- Replacement washer: Acquire a new washer that matches the size and specifications of your outdoor faucet. Opt for a durable, high-quality washer to ensure long-term effectiveness.
- O-ring: If the O-ring within the faucet assembly shows signs of wear or damage, having a replacement O-ring on hand will allow for swift replacement during the repair.
- Packing nut: In the event of a loose or damaged packing nut, having a replacement nut available will facilitate the repair process and ensure a secure fit for the faucet stem.
- Plumbers tape (Teflon tape): This tape is essential for creating a watertight seal when reassembling the faucet components, preventing leaks at threaded connections.
- Lubricating grease: Applying lubricating grease to the faucet's components can aid in smooth operation and help prevent future wear and tear.
By gathering these tools and materials before commencing the repair, you'll be well-prepared to tackle the task efficiently and address the leaky outdoor faucet with confidence. With the necessary resources at your disposal, you can proceed to the step-by-step repair process, knowing that you have equipped yourself for a successful outcome.
Step-by-step guide to fixing the leaky outdoor faucet
-
Turn off the water supply: Begin by locating the shut-off valve that controls the water supply to the outdoor faucet. Turn the valve in a clockwise direction to shut off the water flow, ensuring that the faucet is completely inactive before proceeding with the repair.
-
Remove the faucet handle: Use a screwdriver to remove the screw securing the faucet handle. Once the screw is removed, carefully lift off the handle to access the internal components of the faucet.
-
Inspect the washer and O-ring: With the handle removed, locate the washer and O-ring within the faucet assembly. Inspect these components for signs of wear, damage, or deterioration. If the washer appears worn or the O-ring is compromised, proceed with replacing these parts.
-
Replace the washer and O-ring: If the washer or O-ring shows signs of wear, carefully remove the old components and replace them with new, matching parts. Ensure that the replacement washer and O-ring are of the appropriate size and specifications for your outdoor faucet.
-
Tighten the packing nut: Using an adjustable wrench, locate the packing nut beneath the faucet handle. If the nut is loose, carefully tighten it to secure the faucet stem in place. This will help prevent water from leaking around the handle or spout.
-
Apply plumbers tape: Before reassembling the faucet, wrap the threaded connections with plumbers tape to create a watertight seal. This step is crucial for preventing leaks at the connections and ensuring a secure fit for the reassembled components.
-
Reassemble the faucet: Carefully reattach the faucet handle, ensuring that all components are aligned and properly seated. Use the screwdriver to secure the handle in place, maintaining a snug fit to prevent any potential movement that could lead to leaks.
-
Turn on the water supply: Once the faucet is reassembled, turn the water supply back on by rotating the shut-off valve in a counterclockwise direction. Gradually allow the water to flow, checking for any signs of leakage from the repaired faucet.
By following these step-by-step instructions, you can effectively address a leaky outdoor faucet with confidence and precision. This straightforward approach allows homeowners to take proactive measures in resolving the issue, restoring the functionality of the outdoor water source, and preventing wastage of water due to leaks. With the right tools, materials, and a clear understanding of the repair process, fixing a leaky outdoor faucet becomes a manageable task for homeowners of all skill levels.
Additional tips and maintenance suggestions
In addition to addressing the immediate repair of a leaky outdoor faucet, implementing proactive maintenance practices can contribute to the long-term functionality and durability of the faucet. By incorporating the following tips and maintenance suggestions, homeowners can minimize the risk of future leaks and ensure the optimal performance of their outdoor water source.
-
Regular inspection: Schedule routine inspections of the outdoor faucet to detect any early signs of wear, damage, or leaks. Check for water accumulation around the faucet, unusual dripping, or visible wear on the handle and spout. Early detection can prompt timely repairs, preventing minor issues from escalating into major leaks.
-
Winterization: Prior to the onset of freezing temperatures, it is essential to winterize the outdoor faucet to prevent potential damage from ice formation. Disconnect and drain the hose connected to the faucet, and install a frost-proof faucet if feasible. Additionally, insulate the outdoor faucet and surrounding pipes to safeguard against freezing and subsequent leaks.
-
Proper installation: When installing a new outdoor faucet or replacing components, ensure that the fittings, seals, and connections are installed correctly and securely. Improper installation can lead to leaks and compromise the overall functionality of the faucet.
-
Use of lubricating grease: Apply lubricating grease to the faucet's components during maintenance to promote smooth operation and reduce friction. This simple practice can extend the lifespan of the faucet and minimize wear on internal parts.
-
Addressing minor leaks promptly: If minor leaks are detected, address them promptly to prevent exacerbation of the issue. Whether it involves replacing a worn washer, tightening a loose connection, or addressing a minor drip, swift action can prevent water wastage and potential damage to the surrounding area.
-
Cleaning and debris removal: Regularly clean the outdoor faucet and remove any debris, sediment, or mineral buildup that may affect its performance. Clearing the spout and aerator of any obstructions ensures unobstructed water flow and reduces the likelihood of leaks due to blockages.
-
Upgrading to a modern faucet: Consider upgrading to a modern, high-quality outdoor faucet with enhanced durability and leak-resistant features. Newer models may offer improved sealing mechanisms, corrosion-resistant materials, and advanced design elements that contribute to long-term reliability.
By incorporating these additional tips and maintenance suggestions into your outdoor faucet care routine, you can proactively safeguard against leaks and maintain the optimal functionality of this essential water source. Through regular inspection, proactive measures, and timely repairs, homeowners can enjoy a leak-free outdoor faucet and contribute to water conservation efforts within their household.
Conclusion
In conclusion, a leaky outdoor faucet can disrupt the tranquility of your outdoor space and lead to unnecessary water wastage. By understanding the underlying causes of faucet leaks and equipping yourself with the necessary tools and knowledge, you can effectively address this common household issue. The step-by-step guide provided empowers homeowners to take proactive measures in fixing a leaky outdoor faucet, restoring functionality and preventing water wastage.
Furthermore, the additional tips and maintenance suggestions underscore the importance of regular inspection, winterization, and proactive maintenance to minimize the risk of future leaks. By incorporating these practices into your outdoor faucet care routine, you can enhance the longevity and reliability of this essential water source.
Ultimately, addressing a leaky outdoor faucet not only contributes to water conservation but also promotes a safer and more inviting outdoor environment. By taking the initiative to repair and maintain the outdoor faucet, homeowners can enjoy peace of mind, knowing that their outdoor space remains free from leaks and potential water damage.
With the knowledge gained from this guide, homeowners are empowered to tackle faucet leaks with confidence, ensuring that their outdoor water source remains a dependable and efficient asset. Whether you're a seasoned DIY enthusiast or a novice homeowner, the ultimate hack to fix a leaky outdoor faucet in seconds is within reach, allowing you to reclaim control of your outdoor water supply and minimize water wastage.
In essence, addressing a leaky outdoor faucet is not merely a household chore but a conscientious step towards sustainable water usage and the preservation of your outdoor oasis. Through proactive maintenance and timely repairs, homeowners can enjoy a leak-free outdoor faucet, contributing to a more sustainable and harmonious living environment.