Home>Home and Garden>The Ultimate Solution To Fix A Stuck Closed Thermostat
Home and Garden
The Ultimate Solution To Fix A Stuck Closed Thermostat
Published: January 11, 2024
Discover the ultimate solution to fix a stuck closed thermostat and keep your home's temperature under control. Find expert tips and tricks for home and garden maintenance.
(Many of the links in this article redirect to a specific reviewed product. Your purchase of these products through affiliate links helps to generate commission for Regretless.com, at no extra cost. Learn more)
Table of Contents
Introduction
When it comes to maintaining a comfortable and energy-efficient home, the thermostat plays a crucial role in regulating indoor temperatures. However, encountering a stuck closed thermostat can disrupt this balance, leading to discomfort and potentially higher energy bills. Understanding the causes of this issue and learning how to address it effectively can save both time and money.
In this comprehensive guide, we will delve into the common causes of a stuck closed thermostat and provide a step-by-step solution to fix this problem. By following these instructions and gaining insight into thermostat functionality, you can restore proper heating and cooling functions to your home. Additionally, we will explore essential tips for maintenance and prevention to ensure the long-term efficiency of your thermostat.
Whether you are a seasoned DIY enthusiast or a homeowner looking to address a specific issue, this guide will equip you with the knowledge and tools necessary to tackle a stuck closed thermostat effectively. By taking proactive steps to maintain and troubleshoot your thermostat, you can enhance the comfort and energy efficiency of your living space. Let's embark on this journey to reclaim control over your home's climate regulation and ensure optimal functionality of your thermostat.
Understanding the Thermostat
A thermostat is a vital component of any heating, ventilation, and air conditioning (HVAC) system, serving as the control center for regulating indoor temperatures. Its primary function is to maintain a set temperature by activating the heating or cooling system as needed. Understanding the basic operation of a thermostat is essential for diagnosing and addressing issues such as a stuck closed thermostat.
Thermostats come in various types, including manual, programmable, and smart thermostats. Manual thermostats require manual adjustments to set the desired temperature, while programmable thermostats allow users to schedule temperature changes based on their daily routines. Smart thermostats, equipped with advanced features and connectivity, offer remote access and energy-saving capabilities through smartphone apps and voice commands.
The operation of a thermostat revolves around a temperature sensor, which detects the current indoor temperature. When the temperature deviates from the set point, the thermostat triggers the HVAC system to either heat or cool the space until the desired temperature is reached. This process involves the opening and closing of electrical contacts within the thermostat, controlling the flow of electricity to the heating or cooling system.
In the case of a stuck closed thermostat, the electrical contacts fail to open, preventing the HVAC system from receiving the signal to activate. This results in a continuous cycle of the heating or cooling system running, leading to discomfort and potential energy wastage.
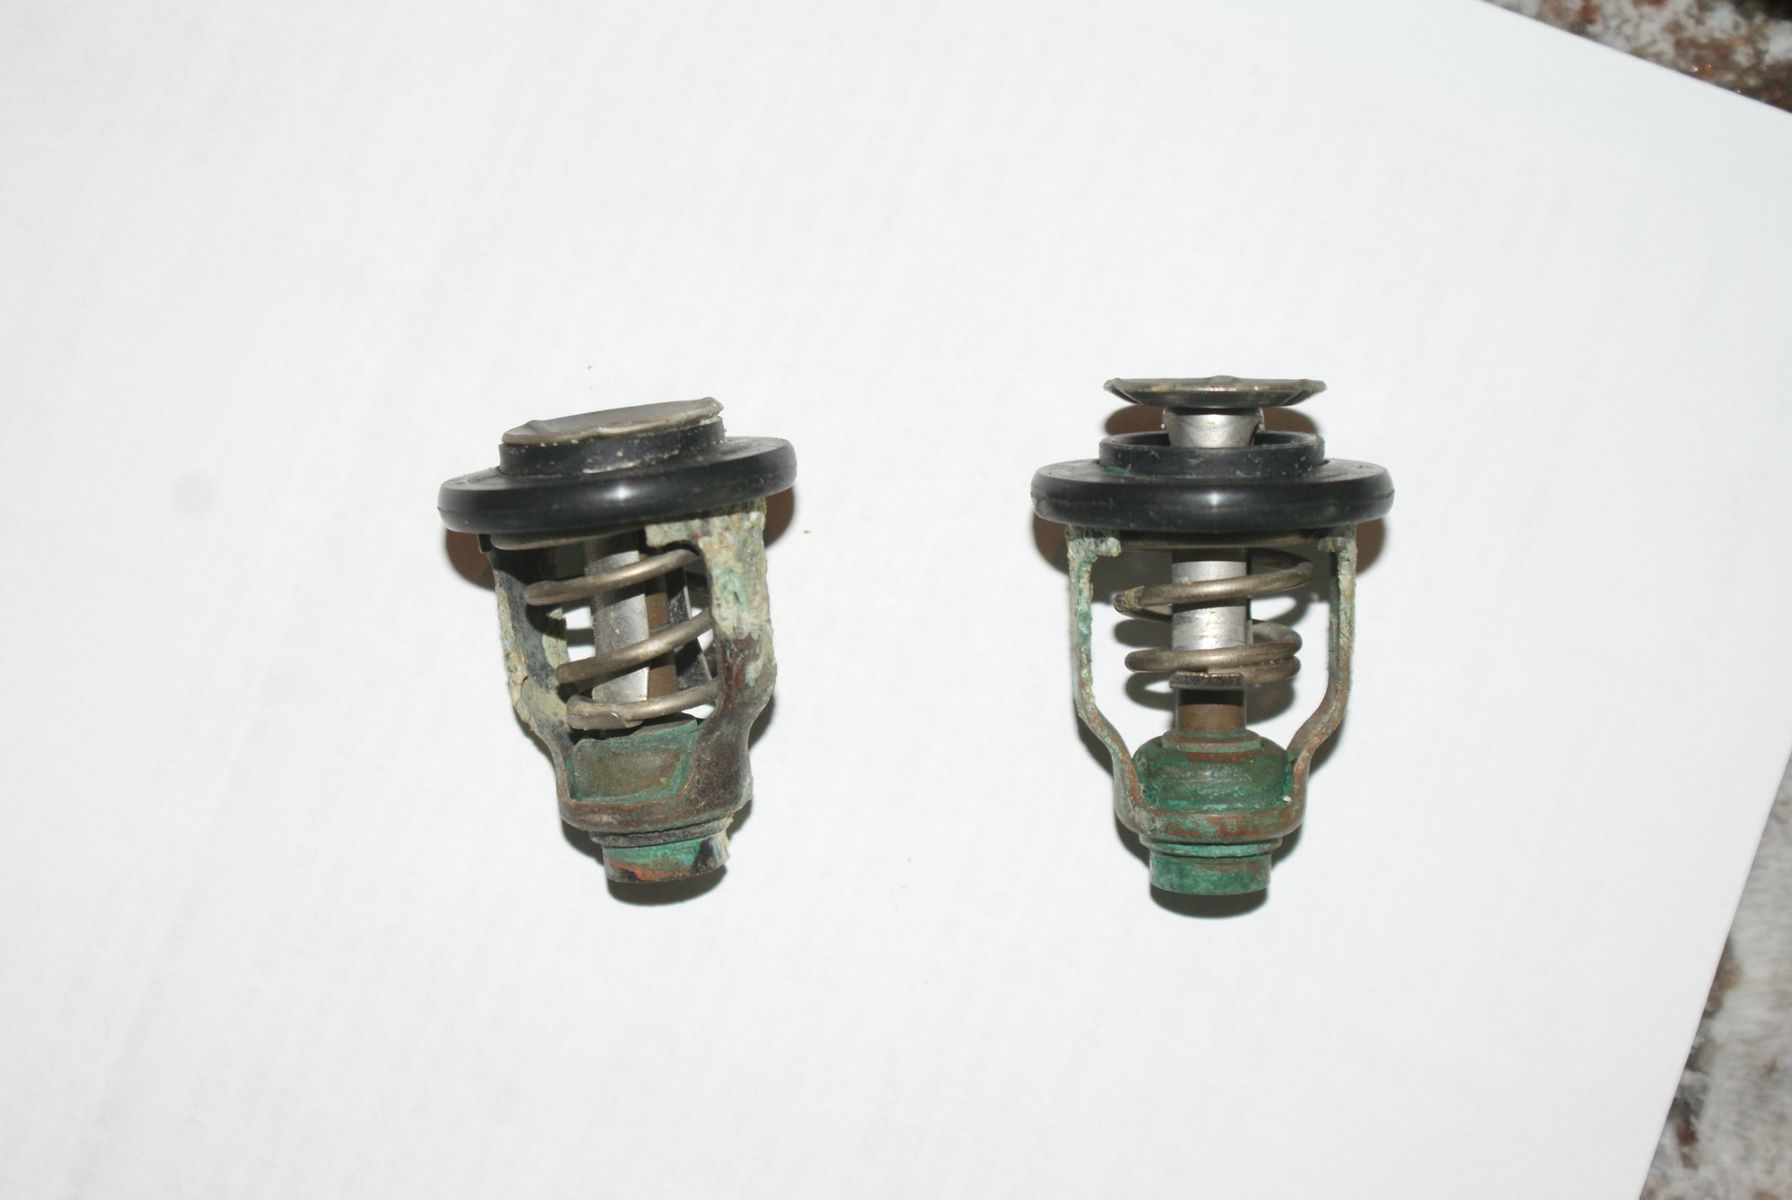
Understanding the internal mechanisms of a thermostat, such as the bimetallic coil or electronic temperature sensors, provides insight into the potential causes of a stuck closed thermostat. By gaining familiarity with these components and their functions, homeowners can effectively troubleshoot and address issues related to thermostat malfunction.
In the following sections, we will explore the common causes of a stuck closed thermostat and provide a detailed step-by-step guide to rectify this issue. Armed with a comprehensive understanding of thermostat functionality, you can confidently navigate the process of diagnosing and resolving a stuck closed thermostat, ensuring optimal performance and comfort within your home.
Common Causes of a Stuck Closed Thermostat
A stuck closed thermostat can stem from various underlying factors, each contributing to the malfunction of this essential component. Understanding these common causes is pivotal in diagnosing and addressing the issue effectively. Here are the primary factors that can lead to a thermostat becoming stuck closed:
-
Mechanical Failure: Over time, the internal mechanical components of a thermostat, such as the bimetallic coil, can deteriorate or become misaligned. This can result in the electrical contacts failing to open, causing the thermostat to remain stuck in the closed position. Mechanical wear and tear, as well as accumulated dust and debris, can impede the smooth operation of these components, leading to a stuck closed thermostat.
-
Electrical Issues: Faulty wiring or electrical connections within the thermostat can disrupt its functionality, potentially causing it to remain closed. Loose or damaged electrical connections can prevent the thermostat from signaling the HVAC system to activate or deactivate, resulting in a continuous cycle of heating or cooling.
-
Dirt and Debris Accumulation: The accumulation of dirt, dust, or debris within the thermostat can interfere with its internal mechanisms, including the temperature sensor and electrical contacts. This buildup can hinder the proper operation of the thermostat, leading to it getting stuck closed due to obstruction or interference with critical components.
-
Thermostat Age and Wear: As thermostats age, their internal components may experience wear and degradation, diminishing their ability to function optimally. This can manifest as a stuck closed thermostat, as the aging components struggle to operate as intended, ultimately leading to a malfunction.
-
Environmental Factors: Environmental conditions, such as excessive humidity or exposure to moisture, can impact the internal components of the thermostat. Corrosion or rust within the thermostat due to prolonged exposure to moisture can hinder its functionality, potentially causing it to become stuck closed.
By identifying these common causes of a stuck closed thermostat, homeowners can gain valuable insights into the potential sources of the issue within their HVAC system. Armed with this knowledge, they can proceed to address the problem effectively, restoring the thermostat to its optimal functionality and ensuring a comfortable indoor environment.
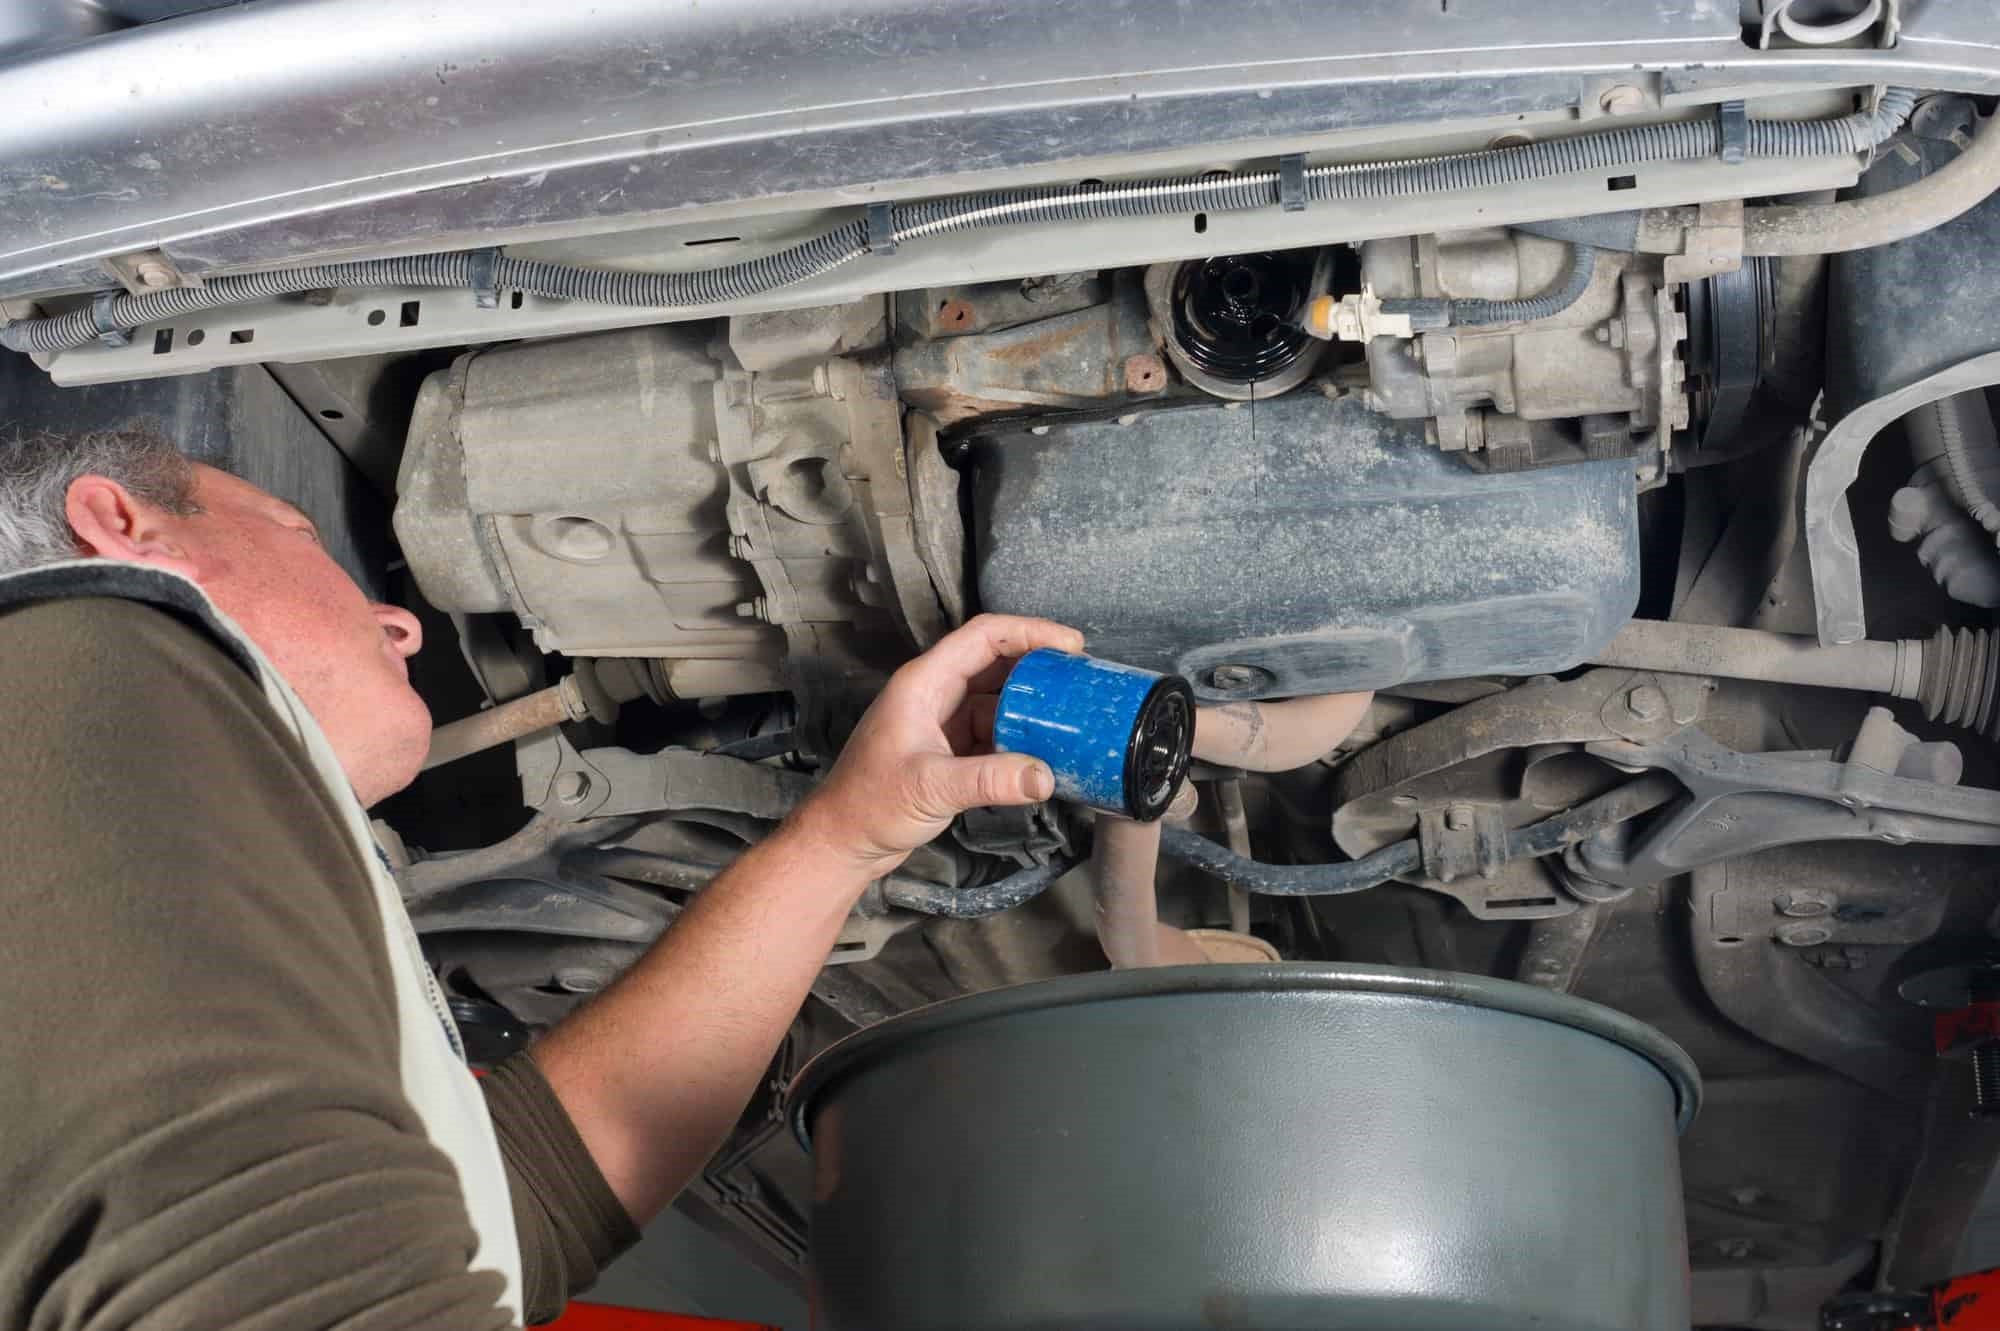
Tools and Materials Needed
To effectively address a stuck closed thermostat, you will need a set of essential tools and materials to facilitate the diagnostic and repair process. Having the right equipment at your disposal will enable you to navigate the troubleshooting steps with precision and confidence. Here's a comprehensive list of the tools and materials needed to tackle a stuck closed thermostat:
Tools:
-
Screwdriver Set: A versatile screwdriver set with interchangeable heads, including flathead and Phillips screwdrivers, is essential for accessing the thermostat and its mounting plate. This allows for the removal of screws and panels without causing damage.
-
Multimeter: A digital multimeter serves as a critical diagnostic tool for testing electrical continuity and voltage within the thermostat. It enables you to identify any electrical issues or malfunctions that may be contributing to the stuck closed condition.
-
Needle-nose Pliers: Needle-nose pliers are useful for handling small wires and components within the thermostat. They provide a firm grip and precise maneuverability when making adjustments or repairs.
-
Soft Brush or Compressed Air: Cleaning accumulated dust and debris from the thermostat's interior components is essential. A soft brush or compressed air can be used to gently remove dirt and ensure unobstructed functionality.
-
Electrical Tape: Electrical tape is crucial for securing and insulating electrical connections during the diagnostic and repair process. It helps prevent accidental contact and ensures safety while working with electrical components.
-
Flashlight: A reliable flashlight aids in illuminating the thermostat and its surroundings, especially if the work area is dimly lit or located in a confined space.
Materials:
-
Replacement Batteries: If your thermostat operates on batteries, having a set of replacement batteries on hand is advisable. This ensures that power-related issues can be ruled out during the troubleshooting process.
-
Cleaning Solution: A mild cleaning solution, such as diluted rubbing alcohol or specialized electronics cleaner, can be used to gently clean the interior of the thermostat and remove any stubborn dirt or residue.
-
Replacement Parts (if necessary): Depending on the diagnostic findings, you may require specific replacement parts such as a bimetallic coil, electrical contacts, or wiring connectors. It's prudent to have these parts ready in case a component needs to be replaced to resolve the stuck closed condition.
By assembling these tools and materials, you will be well-equipped to embark on the journey of diagnosing and addressing a stuck closed thermostat. With careful attention to detail and the appropriate resources at your disposal, you can effectively troubleshoot and restore the optimal functionality of your thermostat, ensuring a comfortable and efficiently regulated indoor environment.
Step-by-Step Guide to Fixing a Stuck Closed Thermostat
-
Turn Off Power: Begin by turning off the power to your HVAC system at the circuit breaker to ensure safety during the diagnostic and repair process.
-
Remove Thermostat Cover: Carefully remove the cover of the thermostat to access its internal components. This typically involves gently prying the cover off or unscrewing it, depending on the type of thermostat.
-
Inspect for Debris: Use a flashlight to inspect the interior of the thermostat for any visible debris or dust accumulation. If present, use a soft brush or compressed air to gently remove the debris and ensure unobstructed functionality.
-
Check Electrical Connections: Examine the electrical connections within the thermostat for any signs of damage, corrosion, or loose wiring. Use a multimeter to test for electrical continuity and voltage, identifying any potential issues with the connections.
-
Clean and Secure Connections: If necessary, carefully clean the electrical connections using a mild cleaning solution and ensure they are securely fastened. Use electrical tape to insulate and secure any exposed or damaged wiring.
-
Inspect Bimetallic Coil: If your thermostat features a bimetallic coil, visually inspect it for signs of wear or misalignment. A worn or misaligned coil can contribute to a stuck closed thermostat. If needed, replace the bimetallic coil with a compatible replacement part.
-
Test Thermostat Operation: With the cover still removed, restore power to the HVAC system and observe the thermostat's operation. Set the desired temperature and monitor the response of the electrical contacts. Ensure that the contacts open and close as intended when adjusting the temperature setting.
-
Replace Batteries (If Applicable): If your thermostat operates on batteries, replace them with fresh ones to rule out any power-related issues that may contribute to a stuck closed condition.
-
Reassemble and Test: Once the necessary repairs and adjustments have been made, reassemble the thermostat cover and restore power to the HVAC system. Test the thermostat's functionality by adjusting the temperature settings and verifying that the HVAC system responds accordingly.
By following this step-by-step guide, you can systematically diagnose and address a stuck closed thermostat, restoring its optimal functionality and ensuring a well-regulated indoor environment. If the issue persists despite these efforts, consulting a professional HVAC technician may be necessary to further assess and resolve the problem.
Testing the Thermostat
After addressing potential issues and making necessary repairs, it is crucial to thoroughly test the thermostat to ensure that the stuck closed condition has been resolved. Testing the thermostat involves verifying its responsiveness to temperature adjustments and confirming that the HVAC system operates as intended based on the set temperature. Here are the essential steps to effectively test the thermostat:
-
Temperature Adjustment: Begin by setting the thermostat to a temperature that differs from the current ambient temperature. For instance, if the room is relatively warm, set the thermostat to a lower temperature to initiate the cooling cycle. Conversely, if the room is cooler, set the thermostat to a higher temperature to activate the heating cycle. This deliberate adjustment allows you to observe the thermostat's response to temperature changes.
-
Observation of HVAC System: Upon adjusting the thermostat, closely monitor the HVAC system to see if it activates in response to the temperature change. Listen for the familiar sound of the system powering on and feel for any airflow from the vents. If the HVAC system fails to activate or does not produce the expected heating or cooling, it may indicate that the thermostat is still stuck closed or experiencing other issues.
-
Verification of Electrical Contacts: While the HVAC system is running, observe the electrical contacts within the thermostat. Depending on the type of thermostat, you may be able to visually confirm the opening and closing of the contacts when the temperature setting triggers the system. This visual confirmation provides assurance that the thermostat is effectively signaling the HVAC system to initiate heating or cooling cycles based on the temperature adjustments.
-
Consistency in Operation: Test the thermostat's consistency in operation by making multiple temperature adjustments over a period of time. Observe whether the thermostat continues to respond accurately to these adjustments, maintaining the desired temperature and effectively controlling the HVAC system's cycles. Consistent and reliable operation indicates that the stuck closed condition has been successfully resolved.
-
Verification of Set Point Accuracy: Use a separate thermometer or temperature sensor to verify the accuracy of the thermostat's temperature readings. Comparing the thermostat's displayed temperature with an independent measurement helps ensure that the thermostat accurately reflects the ambient temperature, further confirming its proper functionality.
By meticulously testing the thermostat through these steps, you can validate its responsiveness, accuracy, and ability to effectively control the HVAC system. This thorough testing process serves as a critical validation of the repairs and adjustments made to address the stuck closed condition, providing assurance that the thermostat is operating optimally and maintaining a comfortable indoor environment. If any issues persist during testing, further assessment or professional consultation may be necessary to identify and resolve underlying problems.
Tips for Maintenance and Prevention
Maintaining the optimal functionality of your thermostat is essential for ensuring consistent comfort and energy efficiency within your home. Additionally, implementing preventive measures can help mitigate the likelihood of encountering a stuck closed thermostat in the future. Here are valuable tips for maintenance and prevention to safeguard the performance of your thermostat:
-
Regular Cleaning: Schedule routine cleaning of your thermostat to remove accumulated dust and debris that can impede its operation. Use a soft brush or compressed air to gently clean the interior components, ensuring that the temperature sensor and electrical contacts remain unobstructed.
-
Inspect Electrical Connections: Periodically inspect the electrical connections within the thermostat for signs of corrosion, wear, or loose wiring. Secure any loose connections and address any corrosion promptly to maintain reliable electrical continuity.
-
Calibration Verification: Verify the calibration of your thermostat by comparing its temperature readings with an independent thermometer. If discrepancies are noted, consider recalibrating the thermostat or consulting a professional to ensure accurate temperature control.
-
Battery Replacement: If your thermostat operates on batteries, proactively replace them at regular intervals, even if they appear to be functioning. Fresh batteries help maintain consistent power supply, reducing the risk of power-related issues that can affect thermostat operation.
-
Environmental Protection: Protect your thermostat from environmental factors such as excessive humidity or moisture. Consider installing a cover or shield to shield it from direct exposure, minimizing the risk of corrosion or damage due to environmental elements.
-
Professional Maintenance: Schedule periodic professional maintenance for your HVAC system, including a thorough inspection of the thermostat. Professional technicians can identify potential issues early and perform preventive maintenance to ensure the optimal performance of the entire system.
-
Upgrade to Smart Thermostat: Consider upgrading to a smart thermostat with advanced features such as remote access, programmable schedules, and energy-saving capabilities. Smart thermostats offer enhanced functionality and can contribute to more efficient temperature regulation.
-
Educate Household Members: Educate household members about proper thermostat usage and maintenance practices. Encourage responsible temperature adjustments and awareness of the thermostat's operation to minimize unnecessary strain on the system.
By incorporating these maintenance and prevention tips into your home maintenance routine, you can proactively safeguard the functionality of your thermostat and reduce the likelihood of encountering a stuck closed condition. Consistent care and preventive measures contribute to the long-term efficiency and reliability of your thermostat, ensuring a comfortable and well-regulated indoor environment for years to come.
Read more: How To Close Robinhood Account
Conclusion
In conclusion, addressing a stuck closed thermostat requires a systematic approach that encompasses understanding the thermostat's operation, diagnosing common causes, and implementing effective solutions. By delving into the internal mechanisms of a thermostat and recognizing the potential factors contributing to a stuck closed condition, homeowners can navigate the diagnostic and repair process with confidence.
The comprehensive guide provided valuable insights into the common causes of a stuck closed thermostat, ranging from mechanical and electrical issues to environmental factors and thermostat age. By identifying these underlying factors, homeowners can proactively address potential issues and restore the optimal functionality of their thermostat.
Furthermore, the step-by-step guide outlined a structured approach to diagnosing and fixing a stuck closed thermostat, emphasizing the importance of thorough inspection, cleaning, and testing. By following these detailed instructions, homeowners can mitigate the impact of a stuck closed condition and ensure that their thermostat operates reliably and efficiently.
Moreover, the testing process highlighted the significance of validating the thermostat's responsiveness and accuracy following repairs, underscoring the importance of meticulous testing to confirm the effectiveness of the implemented solutions.
The tips for maintenance and prevention offered practical strategies to safeguard the long-term performance of the thermostat, emphasizing regular cleaning, inspection of electrical connections, and proactive measures to mitigate environmental influences. By incorporating these maintenance practices into their routine, homeowners can prolong the lifespan of their thermostat and reduce the likelihood of encountering similar issues in the future.
By embracing the insights and guidance provided in this comprehensive guide, homeowners can reclaim control over their home's climate regulation and ensure the consistent comfort and energy efficiency of their living space. Whether addressing a specific issue or proactively maintaining their thermostat, this guide equips homeowners with the knowledge and tools necessary to navigate the complexities of thermostat functionality and troubleshooting effectively.