Home>Automotive>Revamp Your Car’s Battery Cable With This Simple Trick!
Automotive
Revamp Your Car’s Battery Cable With This Simple Trick!
Published: January 21, 2024
Revitalize your car's battery cable with this automotive hack. Discover a simple trick to revamp your vehicle's battery cable and keep your car running smoothly.
(Many of the links in this article redirect to a specific reviewed product. Your purchase of these products through affiliate links helps to generate commission for Regretless.com, at no extra cost. Learn more)
Table of Contents
Introduction
Your car's battery cable is a crucial yet often overlooked component of your vehicle's electrical system. It serves as the vital link between the battery and the rest of the car's electrical components, enabling the smooth flow of power to start the engine, power the lights, and operate various electrical systems. Over time, the battery cable can deteriorate due to exposure to heat, corrosion, and general wear and tear. This degradation can lead to issues such as poor electrical conductivity, difficulty starting the car, and even electrical malfunctions.
Understanding the importance of maintaining a healthy battery cable is essential for every car owner. A damaged or worn-out battery cable can not only cause inconvenience but also pose safety risks and lead to costly repairs if left unaddressed. Fortunately, revamping your car's battery cable is a simple and cost-effective solution that can significantly improve the performance and reliability of your vehicle's electrical system.
In this comprehensive guide, we will delve into the intricacies of the battery cable, explore the common signs of a damaged cable, and provide a step-by-step tutorial on revamping the cable using a simple yet effective technique. By following these instructions, you can breathe new life into your car's electrical system and ensure that your vehicle operates smoothly and safely.
Whether you're a seasoned car enthusiast or a novice DIYer, mastering the art of revamping your car's battery cable is a valuable skill that can save you time, money, and frustration in the long run. So, roll up your sleeves, gather the necessary materials, and get ready to give your car's battery cable the attention it deserves. Let's embark on this journey to enhance the performance and reliability of your vehicle's electrical system!
Understanding the Battery Cable
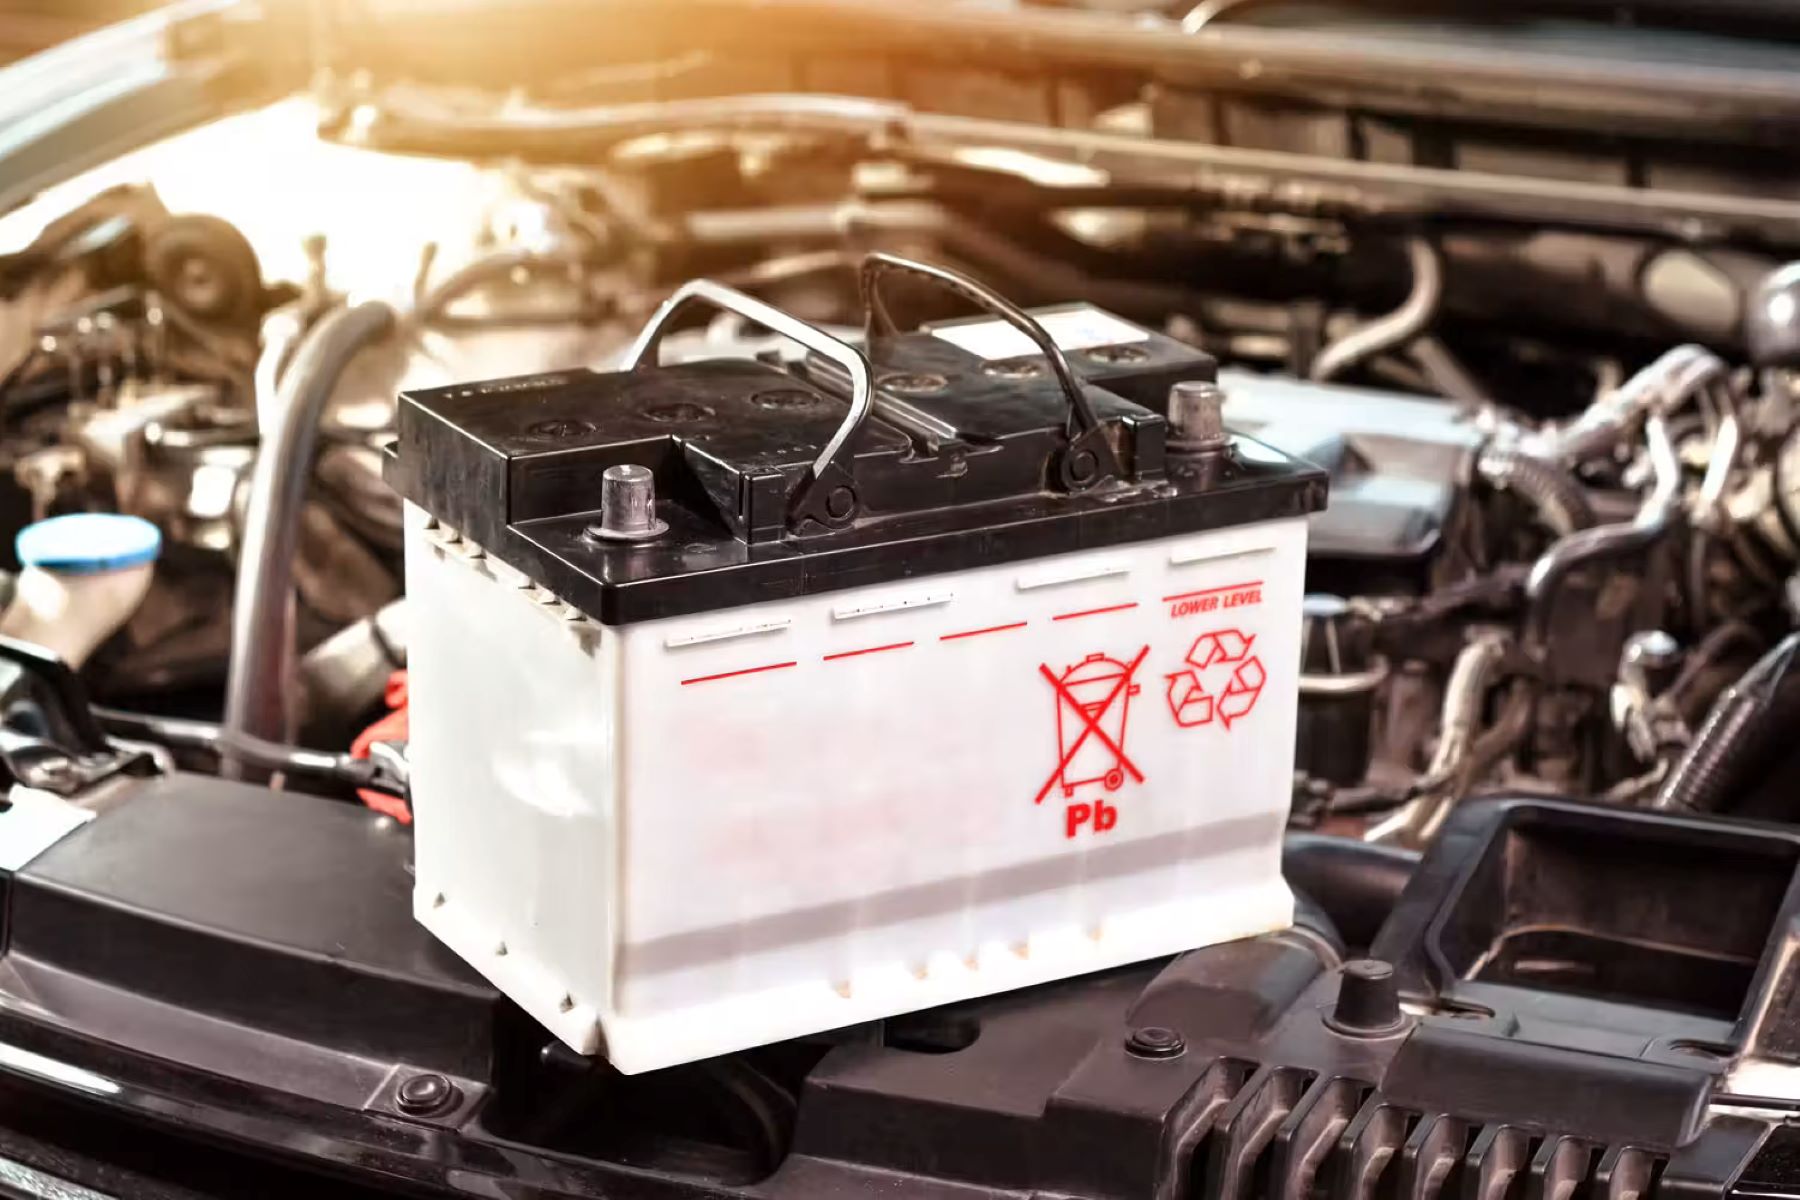
The battery cable, often referred to as the battery wire or power cable, plays a pivotal role in your vehicle's electrical system. It serves as the conduit through which electrical power is transmitted from the battery to various electrical components of the car. Typically, a car has two main battery cables: the positive cable, also known as the red cable, and the negative cable, usually black in color. These cables are essential for starting the engine, powering the lights, operating the radio, and running other electrical systems in the vehicle.
The positive battery cable connects the positive terminal of the battery to the starter motor and the vehicle's main electrical system. On the other hand, the negative battery cable links the negative terminal of the battery to the vehicle's chassis, grounding the electrical system and providing a return path for electrical current.
Battery cables are typically made of stranded copper wire, which offers excellent conductivity and flexibility. The copper wire is coated with insulation to protect against electrical shorts and corrosion. Additionally, the cable ends are fitted with terminal connectors that securely attach to the battery terminals and electrical components.
Over time, the battery cable can deteriorate due to various factors such as exposure to heat, corrosion, and mechanical stress. This deterioration can lead to reduced electrical conductivity, voltage drop, and potential electrical malfunctions. Common issues with the battery cable include corrosion at the cable terminals, fraying or damage to the cable insulation, and loosening of terminal connections.
Understanding the intricacies of the battery cable is crucial for maintaining a healthy electrical system in your vehicle. Regular inspection of the battery cable for signs of wear, corrosion, and damage is essential for preventing electrical issues and ensuring the reliable operation of your car.
By gaining a deeper understanding of the battery cable and its significance in your vehicle's electrical system, you can effectively identify potential problems and take proactive measures to maintain and revamp the cable when necessary. Now that we've explored the fundamentals of the battery cable, let's delve into the common signs of a damaged cable and the materials needed for revamping it.
Signs of a Damaged Battery Cable
Detecting signs of a damaged battery cable is crucial for maintaining the electrical integrity of your vehicle. Several indicators can point to potential issues with the battery cable, signaling the need for revamping or replacement. By recognizing these signs early on, you can prevent inconvenient breakdowns and ensure the smooth operation of your car's electrical system.
-
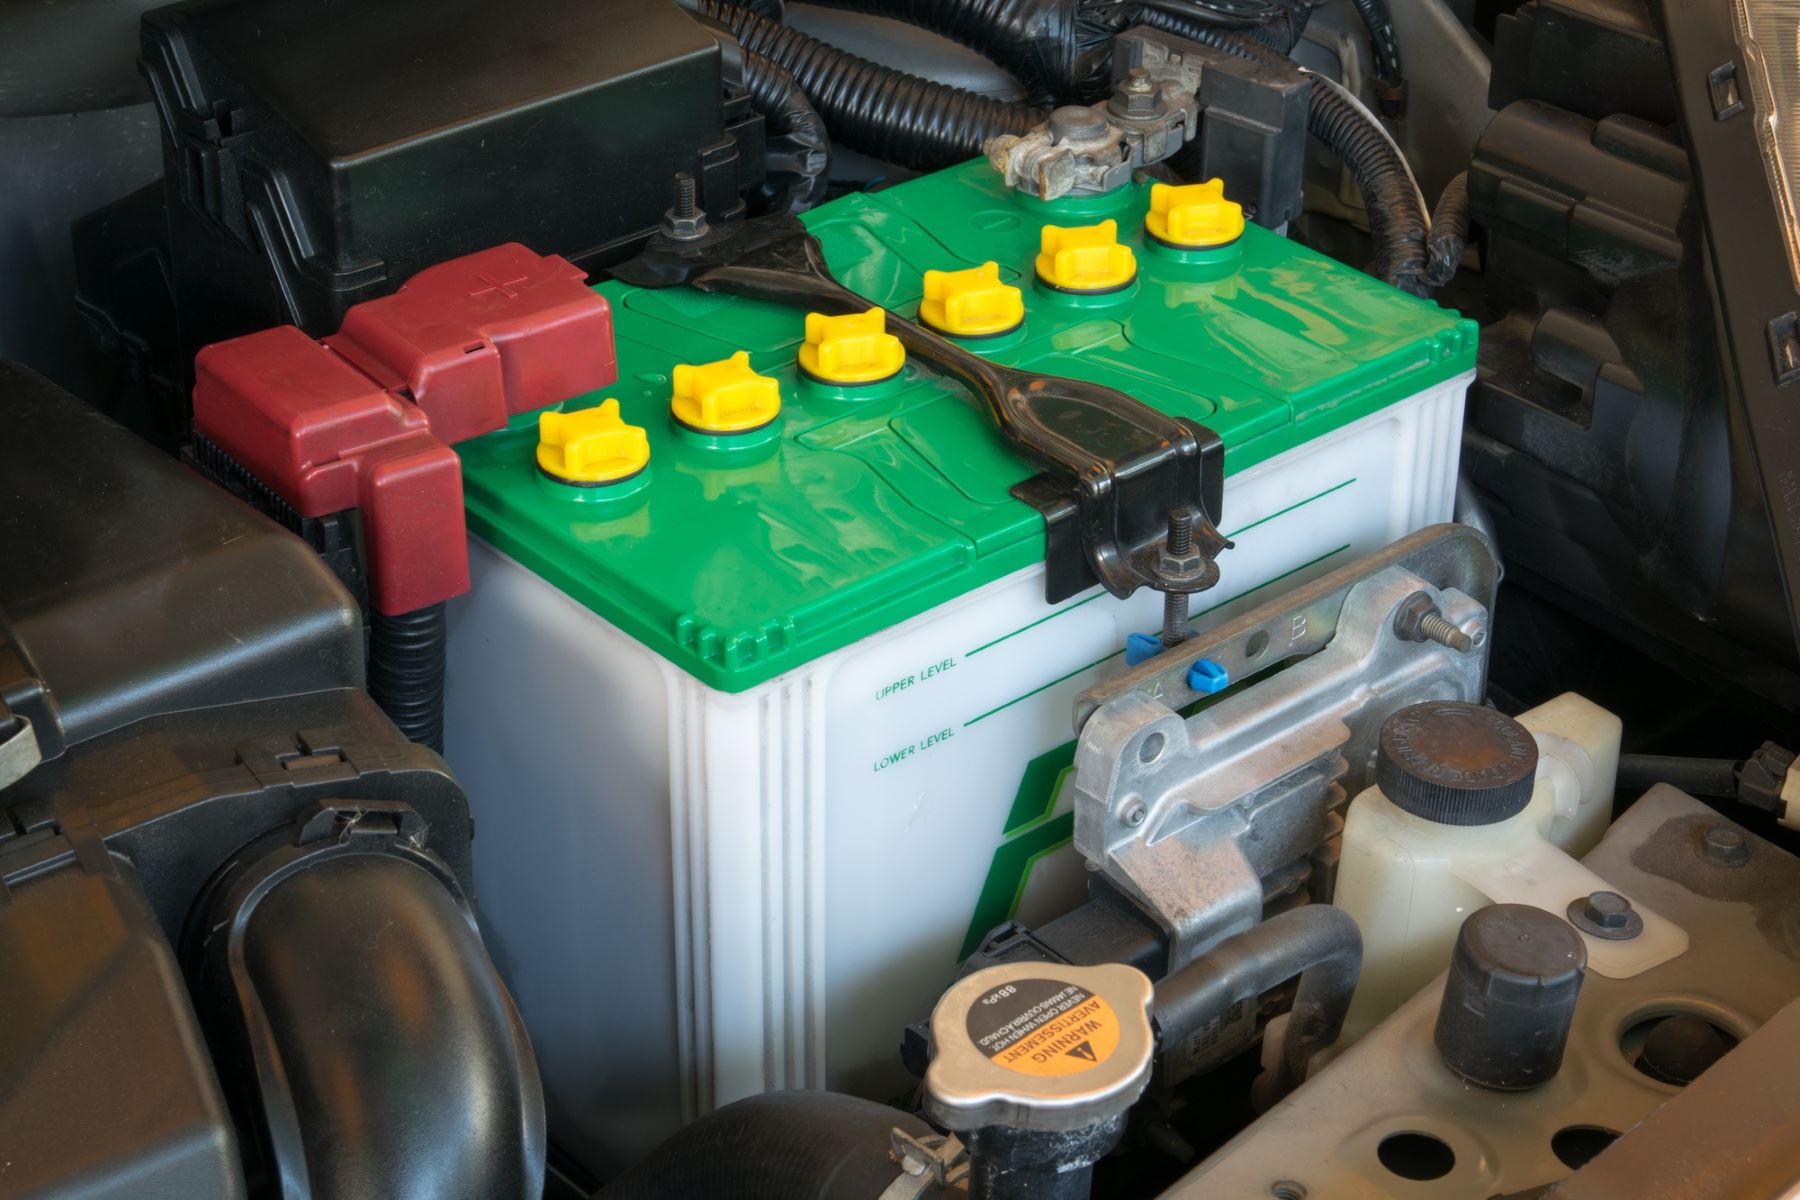
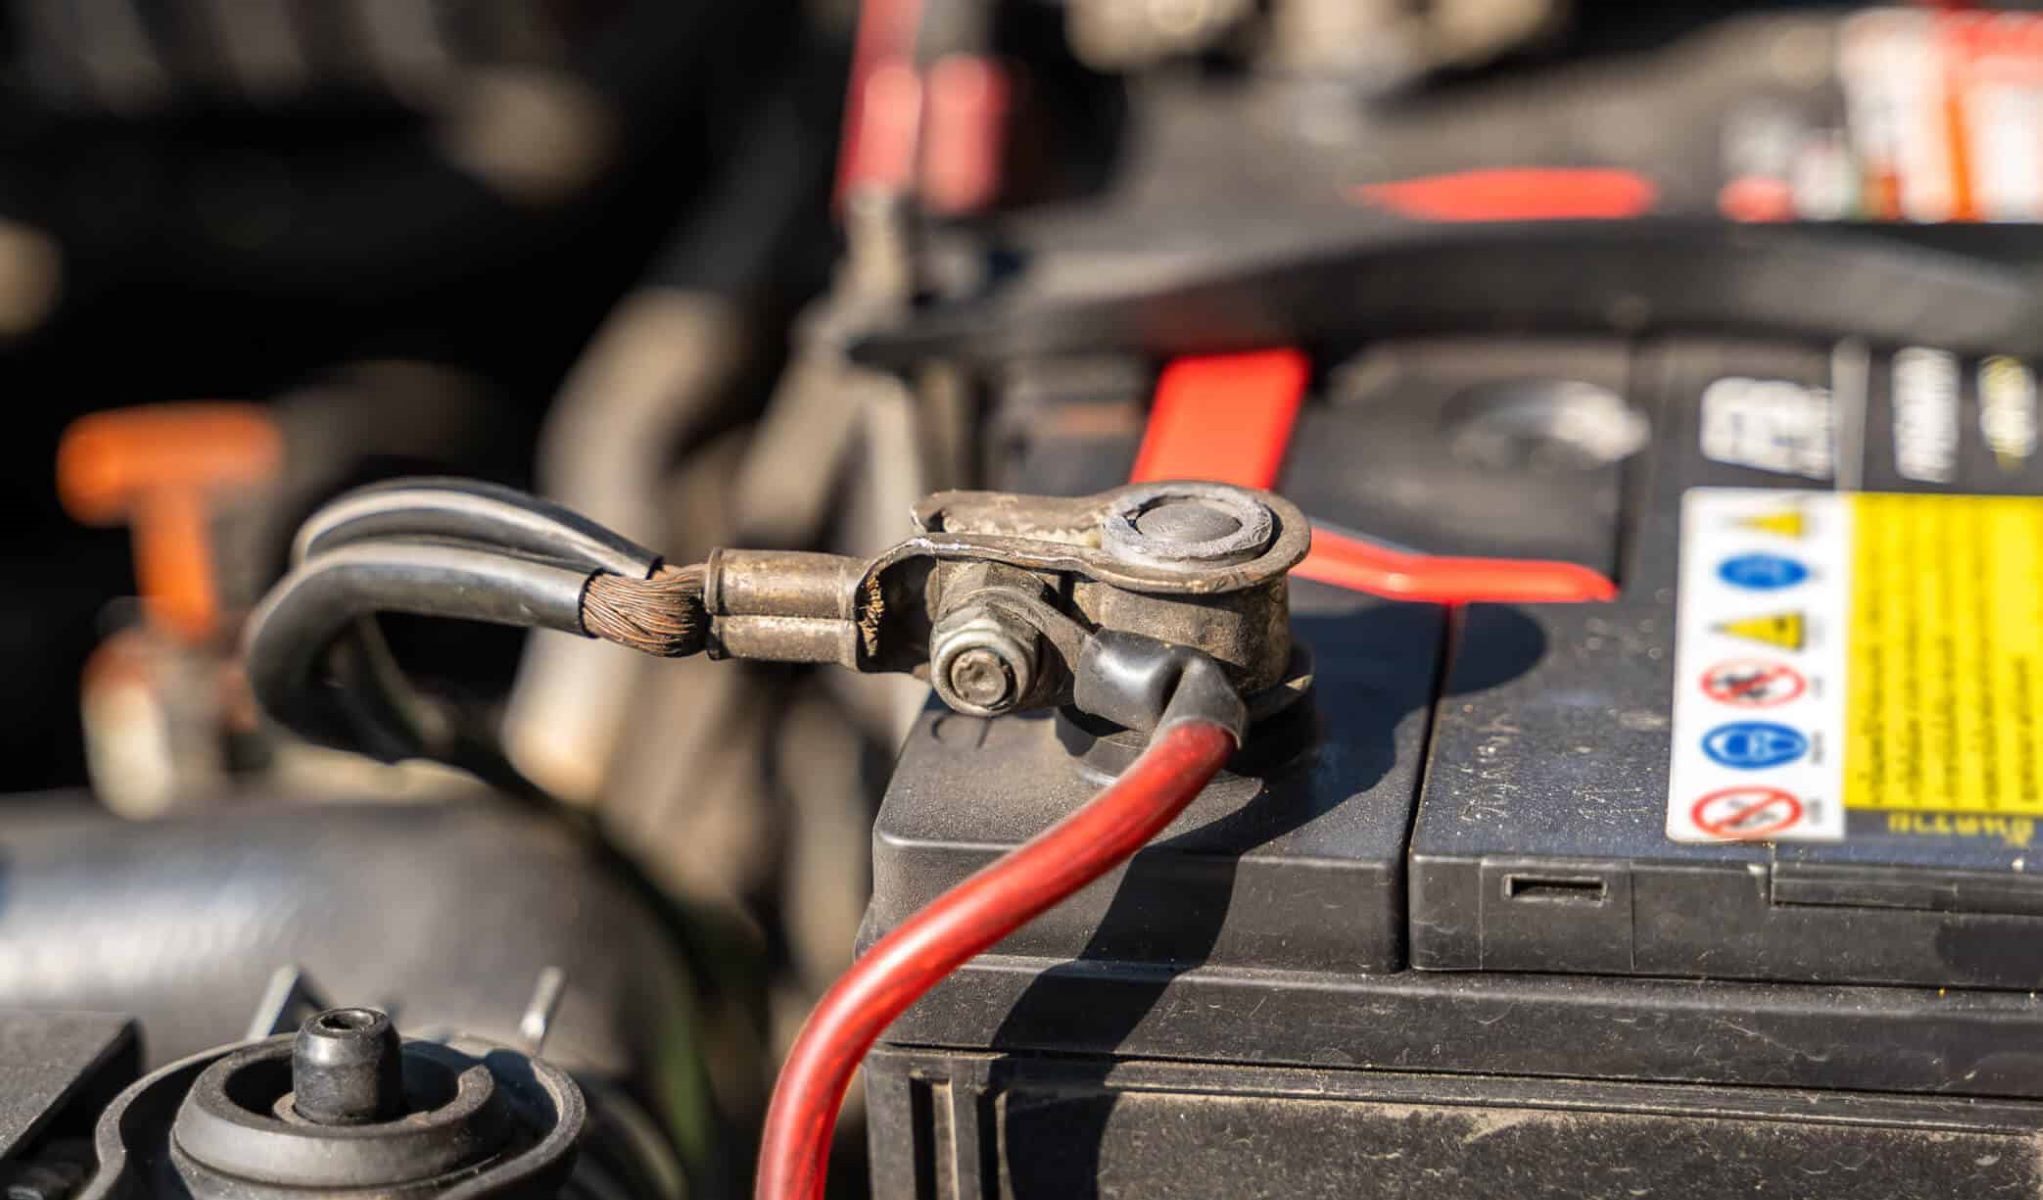
Corrosion and Buildup: One of the most common signs of a damaged battery cable is the presence of corrosion and buildup around the cable terminals. Corrosion, often appearing as a powdery white substance, can hinder the flow of electrical current and compromise the connection between the battery and the electrical components. Additionally, visible buildup or rust on the cable ends and terminals indicates a potential deterioration of the cable.
-
Frayed or Damaged Insulation: Insulation damage on the battery cable can result from exposure to heat, friction, or external elements. Insulation serves to protect the cable from electrical shorts and environmental factors. If you notice fraying, cracking, or bare wire exposed along the length of the cable, it is a clear indication of insulation damage, which can lead to electrical malfunctions and safety hazards.
-
Loose or Corroded Terminal Connections: The terminal connections at both ends of the battery cable should be secure and free from corrosion. Loose or corroded connections can impede the flow of electrical current, leading to voltage drop and erratic electrical behavior in the vehicle. It is essential to inspect the terminal connections for tightness and cleanliness regularly.
-
Difficulty Starting the Engine: A damaged battery cable can result in difficulty starting the engine, especially in cold weather. If you experience sluggish or intermittent starting, it could be a sign of poor electrical conductivity due to a deteriorating battery cable.
-
Dim or Flickering Lights: Dim or flickering headlights and interior lights can indicate an underlying issue with the battery cable. Voltage drop caused by a damaged cable can lead to reduced power supply to the lights, affecting their brightness and stability.
By being vigilant for these signs, you can proactively address potential issues with the battery cable and take the necessary steps to revamp or replace it. Now, let's move on to the materials needed for revamping your car's battery cable.
Materials Needed
To revamp your car's battery cable, you will need a few essential materials to ensure a successful and effective restoration of the cable's electrical integrity. These materials are readily available and relatively inexpensive, making the revamping process a cost-effective solution for improving the performance and reliability of your vehicle's electrical system.
-
Wire Brush or Sandpaper: A wire brush or sandpaper is essential for removing corrosion and buildup from the cable terminals. These abrasive tools enable you to clean the terminal connections thoroughly, restoring proper electrical conductivity and ensuring a secure connection between the battery cable and the terminals.
-
Battery Terminal Cleaner: A battery terminal cleaner, often available in the form of a brush or spray, is designed to remove corrosion and oxidation from the battery terminals and cable ends. Using a specialized cleaner helps eliminate stubborn corrosion, ensuring a clean and reliable electrical connection.
-
Terminal Protectors: Terminal protectors, also known as terminal boots, provide added protection to the cable terminals, shielding them from moisture, dirt, and corrosion. These protective covers help maintain the integrity of the terminal connections and prolong the lifespan of the battery cable.
-
Wire Cutters and Strippers: Wire cutters and strippers are indispensable for trimming and preparing the cable ends for revamping. These tools allow you to remove any damaged or frayed sections of the cable and strip the insulation to expose clean, conductive wire for a secure connection.
-
Battery Terminal Brush: A battery terminal brush, equipped with a durable bristle head, is ideal for cleaning the inside of the battery terminals and cable ends. This tool effectively removes corrosion and buildup from hard-to-reach areas, ensuring a pristine connection for optimal electrical conductivity.
-
Protective Gloves and Eye Wear: When working on the battery cable, it is essential to prioritize safety. Protective gloves and eye wear shield you from potential exposure to corrosive materials and ensure a safe and comfortable working environment.
-
Anti-Corrosion Grease: Applying anti-corrosion grease to the battery terminals after revamping the cable helps prevent future corrosion and oxidation. This protective grease creates a barrier against moisture and atmospheric contaminants, preserving the integrity of the electrical connections.
By gathering these materials, you can embark on the process of revamping your car's battery cable with confidence and efficiency. With the necessary tools at your disposal, you are well-equipped to restore the electrical performance of the cable and enhance the overall reliability of your vehicle's electrical system. Now, let's proceed to the next section and delve into the step-by-step process of revamping your car's battery cable.
Steps to Revamp Your Car's Battery Cable
Revamping your car's battery cable is a straightforward process that can significantly improve the electrical conductivity and reliability of your vehicle's electrical system. By following these step-by-step instructions, you can effectively restore the integrity of the battery cable and ensure optimal performance.
-
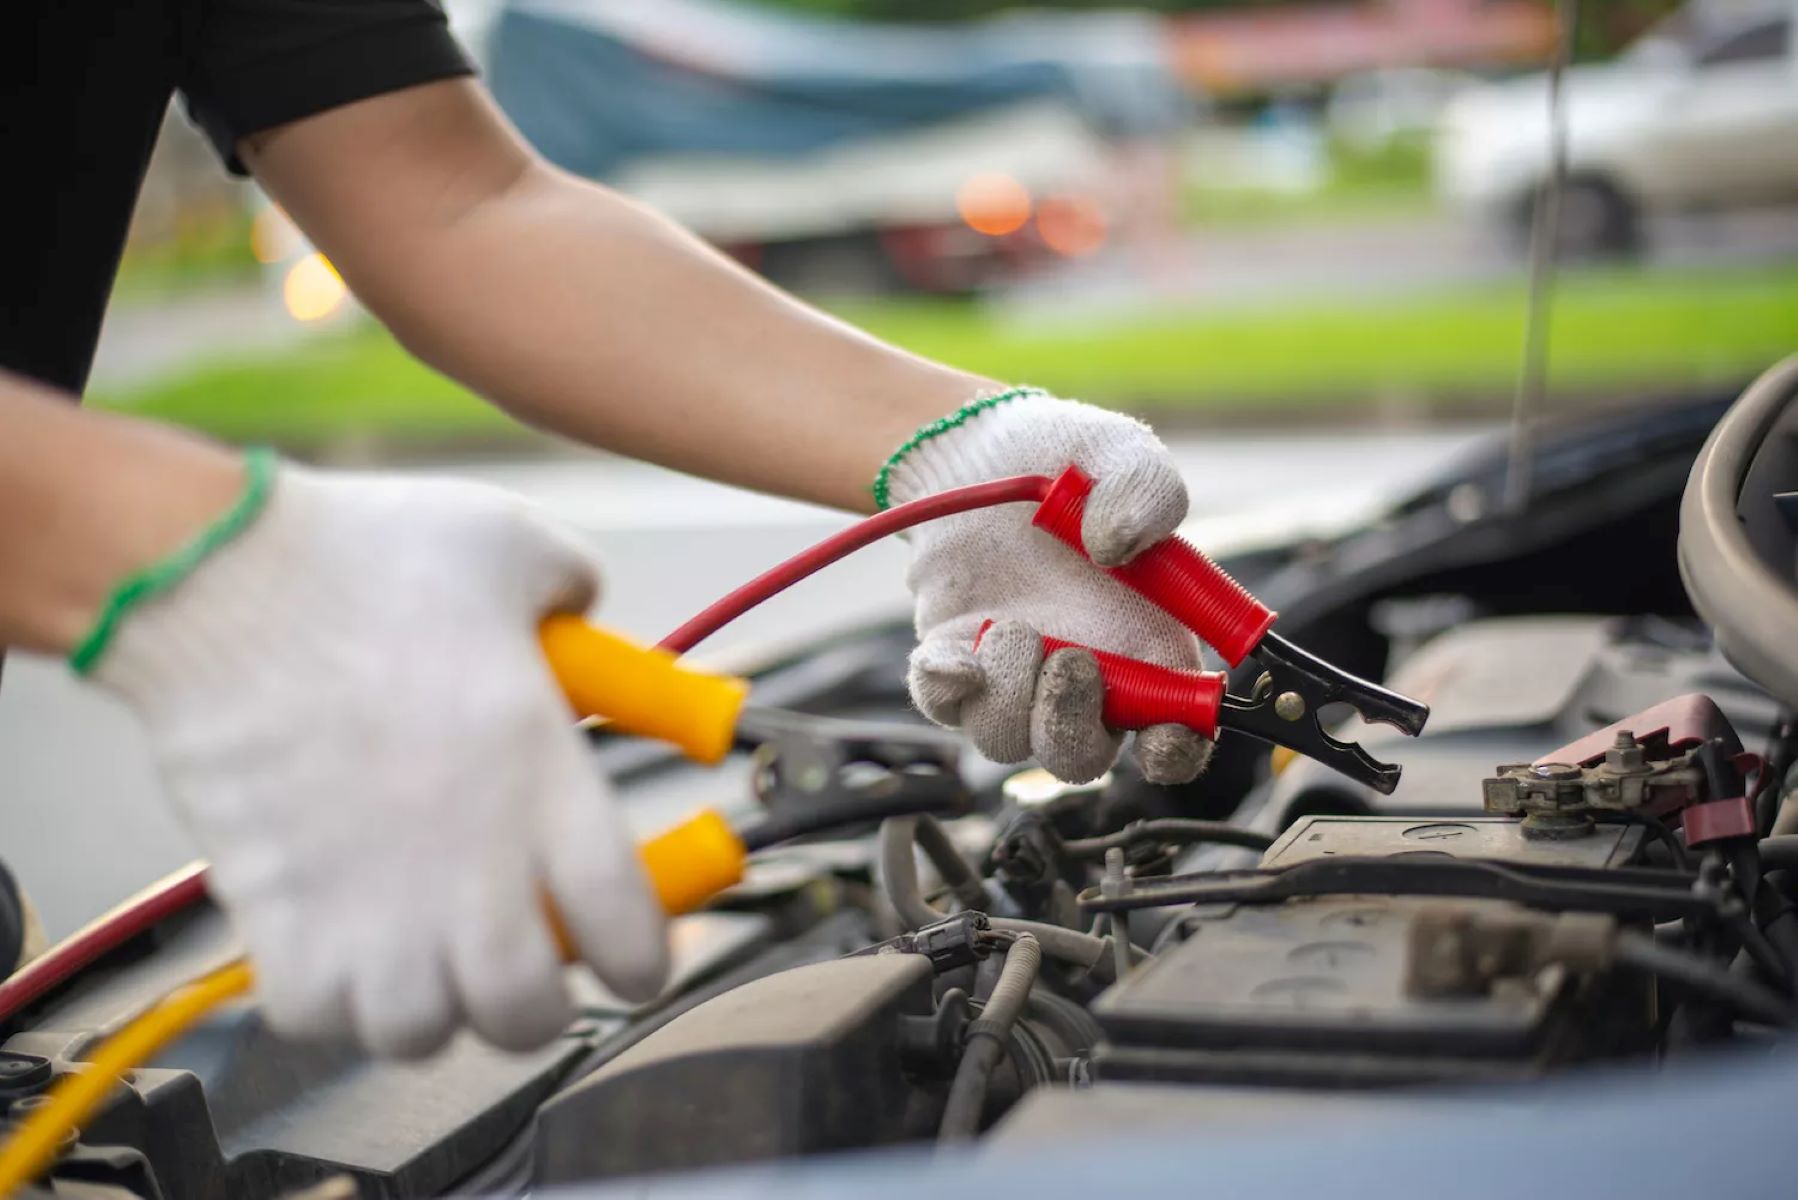
Prepare the Work Area: Start by ensuring a safe and well-ventilated work area. Put on protective gloves and eye wear to shield yourself from potential exposure to corrosive materials and ensure a safe working environment.
-
Disconnect the Battery: Prior to revamping the battery cable, disconnect the negative terminal of the battery to eliminate the risk of electrical shock or short circuits during the process. It is crucial to disconnect the negative terminal first to prevent accidental grounding.
-
Inspect the Cable: Thoroughly inspect the battery cable for signs of corrosion, buildup, and damage. Identify areas of corrosion and ensure that the cable ends and terminals are free from any obstructions or debris.
-
Clean the Cable Terminals: Use a wire brush or sandpaper to clean the cable terminals and battery posts, removing any corrosion and buildup. Ensure that the metal surfaces are clean and free from oxidation to facilitate a secure and conductive connection.
-
Apply Battery Terminal Cleaner: Use a specialized battery terminal cleaner to further remove stubborn corrosion and oxidation from the cable terminals and battery posts. Apply the cleaner according to the manufacturer's instructions, ensuring thorough coverage of the affected areas.
-
Trim and Strip the Cable Ends: Using wire cutters and strippers, trim any damaged or frayed sections of the cable ends. Strip the insulation to expose clean, conductive wire for a secure connection. Ensure that the exposed wire is free from damage and oxidation.
-
Clean Inside the Battery Terminals: Utilize a battery terminal brush to clean the inside of the battery terminals and cable ends, removing any residual corrosion and buildup. This step ensures a pristine connection and optimal electrical conductivity.
-
Apply Terminal Protectors: Install terminal protectors, also known as terminal boots, on the cable terminals to shield them from moisture, dirt, and corrosion. These protective covers help maintain the integrity of the terminal connections and prolong the lifespan of the battery cable.
-
Reconnect the Battery: Once the revamping process is complete, securely reconnect the negative terminal of the battery. Ensure that the terminal connection is tight and free from any obstructions. This step reestablishes the electrical connection and prepares the battery for testing.
-
Apply Anti-Corrosion Grease: To prevent future corrosion and oxidation, apply a thin layer of anti-corrosion grease to the battery terminals and cable ends. This protective grease creates a barrier against moisture and atmospheric contaminants, preserving the integrity of the electrical connections.
By following these steps, you can effectively revamp your car's battery cable, restoring its electrical integrity and ensuring the reliable operation of your vehicle's electrical system. Once the revamping process is complete, it is essential to test the cable to verify its electrical conductivity and overall performance.
Now, let's move on to the next section and explore the process of testing the revamped battery cable to ensure its functionality and reliability.
Testing the Revamped Battery Cable
After revamping your car's battery cable, it is essential to conduct thorough testing to verify its functionality and electrical integrity. Testing the revamped cable ensures that it can effectively transmit electrical power from the battery to the vehicle's electrical components, thereby confirming the success of the revamping process. By following these testing procedures, you can gain confidence in the reliability of your vehicle's electrical system and identify any potential issues that require further attention.
Voltage Drop Test
One of the primary tests for evaluating the performance of the revamped battery cable is the voltage drop test. This test measures the voltage drop across the cable when a load is applied, providing valuable insights into the cable's electrical conductivity and the presence of any resistance or impedance. To conduct the voltage drop test, follow these steps:
-
Prepare the Multimeter: Set the multimeter to the voltage setting and ensure that it is properly calibrated for accurate measurements.
-
Measure Voltage at the Battery Terminals: With the vehicle's electrical systems turned off, connect the multimeter's probes to the positive and negative battery terminals. Record the voltage reading displayed on the multimeter.
-
Measure Voltage at the Cable Terminals: Next, connect the multimeter's probes to the positive and negative cable terminals. Apply a load to the electrical system, such as turning on the headlights or activating the starter motor, and record the voltage reading displayed on the multimeter.
-
Calculate Voltage Drop: The voltage drop is calculated by subtracting the voltage reading at the cable terminals from the voltage reading at the battery terminals. A minimal voltage drop indicates efficient electrical conductivity, while a significant drop may signal resistance or impedance in the cable.
Continuity Test
In addition to the voltage drop test, performing a continuity test on the revamped battery cable helps verify the presence of a continuous electrical path from the battery to the vehicle's electrical components. A continuity test confirms that the cable is free from breaks, interruptions, or short circuits, ensuring a seamless flow of electrical power. To conduct the continuity test, follow these steps:
-
Set the Multimeter to Continuity Mode: Adjust the multimeter to the continuity setting, which emits an audible tone when a continuous electrical path is detected.
-
Test Cable Continuity: Place one multimeter probe on the positive terminal of the battery and the other probe on the positive cable terminal. Listen for the audible tone, indicating the presence of a continuous electrical path.
-
Repeat for the Negative Cable: Repeat the continuity test for the negative cable by placing one multimeter probe on the negative battery terminal and the other probe on the negative cable terminal. Confirm the presence of a continuous electrical path with the audible tone.
By conducting these tests, you can effectively evaluate the revamped battery cable's electrical performance and ensure that it meets the necessary criteria for reliable operation. If the tests reveal any irregularities or inconsistencies, further inspection and potential adjustments may be required to address any underlying issues.
Now that we have covered the testing procedures for the revamped battery cable, you are well-equipped to verify its functionality and electrical integrity, thereby ensuring the optimal performance of your vehicle's electrical system.
Conclusion
Revamping your car's battery cable is a simple yet impactful maintenance task that can significantly enhance the reliability and performance of your vehicle's electrical system. By understanding the crucial role of the battery cable and recognizing the signs of a damaged cable, you can proactively address potential issues and prevent inconvenient breakdowns. The step-by-step process of revamping the battery cable, coupled with thorough testing procedures, empowers you to ensure the electrical integrity of the cable and maintain a safe and efficient driving experience.
As you embark on the journey of revamping your car's battery cable, it is essential to prioritize safety and precision. By gathering the necessary materials and following the detailed instructions, you can breathe new life into the electrical connections of your vehicle, promoting optimal electrical conductivity and minimizing the risk of electrical malfunctions. The use of specialized tools such as wire brushes, battery terminal cleaners, and protective gloves enables you to approach the revamping process with confidence and efficiency.
Furthermore, the testing procedures, including the voltage drop test and continuity test, serve as critical measures to verify the success of the revamping process. By meticulously evaluating the electrical performance of the revamped battery cable, you can gain assurance in the reliability of your vehicle's electrical system, identifying and addressing any potential issues that may compromise its functionality.
Ultimately, the revamping of your car's battery cable empowers you to take proactive control of your vehicle's electrical integrity, promoting safety, reliability, and peace of mind on the road. By investing time and effort into this essential maintenance task, you contribute to the longevity and efficiency of your car's electrical system, ensuring that it operates smoothly and consistently.
In conclusion, mastering the art of revamping your car's battery cable is a valuable skill that enhances your understanding of your vehicle's electrical components and equips you with the knowledge to maintain its optimal performance. By embracing this maintenance task, you not only enhance the functionality of your car but also gain a sense of empowerment and self-reliance as a conscientious car owner. So, roll up your sleeves, gather the materials, and embark on the journey to revamp your car's battery cable, knowing that you are taking a proactive step toward ensuring the reliability and safety of your vehicle's electrical system.