Home>Technology and Computers>Revamp Your Swiffer Wet Jet With New Batteries – Easy Step-by-Step Guide!
Technology and Computers
Revamp Your Swiffer Wet Jet With New Batteries – Easy Step-by-Step Guide!
Published: January 9, 2024
Revitalize your Swiffer Wet Jet with new batteries using our simple, step-by-step guide. Get your floors sparkling clean in no time! Perfect for technology and computer enthusiasts.
(Many of the links in this article redirect to a specific reviewed product. Your purchase of these products through affiliate links helps to generate commission for Regretless.com, at no extra cost. Learn more)
Table of Contents
Introduction
Revamping your Swiffer Wet Jet with new batteries can breathe new life into this essential cleaning tool. Over time, the batteries in your Swiffer Wet Jet may lose their power, causing decreased performance and frustration during cleaning sessions. However, with a simple battery replacement, you can restore your Swiffer Wet Jet to its full potential, ensuring that it continues to efficiently tackle dirt and grime on your floors.
In this comprehensive guide, we will walk you through the step-by-step process of replacing the batteries in your Swiffer Wet Jet. Whether you are a seasoned DIY enthusiast or a novice looking to take on a simple yet impactful project, this guide will equip you with the knowledge and confidence to successfully upgrade your Swiffer Wet Jet with new batteries.
By following these easy steps, you can avoid the inconvenience of a poorly functioning Swiffer Wet Jet and enjoy the convenience and effectiveness of this popular cleaning tool once again. So, gather your supplies and get ready to give your Swiffer Wet Jet a new lease on life!
Step 1: Gather Your Supplies
Before embarking on the battery replacement process for your Swiffer Wet Jet, it's essential to gather all the necessary supplies. By ensuring that you have everything at hand, you can streamline the process and avoid interruptions. Here's a comprehensive list of supplies you'll need for this task:
-
New Batteries: Depending on the model of your Swiffer Wet Jet, you may require AA or AAA batteries. Ensure that you have the correct type and quantity of batteries to power your device effectively.
-
Screwdriver: Most Swiffer Wet Jet models require a screwdriver to access the battery compartment. Verify the type of screwdriver needed, whether it's Phillips or flathead, to avoid any delays during the replacement process.
-
Clean Cloth: Having a clean cloth or microfiber towel on hand can be beneficial for wiping down the Swiffer Wet Jet and ensuring that it's free from dust and debris before and after the battery replacement.
-
Work Surface: It's advisable to work on a flat and stable surface to prevent any accidental damage to the Swiffer Wet Jet. Clear a suitable workspace where you can comfortably maneuver the device and access its battery compartment.
-
Optional: Replacement Pads: While not directly related to the battery replacement, it might be a good time to check if your Swiffer Wet Jet's cleaning pads need replacement. If so, having new pads on hand can save you time and effort in the long run.
By gathering these supplies before starting the battery replacement process, you can ensure a smooth and efficient experience. With everything within reach, you'll be well-prepared to proceed to the next steps and give your Swiffer Wet Jet the power it needs to keep your floors sparkling clean.
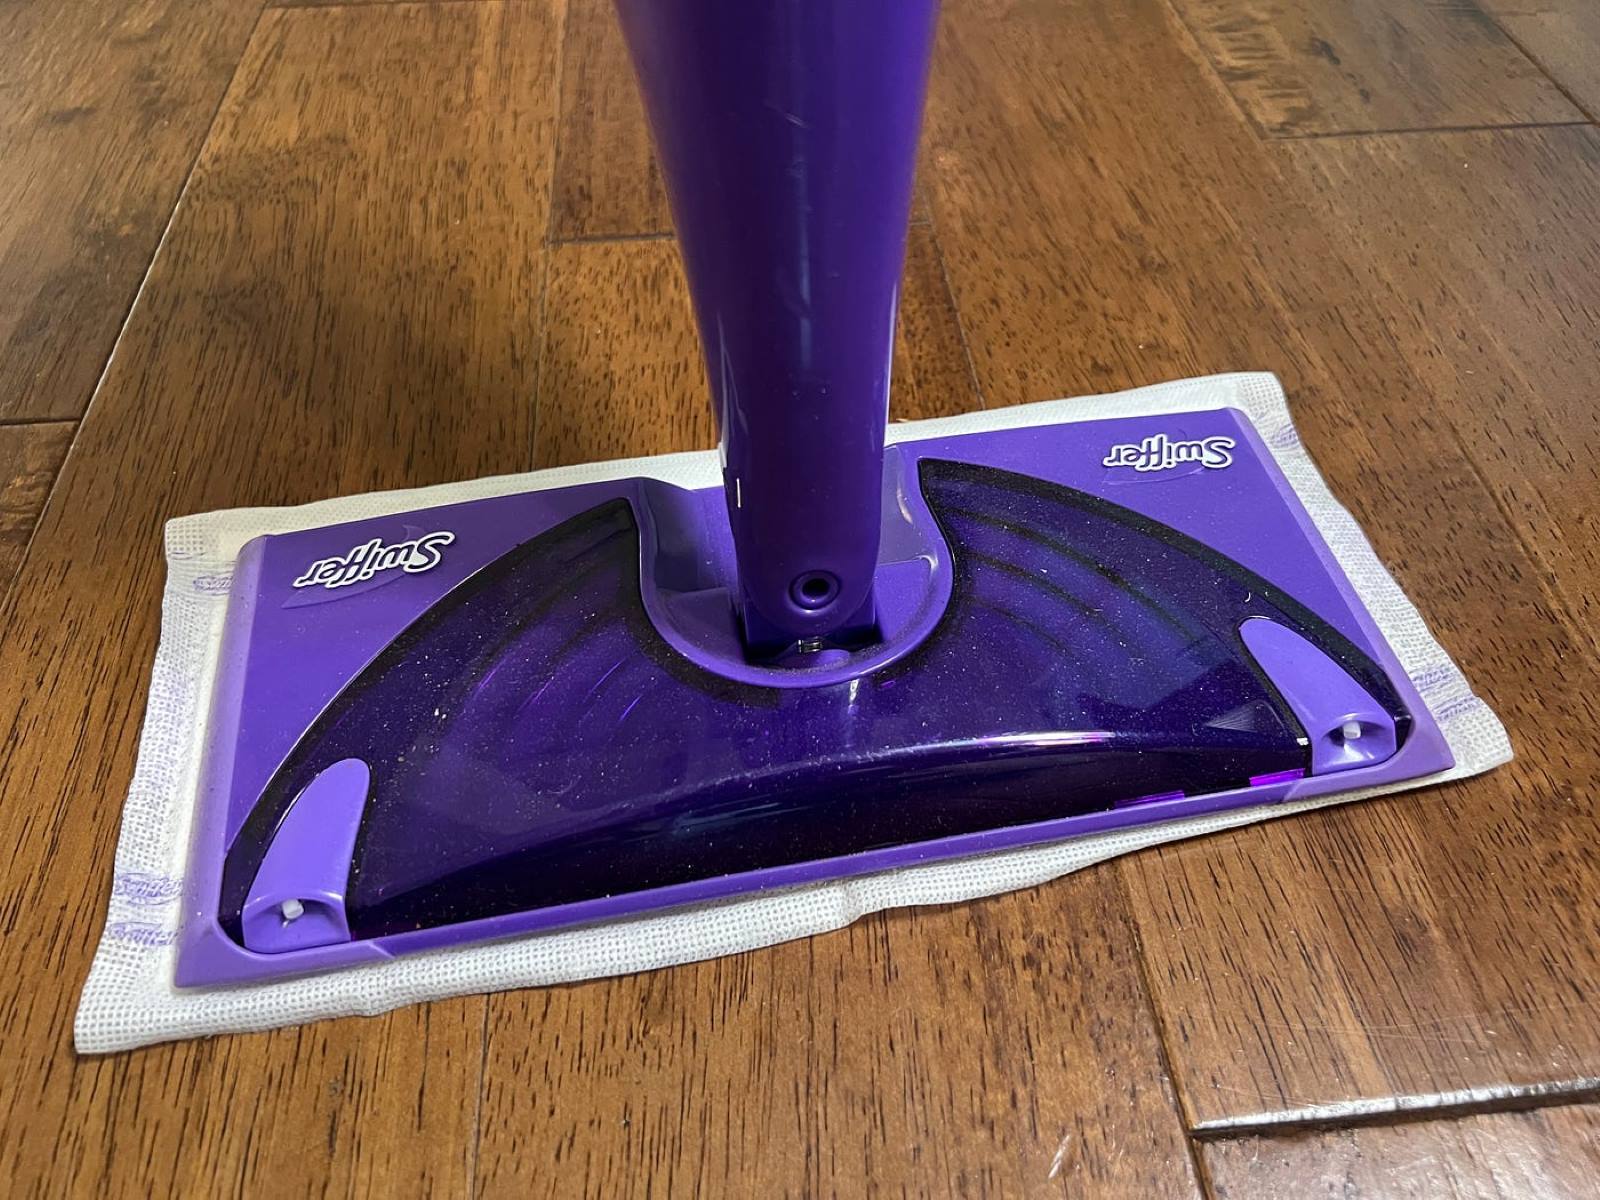
Step 2: Remove the Old Batteries
To begin the process of revamping your Swiffer Wet Jet with new batteries, the first step is to remove the old batteries. This step is crucial in ensuring a smooth transition to the fresh power source and maintaining the functionality of your cleaning tool. Follow these detailed instructions to safely and effectively remove the old batteries from your Swiffer Wet Jet:
-
Prepare the Work Area: Before delving into the battery removal process, it's important to set up a suitable work area. Choose a well-lit and spacious area where you can comfortably work on your Swiffer Wet Jet. Lay down a clean cloth or microfiber towel to protect the device and provide a soft surface for handling the components.
-
Access the Battery Compartment: Most Swiffer Wet Jet models feature a battery compartment located near the handle or at the base of the device. Use the appropriate screwdriver to carefully remove any screws securing the battery compartment cover. Place the screws in a safe location to prevent misplacement.
-
Remove the Old Batteries: Once the battery compartment cover is accessible, gently lift it or slide it off, depending on the design of your Swiffer Wet Jet. Take note of the orientation of the old batteries and their placement within the compartment. Using your fingers or a small tool, carefully remove the old batteries, ensuring that you handle them with care and avoid any damage to the battery contacts or surrounding components.
-
Dispose of Old Batteries Responsibly: As you remove the old batteries, it's important to handle them in an environmentally responsible manner. If the old batteries are rechargeable or contain hazardous materials, consider recycling them at designated drop-off locations or electronic waste recycling centers. This eco-friendly approach ensures that the old batteries are disposed of safely and sustainably.
By following these steps, you can effectively remove the old batteries from your Swiffer Wet Jet, paving the way for the next phase of the battery replacement process. With the old batteries safely removed, you are now ready to proceed to the next step and insert the new batteries, rejuvenating your Swiffer Wet Jet for continued cleaning excellence.
Step 3: Insert the New Batteries
With the old batteries successfully removed from your Swiffer Wet Jet, the next pivotal step is to insert the new batteries, providing the essential power source needed to restore the functionality of your cleaning tool. Follow these detailed instructions to seamlessly integrate the new batteries into your Swiffer Wet Jet:
-
Select the Correct Batteries: Before proceeding, ensure that you have the appropriate new batteries for your Swiffer Wet Jet. Refer to the device's manual or specifications to confirm the required battery type and quantity. Whether it's AA or AAA batteries, verify that they are fresh and fully charged to maximize the performance of your Swiffer Wet Jet.
-
Check Battery Orientation: Take a moment to inspect the battery compartment and identify the correct orientation for inserting the new batteries. Most devices feature clear markings or diagrams indicating the proper placement of the positive (+) and negative (-) ends of the batteries. Aligning the batteries correctly is crucial for the Swiffer Wet Jet to function optimally.
-
Insert the New Batteries: Holding the new batteries in hand, carefully place them into the battery compartment according to the specified orientation. Gently press down on each battery to ensure a secure fit, taking care not to force them into position. Confirm that the batteries are snugly seated and make proper contact with the device's terminals.
-
Replace the Battery Compartment Cover: Once the new batteries are in place, reattach the battery compartment cover by aligning it with the corresponding slots or hinges. Secure the cover in position and fasten any screws using the appropriate screwdriver. Ensure that the cover is firmly in place to safeguard the new batteries and maintain the integrity of the Swiffer Wet Jet.
-
Test the Power: With the new batteries installed, it's time to test the Swiffer Wet Jet to verify that it powers up as expected. Press the power button or trigger to activate the device and listen for any indications of successful power delivery. If the Swiffer Wet Jet responds accordingly, you have effectively completed the battery replacement process.
By following these meticulous steps, you have successfully inserted the new batteries into your Swiffer Wet Jet, setting the stage for enhanced cleaning performance and prolonged usability. With fresh power at its disposal, your Swiffer Wet Jet is now ready to tackle dirt and grime with renewed vigor, ensuring that your floors remain spotless and inviting.
Step 4: Test Your Swiffer Wet Jet
Once you've completed the process of replacing the batteries in your Swiffer Wet Jet, it's essential to perform a thorough test to ensure that the device is functioning optimally. Testing your Swiffer Wet Jet after a battery replacement allows you to confirm that the new power source has been successfully integrated and that the device is ready to deliver exceptional cleaning performance. Follow these steps to comprehensively test your Swiffer Wet Jet:
-
Power Activation: Press the power button or trigger on your Swiffer Wet Jet to activate the device. Listen for any audible cues, such as motor sounds or indicator lights, indicating that the device has received power from the new batteries. The activation process should be smooth and responsive, reflecting the enhanced energy supply from the fresh batteries.
-
Spray Functionality: Test the spray functionality of your Swiffer Wet Jet by pressing the spray button or trigger. Observe the spray nozzle for a steady and consistent release of cleaning solution. A robust spray mechanism indicates that the new batteries are effectively powering the device's essential functions, ensuring that the cleaning solution is dispensed evenly for thorough floor cleaning.
-
Mop Movement: Engage the mop pads on your Swiffer Wet Jet and maneuver the device across a small section of your floor. Pay attention to the movement and agility of the device as it glides smoothly over the surface. The enhanced power from the new batteries should translate into effortless and efficient mopping, allowing the Swiffer Wet Jet to navigate corners and tight spaces with ease.
-
Battery Longevity: As you test your Swiffer Wet Jet, take note of the device's battery longevity. The new batteries should sustain the device's operation for an extended period, ensuring uninterrupted cleaning sessions without premature power depletion. Monitoring the battery life during the test provides valuable insight into the effectiveness of the battery replacement process.
-
Overall Performance: Evaluate the overall performance of your Swiffer Wet Jet during the test. Assess its responsiveness, cleaning efficacy, and maneuverability to gauge the impact of the new batteries on the device's functionality. A successful test will demonstrate that the Swiffer Wet Jet is revitalized with enhanced power, ready to tackle cleaning tasks with renewed vigor.
By conducting a comprehensive test of your Swiffer Wet Jet after the battery replacement, you can confidently ascertain that the device is operating at its full potential. The successful test results validate the effectiveness of the battery replacement process, reaffirming the Swiffer Wet Jet's role as a reliable and indispensable cleaning companion in your household.
Conclusion
In conclusion, the process of revamping your Swiffer Wet Jet with new batteries is a simple yet impactful endeavor that can breathe new life into this essential cleaning tool. By following the step-by-step guide outlined in this comprehensive resource, you have equipped yourself with the knowledge and confidence to successfully replace the batteries in your Swiffer Wet Jet, ensuring that it continues to deliver exceptional cleaning performance.
The journey began with gathering the necessary supplies, emphasizing the importance of being well-prepared to streamline the battery replacement process. By ensuring that you have the correct batteries, a suitable screwdriver, a clean cloth, and a dedicated work surface, you set the stage for a smooth and efficient experience.
Moving on to the actual battery replacement process, you carefully removed the old batteries, disposed of them responsibly, and then seamlessly inserted the new batteries into the device. Attention to detail and proper handling of the batteries were crucial in ensuring a successful transition to the fresh power source.
After integrating the new batteries, you meticulously tested your Swiffer Wet Jet to verify its functionality and performance. From power activation and spray functionality to mop movement and battery longevity, the comprehensive testing process allowed you to confirm that the new batteries had revitalized the device, empowering it to continue delivering exceptional cleaning results.
The successful completion of the battery replacement process signifies a significant milestone in the maintenance and care of your Swiffer Wet Jet. By investing the time and effort to revamp your cleaning tool with new batteries, you have extended its usability and ensured that it remains a reliable asset in your household cleaning routine.
As you embark on future cleaning endeavors with your revitalized Swiffer Wet Jet, you can take pride in knowing that you have proactively maintained and optimized this essential tool. With fresh power at its disposal, your Swiffer Wet Jet is poised to tackle dirt, grime, and spills with renewed vigor, ensuring that your floors remain impeccably clean and inviting.
By embracing the simple yet impactful act of replacing the batteries in your Swiffer Wet Jet, you have not only enhanced the device's performance but also reaffirmed your commitment to maintaining a clean and welcoming home environment. With a revitalized Swiffer Wet Jet by your side, you are well-equipped to effortlessly conquer cleaning challenges and enjoy the refreshing results of a meticulously maintained living space.