Home>Automotive>Unlock The Secrets: Easy Steps To Change Key Fob Battery!
Automotive
Unlock The Secrets: Easy Steps To Change Key Fob Battery!
Published: January 12, 2024
Learn the easy steps to change your automotive key fob battery and unlock the secrets to hassle-free maintenance. Keep your car key fob working efficiently with these simple tips.
(Many of the links in this article redirect to a specific reviewed product. Your purchase of these products through affiliate links helps to generate commission for Regretless.com, at no extra cost. Learn more)
Table of Contents
Introduction
Are you tired of your key fob failing to unlock your car door or start the engine? Before you rush to the dealership or an automotive locksmith, there's a simple and cost-effective solution that you can handle on your own. The key fob, a compact device that wirelessly controls various vehicle functions, relies on a small battery to power its operations. Over time, this battery can lose its charge, leading to diminished performance or complete failure of the key fob. However, there's no need to fret, as replacing the key fob battery is a straightforward process that anyone can tackle with the right guidance.
In this comprehensive guide, we will walk you through the easy steps to change the key fob battery, empowering you to take control of this essential aspect of your vehicle's functionality. By following these simple instructions, you can save time and money while ensuring that your key fob operates smoothly and reliably. So, grab your key fob and let's embark on this empowering journey to unlock the secrets of key fob maintenance!
Step 1: Gather Necessary Tools
Before you begin the process of changing the key fob battery, it's essential to gather the necessary tools to ensure a smooth and hassle-free experience. Here's what you'll need:
1. Replacement Battery
The first item on your checklist is the replacement battery for your specific key fob model. Key fobs typically use coin cell batteries, such as CR2032 or CR2025. To identify the correct battery type, refer to your vehicle's owner's manual or the manufacturer's guidelines. Once you have the right replacement battery in hand, you're one step closer to revitalizing your key fob.
2. Small Flat-Head Screwdriver
A small flat-head screwdriver is indispensable for opening the key fob casing. This tool allows you to carefully pry open the fob without causing any damage. Opt for a screwdriver with a narrow tip, as it provides the precision needed to access the internal components of the key fob.
3. Tweezers or Pliers
Tweezers or pliers come in handy for safely removing the old battery from its compartment. These tools provide a firm grip, allowing you to extract the battery without any difficulty. Additionally, tweezers or pliers minimize the risk of accidentally dropping the old battery, which could lead to challenges in retrieval.
4. Clean Cloth
A clean cloth or microfiber towel is essential for maintaining a tidy workspace. Before handling the key fob, ensure that your hands are clean and dry to prevent any dirt or moisture from entering the device. The cloth also serves to protect the exterior of the key fob from scratches or blemishes during the battery replacement process.
By assembling these tools, you are well-equipped to embark on the journey of rejuvenating your key fob. With the necessary items at your disposal, you can proceed to the next step with confidence, knowing that you have everything needed to complete the task efficiently.
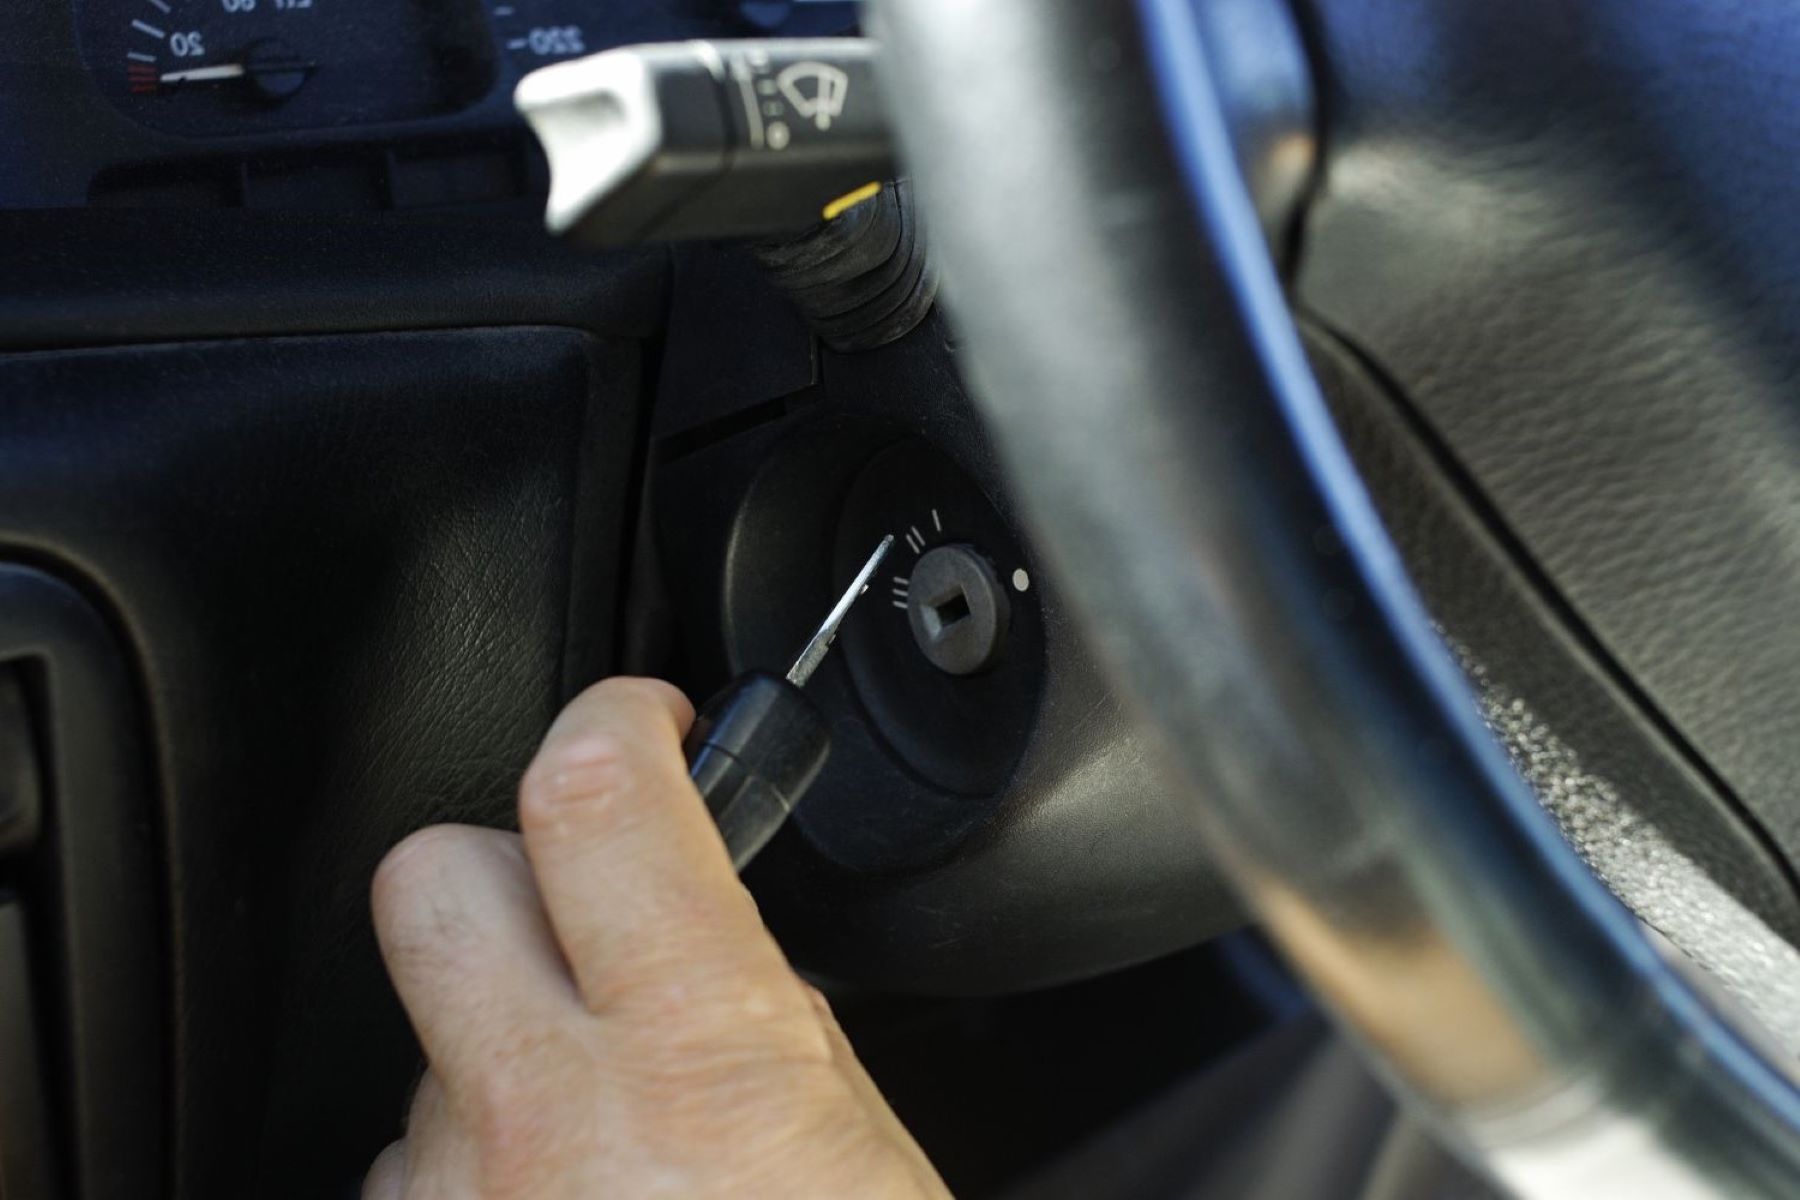
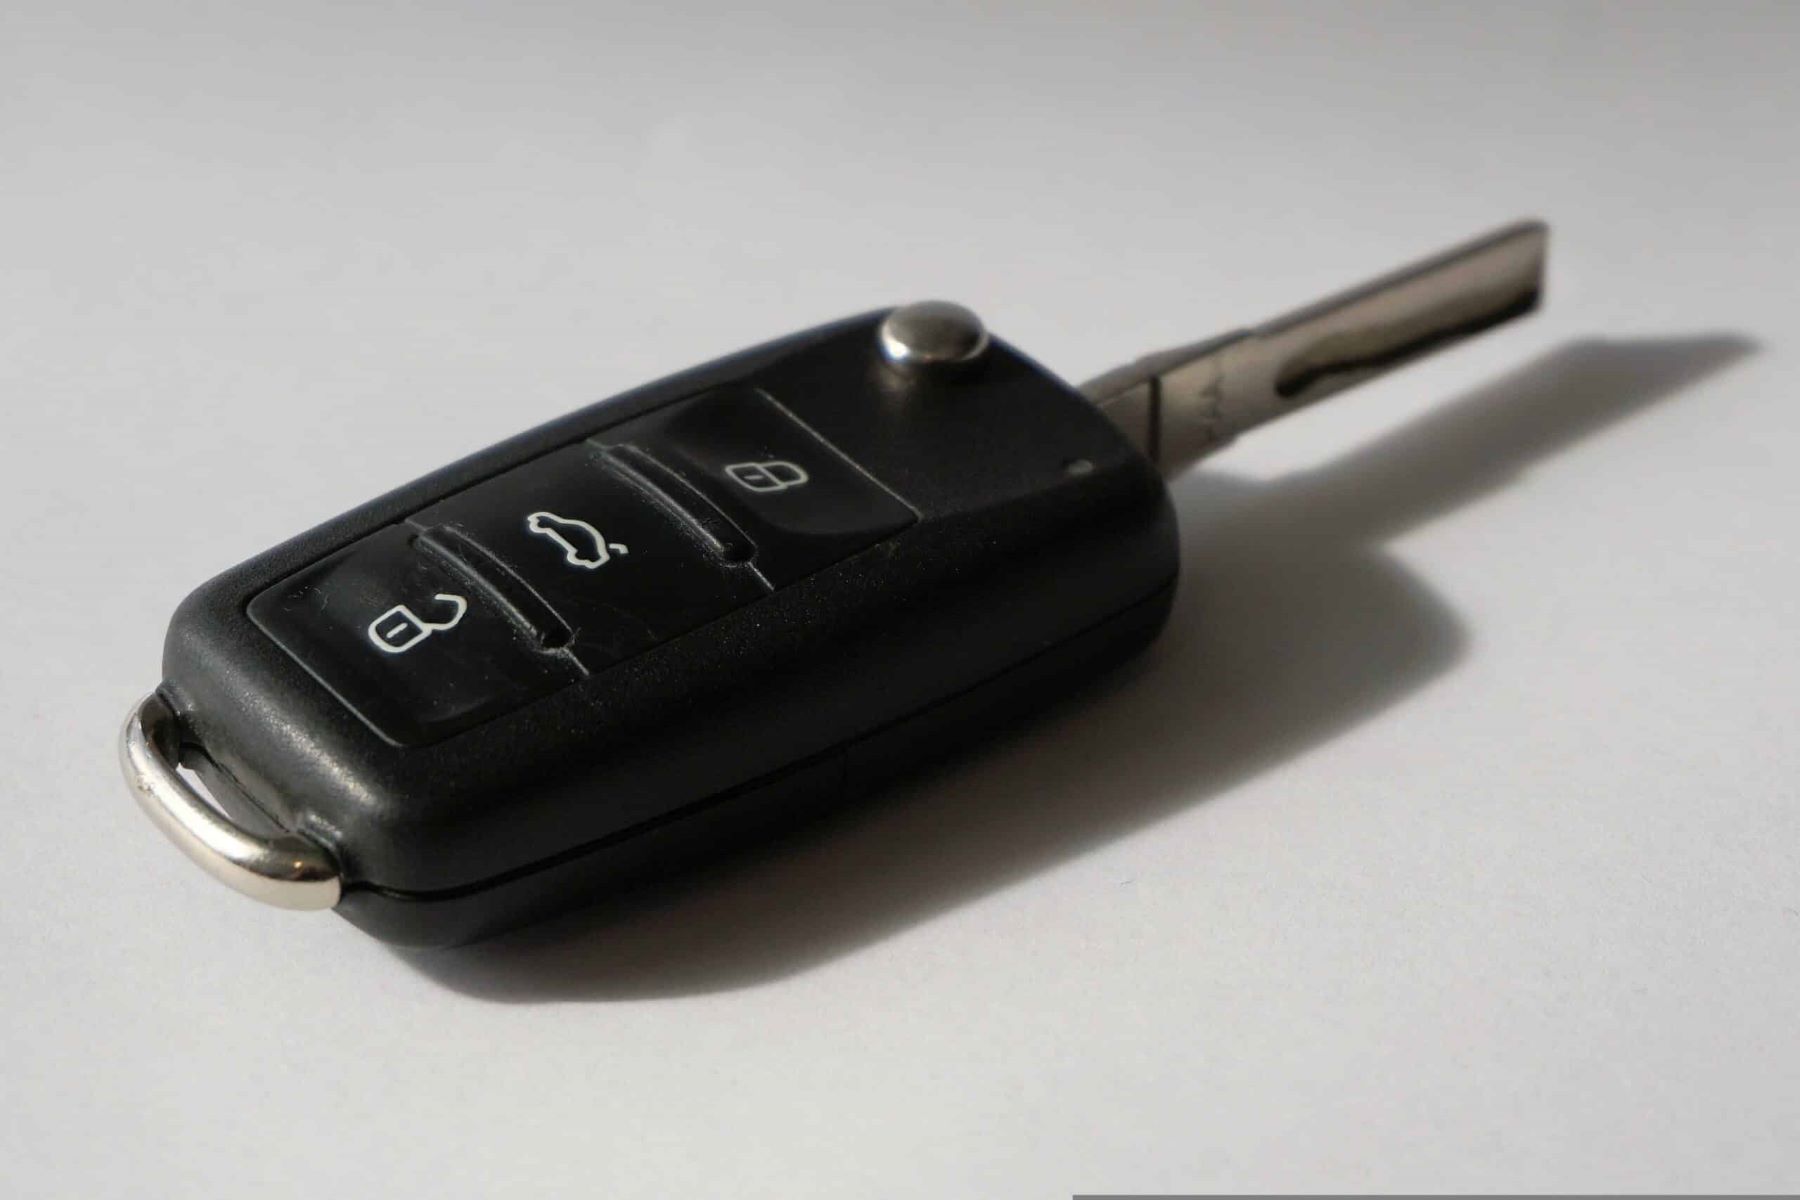
Step 2: Open the Key Fob
Opening the key fob is the crucial first step in accessing the internal components and replacing the battery. Follow these simple yet precise instructions to safely open your key fob:
-
Identify the Opening Point: Examine your key fob to locate the designated opening point. In most cases, key fobs have a small indentation or slot along the seam where the two halves of the casing meet. This is the access point for opening the key fob and gaining entry to the battery compartment.
-
Position the Screwdriver: With the small flat-head screwdriver in hand, carefully insert the tip into the identified opening point. Apply gentle pressure and wiggle the screwdriver to gradually pry open the casing. It's important to exercise caution and patience to avoid damaging the key fob or its components.
-
Work Around the Casing: Once the screwdriver is inserted, work your way around the perimeter of the key fob, gradually separating the two halves of the casing. Take care to apply even pressure and avoid forcing the casing open, as this could lead to breakage or misalignment.
-
Separate the Halves: As you navigate around the casing, you will feel and hear the subtle release of the internal clips securing the two halves together. Continue this process until the casing is fully open, revealing the internal circuit board and the old battery.
By following these steps with precision and patience, you can successfully open the key fob without causing any damage. Remember to handle the key fob and its components with care throughout this process to ensure a smooth transition to the next steps of replacing the old battery with a new one.
Step 3: Remove the Old Battery
With the key fob casing open, the next crucial step is to remove the old battery safely and efficiently. Follow these detailed instructions to navigate through this essential phase of the battery replacement process:
-
Identify the Battery Location: Once the key fob casing is open, you will have a clear view of the internal components, including the battery. Take a moment to locate the position of the old battery within the casing. In most key fobs, the battery is easily identifiable as a round, flat disc secured in a designated compartment on the circuit board.
-
Use Tweezers or Pliers: To remove the old battery, carefully grasp it with a pair of tweezers or pliers. Position the tool to firmly grip the edges of the battery, ensuring a secure hold to prevent slippage or accidental dropping. Exercise caution to avoid applying excessive pressure that could damage the circuit board or surrounding components.
-
Lift and Remove the Battery: With a steady grip on the old battery, gently lift it out of its compartment. Take care to maintain a stable hand and avoid any abrupt movements that could dislodge other components or cause damage to the key fob. Ensure that the area surrounding the battery compartment remains clear of any debris or foreign objects.
-
Dispose of the Old Battery: Once the old battery has been removed, it's essential to dispose of it responsibly. Given that key fob batteries are typically lithium-based, they should be recycled in accordance with local regulations. Many electronic and battery retailers offer recycling programs for proper disposal of used batteries, contributing to environmental sustainability.
-
Inspect the Battery Compartment: After removing the old battery, take a moment to inspect the battery compartment for any signs of corrosion, debris, or damage. If any issues are detected, use a clean, dry cloth to gently wipe the compartment and ensure that it is free from any impediments that could affect the performance of the new battery.
By following these meticulous steps, you can safely and effectively remove the old battery from your key fob, setting the stage for the subsequent installation of the new battery. With the old battery out of the way, you are now prepared to usher in a renewed source of power that will breathe new life into your key fob.
Step 4: Insert the New Battery
With the old battery successfully removed, it's time to introduce the fresh source of power that will revitalize your key fob. Follow these precise steps to seamlessly insert the new battery and prepare your key fob for enhanced functionality:
-
Verify the Battery Orientation: Before proceeding, take a moment to ensure that you have the new battery oriented correctly. Most key fob batteries have markings indicating the positive (+) and negative (-) terminals. Align the new battery in accordance with these markings to guarantee the proper orientation for installation.
-
Position the New Battery: Carefully place the new battery into the designated compartment on the circuit board. Ensure that the battery sits flat and secure within the compartment, with the positive and negative terminals aligned with their respective contacts on the circuit board. Gently press down on the battery to ensure a snug fit without applying excessive force.
-
Test the Battery Connection: Once the new battery is in place, lightly press the buttons on the key fob to confirm that the battery is making proper contact with the circuitry. The buttons should respond with a reassuring click, indicating that the new battery is connected and ready to power the key fob's functions.
-
Close the Key Fob Casing: With the new battery securely installed, carefully position the two halves of the key fob casing together, ensuring that they align properly. Apply gentle pressure around the perimeter of the casing to snap the two halves back into place. You should hear a series of clicks as the internal clips engage, securing the casing.
-
Test the Key Fob: Before fully securing the key fob casing, test the functionality of the key fob by pressing the buttons to lock and unlock the vehicle. Additionally, check the key fob's ability to initiate the vehicle's remote start function, if applicable. These tests confirm that the new battery is functioning as intended and that the key fob is ready for use.
By following these meticulous steps, you can seamlessly introduce the new battery into your key fob, setting the stage for reliable and efficient performance. With the new battery in place, your key fob is poised to deliver seamless connectivity and effortless access to your vehicle's features. Now, it's time to close the key fob casing and embark on a journey with a rejuvenated key fob at your fingertips.
Step 5: Close the Key Fob
Closing the key fob casing is the final step in the battery replacement process, ensuring that the internal components are securely housed within the protective enclosure. Follow these detailed guidelines to effectively close the key fob and conclude the battery replacement procedure:
-
Align the Casing Halves: With the new battery successfully installed and the key fob functions tested, carefully align the two halves of the key fob casing. Ensure that the buttons and key ring loop align correctly, indicating that the casing is positioned accurately for closure.
-
Apply Even Pressure: Once the casing halves are aligned, apply even pressure along the perimeter of the key fob to gradually close the casing. Utilize your fingers to exert gentle yet firm pressure, ensuring that the internal clips engage and secure the casing without any resistance.
-
Listen for Clicks: As you press the casing together, listen for the distinct clicks that signify the internal clips locking the two halves in place. The audible confirmation of the clips engaging indicates that the casing is securely closed, safeguarding the internal components from exposure.
-
Verify Seam Alignment: After closing the key fob casing, visually inspect the seam where the two halves meet to confirm that it is uniform and flush. A seamless seam indicates that the casing is properly closed, providing protection against dust, moisture, and physical damage.
-
Test Button Responsiveness: Once the key fob casing is closed, perform a final test of the buttons to ensure that they respond as expected. Press each button to verify that they depress and release smoothly, indicating that the internal components are correctly positioned and that the casing closure has not affected the key fob's functionality.
By following these meticulous steps, you can effectively close the key fob casing, completing the battery replacement process with precision and care. With the key fob securely enclosed, you can confidently carry and utilize it, knowing that the internal components and the new battery are safeguarded within the protective casing. Now, your rejuvenated key fob is ready to accompany you on your automotive journeys, providing seamless access and control over your vehicle's features.
Conclusion
Congratulations on successfully navigating the process of changing the key fob battery! By embarking on this empowering journey, you've taken a proactive step in ensuring the reliable performance of an essential component of your vehicle. As you reflect on the steps you've taken to open the key fob, remove the old battery, insert the new battery, and close the casing, you've not only revitalized the key fob but also gained valuable insights into the maintenance of automotive accessories.
As you close the key fob casing and prepare to reengage with your vehicle, it's important to recognize the significance of this seemingly small yet impactful task. By maintaining a functional key fob, you're enhancing your daily driving experience, streamlining access to your vehicle, and reinforcing the seamless integration of technology into automotive operations.
Moreover, the process of changing the key fob battery serves as a testament to your ability to handle basic vehicle maintenance tasks with confidence and proficiency. By mastering this fundamental skill, you've demonstrated your capacity to take ownership of your vehicle's upkeep, saving time and resources while optimizing its performance.
Beyond the immediate benefits, the successful replacement of the key fob battery underscores the importance of proactive maintenance in preserving the longevity and functionality of automotive components. This proactive approach not only reduces the likelihood of unexpected key fob failures but also contributes to the overall reliability and convenience of your vehicle.
As you bid farewell to the battery replacement process, remember that your key fob is now equipped with a fresh source of power, ready to accompany you on countless journeys with unwavering reliability. The seamless integration of the new battery ensures that your key fob is poised to effortlessly unlock doors, initiate remote start functions, and provide secure access to your vehicle, reaffirming its indispensable role in your daily routine.
In conclusion, by embracing the task of changing the key fob battery, you've not only revitalized a critical vehicle accessory but also empowered yourself with the knowledge and capability to maintain and optimize your automotive experience. As you embark on your next adventure with a rejuvenated key fob, take pride in the proactive approach you've embraced, knowing that you've unlocked the secrets to seamless key fob maintenance and set the stage for uninterrupted automotive connectivity.