Home>Arts and Culture>How To Draw A Sloth For Beginners

Arts and Culture
How To Draw A Sloth For Beginners
Published: February 29, 2024
Learn how to draw a sloth with easy step-by-step instructions for beginners. Explore the arts and culture of sloths in this fun drawing tutorial.
(Many of the links in this article redirect to a specific reviewed product. Your purchase of these products through affiliate links helps to generate commission for Regretless.com, at no extra cost. Learn more)
Table of Contents
Introduction
Drawing is a wonderful way to express creativity and bring characters to life on paper. Whether you're an experienced artist or just starting out, learning to draw a sloth can be a rewarding and enjoyable experience. Sloths are fascinating creatures known for their slow and deliberate movements, endearing faces, and unique appearance. In this step-by-step guide, we will explore how to draw a sloth for beginners, breaking down the process into manageable and easy-to-follow steps.
As we embark on this artistic journey, it's important to approach the task with a sense of curiosity and patience. Drawing a sloth allows us to observe the intricacies of its features, from the gentle curve of its smile to the distinct shape of its claws. By taking the time to study and replicate these details, we can gain a deeper appreciation for the natural world and the beauty of these remarkable animals.
Through this tutorial, you will discover the joy of bringing a sloth to life on paper, using simple techniques and basic drawing tools. Whether you're sketching for relaxation, honing your artistic skills, or simply embracing a new hobby, this guide is designed to be accessible and enjoyable for artists of all levels. So, gather your pencils, paper, and erasers, and let's embark on a creative adventure as we learn how to draw a sloth from scratch.
Read more: How To Draw A Bat For Beginners
Materials Needed
Before we begin our artistic endeavor, it's essential to gather the necessary materials to bring our sloth drawing to life. Here's a list of items that will aid you in creating your masterpiece:
-
Drawing Paper: Select a smooth, sturdy paper that can withstand pencil strokes and erasures without tearing or smudging. A standard sketch pad or drawing paper will suffice for this project.
-
Pencils: Invest in a set of high-quality drawing pencils with varying lead hardness, such as 2H, HB, 2B, 4B, and 6B. These pencils will allow you to achieve different levels of shading and detailing in your sloth drawing.
-
Eraser: A soft, kneaded eraser is ideal for gently correcting mistakes and lightening pencil marks without damaging the paper's surface.
-
Blending Stump: This tool is useful for blending and smudging pencil lines to create smooth transitions and textures in your artwork.
-
Reference Image: While not a physical material, having a clear reference image of a sloth will greatly aid in capturing the animal's unique features and proportions accurately.
-
Drawing Board: If you prefer to work on a flat, stable surface, a drawing board or a firm backing for your paper can provide the necessary support for your drawing process.
-
Sharpener: Keep your pencils sharp and ready for precise lines and details by using a reliable pencil sharpener.
-
Light Source: Ensure that your workspace is well-lit to accurately observe details and shadows as you work on your sloth drawing.
By gathering these materials, you'll be well-equipped to embark on the journey of drawing a sloth with confidence and creativity. With the right tools at your disposal, you can fully immerse yourself in the art of capturing the endearing essence of these remarkable creatures on paper.
Step 1: Sketching the Basic Shape
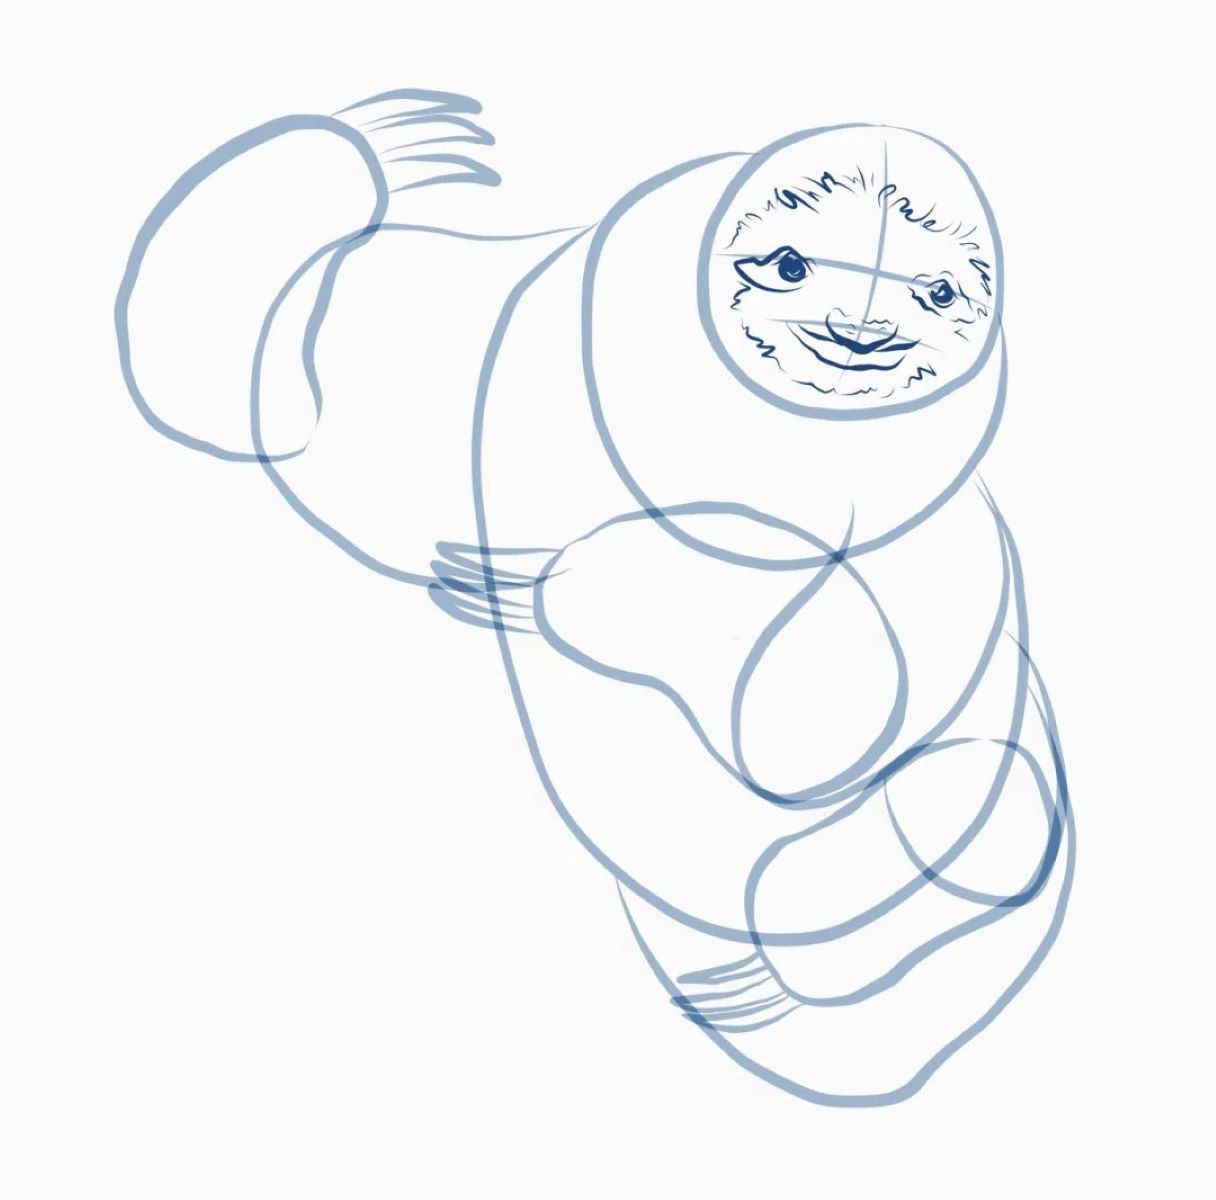
To begin our sloth drawing, we'll focus on capturing the fundamental outline and proportions of this charming creature. Start by lightly sketching the basic shape of the sloth's body using a 2H or HB pencil. Begin with a simple oval to represent the sloth's torso, ensuring that it's slightly elongated to reflect the sloth's characteristic posture. Next, add a smaller oval or circle on top of the torso to outline the sloth's head. These initial shapes will serve as the foundation for the sloth's form, allowing us to gradually refine and add details as we progress.
Once the basic body and head shapes are in place, lightly sketch in the sloth's limbs using simple lines to indicate their position and length. Sloths are known for their long, hook-like claws, so be sure to include these distinctive features in your initial sketch. Take your time to observe the natural curvature of the sloth's limbs and claws, aiming to capture their gentle and relaxed appearance.
As you work on sketching the basic shape, remember that these initial lines are meant to be fluid and adjustable. Don't worry about achieving perfection at this stage; instead, focus on capturing the overall posture and proportions of the sloth. Use light, confident strokes to build the foundation of your drawing, allowing room for adjustments and refinements as you progress through the subsequent steps.
By dedicating attention to the basic shape of the sloth, you'll establish a solid framework for the rest of the drawing process. This foundational sketch will guide the placement of facial features, limbs, and fur details as we bring our sloth drawing to life. Embrace the opportunity to observe the gentle nature of the sloth's form and posture, allowing these initial lines to set the stage for the delightful details that will follow in the subsequent steps.
Step 2: Adding Facial Features
With the foundational sketch of the sloth's body and limbs in place, we can now shift our focus to adding the endearing facial features that give the sloth its distinctive charm. The sloth's face is characterized by gentle, soulful eyes and a sweet, almost enigmatic smile, making it a captivating subject to capture on paper.
Begin by lightly sketching the sloth's eyes, which are typically large and expressive. Position them on the sloth's head, taking care to observe their placement in relation to the overall shape of the face. Sloths have endearing, rounded eyes that convey a sense of warmth and tranquility. Pay attention to the curvature and size of the eyes, aiming to reflect the sloth's gentle nature through your sketch.
Next, delicately outline the sloth's nose and mouth. Sloths have small, button-like noses and subtle, curved mouths that often give the impression of a contented smile. Take your time to capture the soft contours of the sloth's nose and the gentle curve of its mouth, infusing your sketch with the serene expression that is characteristic of these remarkable animals.
As you refine the facial features, consider the placement of the sloth's eyes in relation to its nose and mouth. Observing the natural proportions of the sloth's face will contribute to the overall authenticity of your drawing. Take note of the gentle slope of the sloth's forehead and the subtle arch of its eyebrows, as these details play a significant role in conveying the sloth's tranquil and contemplative expression.
Throughout this process, maintain a light touch with your pencil, allowing for adjustments and refinements as you work on capturing the endearing essence of the sloth's face. Embrace the opportunity to infuse your sketch with the serene and captivating qualities that define these remarkable creatures, ensuring that each stroke reflects the gentle nature and unique charm of the sloth's facial features.
By devoting attention to adding the facial features, you'll bring a sense of character and personality to your sloth drawing, capturing the captivating essence of these remarkable animals with each carefully placed line and curve. As we proceed to the next steps, the addition of facial features will serve as a delightful focal point, setting the stage for further detailing and refinement in our artistic portrayal of the sloth.
Step 3: Drawing the Limbs and Claws
As we delve into the next phase of our sloth drawing, we turn our attention to capturing the distinctive limbs and claws that contribute to the sloth's unique appearance. Sloths are renowned for their long, slender limbs and remarkably curved claws, which are essential for their arboreal lifestyle. By focusing on these defining features, we can infuse our drawing with the captivating essence of these remarkable creatures.
Begin by carefully observing the natural curvature and positioning of the sloth's limbs. Sloths possess long, graceful arms and legs that are adapted for hanging and moving through the treetops with ease. With a light touch, sketch the sloth's limbs, paying close attention to their gentle, relaxed posture. Capture the subtle bends and curves of the limbs, reflecting the sloth's characteristic tranquility and deliberate movements.
Next, turn your attention to the sloth's claws, a defining feature that sets these animals apart. Sloths have elongated, hook-like claws that are perfectly suited for grasping branches and navigating their arboreal habitat. With precision and care, outline the sloth's claws, ensuring that their distinctive shape and length are accurately represented in your drawing. Take note of the gentle curve and pointed tips of the claws, infusing your sketch with the unique details that define the sloth's remarkable adaptations.
As you work on drawing the limbs and claws, consider the positioning of the sloth's body and the natural flow of its posture. Sloths are known for their relaxed and unhurried movements, and capturing the graceful extension of their limbs will contribute to the overall authenticity of your drawing. Embrace the opportunity to observe the intricate details of the sloth's anatomy, allowing these features to enrich your portrayal of these remarkable animals.
Throughout this process, maintain a sense of patience and attentiveness, allowing the sloth's limbs and claws to come to life on paper with each carefully placed line and curve. By dedicating attention to these defining features, you'll infuse your sloth drawing with the captivating essence of these remarkable creatures, capturing the grace and tranquility that define the sloth's arboreal existence.
As we progress to the subsequent steps, the addition of the limbs and claws will serve as a vital component, setting the stage for further detailing and refinement in our artistic portrayal of the sloth.
Read more: How To Draw A Crab For Beginners
Step 4: Adding Details to the Fur
With the foundational elements of the sloth's body, facial features, and limbs in place, we now turn our focus to adding intricate details to capture the unique texture and appearance of the sloth's fur. The fur of a sloth is a defining characteristic, known for its coarse, shaggy texture and the subtle variations in color that contribute to the animal's distinctive appearance. By carefully observing and replicating these details, we can infuse our drawing with the captivating essence of the sloth's natural beauty.
Begin by lightly sketching the general flow and direction of the sloth's fur using a softer pencil, such as a 2B or 4B. Sloths exhibit a shaggy coat that drapes over their body in a relaxed and untamed manner. With gentle, flowing strokes, capture the overall texture and length of the fur, allowing it to cascade naturally along the contours of the sloth's form. Pay attention to the areas where the fur appears longer or more densely packed, such as around the sloth's neck and limbs, and reflect these variations in your sketch.
As you progress, focus on adding subtle shading and depth to the fur, enhancing its three-dimensional appearance. Utilize a blending stump or your preferred shading tool to gently smudge and blend the pencil strokes, creating a seamless transition between light and shadow within the fur. By incorporating delicate shading, you can evoke the soft, velvety quality of the sloth's coat, infusing your drawing with a sense of tactile realism.
Take note of the subtle color variations present in the sloth's fur, which can range from pale beige and tan to warm shades of brown and gray. With a keen eye for detail, introduce these nuanced hues into your drawing, layering and blending the colors to achieve a harmonious and naturalistic representation of the sloth's fur. Embrace the opportunity to observe the interplay of light and shadow on the fur, allowing these variations to enrich the visual depth and texture of your artwork.
Throughout this process, maintain a sense of patience and attentiveness, allowing the intricate details of the sloth's fur to unfold gradually with each carefully placed stroke and shading. By dedicating attention to these defining features, you'll infuse your sloth drawing with the captivating essence of these remarkable creatures, capturing the tactile allure and natural beauty of the sloth's fur.
As we progress to the subsequent steps, the addition of details to the fur will serve as a vital component, setting the stage for further refinement and the final touches in our artistic portrayal of the sloth.
Step 5: Final Touches and Shading
As we approach the final phase of our sloth drawing, we have the opportunity to add the finishing touches that will elevate our artwork to a new level of depth and realism. This stage allows us to refine the details, enhance the overall composition, and bring a sense of harmony to the various elements of our drawing. Additionally, we will focus on shading techniques to create dimension and depth, further enriching the visual impact of our portrayal of the sloth.
Begin by carefully evaluating the overall composition of your sloth drawing. Take a moment to observe the placement of the facial features, the flow of the fur, and the positioning of the limbs and claws. Consider any adjustments or refinements that may enhance the balance and visual appeal of the artwork. This critical assessment will guide the final touches, ensuring that every aspect of the drawing harmonizes to capture the essence of the sloth with authenticity and grace.
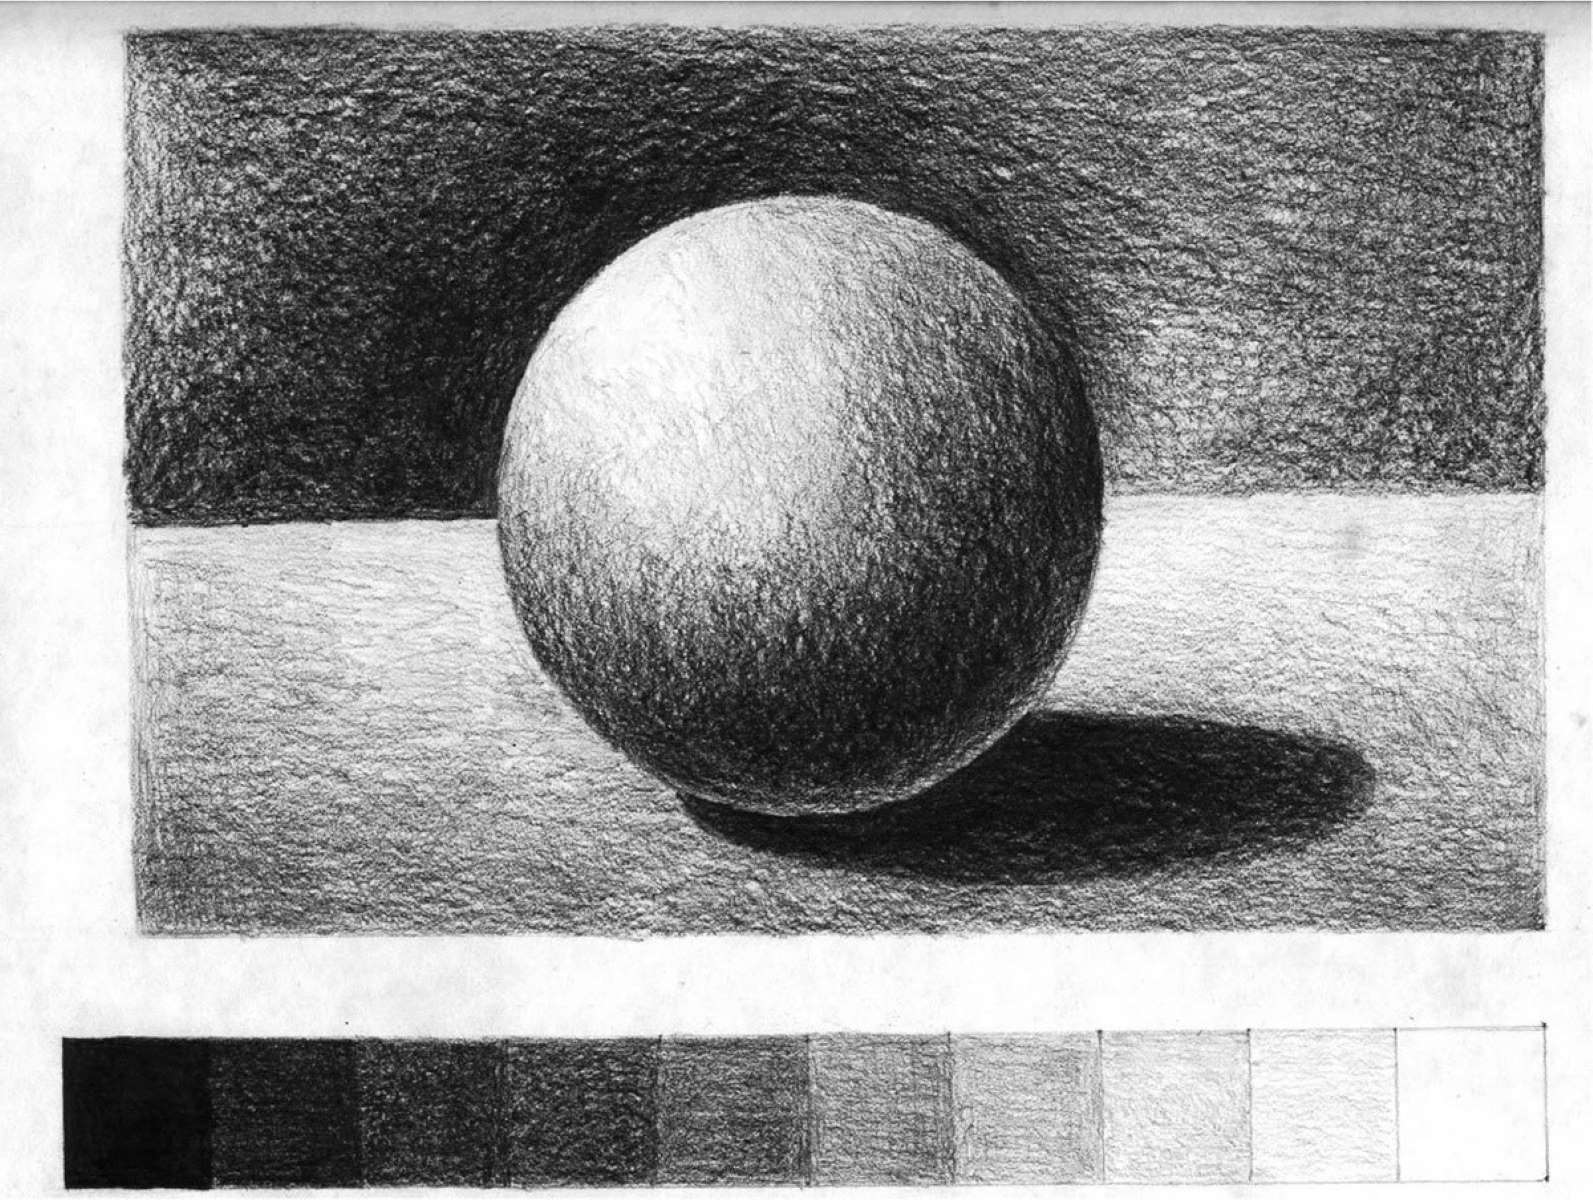
Next, shift your focus to shading, a fundamental aspect of drawing that adds dimension and realism to the artwork. Utilize varying degrees of pressure with your pencil to create gradients of light and shadow, enhancing the three-dimensional quality of the sloth's form. Pay close attention to the interplay of light and shadow on the sloth's body, emphasizing the contours and curves to evoke a sense of depth and volume. By skillfully applying shading techniques, you can imbue your drawing with a lifelike quality, inviting viewers to engage with the captivating presence of the sloth.
As you refine the shading, consider the source of light in your composition. Whether it's natural sunlight filtering through the treetops or a soft, diffused glow, envision how the light falls on the sloth's form and adjust the shading accordingly. By aligning the shading with the imagined light source, you can create a compelling sense of realism and atmosphere within your artwork.
Finally, take a moment to add any subtle details or highlights that will enhance the overall impact of your sloth drawing. Consider accentuating the texture of the fur, refining the contours of the facial features, and adding nuanced touches that capture the character and essence of the sloth. These final touches serve to elevate the drawing, infusing it with a sense of life and personality that resonates with the gentle spirit of these remarkable creatures.
As you complete the final touches and shading, take pride in the journey you've undertaken to bring the sloth to life on paper. Each stroke and shading technique has contributed to a portrayal that captures the captivating essence of these remarkable animals, inviting viewers to connect with the tranquility and grace of the sloth's presence. Embrace the satisfaction of a well-executed drawing, knowing that you've skillfully depicted the endearing nature of the sloth through your artistic expression.
Conclusion
In conclusion, the process of drawing a sloth for beginners is a delightful and rewarding artistic endeavor that allows us to immerse ourselves in the captivating world of these remarkable creatures. Through each step of the drawing process, from sketching the basic shape to adding intricate details and shading, we've embarked on a creative journey that celebrates the gentle nature and unique charm of the sloth.
As we reflect on the completion of our sloth drawing, it's evident that every stroke and detail has contributed to a portrayal that captures the essence of these remarkable animals. The careful observation of the sloth's form, facial features, limbs, and fur has allowed us to infuse our artwork with a sense of authenticity and grace, inviting viewers to connect with the tranquil spirit of the sloth.
Drawing a sloth serves as a reminder of the beauty and diversity of the natural world, encouraging us to appreciate the unique characteristics of each living creature. It provides an opportunity to hone our artistic skills, cultivate patience, and embrace the joy of creative expression. Whether you're a seasoned artist or just beginning your artistic journey, the process of drawing a sloth offers a meaningful and enjoyable experience that fosters a deeper connection with the natural world.
As we conclude our artistic exploration, it's important to celebrate the sense of accomplishment that comes with bringing a sloth to life on paper. Each carefully placed line, shading technique, and detail has contributed to a portrayal that captures the captivating essence of these remarkable animals. Our sloth drawing stands as a testament to the beauty and tranquility of these gentle creatures, inviting us to pause, observe, and appreciate the wonder of the natural world.
In the end, the process of drawing a sloth for beginners transcends the act of creating art; it embodies a celebration of nature, creativity, and the joy of artistic expression. It serves as a reminder that through art, we can forge a deeper connection with the world around us, finding inspiration and beauty in the most extraordinary of places. So, as we conclude our artistic journey, let's carry forward the spirit of creativity and appreciation for the natural world, allowing the gentle presence of the sloth to inspire and uplift us in our artistic endeavors and beyond.
