Home>Arts and Culture>How To Draw A Bat For Beginners
Arts and Culture
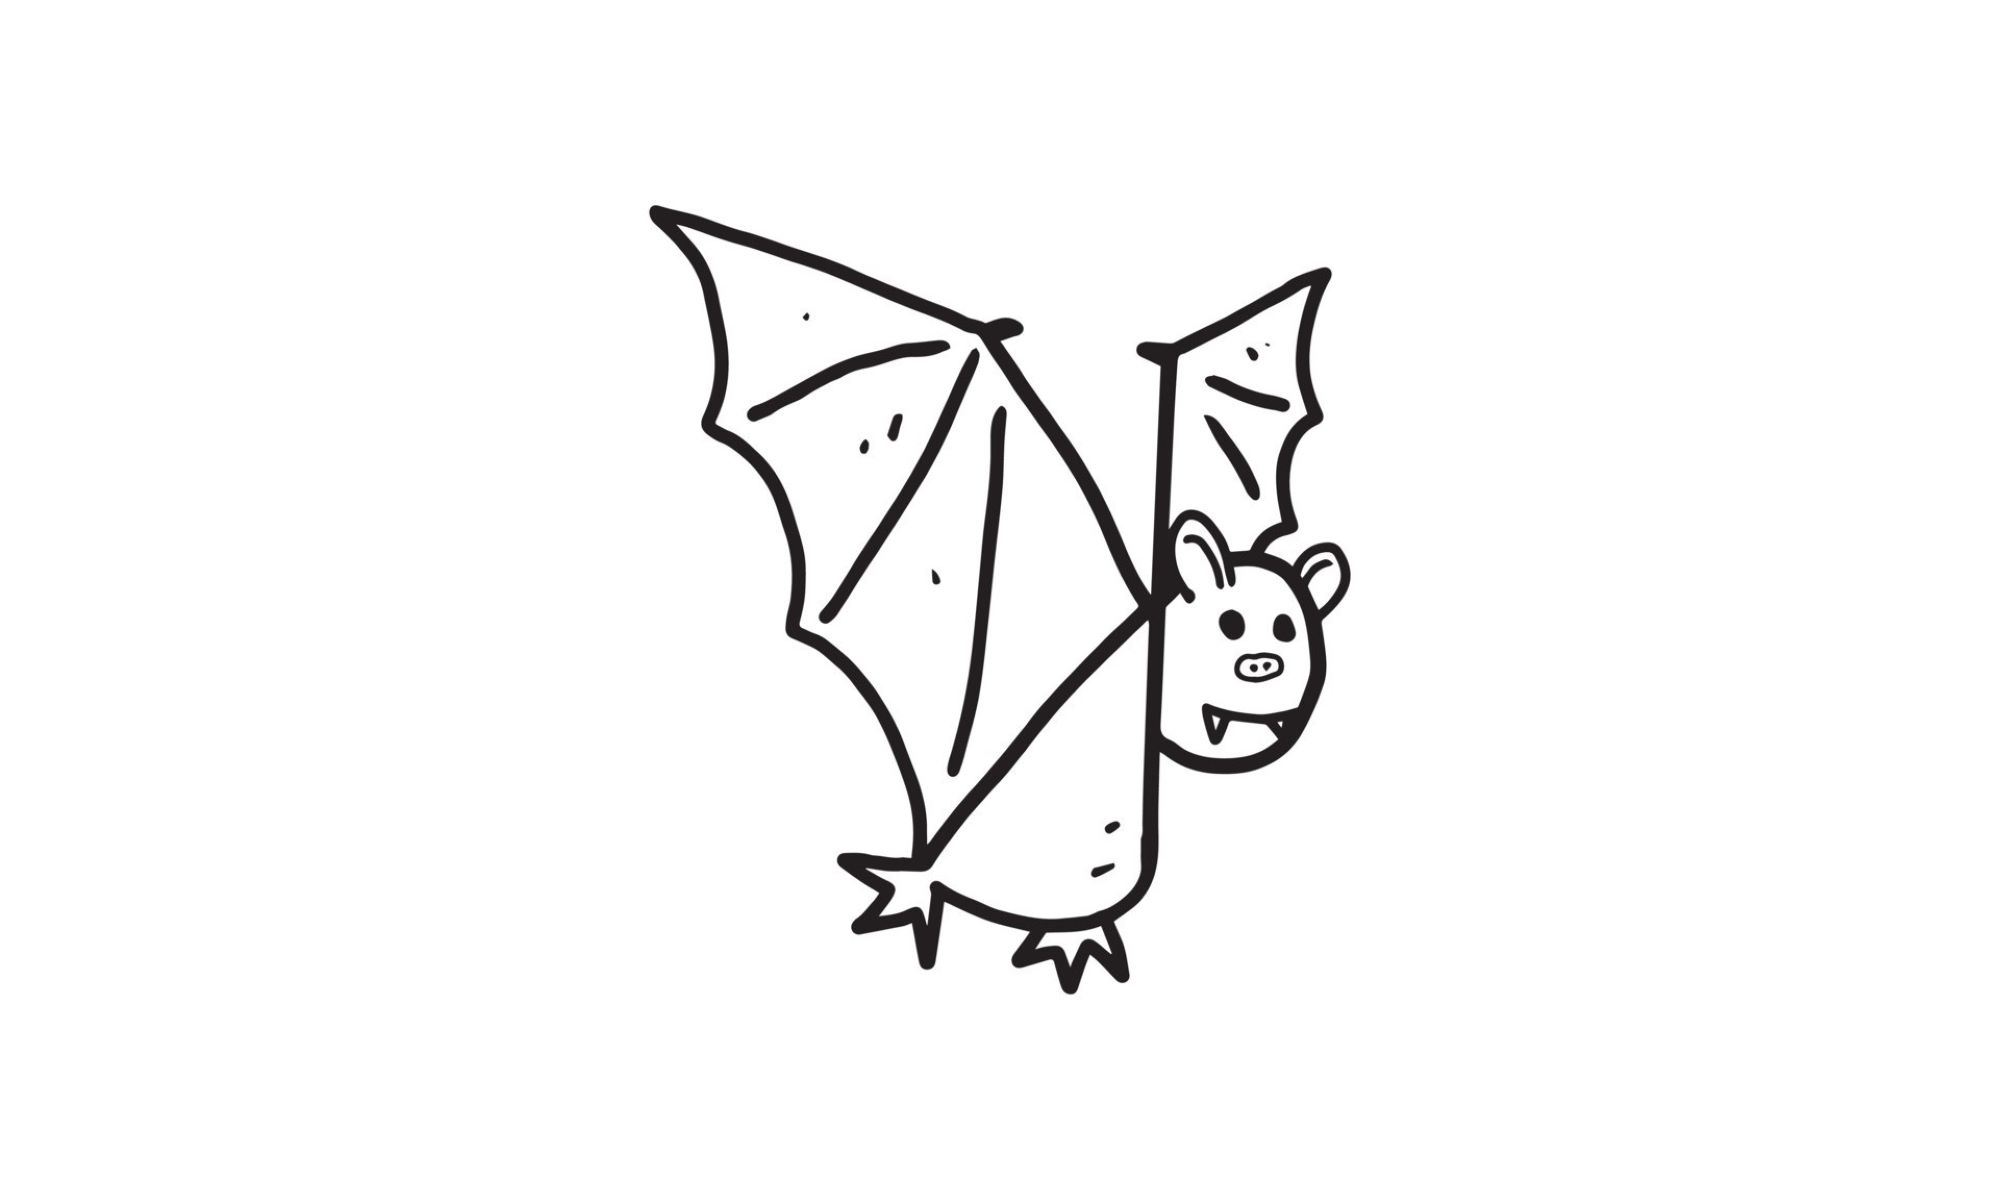
How To Draw A Bat For Beginners
Published: February 28, 2024
Learn how to draw a bat step by step with easy instructions for beginners. Explore the world of arts and culture with our fun and educational tutorial.
(Many of the links in this article redirect to a specific reviewed product. Your purchase of these products through affiliate links helps to generate commission for Regretless.com, at no extra cost. Learn more)
Table of Contents
Introduction
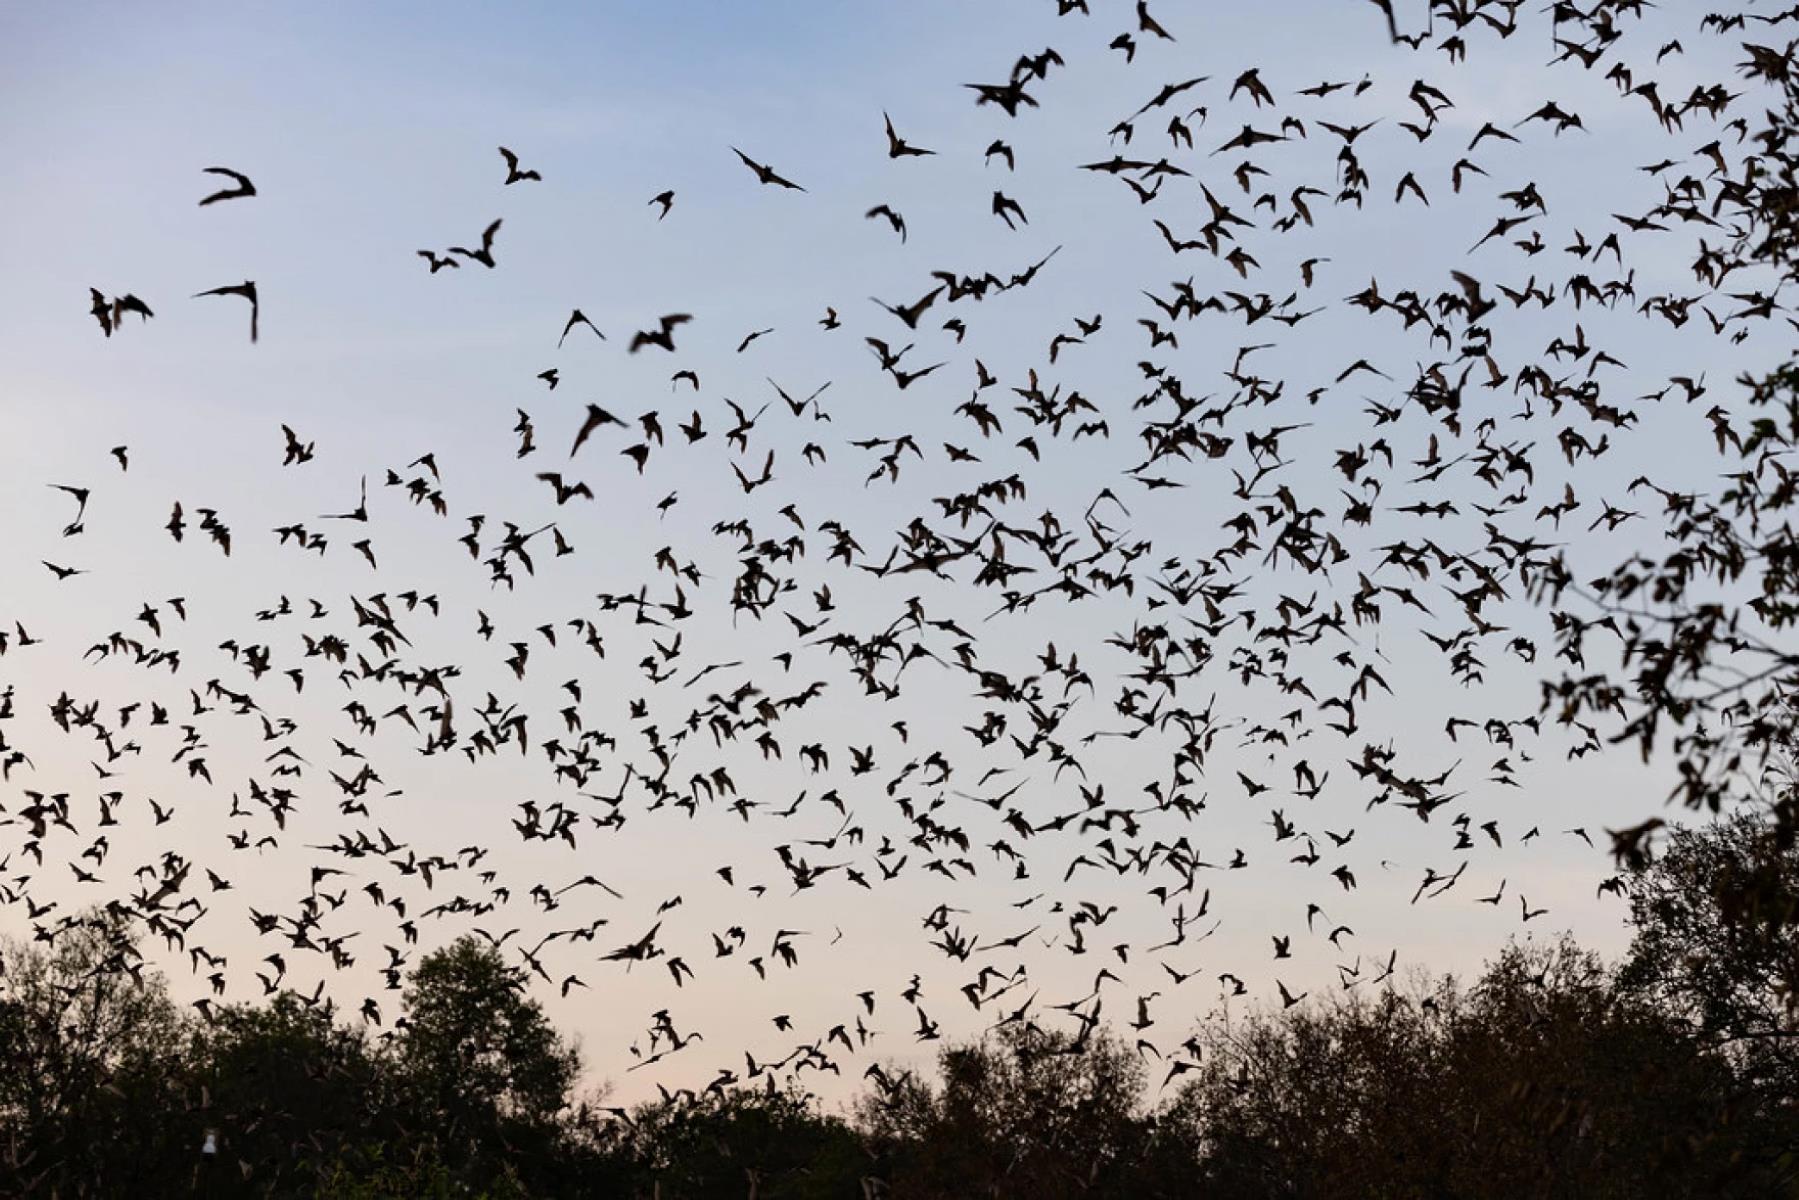
Drawing can be a delightful and rewarding activity, allowing you to express your creativity and bring your imagination to life on paper. If you're a beginner looking to embark on a drawing journey, learning to draw a bat can be a fantastic starting point. Bats are fascinating creatures, often associated with mystery and the night sky, making them a captivating subject for artists of all levels.
In this step-by-step guide, we will explore the process of drawing a bat, breaking it down into manageable and approachable steps. Whether you're a novice artist or simply looking to hone your drawing skills, this tutorial is designed to provide you with the confidence and techniques needed to create a charming bat illustration.
By following along with each step and embracing the creative process, you'll not only develop your drawing abilities but also gain a deeper appreciation for the intricate details of these remarkable nocturnal animals. So, grab your drawing materials and let's embark on this artistic adventure together!
Read more: How To Draw A Sloth For Beginners
Materials Needed
To begin your bat drawing journey, you'll need a few essential materials to bring your artistic vision to life. Here's a list of items that will help you create a captivating bat illustration:
-
Drawing Paper: Select a smooth, sturdy drawing paper that can withstand pencil and ink without wrinkling or tearing. A standard sketch pad or drawing paper will suffice for this project.
-
Pencils: Opt for a set of high-quality pencils, including various lead grades such as 2H, HB, and 2B. These will allow you to achieve different levels of shading and detailing in your bat drawing.
-
Eraser: A soft, kneaded eraser is ideal for gently correcting mistakes and lightening pencil marks without damaging the paper's surface.
-
Fine-tip Pens: Consider using fine-tip pens for inking your final bat illustration. These pens provide precision and bold lines, adding a polished look to your artwork.
-
Reference Images: While not a physical material, having reference images of bats on hand can greatly aid in capturing the intricate details of their anatomy and wings. You can either print out reference pictures or have them accessible on a digital device for easy viewing.
-
Drawing Board: If you prefer drawing on a firm surface, a drawing board or a smooth, flat clipboard can provide stability and support for your artwork.
-
Light Source: Adequate lighting is crucial for a clear and focused drawing process. Whether it's natural daylight or a well-positioned desk lamp, ensure that your drawing area is well-lit to avoid straining your eyes and to accurately perceive the details of your bat illustration.
By gathering these materials, you'll be well-equipped to embark on your bat drawing endeavor. With these tools at your disposal, you can fully immerse yourself in the creative process and bring your unique interpretation of a bat to life on paper.
Step 1: Drawing the Body
To commence your bat drawing, begin by sketching the body outline with a light hand using a pencil. Start by drawing a medium-sized oval shape to represent the bat's torso. This will serve as the foundational structure for the body. Next, extend two slightly curved lines downward from the bottom of the oval to form the bat's lower body and abdomen. These lines should taper as they reach the bottom, creating a gentle, pointed shape to represent the bat's tail.
Once the basic body shape is in place, proceed to add the bat's distinctive wings. Bats are renowned for their membranous wings, which set them apart from other mammals. To depict the wings, draw two elongated ovals on each side of the bat's body, extending from the upper portion of the oval torso. These ovals should curve slightly downward and outward, mimicking the natural curvature of a bat's wingspan. Ensure that the wings are proportionate to the body, as they are essential for capturing the bat's characteristic silhouette.
As you refine the body and wing structure, take the opportunity to adjust the proportions and shapes as needed. Pay close attention to the overall balance and symmetry of the bat's body, ensuring that the wings align harmoniously with the torso. This initial sketching phase allows for flexibility and experimentation, enabling you to fine-tune the body's form before progressing to the next stages of detailing and shading.
By focusing on the foundational elements of the bat's body in this initial step, you lay the groundwork for a compelling and accurate representation of this captivating creature. Embrace the creative process and allow your artistic instincts to guide the development of the bat's body, setting the stage for the subsequent stages of bringing your bat drawing to life.
Step 2: Adding the Wings
After establishing the foundational body structure of the bat in the previous step, the next pivotal phase involves adding intricate details to capture the essence of the bat's wings. Bats are renowned for their unique membranous wings, which enable them to gracefully navigate the night sky. By focusing on the wings, you have the opportunity to infuse your bat drawing with a sense of movement and elegance, showcasing the distinctive features that define these remarkable creatures.
To begin, refine the initial oval shapes representing the wings, ensuring that they exhibit a delicate curvature and graceful sweep. Bats' wings possess a thin, translucent membrane that extends from their elongated fingers to the sides of their bodies, forming a structure known as the patagium. To convey this intricate feature, carefully outline the edges of the wings with a light, flowing touch, emphasizing the thin, web-like texture that characterizes bat wings.
As you delineate the wing structure, pay close attention to the subtle details that contribute to the authenticity of your bat illustration. Consider incorporating gentle, irregular undulations along the edges of the wings to mimic the natural texture of the patagium, infusing your drawing with a sense of lifelike movement. This attention to detail allows you to capture the ethereal quality of bat wings, evoking a sense of grace and fluidity within your artwork.
Furthermore, take the opportunity to refine the positioning of the wings in relation to the bat's body, ensuring that they harmonize seamlessly with the overall composition. By delicately adjusting the curvature and proportions of the wings, you can achieve a captivating sense of balance and symmetry, elevating the visual impact of your bat drawing.
As you immerse yourself in the process of adding the wings, embrace the freedom to experiment with various line weights and shading techniques to enhance the depth and dimension of the wings. By incorporating subtle gradations of shading and employing hatching or cross-hatching methods, you can imbue the wings with a sense of volume and three-dimensionality, bringing your bat illustration to life with a captivating sense of realism.
By devoting attention to the intricate details of the wings, you enrich your bat drawing with a captivating sense of movement and elegance, capturing the essence of these remarkable creatures in a visually compelling manner. Embrace the creative journey and allow your artistic intuition to guide the evolution of the bat's wings, infusing your drawing with a captivating sense of dynamism and grace.
Step 3: Drawing the Face
As you transition to capturing the intricate features of the bat's face, you delve into a pivotal phase that infuses your illustration with character and expression. The face serves as the focal point of the bat, encapsulating its unique traits and contributing to the overall allure of your artwork. By focusing on the facial details, you have the opportunity to imbue your bat drawing with a captivating sense of personality and depth, bringing this enigmatic creature to life on paper.
Commence by sketching the bat's facial structure with a light and precise hand, paying close attention to the proportions and placement of key elements. Begin by outlining the bat's distinctively elongated snout, which sets it apart from other mammals and contributes to its distinctive silhouette. The snout should exhibit a slender, tapering form, extending gracefully from the center of the bat's face and culminating in a subtle point, capturing the unique essence of the bat's facial anatomy.
Next, focus on delineating the bat's endearing features, such as its keen eyes and delicate ears. Bats are renowned for their large, expressive eyes, which convey a sense of curiosity and intelligence. Depict the eyes with care, infusing them with a sense of depth and vitality through the use of subtle shading and precise detailing. Additionally, emphasize the bat's ears, which are often characterized by their intricate structure and distinctive shape. Capture the subtle curvature and fine details of the ears, ensuring that they harmonize seamlessly with the overall composition of the bat's face.
As you refine the facial features, take the opportunity to infuse the bat with a sense of character and expression, allowing its personality to shine through in your illustration. Consider the subtle nuances of the bat's expression, whether it's a gentle sense of inquisitiveness or a serene aura of tranquility. By delicately shaping the contours of the face and infusing the eyes with a sense of vitality, you breathe life into your bat drawing, evoking a captivating sense of presence and charm.
Furthermore, embrace the opportunity to experiment with shading and texture to enhance the depth and dimension of the bat's facial features. By employing subtle gradations of shading and employing cross-hatching techniques, you can imbue the face with a sense of three-dimensionality, infusing your bat illustration with a captivating sense of realism and presence.
In this phase, you immerse yourself in the intricate details of the bat's face, infusing your drawing with character and expression. Embrace the creative process and allow your artistic instincts to guide the evolution of the bat's facial features, capturing the essence of this remarkable creature with finesse and artistry.
Read more: How To Draw A Crab For Beginners
Step 4: Adding Details
As you delve into the pivotal phase of adding intricate details to your bat drawing, you embark on a transformative journey that elevates the visual richness and authenticity of your artwork. This phase serves as a canvas for infusing your illustration with a captivating array of nuances and subtleties, allowing you to capture the essence of the bat with finesse and artistry.
Begin by focusing on the texture and structure of the bat's wings, which serve as a defining feature of these remarkable creatures. Bats' wings exhibit a delicate, web-like membrane that lends them a sense of ethereal grace and fluidity. To convey this intricate texture, delicately delineate the fine veins and subtle patterns that adorn the wings, infusing your drawing with a sense of lifelike detail and dimension. By employing precise lines and subtle shading, you can evoke the translucent quality of the wings, imbuing your bat illustration with a captivating sense of movement and elegance.
Furthermore, pay close attention to the bat's fur or hair, which contributes to its distinctive appearance and texture. Bats are often characterized by their sleek, fur-covered bodies, which exhibit a subtle sheen and softness. To capture this tactile quality, employ gentle, flowing lines to convey the texture of the fur, infusing your drawing with a sense of warmth and vitality. By incorporating subtle gradations of shading and employing hatching techniques, you can imbue the fur with a sense of depth and volume, enhancing the visual impact of your bat illustration.
Additionally, consider the environment in which the bat resides, whether it's a moonlit night sky or a tranquil cave setting. By incorporating subtle background elements such as stars, foliage, or rock formations, you can enrich the narrative of your bat drawing, infusing it with a sense of atmosphere and context. Embrace the opportunity to experiment with various shading techniques and textures to evoke the mood and ambiance of the bat's natural habitat, elevating your illustration with a captivating sense of storytelling and depth.
In this phase, you immerse yourself in the intricate details that define the essence of the bat, infusing your drawing with a captivating array of textures, nuances, and visual richness. Embrace the creative journey and allow your artistic intuition to guide the evolution of the details, capturing the essence of these remarkable creatures with finesse and artistry.
Step 5: Final Touches
As you approach the culmination of your bat drawing journey, the phase of final touches presents a transformative opportunity to refine and elevate your artwork to its fullest potential. This pivotal stage allows you to infuse your illustration with a captivating sense of depth, realism, and visual impact, culminating in a compelling portrayal of these enigmatic creatures.
Commence by revisiting each element of your bat drawing, paying meticulous attention to the nuances and subtleties that contribute to its overall composition. Refine the contours of the bat's body, wings, and facial features, ensuring that they harmonize seamlessly to evoke a sense of grace and presence. Embrace the opportunity to fine-tune the proportions and positioning of key elements, allowing the bat to exude a captivating sense of balance and poise.
Furthermore, consider the application of shading and texture to enhance the three-dimensionality of your bat illustration. Employ subtle gradations of shading to evoke the play of light and shadow across the bat's form, infusing it with a sense of volume and vitality. By delicately refining the texture of the bat's fur and wings, you can imbue your drawing with a tactile quality that invites the viewer to engage with its visual richness.
Incorporate additional details to enrich the narrative of your bat drawing, whether it's the inclusion of atmospheric elements such as stars, moonlight, or the subtle suggestion of a nocturnal landscape. These final touches serve to imbue your illustration with a sense of context and storytelling, inviting the viewer to immerse themselves in the captivating world of the bat.
Embrace the freedom to experiment with various techniques and artistic flourishes, allowing your creative intuition to guide the evolution of the final touches. Whether it's the subtle addition of highlights to accentuate the bat's features or the incorporation of intricate patterns within the wings, each detail contributes to the overall allure and authenticity of your artwork.
As you immerse yourself in the phase of final touches, allow your artistic instincts to flourish, infusing your bat drawing with a captivating sense of depth, realism, and visual poetry. Embrace the transformative power of these final embellishments, allowing your illustration to resonate with a sense of enchantment and artistry, capturing the essence of these remarkable creatures with finesse and creativity.
Conclusion
In conclusion, the journey of drawing a bat for beginners is a captivating exploration of creativity and artistic expression. Throughout this step-by-step guide, we have ventured into the intricate world of bat illustration, unraveling the process of bringing these enigmatic creatures to life on paper. From the foundational sketching of the body to the delicate refinement of facial features and wings, each phase has offered a transformative opportunity to capture the essence of the bat with finesse and artistry.
As we reflect on this artistic odyssey, it becomes evident that drawing a bat transcends the mere act of rendering an image; it embodies a profound connection to the natural world and the enigmatic allure of nocturnal creatures. By immersing ourselves in the details of the bat's anatomy, wings, and facial expressions, we have not only honed our drawing skills but also gained a deeper appreciation for the captivating beauty of these remarkable animals.
Furthermore, the process of adding intricate details and final touches has allowed us to infuse our bat illustration with a captivating array of textures, nuances, and visual richness. From the delicate web-like texture of the wings to the subtle sheen of the bat's fur, each element contributes to a compelling portrayal that invites the viewer to engage with the artwork on a profound level.
Drawing a bat for beginners serves as a testament to the transformative power of art, inviting individuals of all skill levels to embark on a creative journey filled with discovery and expression. Whether it's the gentle curvature of the bat's wings or the expressive gaze of its eyes, each detail encapsulates the essence of these remarkable creatures, evoking a sense of wonder and enchantment.
As we conclude this artistic endeavor, it is essential to recognize the boundless potential for creativity that resides within each of us. Whether you're a novice artist taking your first steps in the world of drawing or an experienced illustrator seeking new inspiration, the process of drawing a bat serves as a testament to the universal language of art and the timeless allure of the natural world.
In the end, the journey of drawing a bat for beginners transcends the confines of a tutorial; it embodies a celebration of creativity, curiosity, and the enduring beauty of the world around us. So, as you embark on your own artistic endeavors, may this guide serve as a source of inspiration and empowerment, igniting your passion for drawing and inviting you to explore the wondrous realm of art with boundless enthusiasm and creativity.