Lifestyle
How To Put In Tape In Hair Extensions
Modified: March 13, 2024
Learn how to put in tape in hair extensions and elevate your lifestyle with this easy and stylish hair transformation. Step-by-step guide for a seamless application. Elevate your look today!
(Many of the links in this article redirect to a specific reviewed product. Your purchase of these products through affiliate links helps to generate commission for Regretless.com, at no extra cost. Learn more)
Table of Contents
Introduction
Hair extensions have become a popular and versatile way to add length, volume, and style to your natural hair. Whether you're looking to achieve luscious locks for a special occasion or simply want to experiment with a new look, tape-in hair extensions offer a convenient and natural-looking solution. By following a few simple steps, you can seamlessly blend tape-in extensions with your own hair for a stunning and effortless transformation.
Tape-in hair extensions are favored for their discreet application and comfortable wear, making them an ideal choice for both everyday wear and special events. Unlike other types of extensions, tape-ins are lightweight and lay flat against the scalp, creating a seamless and natural appearance. With proper care and maintenance, tape-in extensions can last for several weeks, allowing you to enjoy your enhanced hairstyle with confidence.
In this comprehensive guide, we will walk you through the step-by-step process of putting in tape-in hair extensions. From gathering the necessary supplies to styling and finishing your newly extended locks, you'll gain valuable insights and practical tips to achieve professional-looking results in the comfort of your own home. Whether you're a seasoned hair extension enthusiast or a first-time user, this guide will equip you with the knowledge and skills to master the art of tape-in extensions.
By mastering the art of applying tape-in hair extensions, you can unleash your creativity and express your unique style with ease. Whether you desire long, flowing locks, voluminous waves, or a pop of color, tape-in extensions offer endless possibilities for enhancing your natural beauty. With the right techniques and a touch of creativity, you can elevate your hairstyle to new heights and embrace the confidence that comes with effortlessly glamorous hair.
Now, let's embark on this exciting journey to discover the transformative power of tape-in hair extensions and unlock the potential for endless styling possibilities. Get ready to elevate your look and embrace the beauty of luxurious, voluminous hair that reflects your individuality and style.
Read more: How To Put Hair In A Bun
Step 1: Gather Your Supplies
Before embarking on the tape-in hair extension application process, it's essential to gather all the necessary supplies to ensure a smooth and efficient experience. By having the right tools at your disposal, you can streamline the application process and achieve professional-looking results. Here's a comprehensive list of supplies you'll need:
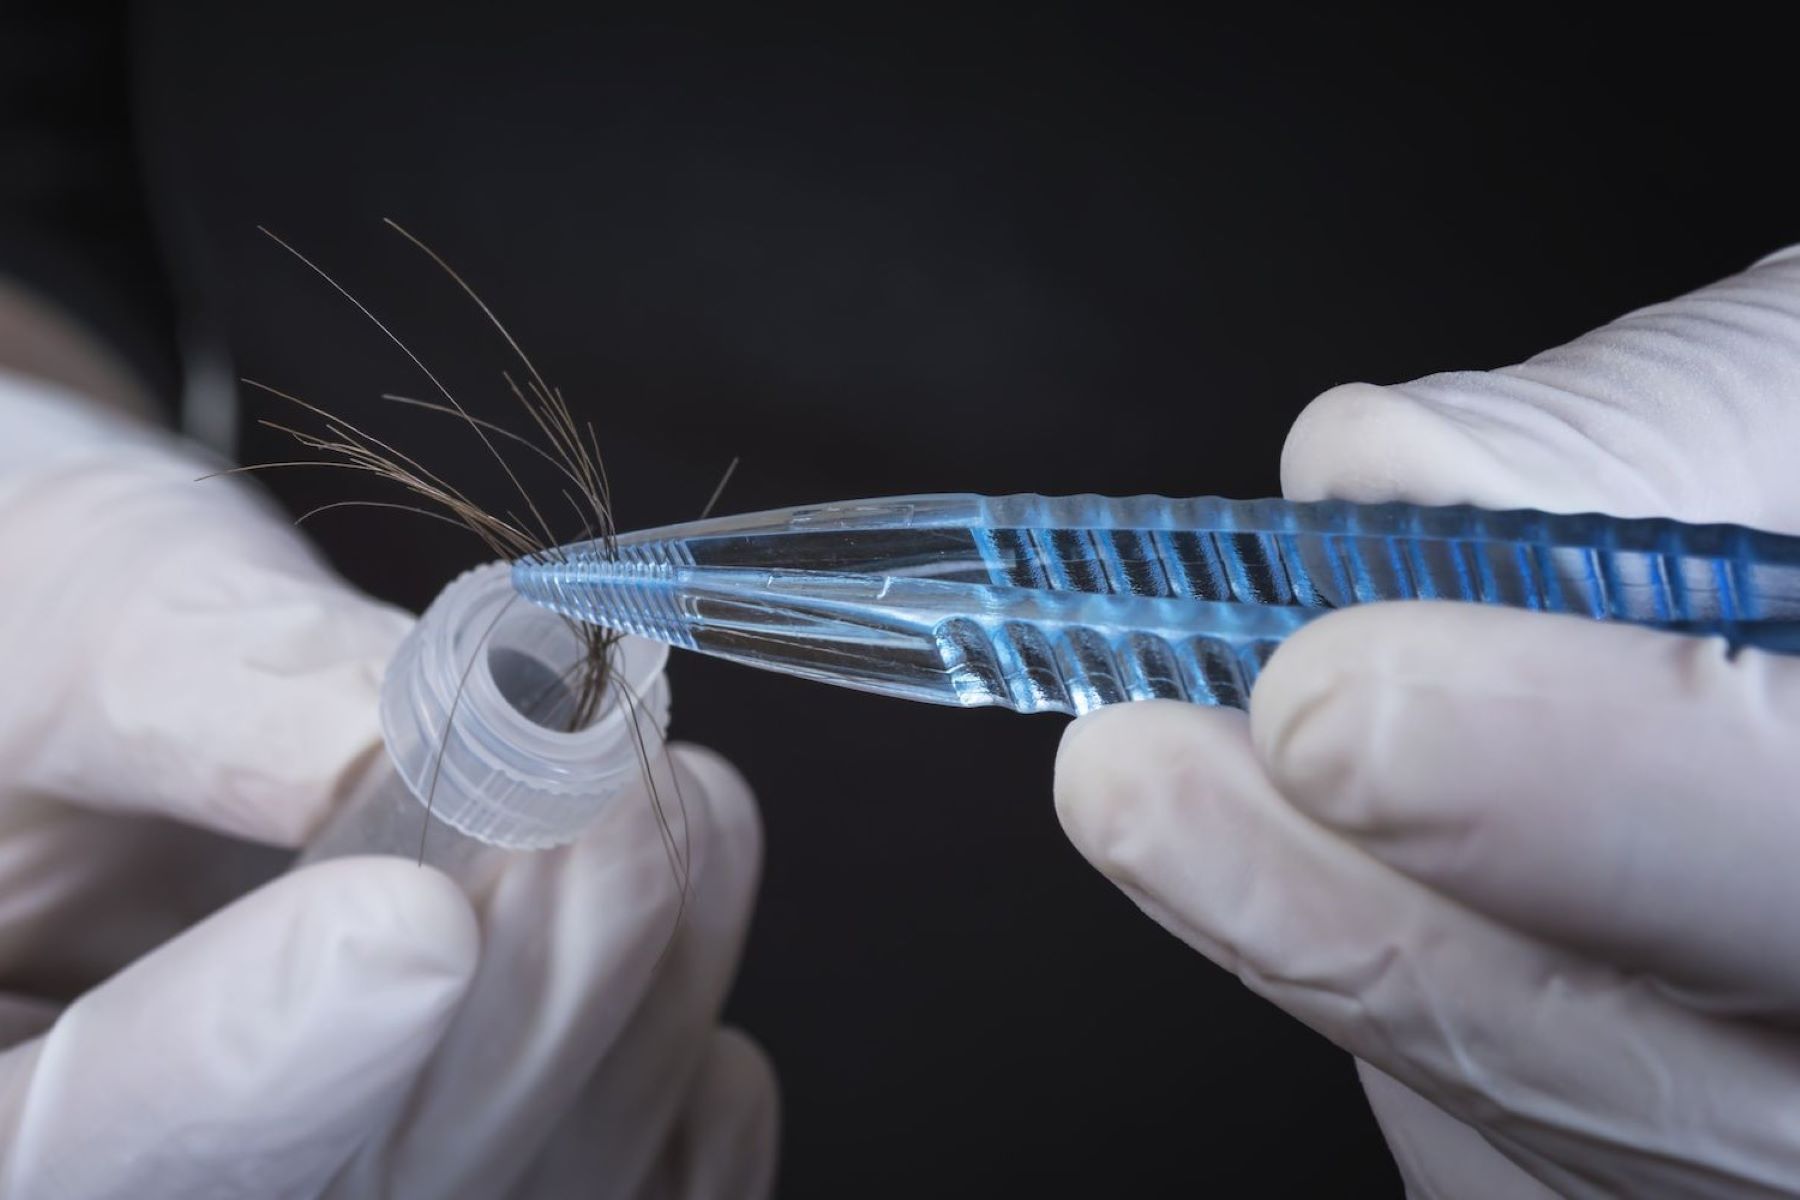
1. Tape-In Hair Extensions:
Select high-quality tape-in hair extensions that match the texture, color, and length of your natural hair. Whether you prefer straight, wavy, or curly extensions, choosing the right texture will contribute to a seamless blend with your own hair.
2. Sectioning Clips:
Invest in sectioning clips to divide your hair into manageable sections during the application process. These clips will help keep the hair out of the way as you work on attaching the extensions, ensuring precision and efficiency.
3. Tail Comb:
A tail comb is an essential tool for creating clean and precise partings in your hair. This will facilitate the seamless integration of the extensions with your natural hair, resulting in a flawless and natural-looking finish.
4. Hair Sectioning Comb:
A hair sectioning comb with a fine-toothed end is indispensable for parting your hair into neat and uniform sections. This comb will enable you to work methodically through your hair, ensuring that each extension is placed strategically for optimal coverage and blending.
5. Rubbing Alcohol and Cotton Pads:
Before applying the extensions, it's crucial to cleanse the hair and scalp to remove any residue or oils that may affect the adhesive. Rubbing alcohol and cotton pads are ideal for gently cleansing the areas where the extensions will be attached, promoting a secure and long-lasting bond.
6. Scissors:
Sharp, precision scissors are essential for trimming the extensions to achieve a seamless and natural-looking blend with your natural hair. Carefully trimming the extensions to match the desired length and layers will contribute to a polished and customized result.
7. Mirror:
A large, well-lit mirror is essential for ensuring optimal visibility and precision during the application process. Position the mirror in a well-lit area to facilitate accurate placement and seamless integration of the extensions.
By assembling these essential supplies, you'll be well-prepared to embark on the tape-in hair extension application process with confidence and precision. With the right tools at your disposal, you can elevate your hairstyle and embrace the transformative power of tape-in extensions.
Read more: How To Put On Cufflinks
Step 2: Prepare Your Hair
Properly preparing your natural hair is a crucial step in ensuring the seamless integration and longevity of tape-in hair extensions. By following these essential preparatory measures, you can create an optimal foundation for the application process, allowing the extensions to blend flawlessly with your own hair.
Cleanse and Dry Your Hair:
Begin by washing your hair with a clarifying shampoo to remove any product buildup, oils, or residue that may hinder the adhesive's effectiveness. Thoroughly rinse and condition your hair to achieve a clean and manageable base for the extensions. Once cleansed, gently towel-dry your hair to remove excess moisture, ensuring that it is completely dry before proceeding with the application.
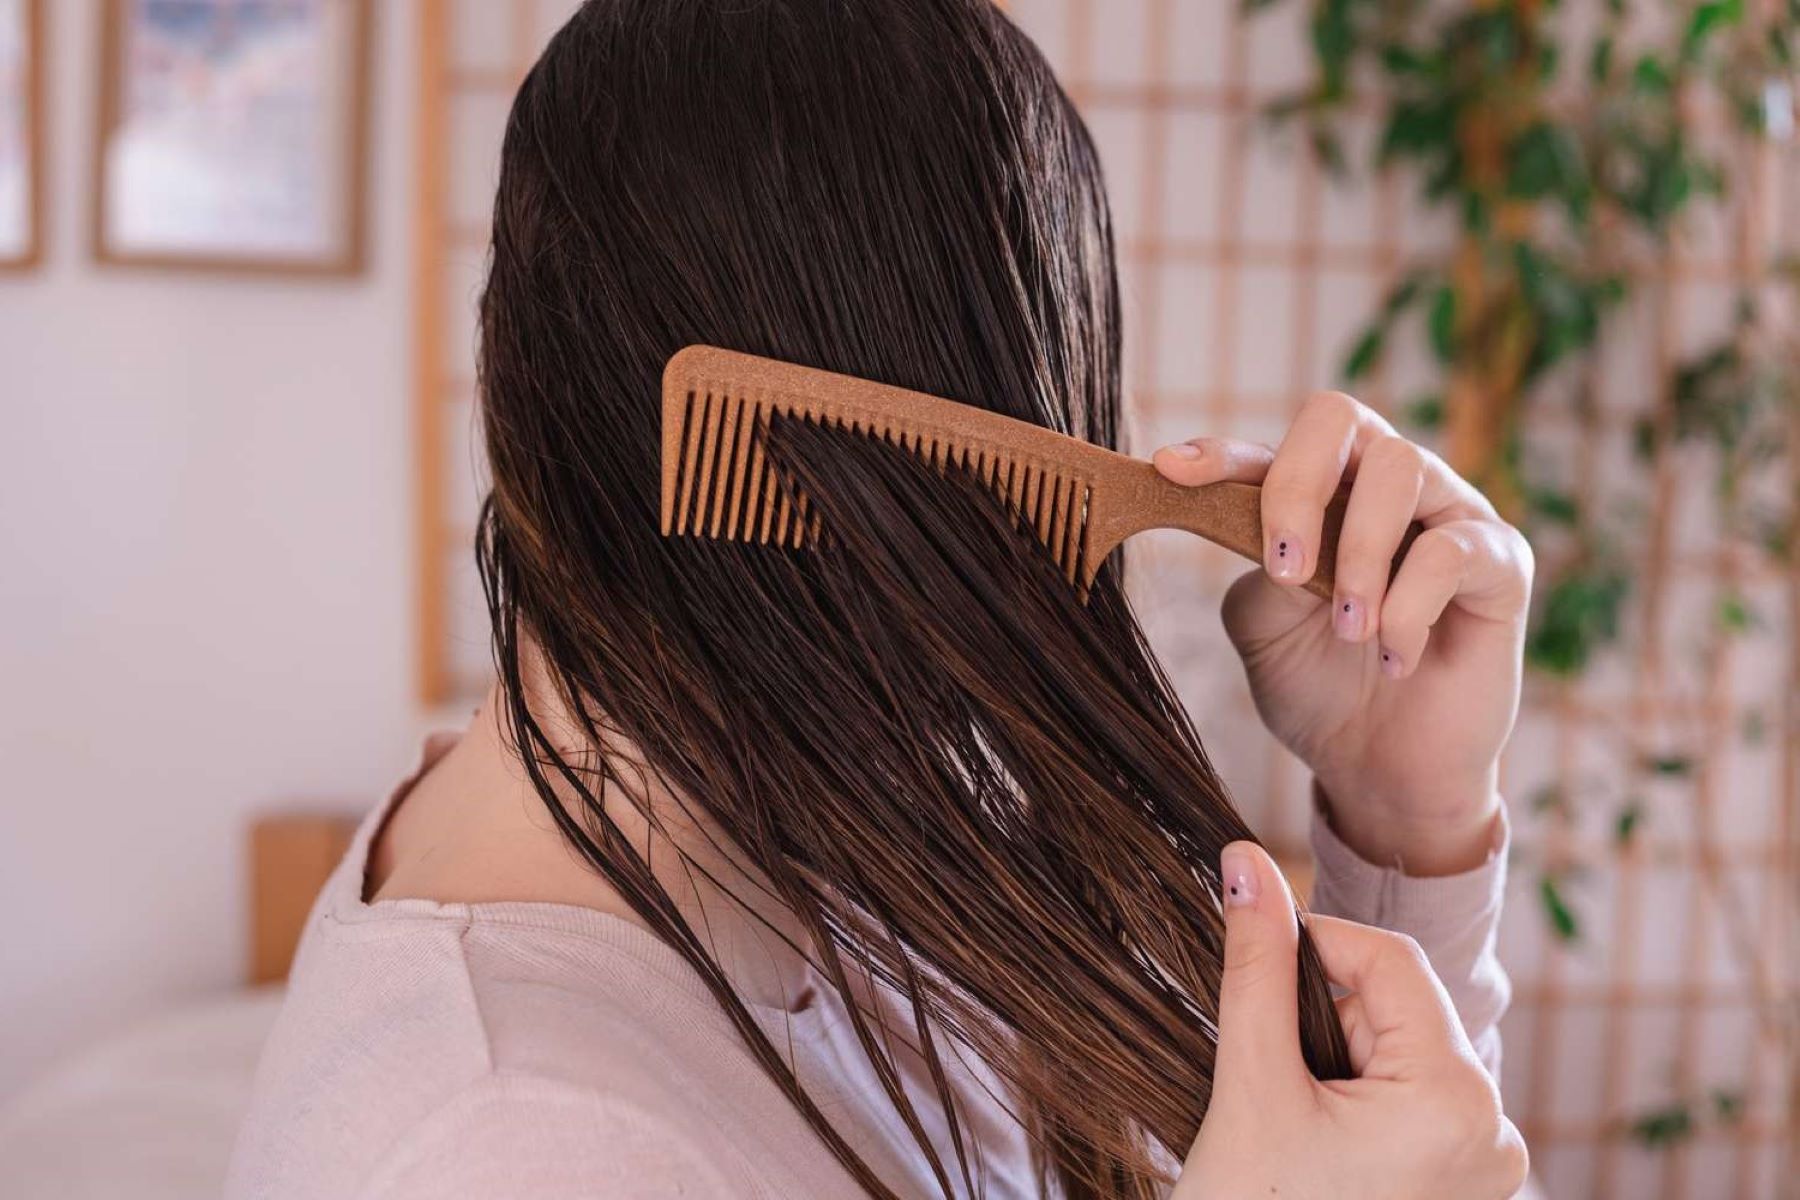
Detangle and Smooth:
Using a wide-tooth comb, gently detangle your hair to eliminate any knots or tangles. This will facilitate smooth and precise parting during the application process, allowing the extensions to be seamlessly integrated with your natural hair. Additionally, apply a lightweight, leave-in conditioner to enhance manageability and promote a smooth texture, creating an ideal canvas for the extensions.
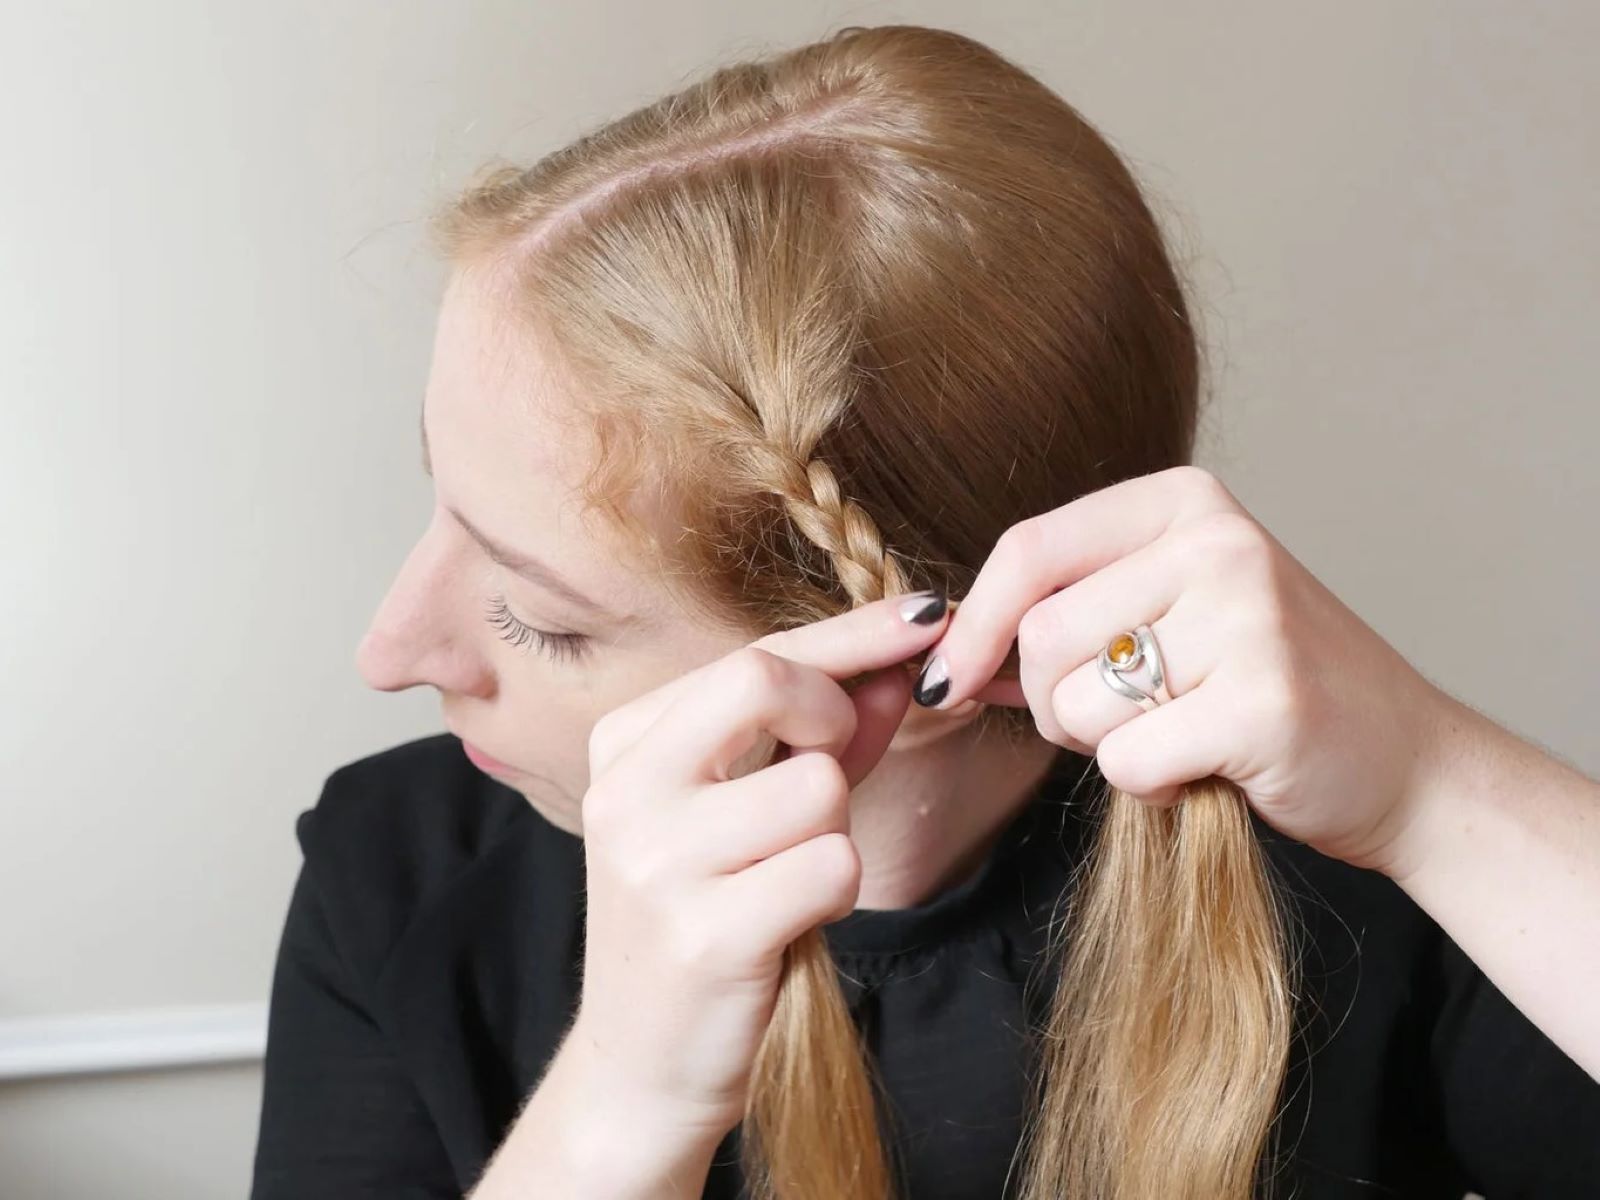
Section Your Hair Methodically:
Using your tail comb and sectioning clips, divide your hair into clean, uniform sections to facilitate the application of the tape-in extensions. Begin by creating a horizontal parting at the nape of your neck, securing the rest of the hair with clips to keep it out of the way. Working methodically from the bottom up, continue to create neat partings, ensuring that each section is manageable and ready for the application of the extensions.
Read more: How To Put On A Guitar Strap
Scalp Cleansing and Drying:
Before attaching the extensions, use rubbing alcohol and cotton pads to cleanse the areas where the tapes will be applied. This step is crucial for removing any residual oils or impurities, promoting a secure bond between the extensions and your natural hair. Allow the scalp to dry completely before proceeding, ensuring that the adhesive will adhere effectively and maintain a strong hold.
By meticulously preparing your natural hair through thorough cleansing, detangling, and strategic sectioning, you can establish an ideal foundation for the seamless application of tape-in hair extensions. These preparatory measures will contribute to a secure and natural-looking integration, allowing you to enjoy the enhanced beauty and versatility of your extended hairstyle.
Step 3: Section Your Hair
Creating precise and strategic sections in your natural hair is a fundamental step in the process of applying tape-in hair extensions. By methodically dividing your hair into manageable segments, you can ensure a seamless integration of the extensions while maintaining a natural and balanced appearance. Here's a detailed breakdown of the sectioning process to guide you through this essential step:
1. Begin at the Nape:
Commence the sectioning process at the nape of your neck, as this area provides a sturdy base for the extensions and allows for optimal coverage. Using the tail comb, create a horizontal parting that spans the width of your head, separating the bottommost section of hair from the rest. Secure the upper portion of your hair with sectioning clips to keep it neatly out of the way.
2. Create Uniform Partings:
With the bottom section of hair exposed, use the tail comb to create a clean, horizontal parting approximately 1-2 inches above the nape. This will form the first row where the tape-in extensions will be applied. Secure the remaining hair above this parting with clips to maintain a clear and unobstructed working area.
Read more: How To Use KT Tape For Shoulder Pain Relief
3. Maintain Consistent Width:
As you continue to work your way up the back of your head, consistently create horizontal partings of the same width to ensure uniform coverage and a balanced distribution of the extensions. Each parting should be parallel to the previous one, allowing for a systematic and organized application process.
4. Address the Sides:
Once you have completed the sectioning at the back, move on to the sides of your head. Create vertical partings along the sides, starting from the bottom and working your way up towards the crown. This approach will ensure that the extensions blend seamlessly with your natural hair, creating a harmonious and natural-looking result.
5. Refine the Top Sections:
As you reach the top sections of your hair, continue to create horizontal partings, maintaining consistent width and alignment with the previous rows. Pay close attention to the placement of these top sections, as they significantly influence the overall blend and appearance of the extensions.
By meticulously sectioning your hair in this methodical manner, you can establish a well-organized and structured foundation for the application of tape-in extensions. This approach ensures that the extensions are seamlessly integrated with your natural hair, resulting in a flawless and natural-looking transformation. With precision and attention to detail, you can achieve a stunning and cohesive blend that enhances the beauty and versatility of your extended hairstyle.
Step 4: Apply the Extensions
Applying tape-in hair extensions is a meticulous process that requires precision and attention to detail to achieve a seamless and natural-looking blend with your own hair. By following these essential steps, you can master the art of applying tape-in extensions and elevate your hairstyle with confidence and style.
Read more: How To Put A Tire On A Rim
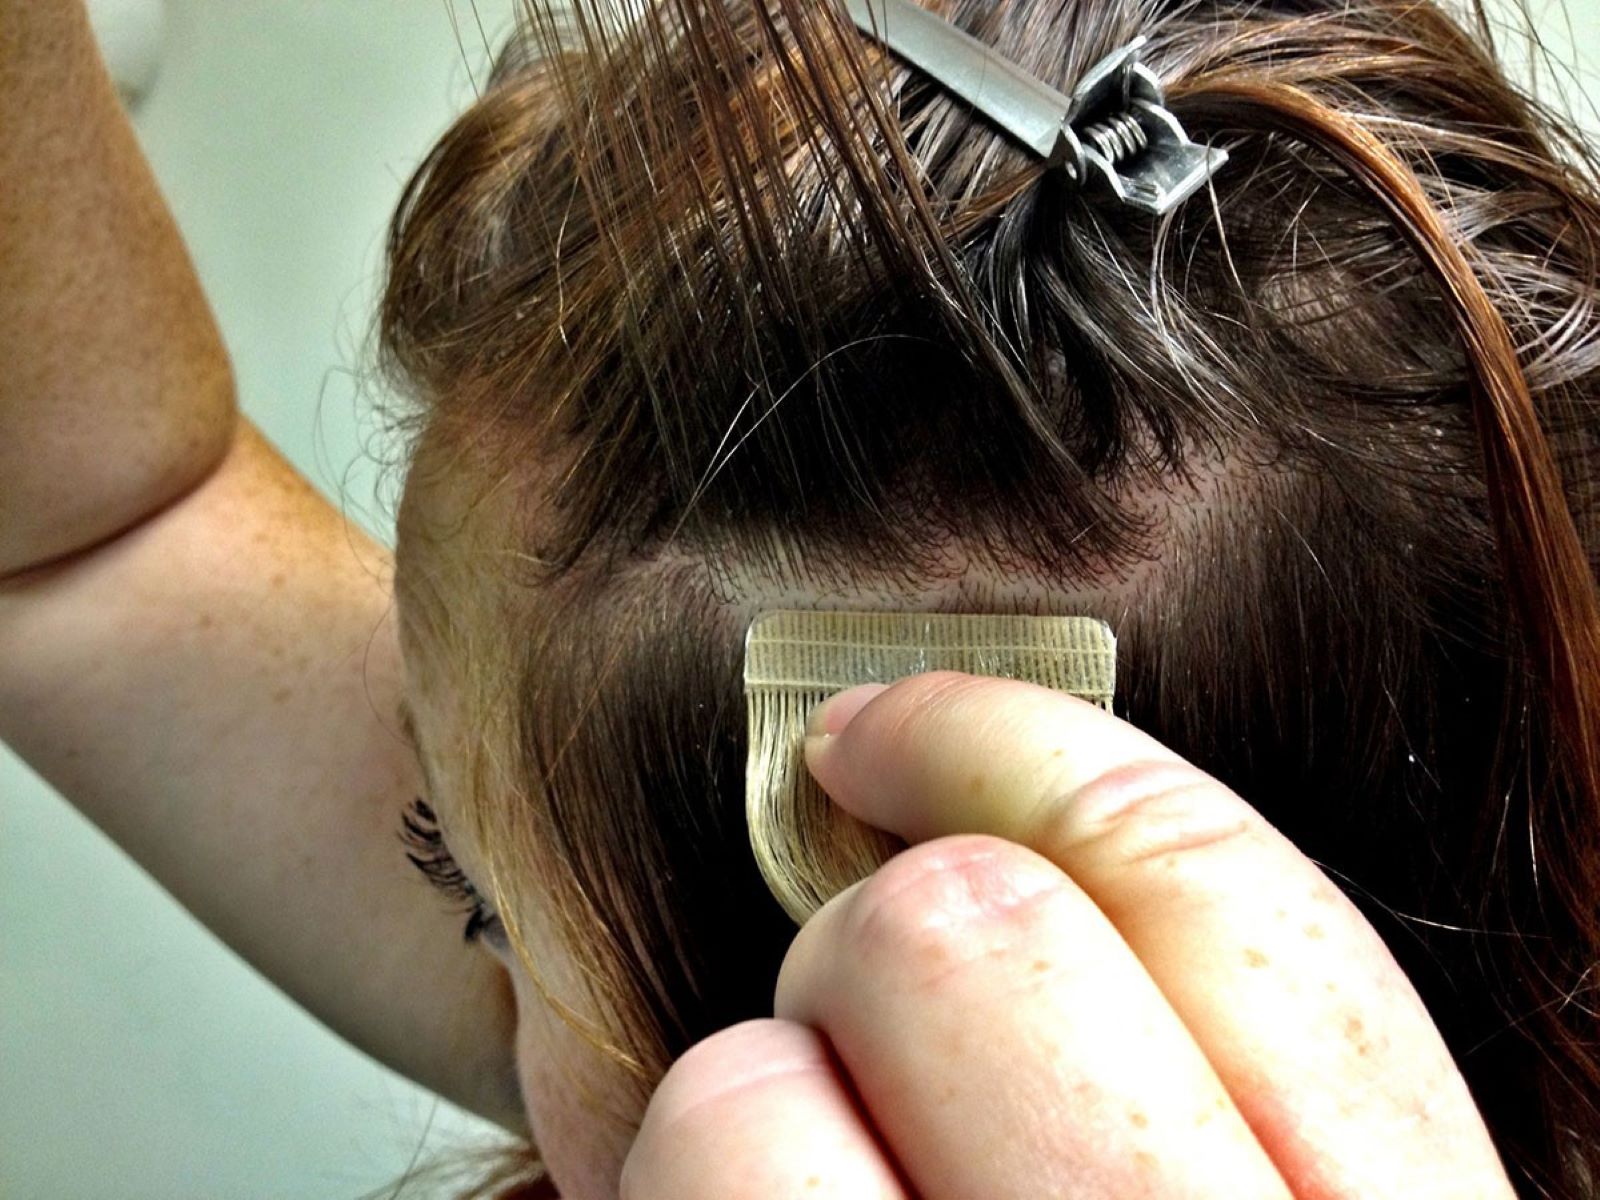
1. Align the Extensions:
Begin by selecting a tape-in extension and carefully removing the protective backing to expose the adhesive. Hold the extension with the adhesive side facing upward, ensuring that the top of the extension aligns with the parting in your hair. Gently press the extension onto the parted section, securing it close to the roots without applying excessive tension to your natural hair.
2. Create a Sandwich Effect:
Once the first extension is in place, take a second extension with the adhesive side exposed and align it directly on top of the first extension. This creates a "sandwich" effect, with your natural hair positioned between the two adhesive strips. Press the second extension firmly onto the first, ensuring a secure and seamless bond.
3. Smooth and Secure:
After the extensions are aligned and secured, use your fingers to smooth and press the adhesive areas together, ensuring a strong and durable bond. Take a tail comb and gently press along the adhesive strips to further secure the extensions to your natural hair. This step is crucial for ensuring that the extensions remain firmly in place and blend seamlessly with your hair.
4. Repeat the Process:
Continue the application process by creating additional partings and applying the extensions in a systematic manner. Work methodically from the bottom up, ensuring that each extension is aligned with precision and care. As you progress towards the top sections of your hair, maintain consistent spacing and alignment to achieve a balanced and natural distribution of the extensions.
Read more: How To Put Lotion On Your Back
5. Check for Comfort and Blend:
Once all the extensions are in place, gently run your fingers through your hair to ensure that the extensions feel comfortable and secure. Check for any visible gaps or unevenness in the placement of the extensions, adjusting as needed to achieve a seamless and natural blend. Use a mirror to inspect the back and sides of your hair, ensuring that the extensions are integrated flawlessly.
By following these steps with patience and attention to detail, you can achieve a professional-quality application of tape-in hair extensions. The result is a stunning and natural-looking transformation that enhances the length, volume, and style of your hair, allowing you to embrace the beauty and versatility of tape-in extensions with confidence and flair.
Step 5: Style and Finish
After successfully applying the tape-in hair extensions, the final step involves styling and perfecting your newly extended locks to achieve a seamless and polished look. This transformative process allows you to unleash your creativity and personalize your hairstyle, embracing the enhanced length, volume, and versatility that tape-in extensions offer.
1. Blend and Texturize:
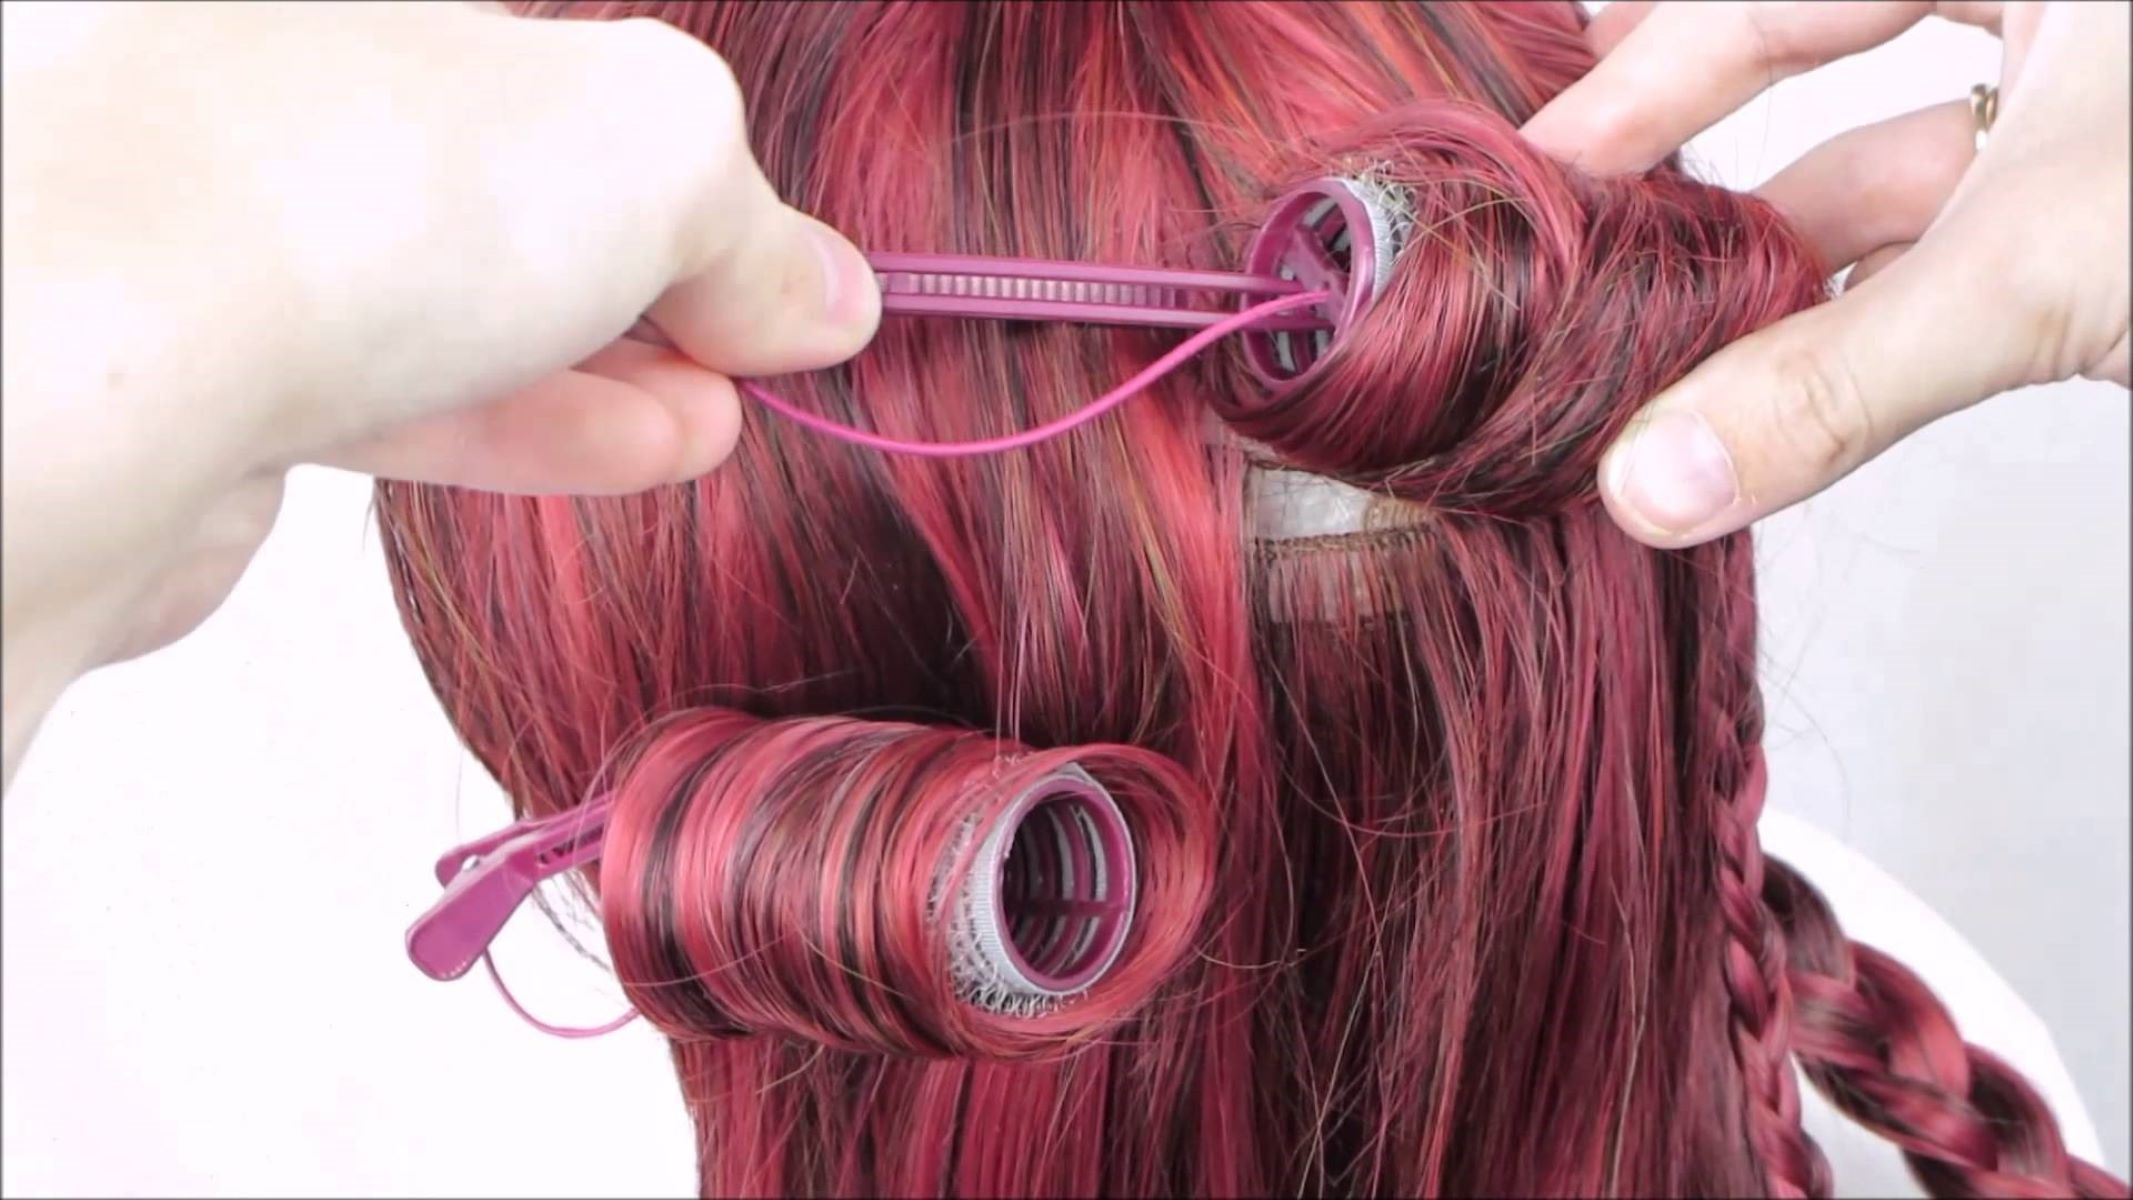
Gently run a wide-tooth comb through your hair to blend the extensions with your natural hair. This step ensures that the extensions are seamlessly integrated, creating a cohesive and natural appearance. Additionally, use styling tools to add texture and dimension, such as curling wands or flat irons, to create effortless waves or sleek, straight styles that showcase the beauty of your extended locks.
2. Customize the Length and Layers:
Trim and shape the extensions to achieve your desired length and layers, ensuring that they harmonize with your natural hair. This customization allows you to create a personalized and tailored look, whether you prefer long, flowing locks or layered styles that accentuate volume and movement.
3. Experiment with Hairstyles:
Embrace the versatility of your extended hair by experimenting with various hairstyles, from elegant updos to cascading waves. The added length and volume provided by the extensions open up a world of styling possibilities, allowing you to express your unique style and adapt your look to any occasion.
4. Maintain and Protect:
Implement a hair care routine that preserves the beauty and longevity of your tape-in extensions. Use sulfate-free shampoos and conditioners to maintain the integrity of the extensions, and avoid applying products directly to the adhesive areas. Additionally, protect your hair during heat styling by using thermal protectants and minimizing exposure to excessive heat.
5. Embrace Confidence and Elegance:
As you admire the stunning results of your extended hairstyle, embrace the confidence and elegance that comes with effortlessly glamorous hair. Whether you're attending a special event or simply enjoying your everyday look, the seamless blend of tape-in extensions allows you to exude confidence and style with every hair flip and movement.
By following these styling and finishing steps, you can elevate your extended hairstyle to new heights, embracing the beauty and versatility of tape-in hair extensions with finesse and flair. The result is a stunning and personalized look that reflects your individuality and style, allowing you to enjoy the transformative power of tape-in extensions with confidence and grace.