Lifestyle
How To Fade Your Own Hair
Published: March 5, 2024
Learn how to fade your own hair at home with our easy step-by-step guide. Elevate your lifestyle with professional-looking results.
(Many of the links in this article redirect to a specific reviewed product. Your purchase of these products through affiliate links helps to generate commission for Regretless.com, at no extra cost. Learn more)
Table of Contents
Introduction
Are you ready to embark on a journey of self-expression and style transformation? Fading your own hair is a bold and empowering decision that allows you to unleash your creativity and showcase your unique personality. Whether you're aiming for a subtle gradient effect or a striking fade, mastering the art of DIY hair fading opens up a world of possibilities for self-care and self-expression.
Fading your own hair is not just about changing your appearance; it's a form of self-care and a way to embrace your individuality. It's a chance to experiment with different looks, express your personal style, and gain a deeper understanding of your hair's versatility. By taking the reins and learning how to fade your own hair, you're embracing a journey of self-discovery and empowerment.
This process is not just about the end result; it's about the experience itself. It's an opportunity to connect with your hair on a deeper level, to understand its unique texture and behavior, and to appreciate the transformative power of self-care. As you embark on this journey, remember that every step you take is a testament to your creativity and willingness to explore new horizons.
In the following steps, you'll learn how to gather the necessary supplies, prepare your hair for the fading process, apply the bleach with precision, monitor the bleaching progress, and finally, rinse, condition, style, and maintain your newly faded hair. Each step is an essential part of the journey, guiding you toward a successful and satisfying outcome.
So, are you ready to embrace the art of DIY hair fading? Let's dive into the process and unlock the potential for a stunning, personalized hairstyle that reflects your unique flair and confidence. Get ready to embark on a transformative journey that celebrates your individuality and showcases your creativity.
Step 1: Gather Your Supplies
Before delving into the hair fading process, it's crucial to gather all the necessary supplies to ensure a smooth and efficient experience. Here's a comprehensive list of items you'll need to embark on your DIY hair fading journey:
1. Bleach Kit:
- Select a high-quality bleach kit specifically designed for hair fading. Look for a kit that includes bleach powder, developer, gloves, and an applicator brush. Opt for a reputable brand to ensure optimal results and minimize potential damage to your hair.
2. Protective Gear:
- Prioritize your safety by acquiring protective gear, including disposable gloves and a protective cape or old clothing that you don't mind getting bleach on. Additionally, consider using a plastic or vinyl apron to shield your skin from potential bleach splatters.
3. Hair Toning Products:
- To achieve the desired fade and tone, invest in hair toning products such as purple shampoo or toner. These products help neutralize any unwanted brassy or yellow undertones that may result from the bleaching process, ensuring a more polished and professional finish.
Read more: How To Braid Hair
4. Hair Conditioning Treatment:
- Given that the bleaching process can strip the hair of its natural moisture and nutrients, it's essential to have a high-quality conditioning treatment on hand. Look for a deep conditioning mask or treatment to nourish and revitalize your hair post-bleaching.
5. Applicator Tools:
- To apply the bleach with precision, consider acquiring applicator tools such as a tinting brush or a comb with fine teeth. These tools enable you to distribute the bleach evenly and target specific sections of your hair for a seamless fading effect.
6. Mixing Bowl and Brush:
- A non-metallic mixing bowl and brush are essential for blending the bleach powder and developer to create a smooth and consistent mixture. Opt for a dedicated hair coloring bowl and brush to maintain hygiene and accuracy during the preparation process.
7. Timer:
- To monitor the bleaching process effectively, have a reliable timer on hand. Whether it's a digital timer or a smartphone app, ensuring precise timing is crucial for achieving the desired level of fade without compromising the integrity of your hair.
8. Mirrors and Adequate Lighting:
- Set up multiple mirrors to gain a comprehensive view of your hair from different angles. Adequate lighting is also essential to accurately assess the bleaching progress and ensure uniform application throughout the fading process.
By assembling these essential supplies, you're equipping yourself with the tools and resources needed to embark on your DIY hair fading journey with confidence and precision. With your supplies at the ready, you're prepared to move on to the next step and delve into the process of preparing your hair for the transformative fading experience.
Step 2: Prepare Your Hair
Preparing your hair for the fading process is a crucial step that sets the foundation for achieving optimal results and minimizing potential damage. Before diving into the application of bleach, it's essential to ensure that your hair is in the best possible condition to undergo the transformative fading journey. Here's a detailed guide on how to prepare your hair effectively:
1. Hair Assessment:
Begin by conducting a thorough assessment of your hair's current condition. Take note of any previous color treatments, hair damage, or sensitivity issues. Understanding your hair's history and characteristics allows you to tailor the fading process to suit your specific needs and minimize the risk of adverse reactions.
2. Strand Test:
Perform a strand test to assess how your hair will react to the bleaching process. Select a small section of hair, preferably from a discreet area, and apply a small amount of diluted bleach. Monitor the strand for the recommended duration and observe how it lightens. This test helps you gauge the potential outcome and adjust the bleaching time accordingly.
Read more: How To Put Hair In A Bun
3. Hair Protection:
Prioritize the protection of your scalp and hairline by applying a thin layer of petroleum jelly or a protective barrier cream. This precautionary measure helps prevent the bleach from coming into direct contact with your skin, reducing the risk of irritation or discomfort during the fading process.
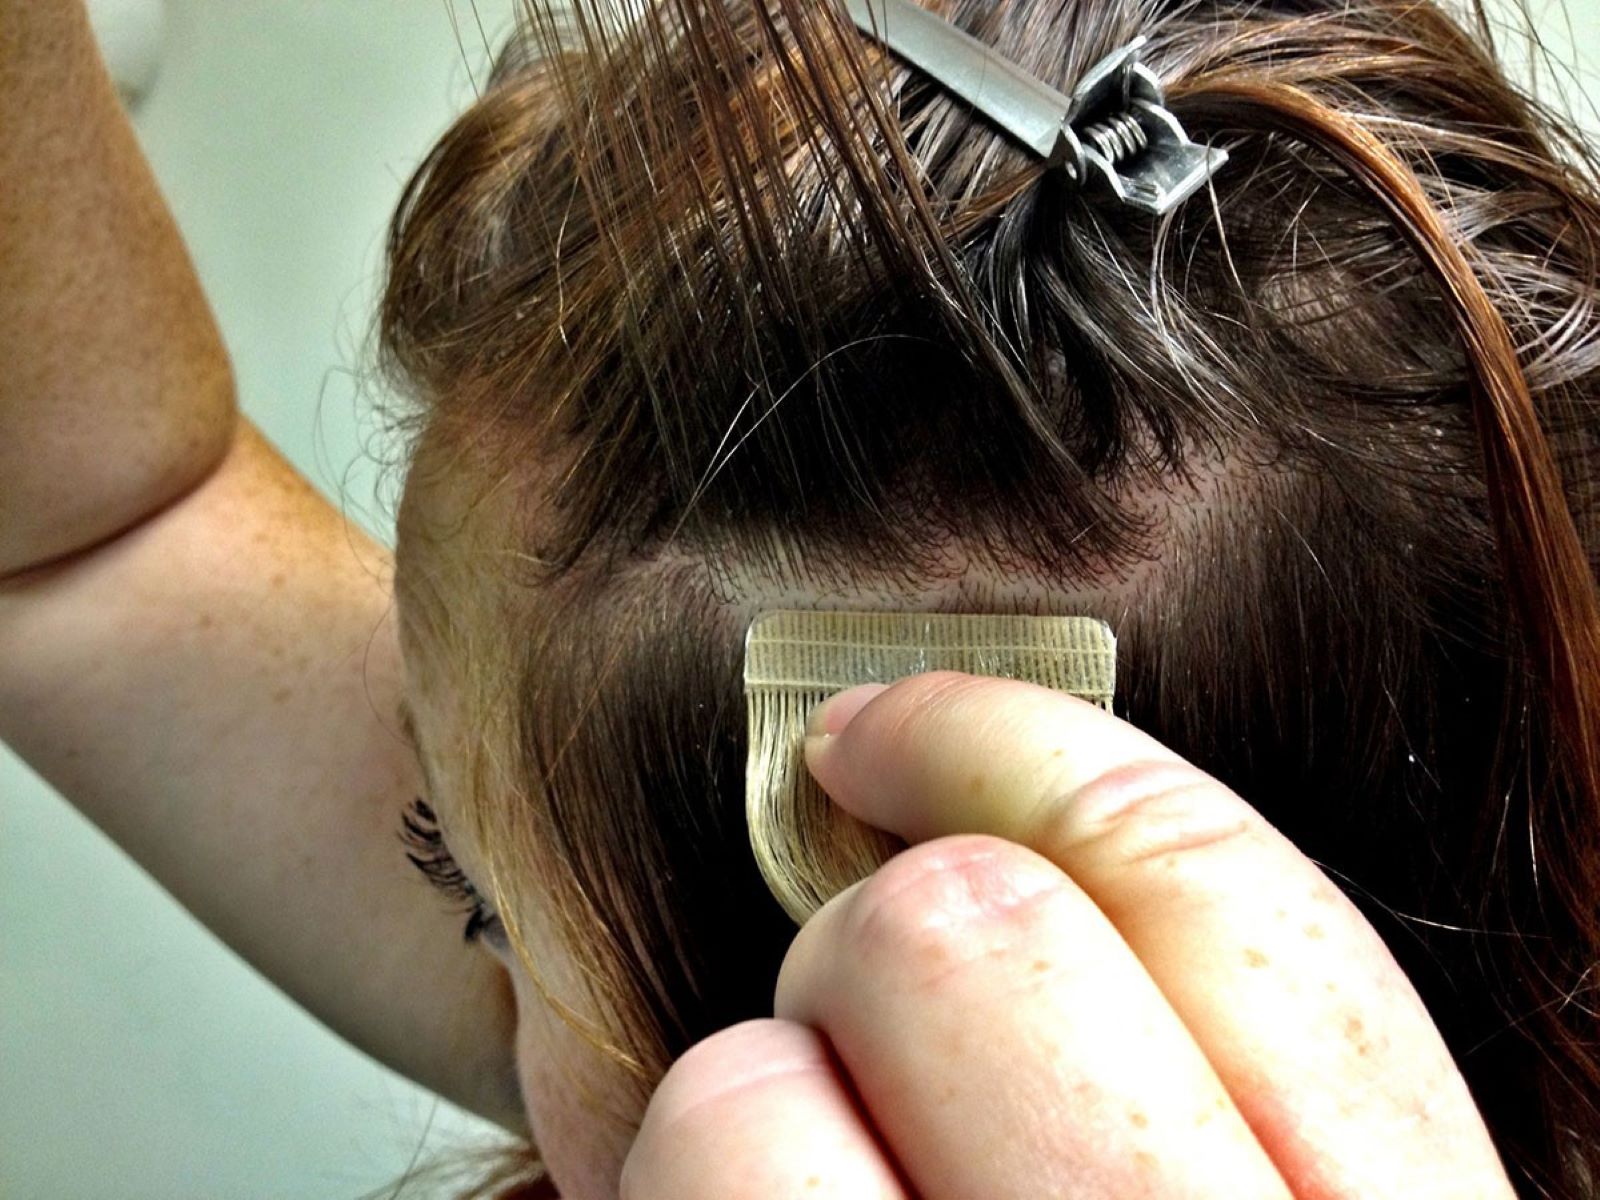
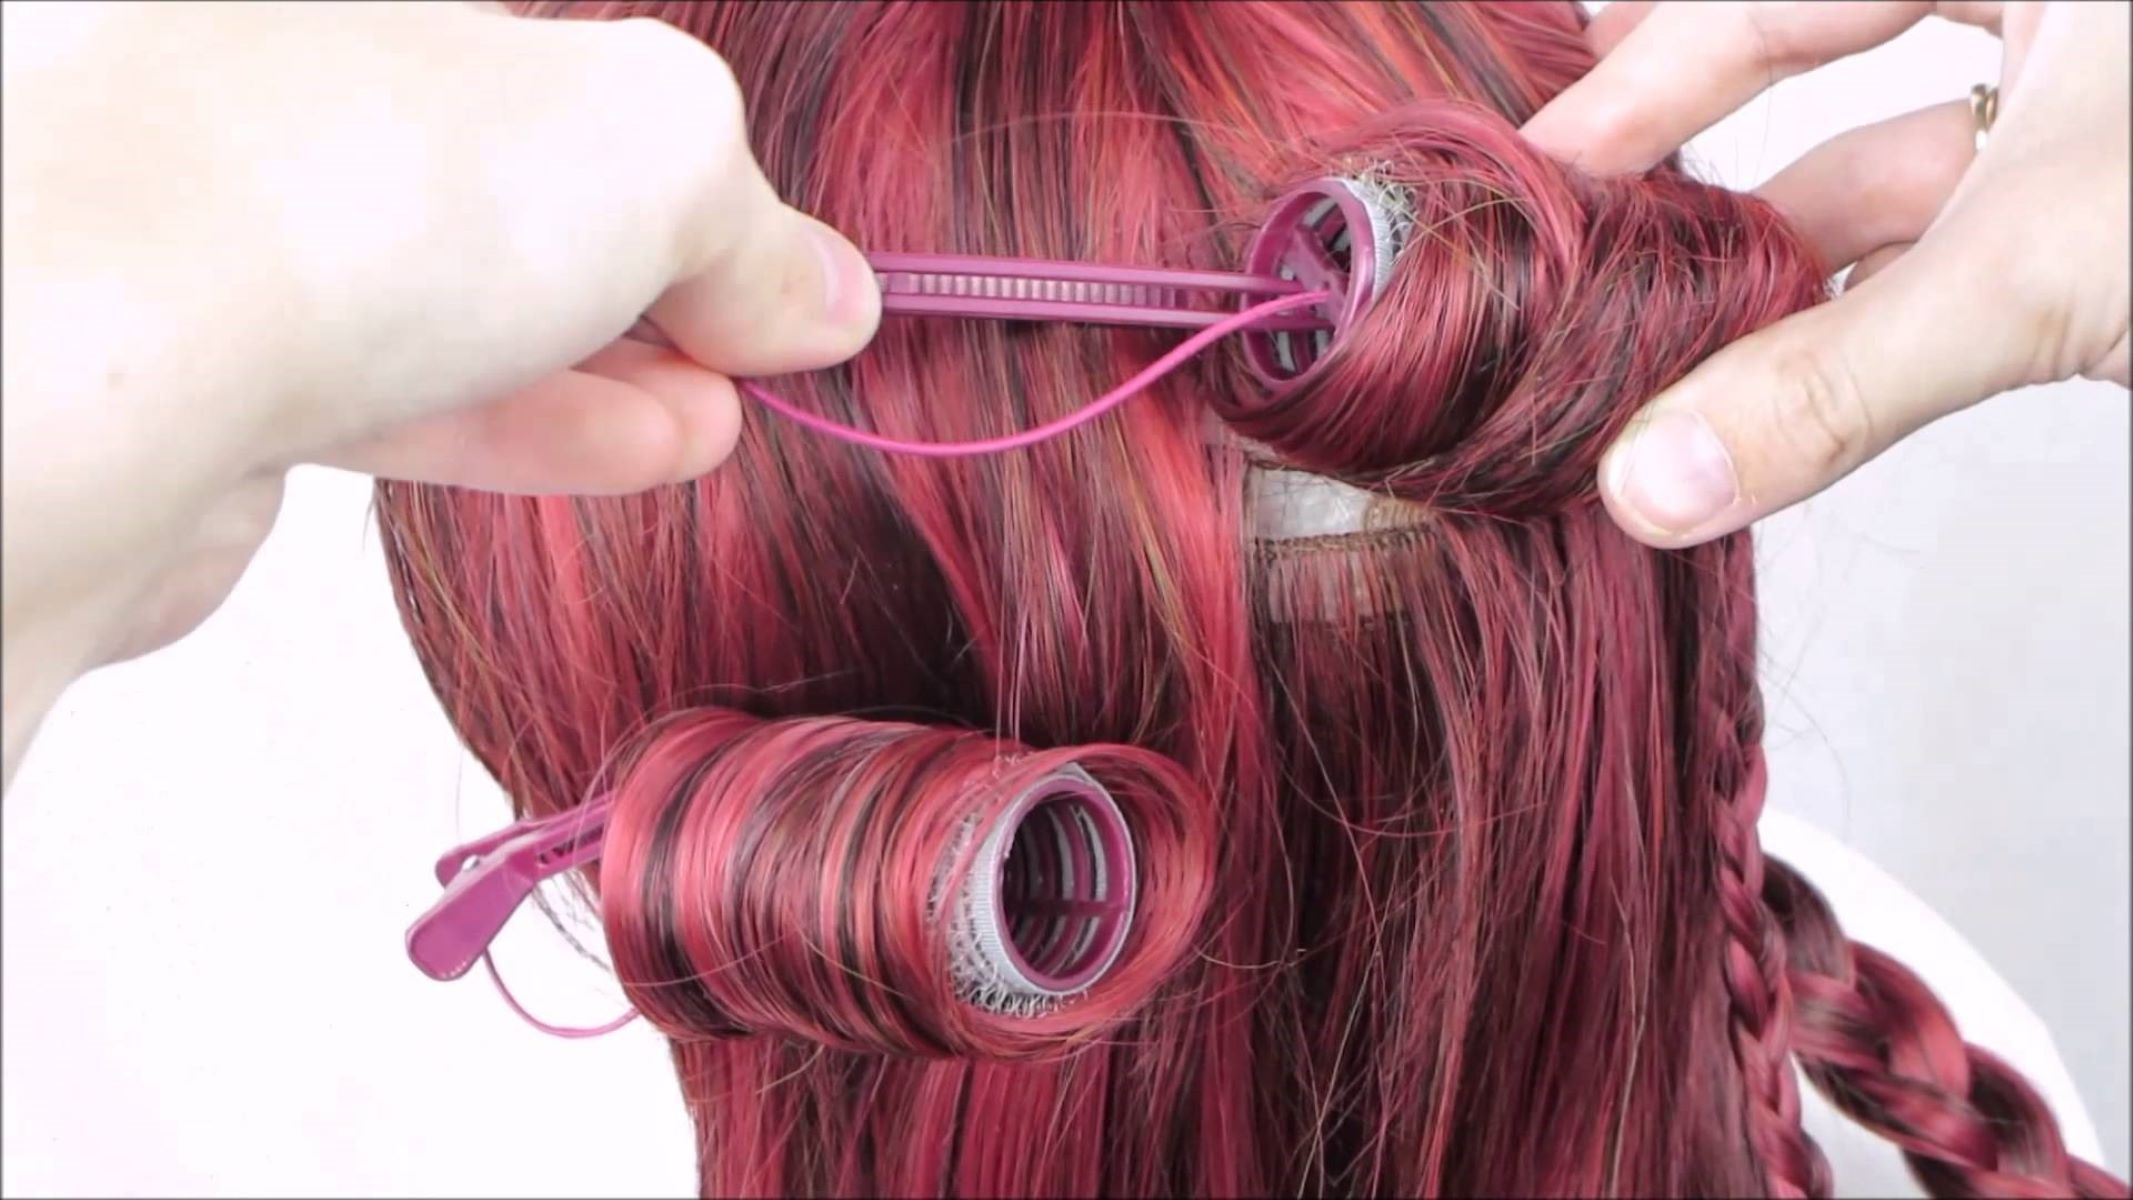
4. Sectioning:
Divide your hair into manageable sections to facilitate an even and controlled application of the bleach. Use hair clips or ties to secure the sections, ensuring that each part of your hair is easily accessible for precise and uniform bleaching.
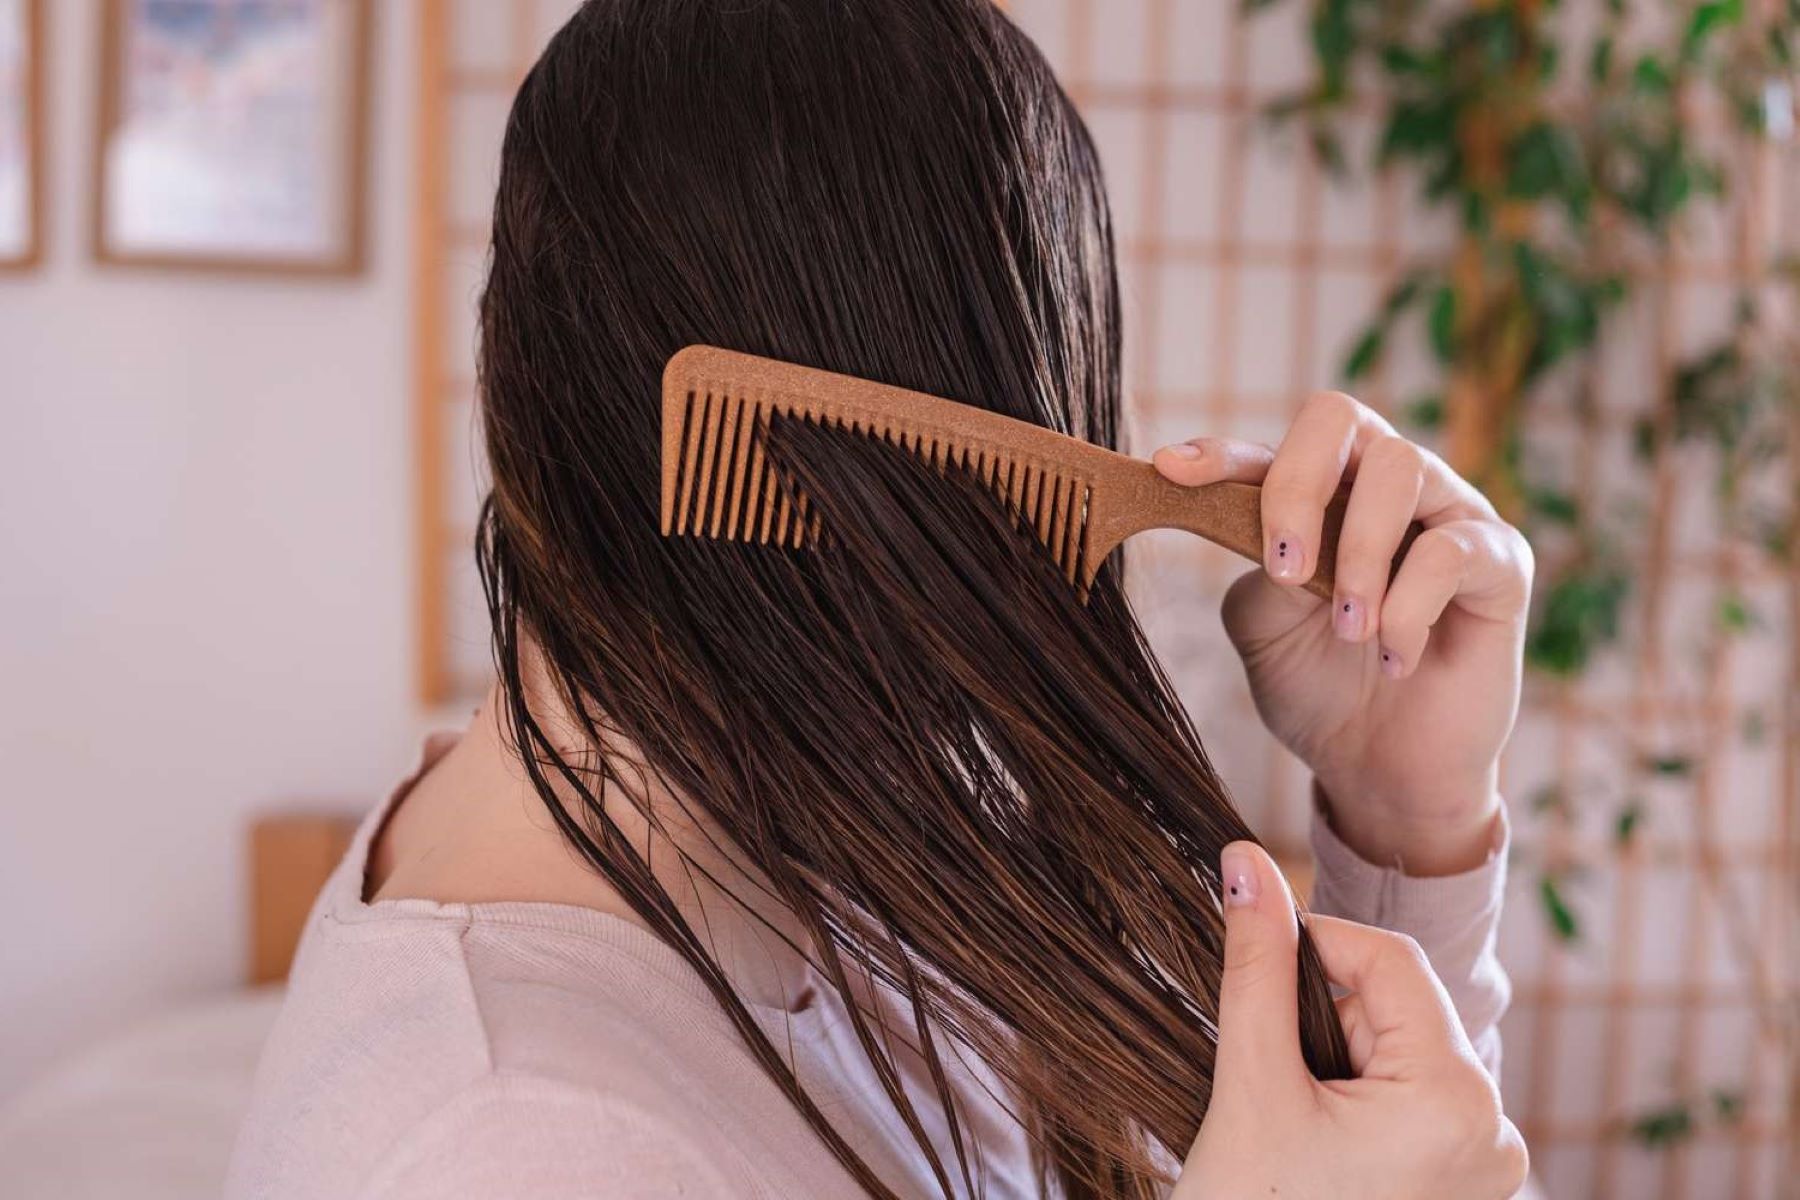
5. Hair Detangling:
Gently detangle your hair using a wide-tooth comb to remove any knots or tangles. Smooth, tangle-free hair allows for a more consistent application of the bleach, ensuring that every strand receives the desired level of lightening for a seamless fade.
6. Protective Clothing:
Wear clothing that you don't mind getting bleach on, and consider draping a protective cape or towel over your shoulders to shield your skin and clothing from potential bleach splatters. This precautionary measure helps maintain a clean and comfortable environment during the fading process.
Read more: How To Add Texture To Hair
7. Mental Preparation:
Take a moment to mentally prepare for the fading process. Embrace a positive mindset and visualize the desired outcome, channeling confidence and excitement as you embark on this transformative journey. Cultivating a positive attitude can enhance the overall experience and empower you to embrace the process with enthusiasm.
By meticulously preparing your hair for the fading process, you're laying the groundwork for a successful and satisfying outcome. This preparatory phase sets the stage for a seamless and controlled application of the bleach, ensuring that your hair receives the attention and care it deserves throughout the transformative fading journey.
Step 3: Apply the Bleach
With your hair meticulously prepared, it's time to embark on the pivotal stage of the hair fading process: the application of bleach. This step requires precision, patience, and a keen eye for detail to achieve the desired level of fade while safeguarding the health and integrity of your hair.
1. Mixing the Bleach
Begin by carefully mixing the bleach powder and developer in a non-metallic bowl, following the instructions provided in the bleach kit. Use the applicator brush to blend the components thoroughly, ensuring a smooth and consistent mixture. It's crucial to adhere to the recommended ratio of bleach to developer to maintain the potency and effectiveness of the bleaching solution.
2. Sectioning and Application
Unclip a small section of hair and start the application process from the mid-lengths, working your way down to the ends. Apply the bleach evenly, using the applicator brush to distribute the mixture with precision. Avoid overlapping onto previously bleached sections to prevent uneven lightening and potential damage. Work methodically through each section, ensuring thorough coverage while maintaining a uniform application for a seamless fade.
3. Root Application
Once the mid-lengths and ends are adequately coated, focus on applying the bleach to the roots. Exercise caution and precision to prevent direct contact with the scalp, as the scalp's natural heat can accelerate the bleaching process. Utilize the applicator brush to target the roots, gently blending the bleach to achieve a natural transition from the roots to the previously bleached sections.
4. Monitoring and Timing
As the bleach begins to take effect, closely monitor the lightening progress to gauge the desired level of fade. Use a timer to track the processing time, adhering to the recommended duration based on your strand test and desired outcome. Regularly check the bleaching progress in the mirror, ensuring that the color transition aligns with your envisioned fade while prioritizing the health of your hair.
5. Precision and Patience
Precision is paramount during the application process, as it determines the uniformity and quality of the fade. Exercise patience and attentiveness, focusing on each section to ensure consistent lightening without compromising the hair's strength and vitality. Embrace a meticulous approach, acknowledging that the careful application of bleach is instrumental in achieving a stunning and harmonious fade.
By meticulously following these steps, you're navigating the application of bleach with expertise and care, setting the stage for a successful and visually captivating hair fading journey. The application process serves as a testament to your dedication and artistry, laying the groundwork for a transformative outcome that celebrates your individuality and style.
Step 4: Monitor the Bleaching Process
As the bleach begins to work its magic on your hair, it's crucial to actively monitor the bleaching process to ensure that the desired level of fade is achieved while safeguarding the health of your hair. This stage requires attentiveness, precision, and a keen eye for detail to navigate the lightening progress effectively.
Regularly assess the color transition of your hair as the bleach takes effect. Utilize mirrors and adequate lighting to gain a comprehensive view of the bleaching progress from various angles. By closely observing the changes in your hair's hue, you can gauge the evolving fade and make informed decisions regarding the processing time.
A reliable timer serves as a valuable ally during the monitoring phase. Adhere to the recommended processing time based on your strand test and the envisioned level of fade. Timely and accurate monitoring ensures that the bleaching process aligns with your expectations, allowing you to intervene if necessary to achieve the desired outcome.
Maintain a balance between patience and vigilance as you monitor the bleaching process. Embrace a meticulous approach, acknowledging that each moment contributes to the overall result. By staying attuned to the evolving color transformation, you can make real-time assessments and adjustments, ensuring that your hair receives the optimal level of lightening without compromising its integrity.
It's essential to remain mindful of the potential impact of the bleach on your hair's health. While aiming for a stunning fade, prioritizing the well-being of your hair is paramount. Regularly evaluate the texture and condition of your hair during the bleaching process, ensuring that it remains resilient and responsive to the treatment.
By actively monitoring the bleaching process, you're demonstrating a commitment to achieving a visually captivating and harmonious fade. Your attentive approach reflects a dedication to precision and excellence, setting the stage for a transformative outcome that celebrates your individuality and style.
Step 5: Rinse and Condition
After the bleaching process, thorough rinsing and conditioning are essential to restore your hair's natural balance and vitality. This crucial step not only removes residual bleach but also nourishes and strengthens your hair, setting the stage for a stunning and healthy fade.
1. Rinsing
Begin by gently rinsing your hair with lukewarm water to remove the bleach completely. Ensure that all traces of the bleaching mixture are thoroughly washed out, allowing your hair to return to its natural state. Take your time during this rinsing phase, using your fingers to carefully massage your scalp and hair, ensuring that no bleach residue remains.
2. Conditioning Treatment
Once the rinsing process is complete, it's time to indulge your hair with a luxurious conditioning treatment. Select a high-quality conditioner specifically formulated for post-bleaching care. Apply the conditioner generously, focusing on the mid-lengths and ends of your hair. Gently comb the conditioner through your hair using a wide-tooth comb to ensure even distribution.
3. Nourishment and Hydration
The conditioning treatment serves as a replenishing oasis for your hair, infusing it with essential nutrients and moisture. Allow the conditioner to work its magic for the recommended duration, enabling it to nourish and hydrate your hair from within. This revitalizing step helps counteract the potential dryness and brittleness that can result from the bleaching process, promoting softness and manageability.
4. Rinse and Pat Dry
After the conditioning treatment has permeated your hair, rinse it thoroughly with cool water to seal the hair cuticles and lock in the nourishing benefits of the conditioner. Gently pat your hair dry with a soft, absorbent towel, avoiding vigorous rubbing that can cause unnecessary friction and potential damage to your delicate, freshly treated hair.
5. Hair Protection
As your hair transitions from the rinsing and conditioning phase, prioritize its protection by avoiding excessive heat styling and embracing gentle hair care practices. Opt for air-drying or using a low-heat setting when styling your hair, allowing it to recover and thrive after the transformative fading journey.
By meticulously following the rinsing and conditioning process, you're nurturing your hair back to optimal health and radiance, ensuring that it emerges from the bleaching experience revitalized and ready to showcase a stunning fade. This attentive care and nourishment reflect your commitment to preserving the beauty and strength of your hair, culminating in a transformative outcome that celebrates your individuality and style.
Step 6: Style and Maintain Your Faded Hair
With your newly faded hair as a canvas for self-expression, the final step encompasses styling and maintenance to showcase your personalized look while preserving the vibrancy and health of your hair. This phase celebrates the transformative journey you've embarked upon, allowing you to embrace your individuality with confidence and flair.
1. Styling Versatility
Embrace the versatility of your faded hair by experimenting with different styling techniques. Whether you opt for sleek and polished looks, tousled and textured styles, or intricate braids and updos, your faded hair provides a captivating backdrop for creative expression. Explore various styling products and tools to accentuate the gradient effect of your fade, allowing your unique personality to shine through each hairstyle.
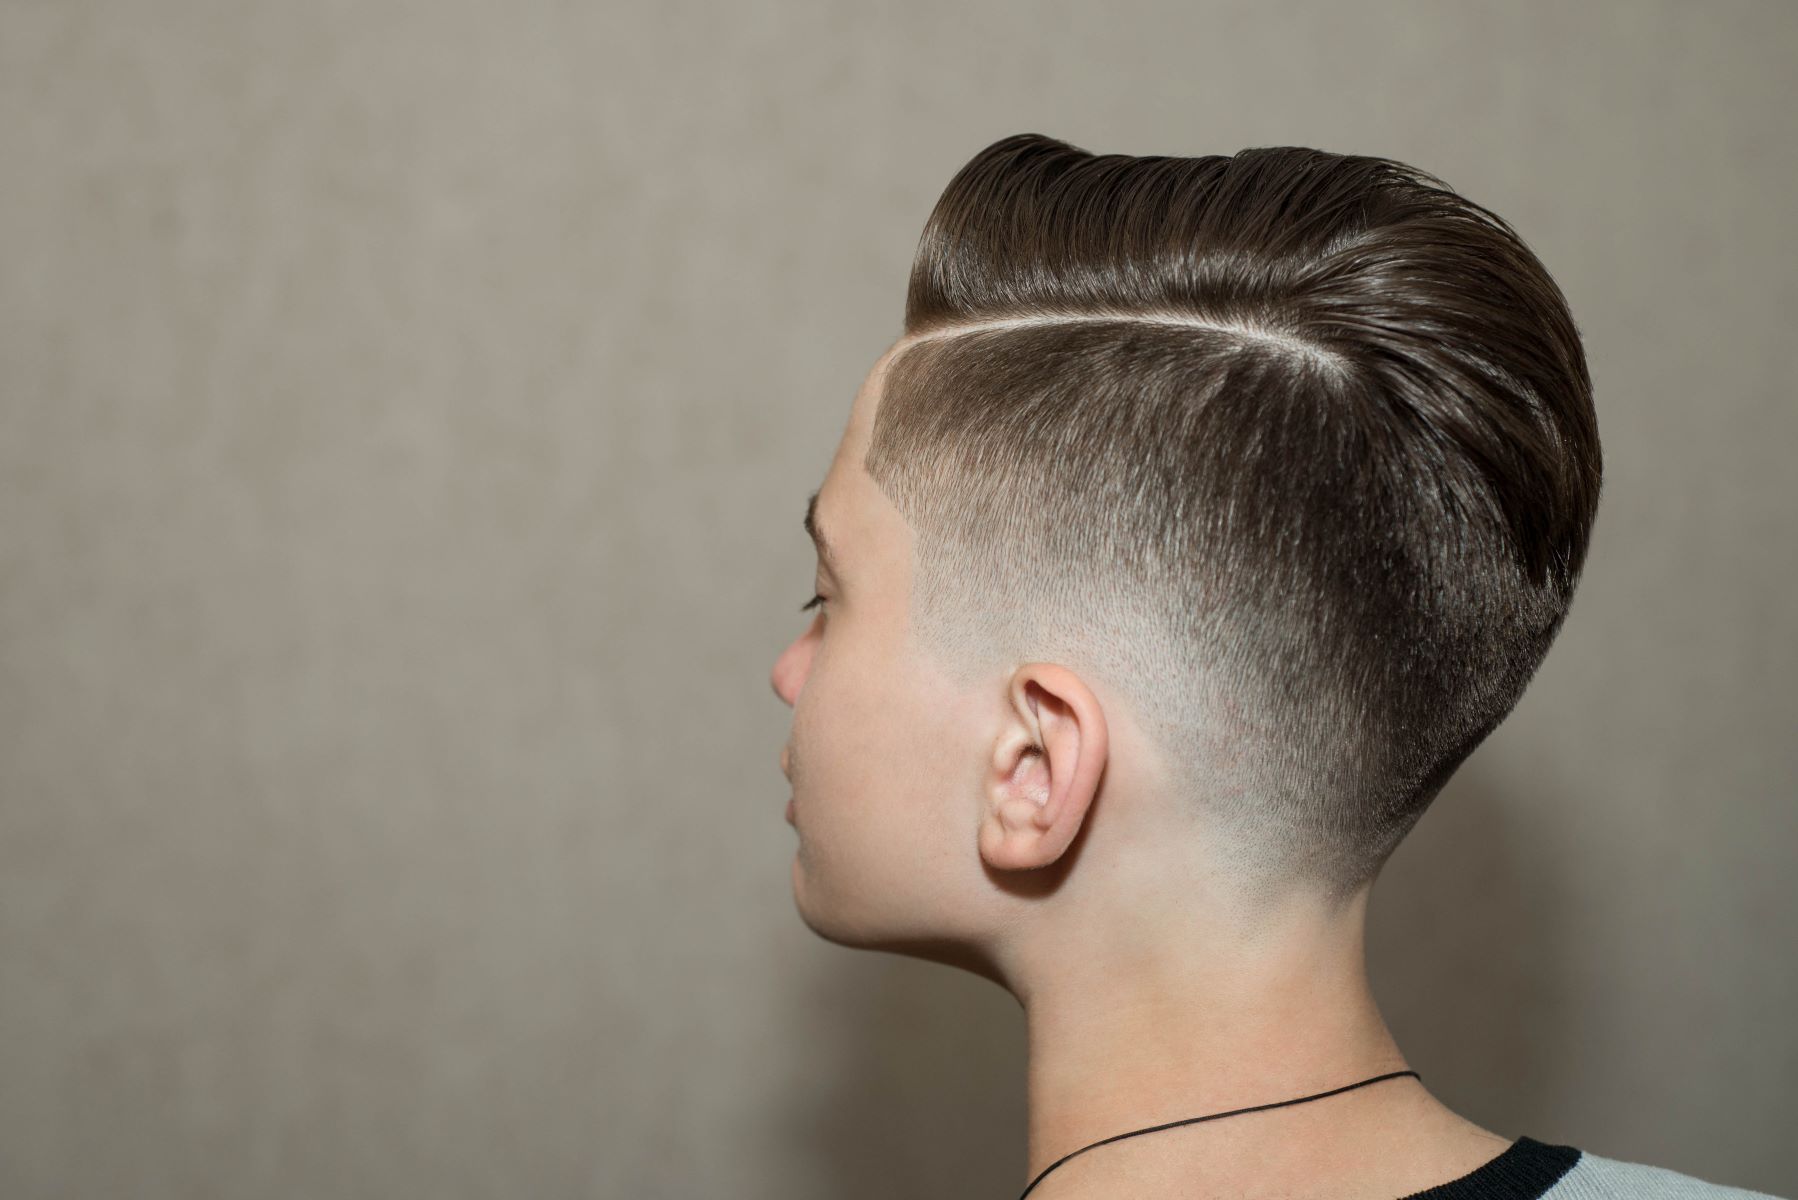
Read more: The Ultimate Guide To Getting A Fade Haircut
2. Protective Styling
Prioritize protective styling methods to safeguard your faded hair from potential damage. Incorporate gentle hair accessories, such as silk scrunchies or satin hair wraps, to minimize friction and breakage. Embrace protective hairstyles that minimize manipulation and tension on your hair, promoting its strength and resilience while preserving the stunning fade you've achieved.
3. Regular Maintenance
Commit to a consistent hair care routine that nurtures and maintains your faded hair. Incorporate nourishing hair masks and treatments designed to replenish moisture and fortify your hair's structure. Embrace regular trims to eliminate split ends and maintain the integrity of your fade, ensuring that your hair remains vibrant and lustrous between fading sessions.
4. Color-Toning Products
Integrate color-toning products into your hair care regimen to neutralize any unwanted brassiness or maintain the desired tone of your fade. Purple shampoos and toners can help counteract yellow or orange undertones, preserving the pristine gradient effect of your faded hair and enhancing its visual impact.
5. Confidence and Individuality
Above all, embrace your faded hair as a reflection of your confidence and individuality. Celebrate the artistry and creativity that define your unique style, allowing your faded hair to serve as a captivating expression of self-assurance and empowerment. Embrace the journey of self-discovery and personal expression that your faded hair represents, showcasing your authenticity with every hairstyle you create.
By embracing the styling and maintenance of your faded hair, you're perpetuating the narrative of self-expression and self-care that defines your transformative journey. Each styling choice and nurturing gesture reflects your commitment to celebrating your individuality and preserving the beauty of your faded hair, ensuring that it remains a stunning manifestation of your creativity and confidence.