Lifestyle
How To Braid Hair
Modified: March 13, 2024
Learn the art of braiding hair with our easy step-by-step guide. Elevate your lifestyle with these trendy and versatile hair braiding techniques.
(Many of the links in this article redirect to a specific reviewed product. Your purchase of these products through affiliate links helps to generate commission for Regretless.com, at no extra cost. Learn more)
Table of Contents
Introduction
Braiding hair is an art form that has been practiced for centuries, with its origins dating back to ancient civilizations. It is a versatile and timeless styling technique that adds flair and elegance to one's appearance. Whether you're preparing for a casual day out or a special occasion, mastering the art of braiding opens up a world of creative possibilities for styling your hair.
Braiding not only enhances the aesthetic appeal of hair but also serves as a practical solution for managing and maintaining various hair textures. It allows for the creation of intricate patterns and designs that can complement different hair lengths and types. From classic three-strand braids to more intricate styles like French and Dutch braids, the art of braiding offers a wide range of options to suit individual preferences and occasions.
In addition to its aesthetic appeal, braiding also promotes hair health by minimizing tangles and reducing the need for excessive styling and heat treatments. It is a versatile styling technique that can be adapted to suit different hair lengths and textures, making it accessible to individuals with diverse hair types.
Whether you're a beginner looking to learn the basics of braiding or an experienced braider seeking to expand your repertoire, this comprehensive guide will equip you with the knowledge and skills needed to create stunning braided hairstyles. From essential tools and materials to fundamental braiding techniques and advanced styles, this guide will walk you through the art of braiding, empowering you to unleash your creativity and elevate your hairstyling prowess.
So, grab your comb, gather your enthusiasm, and let's embark on a journey to unravel the intricacies of braiding, unlocking the potential to transform ordinary hair into extraordinary works of art.
Tools and Materials Needed
Braiding hair is an enjoyable and creative process that requires a few essential tools and materials to achieve stunning results. Before delving into the intricate art of braiding, it's important to gather the necessary items to ensure a smooth and seamless styling experience. Here's a comprehensive list of the tools and materials you'll need to embark on your braiding journey:
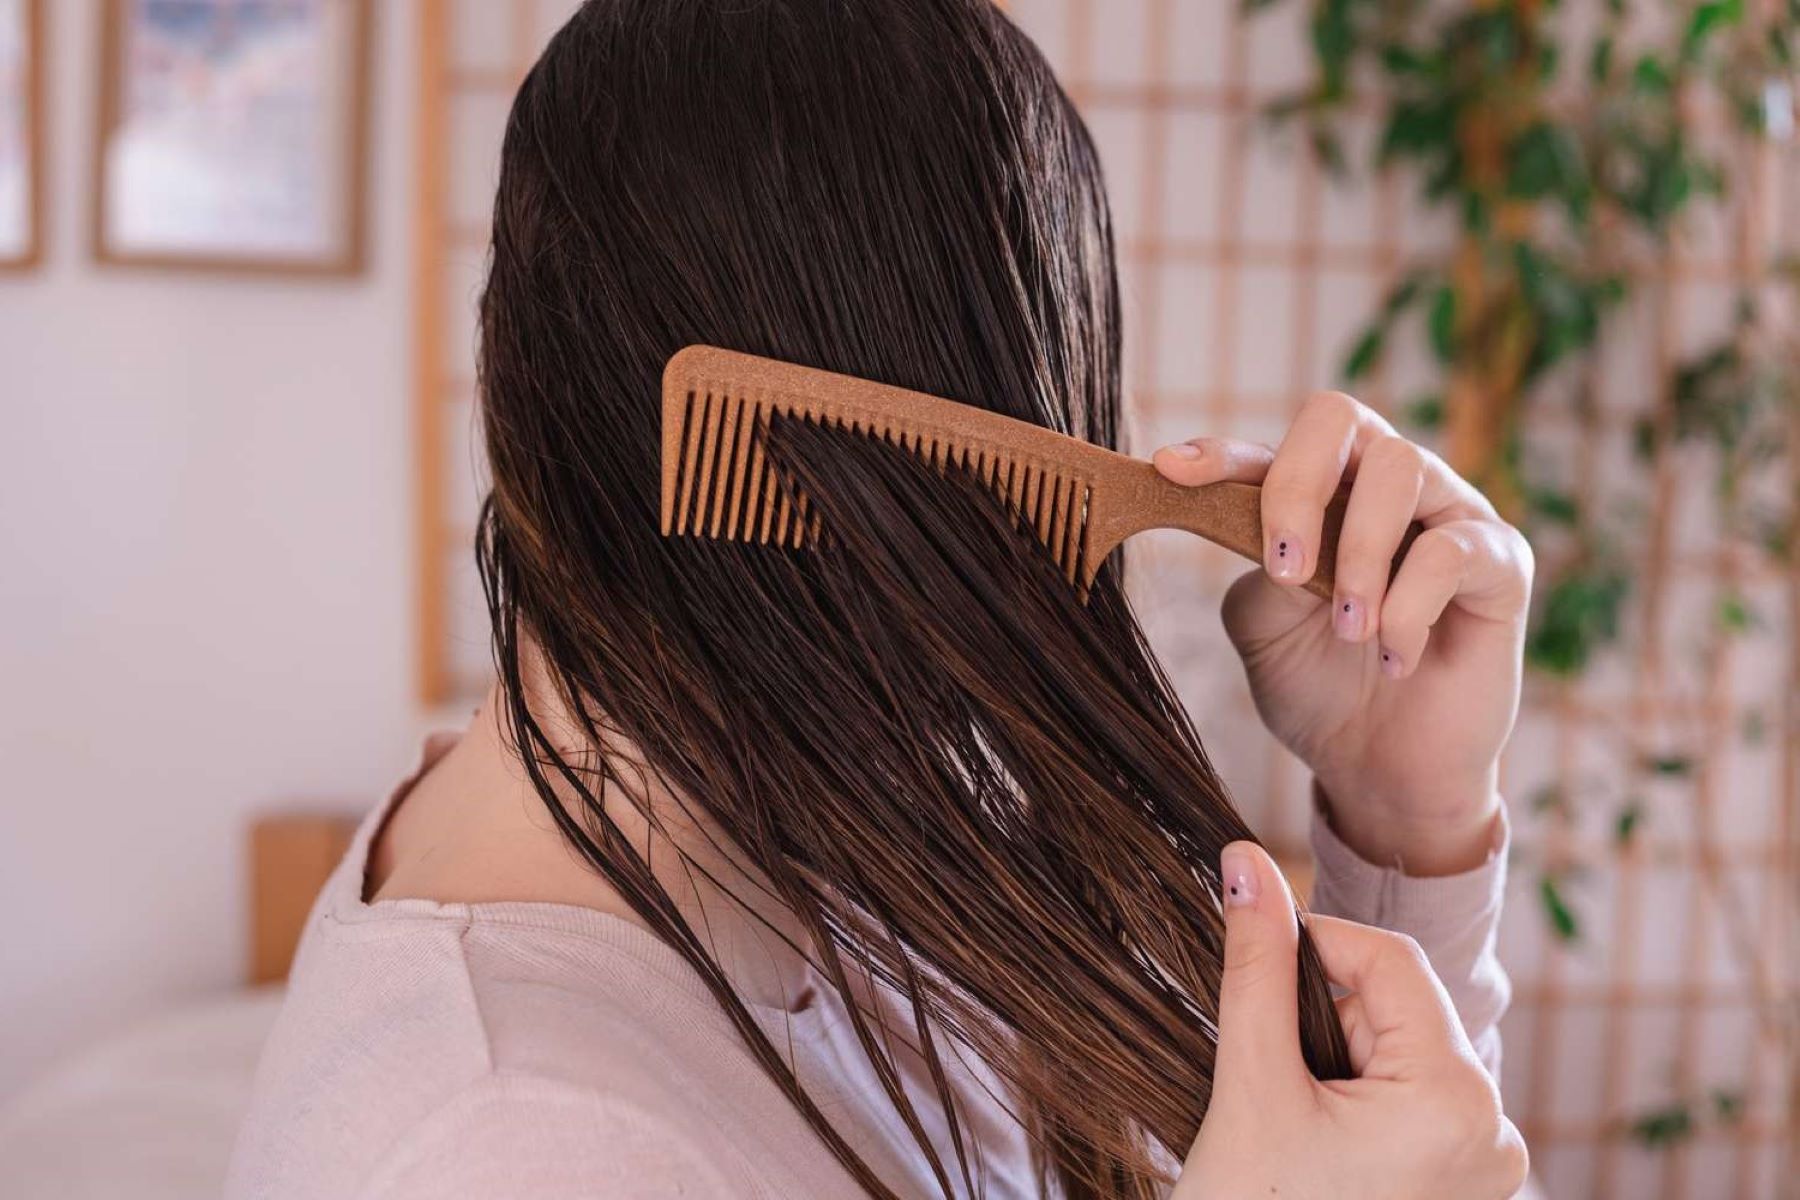
1. Wide-Tooth Comb:
A wide-tooth comb is an indispensable tool for detangling and smoothing out the hair before braiding. It helps to remove knots and tangles, ensuring that the hair is prepped and ready for the braiding process.
2. Hair Elastics:
High-quality hair elastics are essential for securing the ends of the braids. Opt for elastic bands that are gentle on the hair and provide a secure hold without causing breakage or damage.
3. Bobby Pins:
Bobby pins are versatile accessories that come in handy for securing loose strands and taming flyaways during the braiding process. They provide stability and help maintain the integrity of the braided style.
4. Styling Product:
Depending on your hair type and the desired braided look, you may need styling products such as hair gel, mousse, or texturizing spray to add grip and control to the hair. These products can enhance the longevity of the braided style and contribute to a polished finish.
5. Hair Accessories (Optional):
For those looking to add a touch of flair to their braided hairstyles, decorative hair accessories such as hair beads, ribbons, or floral clips can be used to embellish the braids and infuse a personalized touch.
6. Mirror:
A well-positioned mirror is essential for ensuring precision and accuracy while braiding. Whether you're braiding your own hair or someone else's, a mirror allows you to monitor the progress and make adjustments as needed.
7. Patience and Creativity:
While not tangible items, patience and creativity are invaluable assets when it comes to braiding hair. Embrace the process with a patient mindset, and let your creativity flow as you experiment with different braiding techniques and styles.
By assembling these essential tools and materials, you'll be well-equipped to embark on your braiding journey with confidence and enthusiasm. With the right resources at your disposal, you can unleash your creativity and master the art of braiding, transforming hair into stunning works of art.
Basic Braiding Techniques
Mastering the fundamental braiding techniques forms the cornerstone of creating a myriad of stunning hairstyles. Whether you're a novice or a seasoned braider, understanding the basic braiding methods is essential for building a strong foundation in hairstyling. These techniques serve as the building blocks for more intricate and elaborate braid styles, allowing you to unleash your creativity and craft visually captivating looks. Let's explore the essential braiding techniques that will empower you to transform ordinary hair into extraordinary works of art.
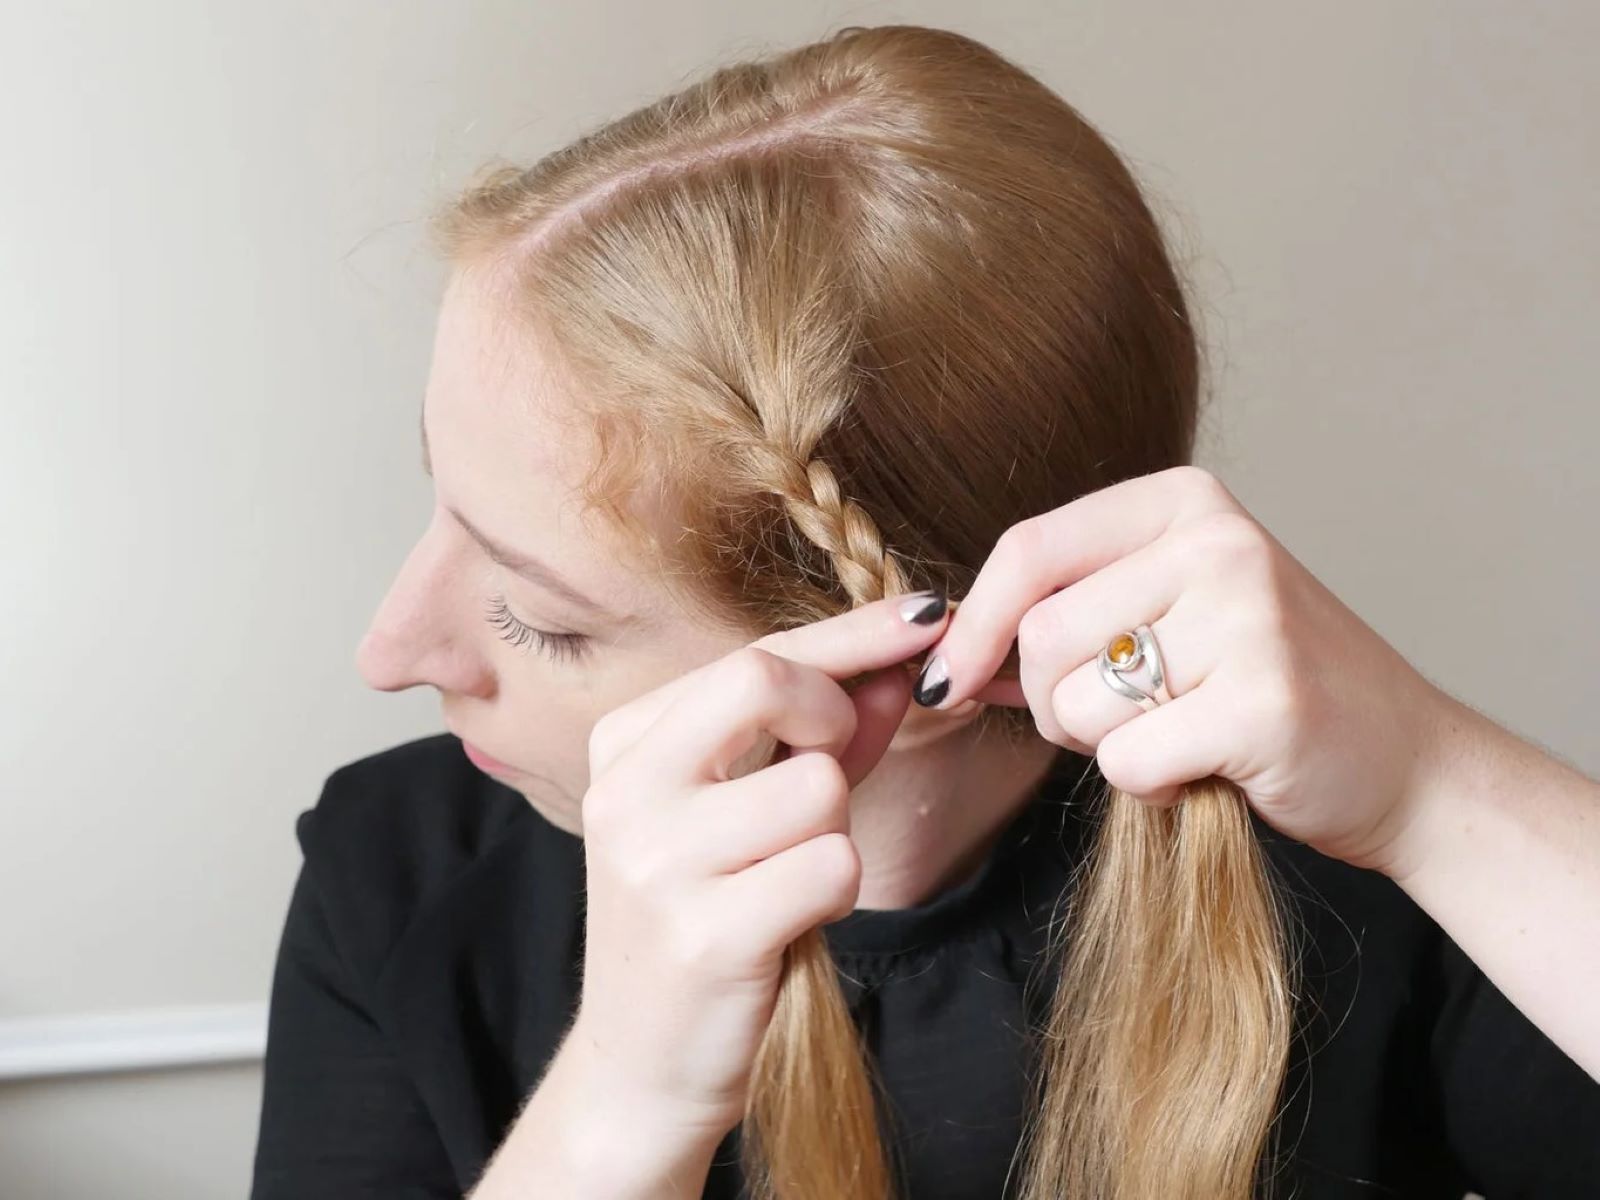
Three-Strand Braid
The three-strand braid, also known as the traditional braid or plait, is the most fundamental braiding technique. It involves dividing the hair into three equal sections and intertwining them in a consistent pattern. To create a three-strand braid, follow these simple steps:
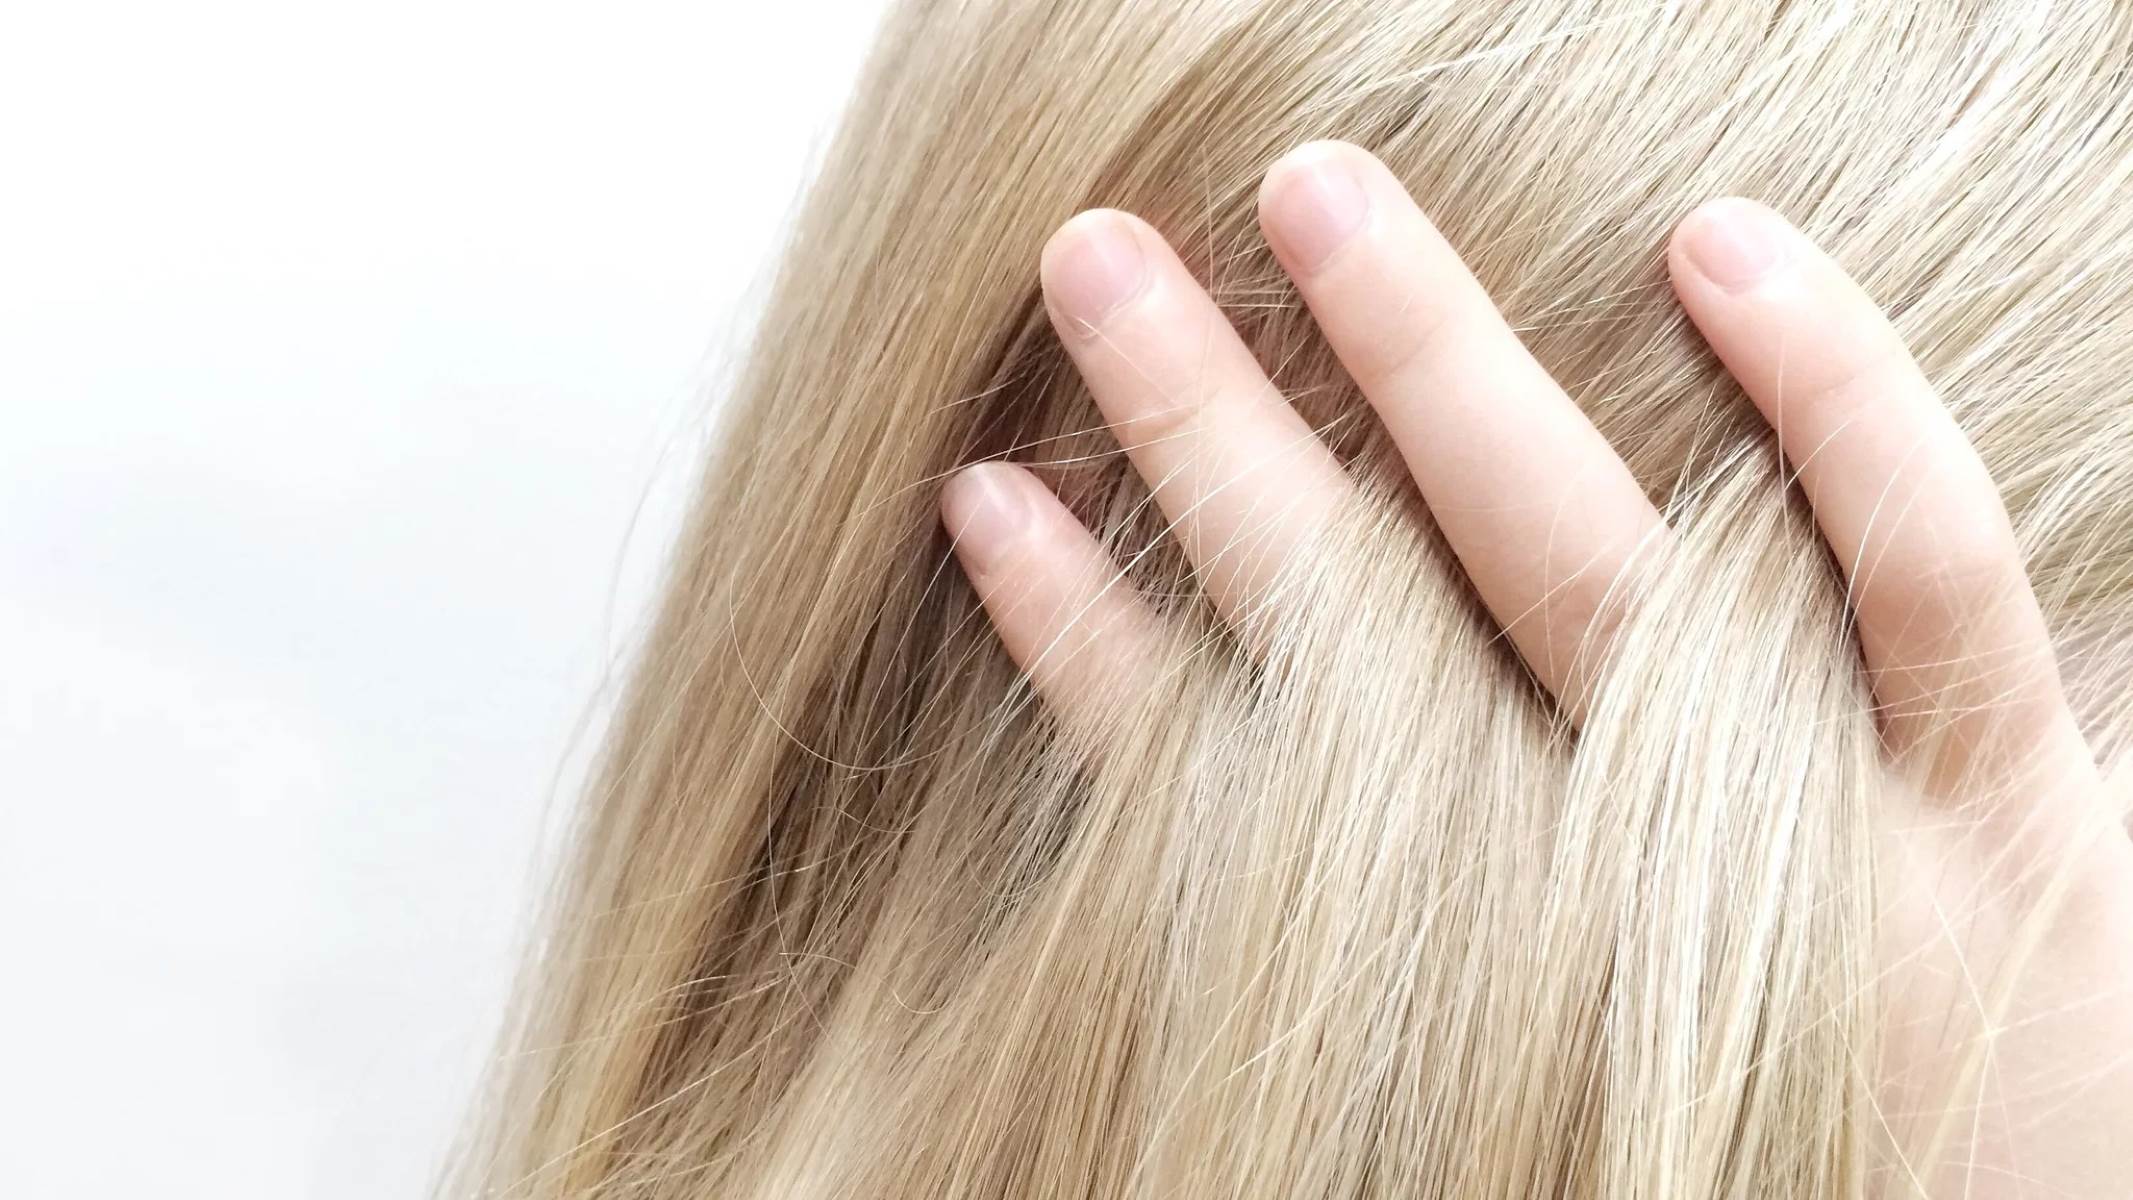
- Begin by combing the hair to remove any knots or tangles, ensuring a smooth and manageable texture.
- Divide the hair into three equal sections, holding one section in each hand.
- Cross the right section over the middle section, followed by crossing the left section over the new middle section.
- Continue this pattern of crossing the right and left sections over the middle until reaching the end of the hair.
- Secure the braid with a hair elastic, and gently tug on the edges to loosen the braid for a softer, more voluminous look.
Rope Braid
The rope braid, also known as the twist braid, is a simple yet visually striking technique that adds an elegant twist to traditional braiding. To create a rope braid, follow these steps:
- Divide the hair into two equal sections.
- Twist each section in the same direction, either clockwise or counterclockwise, to create two tightly twisted sections.
- Cross the twisted sections over each other in the opposite direction, intertwining them to form a secure rope braid.
- Secure the end of the braid with a hair elastic, and if desired, gently pull on the edges to loosen the braid for a softer appearance.
Waterfall Braid
The waterfall braid is a captivating technique that incorporates the concept of a French braid while allowing strands of hair to cascade like a waterfall through the braid. To create a waterfall braid, follow these steps:
- Begin by selecting a small section of hair near the temple and divide it into three equal sections.
- Cross the top section over the middle section and the bottom section over the new middle section.
- Release a small section of hair from the top, allowing it to fall and create the cascading effect.
- Replace the released section with a new section of hair, incorporating it into the braid.
- Continue this pattern, crossing the top and bottom sections over the middle and releasing small sections to create the waterfall effect.
- Secure the end of the braid with a hair elastic, and gently adjust the waterfall strands for a seamless flow.
By mastering these basic braiding techniques, you'll lay the groundwork for creating an array of stunning hairstyles, from casual and effortless looks to sophisticated and intricate designs. These foundational techniques serve as the gateway to unlocking your creativity and elevating your hairstyling prowess, empowering you to craft braided masterpieces that captivate and inspire.
Read more: How To Put Hair In A Bun
French Braid
The French braid, also known as the "French plait," is a classic and elegant braiding technique that exudes sophistication and timeless charm. This intricate style involves weaving sections of hair over one another to create a seamless and visually captivating braid that appears to be intricately woven into the hair. Mastering the art of French braiding opens up a world of styling possibilities, allowing you to achieve polished and refined looks for various occasions.
To create a French braid, follow these step-by-step instructions:
-
Begin by combing the hair to eliminate any knots or tangles, ensuring a smooth and manageable texture.
-
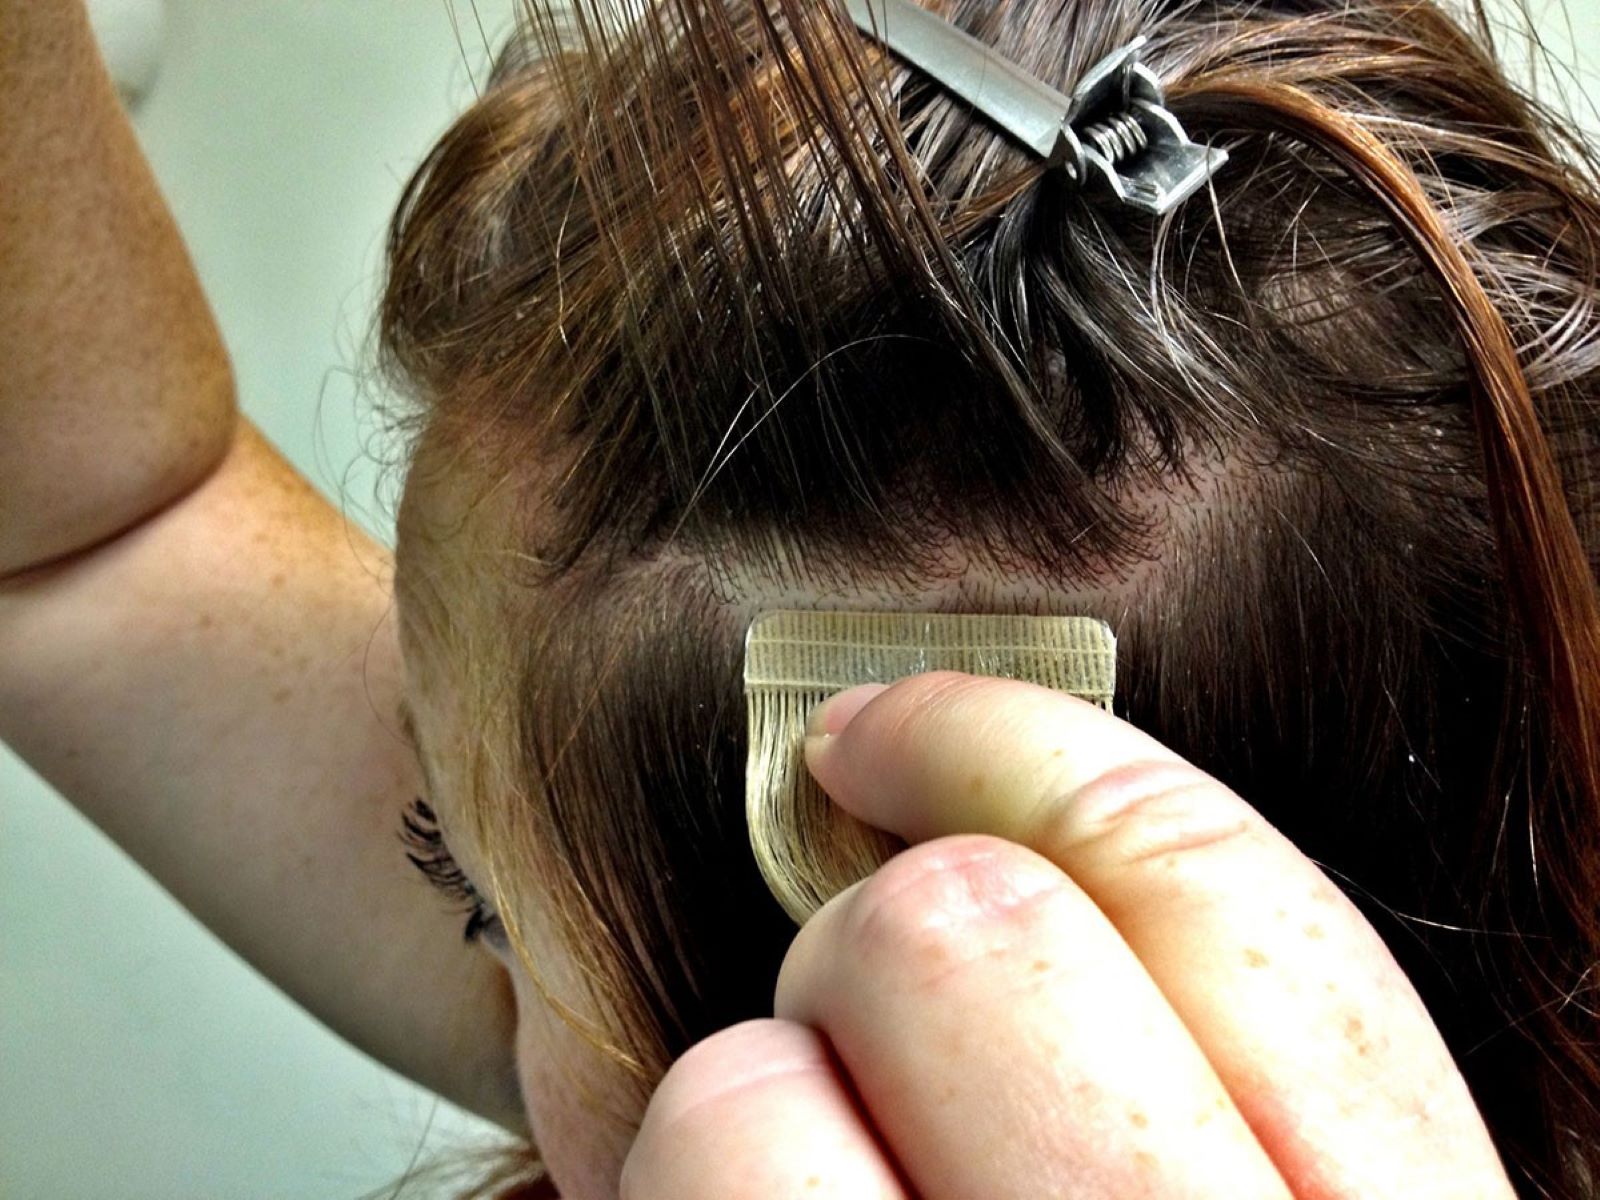
Select a small section of hair near the crown of the head, dividing it into three equal sections to initiate the braiding process.
-
Cross the right section over the middle section, followed by crossing the left section over the new middle section, establishing the foundational weave of the French braid.
-
As you continue braiding, incorporate additional sections of hair from the sides into the braid with each crossover, gradually adding more hair to the outer sections before crossing them over the middle.
-
Maintain a consistent and even tension while braiding to ensure a sleek and polished appearance, taking care to keep the sections neatly intertwined throughout the process.
-
Continue weaving the braid in a diagonal or horizontal direction, incorporating all the hair from the sides into the braid until reaching the nape of the neck.
-
Once all the hair is incorporated into the braid, continue braiding the remaining length of hair in a traditional three-strand braid, securing the end with a hair elastic.
The French braid presents a versatile canvas for creating an array of sophisticated hairstyles, from sleek and refined looks to more intricate and elaborate designs. Whether styled as a single French braid cascading down the back or incorporated into an updo or ponytail, this timeless technique adds an element of grace and refinement to any hairstyle.
By mastering the art of French braiding, you'll possess the skills to elevate your hairstyling repertoire, infusing your looks with an air of elegance and sophistication. Whether for formal events, everyday wear, or special occasions, the French braid stands as a testament to the enduring allure of braided hairstyles, offering a touch of timeless charm and refinement to any look.
Dutch Braid
The Dutch braid, also referred to as the "reverse braid" or "inside-out braid," is a captivating and versatile braiding technique that adds a unique dimension to hairstyling. This distinctive braid style involves weaving sections of hair under one another, creating an elegant and visually striking braid that appears to be intricately woven into the hair. Mastering the art of Dutch braiding empowers individuals to explore a wide range of creative possibilities, from casual and effortless looks to sophisticated and intricate designs.
To create a Dutch braid, follow these step-by-step instructions:
-
Begin by combing the hair to ensure a smooth and tangle-free texture, setting the stage for the braiding process.
-
Select a small section of hair near the crown of the head, dividing it into three equal sections to initiate the Dutch braid.
-
Cross the right section under the middle section, followed by crossing the left section under the new middle section, establishing the foundational weave of the Dutch braid.
-
As you continue braiding, incorporate additional sections of hair from the sides into the braid with each crossover, gradually adding more hair to the outer sections before crossing them under the middle.
-
Maintain a consistent and even tension while braiding to ensure a sleek and polished appearance, taking care to keep the sections neatly intertwined throughout the process.
-
Continue weaving the braid in a diagonal or horizontal direction, incorporating all the hair from the sides into the braid until reaching the nape of the neck.
-
Once all the hair is incorporated into the braid, continue braiding the remaining length of hair in a traditional three-strand braid, securing the end with a hair elastic.
The Dutch braid offers a versatile canvas for creating an array of captivating hairstyles, from chic and modern looks to more intricate and elaborate designs. Whether styled as a single Dutch braid cascading down the back or incorporated into an updo or ponytail, this distinctive technique adds an element of sophistication and allure to any hairstyle.
By mastering the art of Dutch braiding, individuals can expand their hairstyling repertoire, infusing their looks with a touch of elegance and individuality. Whether for everyday wear, special occasions, or creative experimentation, the Dutch braid stands as a testament to the enduring appeal of braided hairstyles, offering a unique and captivating twist to traditional braiding techniques.
Fishtail Braid
The fishtail braid, renowned for its intricate and visually captivating appearance, is a timeless braiding technique that exudes elegance and charm. This distinctive style, characterized by its intricate weaving pattern that resembles the texture of a fishtail, offers a versatile and sophisticated option for styling hair. Mastering the art of the fishtail braid empowers individuals to create stunning looks that range from casual chic to formal elegance, making it a valuable addition to any hairstyling repertoire.
To create a fishtail braid, follow these step-by-step instructions:
-
Begin by dividing the hair into two equal sections, ensuring a smooth and tangle-free texture to facilitate the braiding process.
-
Take a small section of hair from the outer edge of the left section, crossing it over to join the right section. Repeat this step on the opposite side, taking a small section of hair from the outer edge of the right section and crossing it over to join the left section.
-
Continue the braiding process by repeating the alternating crossover pattern, taking small sections of hair from the outer edges of each section and crossing them over to join the opposite section. As the braid progresses, the intricate weaving pattern resembling a fishtail begins to take shape.
-
Maintain a consistent and even tension while braiding to ensure a sleek and polished appearance, taking care to keep the sections neatly intertwined throughout the process.
-
Continue weaving the braid until reaching the end of the hair, securing the braid with a hair elastic to hold it in place.
The fishtail braid offers a sophisticated and alluring option for creating a variety of hairstyles, from effortless and bohemian-inspired looks to refined and polished designs. Whether styled as a single fishtail braid cascading down the back or incorporated into an updo or ponytail, this distinctive technique adds an element of timeless elegance to any hairstyle.
By mastering the art of the fishtail braid, individuals can elevate their hairstyling repertoire, infusing their looks with a touch of sophistication and allure. Whether for everyday wear, special occasions, or creative experimentation, the fishtail braid stands as a testament to the enduring appeal of braided hairstyles, offering a unique and captivating twist to traditional braiding techniques.
Tips for Braiding Hair
Braiding hair is a skill that combines creativity, precision, and patience. Whether you're a beginner or an experienced braider, incorporating these tips into your braiding routine can elevate your hairstyling game and ensure stunning results.
1. Start with Well-Prepped Hair
Before embarking on a braiding session, ensure that the hair is clean, detangled, and free of excess product buildup. Use a wide-tooth comb to gently remove any knots and apply a lightweight styling product to add grip and control to the hair, making it easier to manipulate during the braiding process.
2. Maintain Even Tension
Consistent tension is key to achieving polished and uniform braids. Whether you're creating a traditional three-strand braid or a more intricate style, such as a French or Dutch braid, strive to maintain even tension throughout the braiding process. This ensures that the braid appears sleek and well-defined, enhancing its overall aesthetic appeal.
3. Practice Patience
Braiding requires patience and attention to detail. Take your time to ensure each section is neatly incorporated into the braid, and don't rush the process. Patient, deliberate movements result in beautifully crafted braids that exude elegance and precision.
4. Experiment with Textures
Embrace the versatility of braiding by experimenting with different hair textures. Whether you have straight, wavy, or curly hair, each texture offers unique opportunities for creating diverse braid styles. Play with texture to add dimension and visual interest to your braided looks.
5. Secure the Ends Properly
When reaching the end of a braid, use a high-quality hair elastic to secure the style without causing damage or breakage. Opt for elastics that provide a secure hold while remaining gentle on the hair. Additionally, consider using decorative accessories, such as hair beads or ribbons, to embellish and personalize the ends of the braids.
6. Embrace Imperfections
Braiding is an art form, and embracing the beauty of imperfections can add character to your hairstyles. Don't fret over minor irregularities; instead, appreciate the organic, handcrafted charm that braids exude.
7. Practice, Practice, Practice
Like any skill, braiding improves with practice. Dedicate time to honing your braiding techniques, experimenting with different styles, and seeking inspiration from diverse sources. With consistent practice, you'll refine your skills and develop a keen eye for detail.
Incorporating these tips into your braiding routine will not only enhance the quality of your braided hairstyles but also enrich your overall hairstyling experience. Embrace the art of braiding with confidence, creativity, and a willingness to explore new techniques, and watch as your braided creations become expressions of your unique style and artistry.
Conclusion
In conclusion, the art of braiding hair transcends mere hairstyling; it embodies a timeless form of self-expression and creativity. From the foundational three-strand braid to the intricate French, Dutch, and fishtail braids, the journey of mastering braiding techniques is a gateway to unlocking a world of hairstyling possibilities. As we conclude this comprehensive guide, it's essential to reflect on the enduring allure and versatility of braided hairstyles.
Braiding not only serves as a means of adorning the hair with elegance and charm but also fosters a sense of connection to cultural traditions and personal identity. It is a practice that has been passed down through generations, carrying with it a rich tapestry of cultural significance and artistic expression. Whether woven into intricate patterns or styled with effortless simplicity, braids have the power to convey individuality and grace.
Furthermore, the act of braiding fosters a sense of mindfulness and patience, inviting individuals to embrace the beauty of the process itself. It encourages a harmonious blend of precision and creativity, where each braid becomes a unique work of art, reflecting the skill and artistry of the braider.
As we part ways with this guide, I encourage you to embark on your braiding journey with confidence and enthusiasm. Embrace the opportunity to experiment with different braiding techniques, textures, and styles, allowing your creativity to flourish. Whether you're preparing for everyday wear, special occasions, or simply indulging in a moment of self-care, let the art of braiding be a source of joy and self-expression.
In the tapestry of hairstyling, braids stand as enduring symbols of beauty, individuality, and tradition. They weave together strands of creativity and craftsmanship, creating hairstyles that are as unique as the individuals who wear them. So, pick up your comb, gather your patience, and let the art of braiding become a canvas for your imagination, transforming hair into stunning works of art that reflect your personal style and flair.