Lifestyle
How To Put Hair In A Bun
Published: March 6, 2024
Learn how to put your hair in a bun with our easy step-by-step guide. Elevate your lifestyle with these simple hairstyling tips.
(Many of the links in this article redirect to a specific reviewed product. Your purchase of these products through affiliate links helps to generate commission for Regretless.com, at no extra cost. Learn more)
Table of Contents
Introduction
Creating a stylish bun with your hair is a versatile and timeless hairstyle that can be effortlessly elegant or casually chic. Whether you're preparing for a formal event, a day at the office, or simply seeking a polished look for everyday wear, mastering the art of putting your hair in a bun is a valuable skill. This classic hairstyle not only keeps your hair out of your face but also adds a touch of sophistication to your overall appearance.
The beauty of a bun lies in its adaptability. It can be tailored to suit various hair types, lengths, and occasions. From a sleek ballerina bun to a relaxed messy bun, the possibilities are endless. By learning the fundamental techniques and exploring different variations, you can elevate your hairstyling repertoire and effortlessly switch up your look as desired.
In this comprehensive guide, you will discover the step-by-step process of creating a perfect bun, along with tips and tricks to achieve a flawless result. Whether you have long, short, straight, or curly hair, this tutorial will equip you with the knowledge and confidence to master the art of putting your hair in a bun. So, gather your supplies and let's embark on this hairstyling journey together!
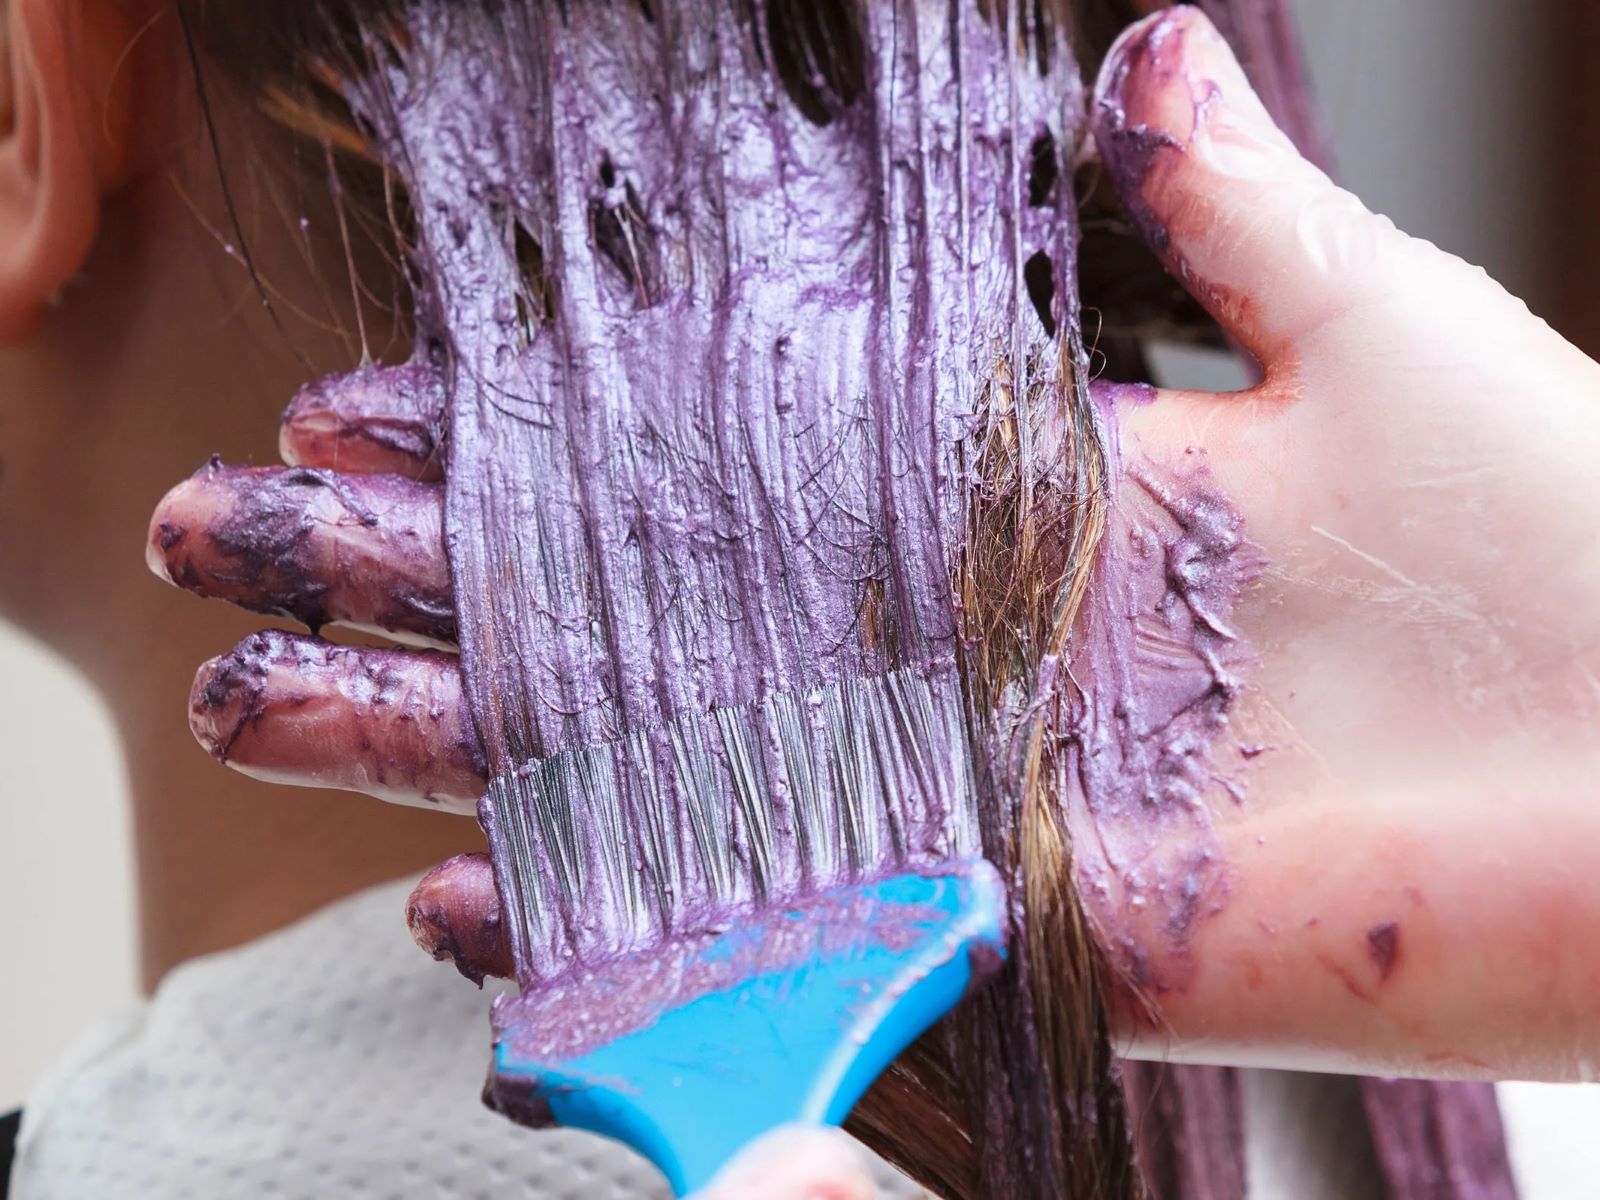
Read more: How To Put In Tape In Hair Extensions
Step 1: Gather Your Supplies
Before embarking on the journey of creating a stunning bun, it's essential to gather the necessary supplies to ensure a smooth and efficient hairstyling process. By assembling the right tools and products, you can set the stage for a successful bun-making experience. Here's what you'll need:
-
Hairbrush or Comb: Begin by selecting a high-quality hairbrush or comb that suits your hair type. For thicker or curly hair, a wide-tooth comb can help detangle and smooth out the strands, while a paddle brush is ideal for finer hair textures.
-
Hair Elastic: Choose a durable hair elastic that can securely hold your hair in place without causing breakage. Opt for a snag-free elastic to minimize damage to your hair during the styling process.
-
Bobby Pins: Keep a few bobby pins on hand to secure any loose strands and refine the shape of your bun. Select pins that closely match your hair color for a seamless finish.
-
Hair Spray or Texturizing Spray (Optional): Depending on your desired bun style, you may want to have a light-hold hair spray or texturizing spray at your disposal. This can help add grip and hold to your hair, especially if you're aiming for a more structured or voluminous bun.
-
Hair Accessories (Optional): If you wish to embellish your bun with decorative hair accessories such as hair clips, decorative pins, or a stylish hairband, have them within reach to add a personal touch to your hairstyle.
By ensuring that these supplies are readily available, you can streamline the bun-making process and set the stage for a successful hairstyling endeavor. With the right tools at your disposal, you'll be well-prepared to move on to the next steps and bring your bun hairstyle to life.
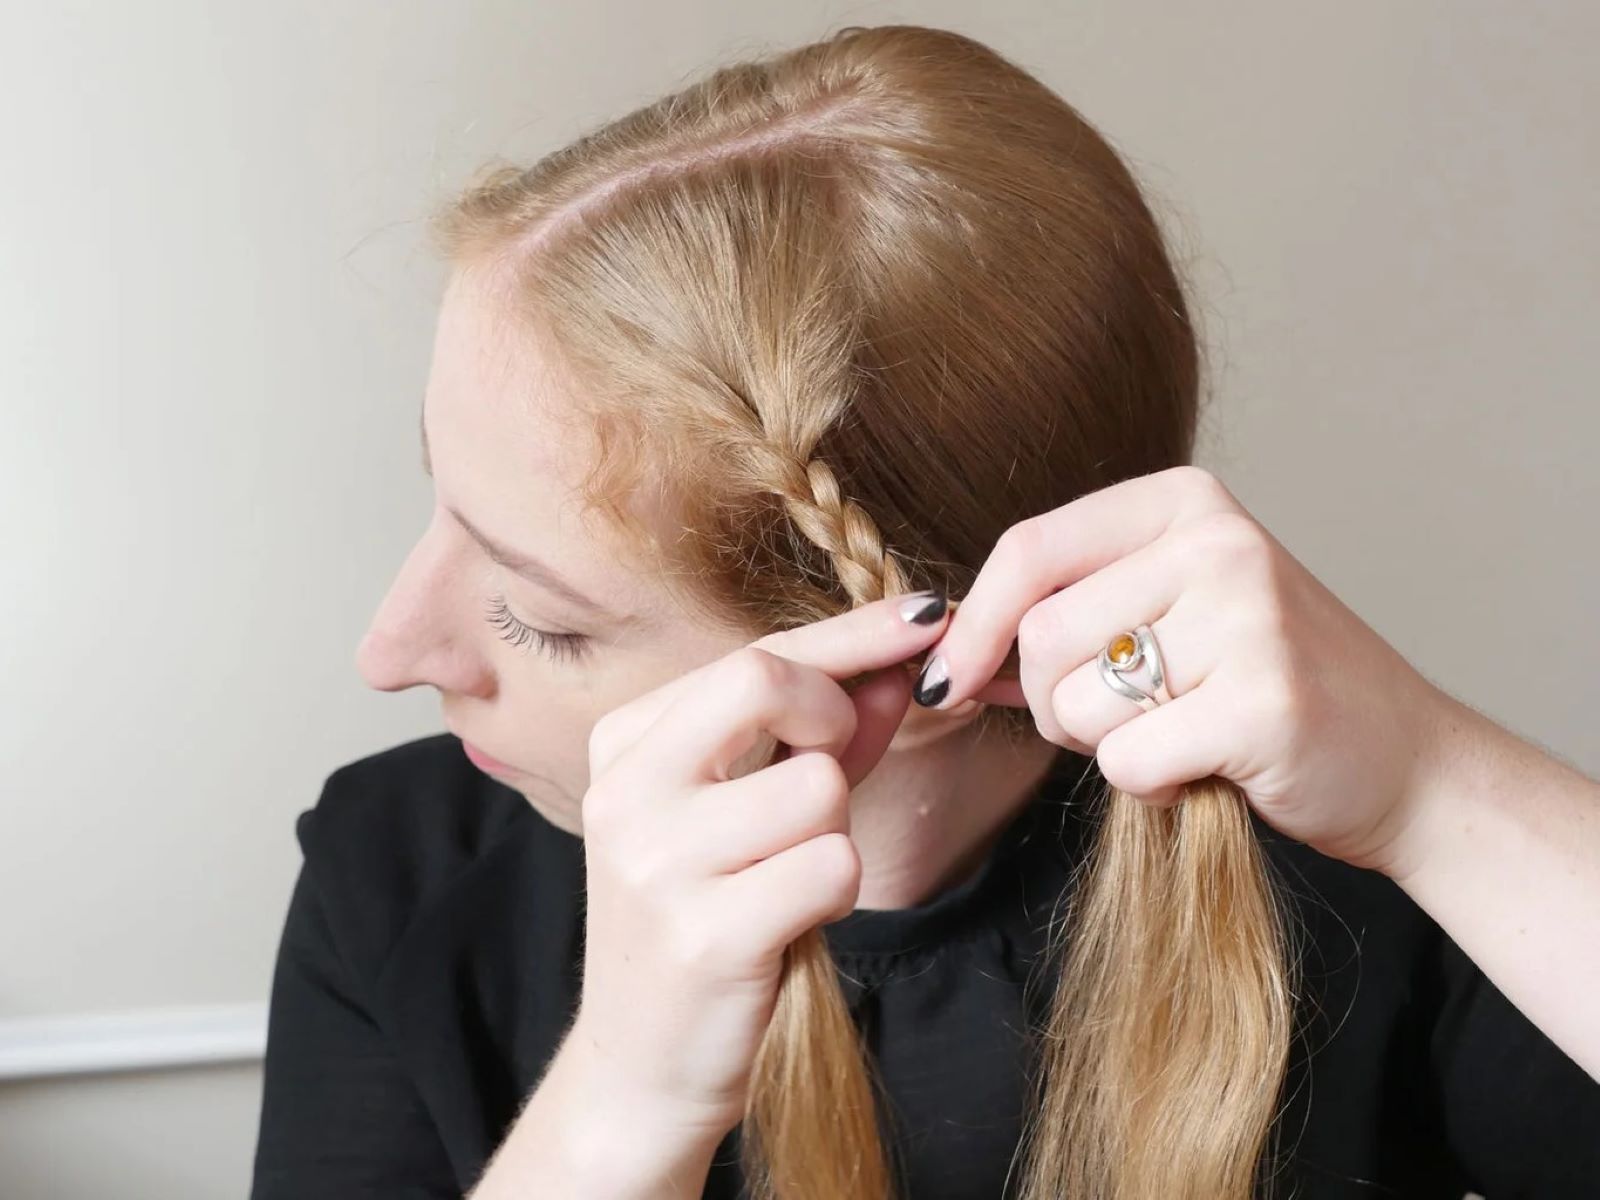
Step 2: Brush Your Hair
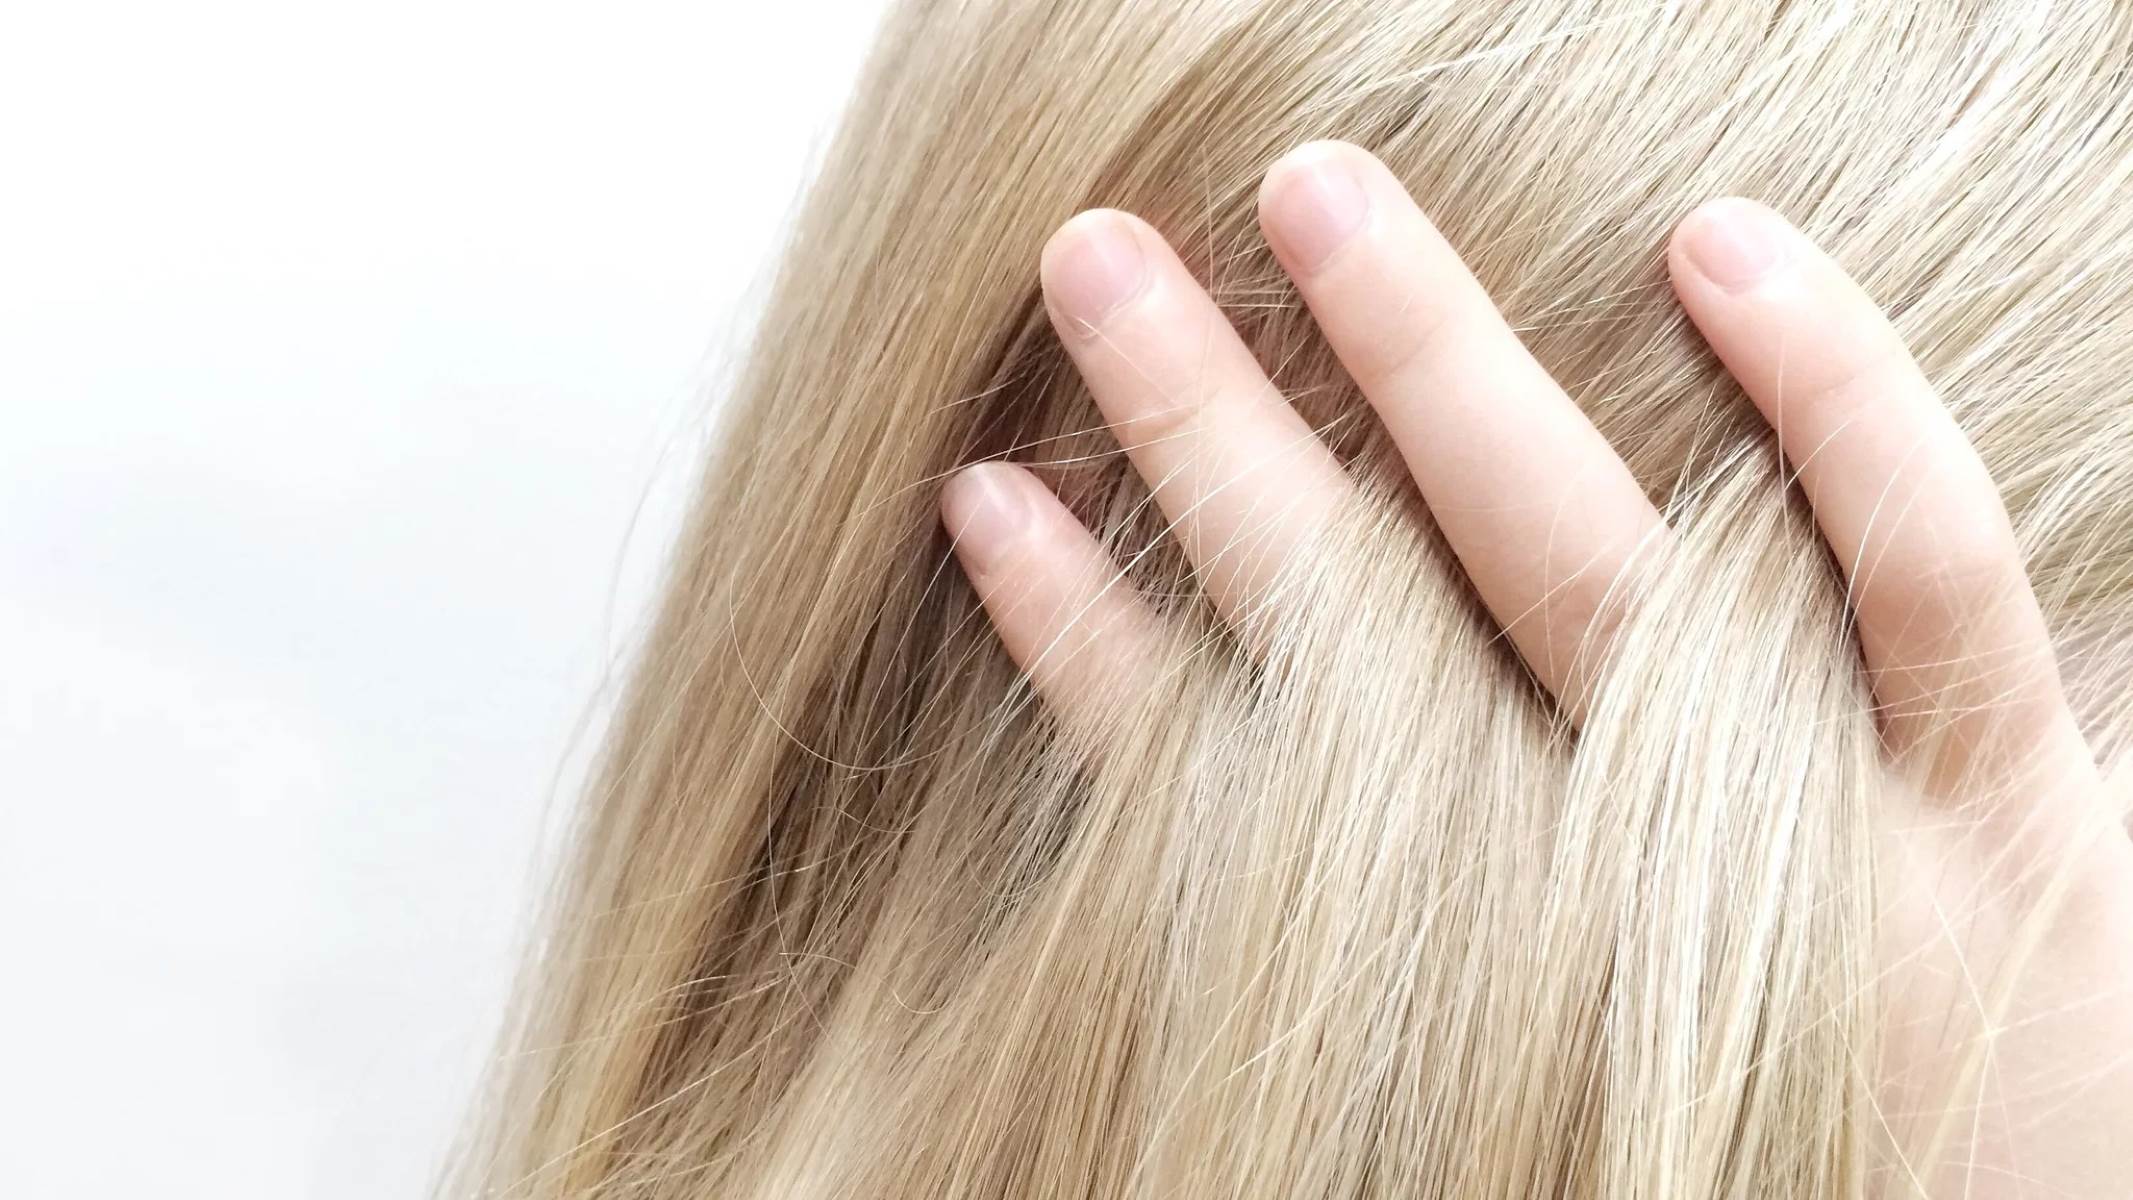
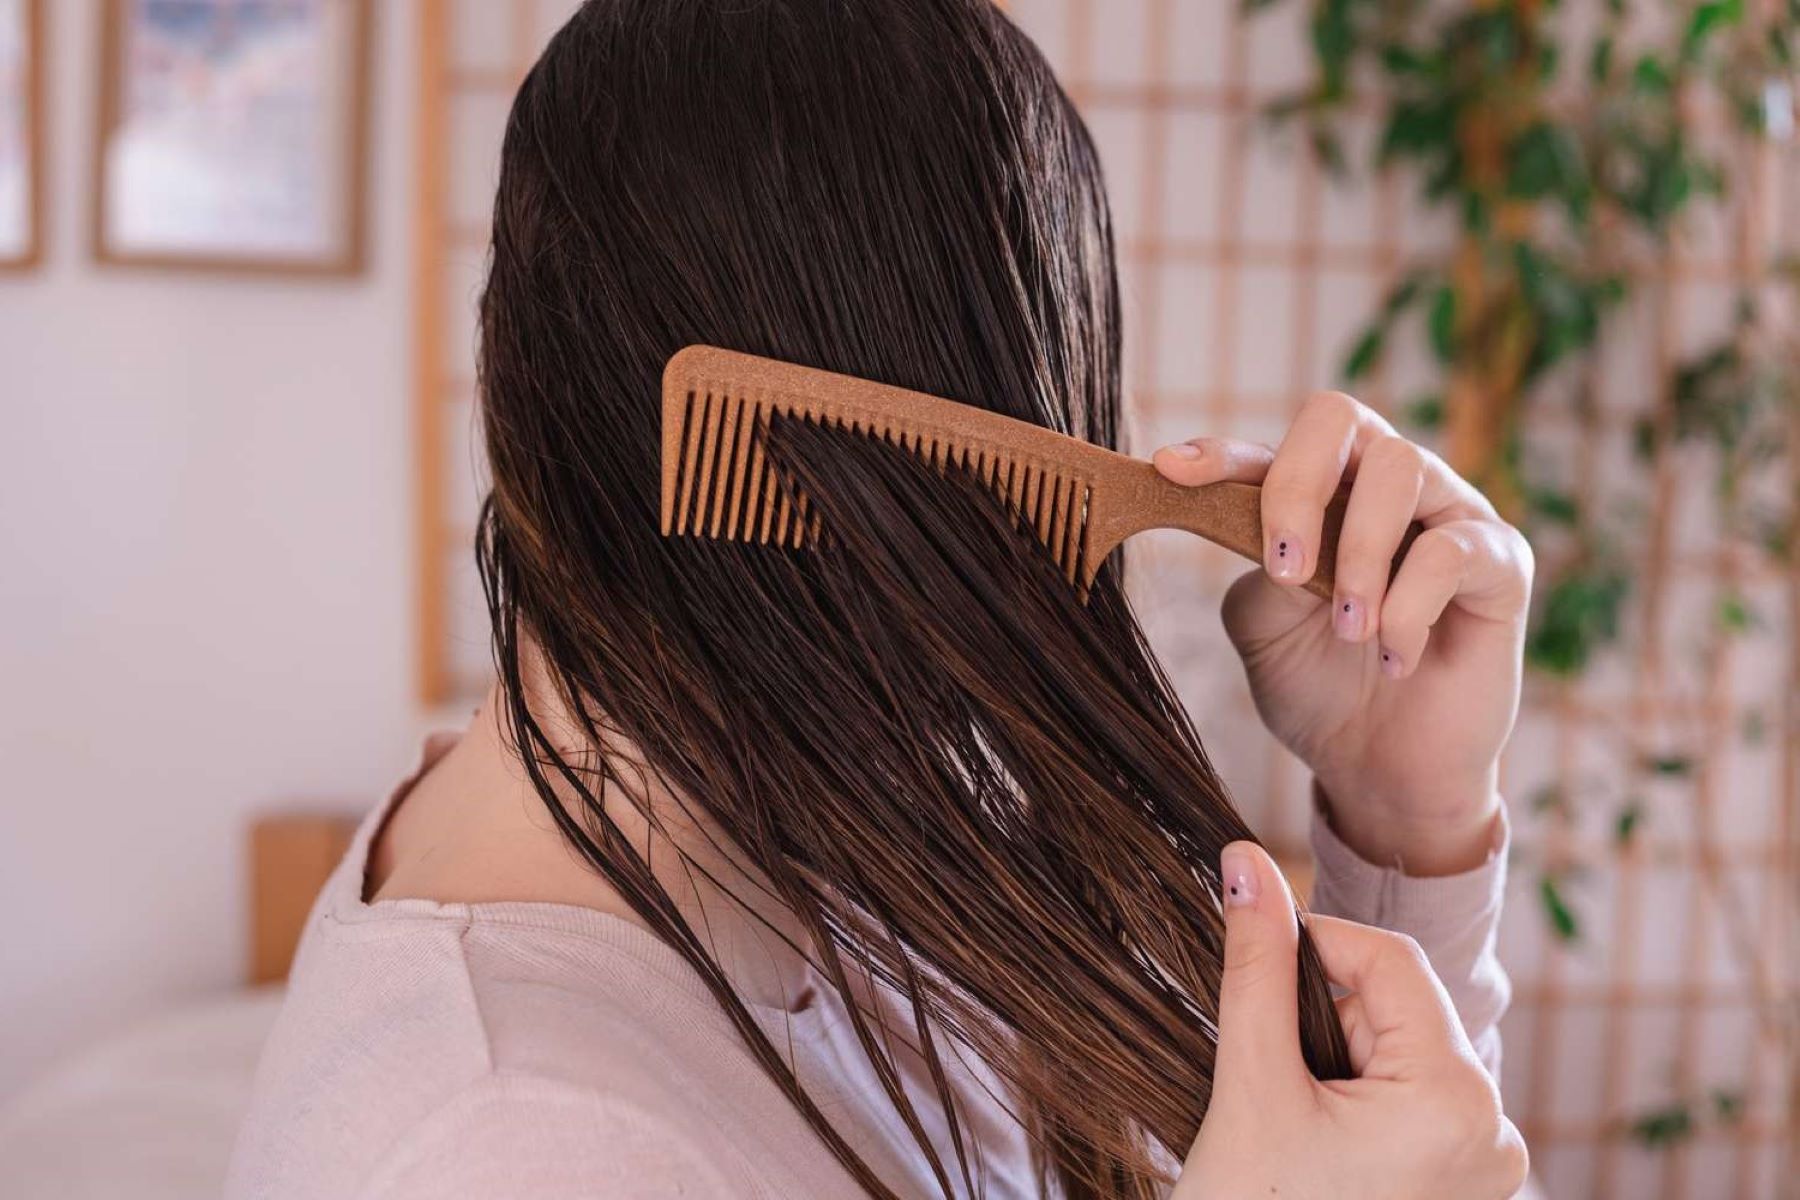
Brushing your hair is a crucial preliminary step in the process of creating a flawless bun. This simple yet essential task sets the foundation for a smooth and polished hairstyle. Whether your hair is freshly washed or has some natural texture, brushing it out helps to detangle any knots, distribute natural oils, and ensure that your bun achieves a neat and uniform appearance.
Begin by selecting a high-quality hairbrush or comb that suits your hair type. For those with thicker or curly hair, a wide-tooth comb is ideal for gently detangling and smoothing out the strands without causing breakage. On the other hand, individuals with finer hair textures may opt for a paddle brush to effectively manage their locks.
To start, gently run the brush or comb through your hair, starting from the ends and working your way up to the roots. This technique helps to minimize tugging and reduces the risk of causing damage to your hair. By gradually working through any knots or tangles, you can ensure that your hair is free from any snags or uneven patches, setting the stage for a seamless bun-making process.
As you brush your hair, take the time to assess its texture and condition. If you encounter any areas of dryness or frizz, consider applying a small amount of leave-in conditioner or smoothing serum to tame flyaways and enhance the overall manageability of your hair. This extra step can contribute to a sleek and polished bun, especially for those with unruly or textured hair.
Additionally, if you prefer a more voluminous or textured bun, gently backcombing or teasing the hair at the crown can add subtle lift and dimension to your hairstyle. This technique creates a solid base for the bun and can help achieve a fuller, more dynamic look.
By dedicating attention to brushing and preparing your hair, you can ensure that it is primed for the subsequent steps of securing and styling the bun. This foundational process sets the stage for a successful and visually appealing hairstyle, allowing you to move forward with confidence and precision as you embark on the journey of creating a stunning bun.
Step 3: Secure Your Hair in a Ponytail
Creating a secure ponytail forms the cornerstone of crafting a flawless bun. This foundational step lays the groundwork for a well-structured and polished hairstyle. To begin, gather your hair at the desired placement for your bun. Whether you prefer a high, mid-level, or low ponytail, the key is to ensure that your hair is gathered and secured neatly and securely.
Start by using your fingers or a comb to gather your hair into a ponytail at the desired height. Hold the base of the ponytail firmly with one hand to maintain the gathered position. With your other hand, use a hair elastic to secure the ponytail in place. It's essential to choose a high-quality hair elastic that provides a secure hold without causing unnecessary tension or breakage to your hair.
When securing the ponytail, ensure that the elastic is wrapped around the base of the ponytail multiple times to create a firm and stable anchor for the subsequent steps of creating the bun. The number of wraps will depend on the thickness and texture of your hair, but aim for a snug yet comfortable hold that maintains the integrity of the ponytail.
As you secure the ponytail, pay attention to any loose strands or uneven sections, gently smoothing them out to achieve a uniform and polished appearance. This meticulous approach sets the stage for a seamless transition from the ponytail to the bun, ensuring that the final hairstyle exudes elegance and sophistication.
For those with layered or shorter hair, some strands may naturally fall loose from the ponytail. Embrace these loose strands as they add a soft and effortless charm to the overall look. However, if you prefer a more streamlined appearance, you can use bobby pins to secure any stray hairs and refine the shape of the ponytail before proceeding to the next steps.
By taking the time to secure your hair in a well-positioned and secure ponytail, you establish a strong foundation for the subsequent stages of creating the bun. This pivotal step sets the stage for a successful and visually captivating hairstyle, ensuring that your bun will exude elegance and sophistication. With the ponytail securely in place, you are now ready to proceed to the next phase of crafting a stunning bun.
Step 4: Twist Your Hair
With the ponytail securely in place, the next step in creating a flawless bun is to twist your hair. This pivotal maneuver sets the stage for sculpting a well-defined and elegant bun, adding depth and dimension to your hairstyle. The twisting technique not only contributes to the structural integrity of the bun but also infuses it with a touch of sophistication and grace.
To begin, take the ponytail in your hand and gently twist it in one direction. As you twist, guide the hair around the base of the ponytail, creating a coiled effect that forms the core of the bun. The direction in which you twist your hair can be tailored to your preference, whether it's a clockwise or counterclockwise motion. Experiment with both directions to determine which yields the most visually appealing result for your desired bun style.
As you continue to twist the hair, maintain a steady and controlled grip to ensure that the coiled formation remains intact. This process may involve wrapping the entire length of the ponytail around its base, depending on the thickness and length of your hair. Aim for a smooth and uniform twist, free from any loose or uneven sections, to achieve a refined and polished appearance.
For those seeking a more voluminous or textured bun, consider gently loosening the twist as you work your way around the base. This subtle adjustment can create a fuller and more dynamic silhouette, adding a touch of effortless charm to the final hairstyle. Additionally, if you have layered or shorter hair, embrace any loose strands that naturally fall out of the twist, as they contribute to a soft and relaxed aesthetic.
As you complete the twisting process, take a moment to assess the overall shape and symmetry of the bun. Adjust the tension and positioning of the twist as needed to achieve a balanced and visually appealing result. This attention to detail ensures that the bun exudes elegance and refinement, setting the stage for the final steps of securing and perfecting the hairstyle.
By dedicating care and precision to the twisting process, you lay the groundwork for a stunning and well-crafted bun. This transformative step infuses the hairstyle with depth and character, elevating it to a new level of sophistication. With the hair elegantly twisted and coiled, you are now poised to move forward and bring the bun to its full potential.
Read more: How To Put On Cufflinks
Step 5: Wrap Your Hair into a Bun
As you approach the pivotal stage of wrapping your hair into a bun, you are on the brink of transforming your hairstyle into a polished and sophisticated work of art. The wrapping process serves as the defining moment in sculpting a well-defined and elegant bun, infusing it with a touch of grace and refinement.
Begin by taking the twisted ponytail and carefully guide it around the base, forming a circular shape that embodies the essence of the bun. As you wrap the hair, maintain a steady and controlled grip, ensuring that the coiled formation remains intact. The direction in which you wrap the hair can be tailored to your preference, whether it's a clockwise or counterclockwise motion. Experiment with both directions to determine which yields the most visually appealing result for your desired bun style.
As the hair is wrapped around the base, pay attention to the tension and positioning to achieve a balanced and visually appealing result. Aim for a smooth and uniform wrap, free from any loose or uneven sections, to create a refined and polished appearance. Depending on the thickness and length of your hair, you may need to wrap the entire length of the ponytail around its base to ensure a seamless and well-structured bun.
For those seeking a more voluminous or textured bun, consider gently loosening the wrap as you work your way around the base. This subtle adjustment can create a fuller and more dynamic silhouette, adding a touch of effortless charm to the final hairstyle. Embrace any loose strands that naturally fall out of the wrap, as they contribute to a soft and relaxed aesthetic, adding a touch of natural elegance to the overall look.
As you complete the wrapping process, take a moment to admire the shape and symmetry of the bun. Adjust the tension and positioning of the wrap as needed to achieve a balanced and visually appealing result. This meticulous attention to detail ensures that the bun exudes elegance and refinement, setting the stage for the final steps of securing and perfecting the hairstyle.
With the hair elegantly wrapped into a well-defined bun, you have reached a transformative milestone in the hairstyling journey. This pivotal step infuses the hairstyle with depth and character, elevating it to a new level of sophistication. As you proceed to the next phase of securing the bun, you are poised to bring the hairstyle to its full potential, culminating in a stunning and well-crafted bun that radiates elegance and grace.
Step 6: Secure the Bun
Securing the bun is the pivotal moment that solidifies the culmination of your hairstyling endeavor, ensuring that your carefully crafted bun remains intact and exudes a sense of elegance and refinement. This essential step involves strategically fastening the bun in place, allowing you to achieve a polished and sophisticated hairstyle that withstands the demands of your day.
To begin, gently hold the wrapped bun in place with one hand, maintaining the desired shape and positioning. With your other hand, carefully insert bobby pins around the base of the bun, anchoring it to the underlying layers of hair. The strategic placement of bobby pins is crucial in ensuring that the bun remains secure throughout the day, especially for those with thicker or heavier hair.
As you insert the bobby pins, aim to distribute them evenly around the base of the bun, creating a balanced and stable foundation. This approach minimizes the risk of the bun shifting or loosening over time, allowing you to move with confidence and poise. For added security, consider crossing the bobby pins in an "X" formation to create a reinforced hold that withstands various activities and movements.
For individuals with layered or shorter hair, the use of hairpins or U-shaped pins can provide additional support, especially for securing any loose strands or shorter layers that may protrude from the bun. These specialized pins offer a discreet and effective solution for taming unruly sections of hair, ensuring that the overall appearance of the bun remains sleek and polished.
As you secure the bun, take a moment to assess its shape and symmetry, making any necessary adjustments to refine the overall appearance. Gently tug on the edges of the bun to create a fuller and more voluminous silhouette, adding a touch of dimension and elegance to the hairstyle. This attention to detail ensures that the bun embodies a sense of grace and sophistication, elevating it to a new level of refinement.
Once the bun is securely fastened and perfectly positioned, take a final look in the mirror to admire the fruits of your labor. The sight of a well-crafted bun, elegantly secured and exuding timeless charm, serves as a testament to your dedication and skill in the art of hairstyling. With the bun flawlessly secured, you are now ready to add the finishing touches and revel in the beauty of your accomplished hairstyle.
Step 7: Finishing Touches
With the bun securely in place, it's time to add the finishing touches that elevate your hairstyle to a new level of sophistication. These subtle yet impactful details contribute to the overall allure of the bun, ensuring that it exudes elegance and refinement. Whether you're preparing for a special occasion or simply aiming to elevate your everyday look, the finishing touches serve as the crowning glory of your hairstyling endeavor.
One of the most effective ways to enhance the visual appeal of your bun is to embrace the art of texture and dimension. Gently tug on the edges of the bun to create a fuller and more voluminous silhouette, adding a touch of dimension and elegance to the hairstyle. This simple yet impactful technique infuses the bun with a sense of depth, creating a visually captivating look that commands attention.
For those seeking a touch of glamour, consider embellishing the bun with decorative hair accessories. Whether it's a delicate hairpin, a stylish hairband, or a cluster of decorative pins, these accessories add a personal touch to your hairstyle, elevating it to a new level of sophistication. Strategically place the accessories around the bun, allowing them to complement and accentuate the overall shape and style, adding a touch of sparkle and charm to the final look.
Incorporating a light-hold hair spray or texturizing spray can provide the perfect finishing touch to your bun, adding a subtle yet effective layer of polish and hold. A fine mist of spray helps to tame any flyaways and ensures that the bun maintains its shape and structure throughout the day. This finishing touch not only enhances the longevity of the hairstyle but also adds a touch of refinement, creating a polished and sophisticated look that exudes confidence and grace.
As you add the finishing touches to your bun, take a moment to admire the overall result. The culmination of your efforts is reflected in a stunning and well-crafted hairstyle that radiates elegance and sophistication. Whether you're stepping into the spotlight or embracing the beauty of everyday moments, the finishing touches serve as the hallmark of your dedication to the art of hairstyling, allowing you to revel in the beauty of your accomplished bun.