Home>Technology and Computers>How To Make A Gamepass On Roblox Mobile
Technology and Computers
How To Make A Gamepass On Roblox Mobile
Modified: March 13, 2024
Learn how to create a gamepass on Roblox mobile with our step-by-step guide. Explore the latest technology and computer tips for game development.
(Many of the links in this article redirect to a specific reviewed product. Your purchase of these products through affiliate links helps to generate commission for Regretless.com, at no extra cost. Learn more)
Table of Contents
Introduction
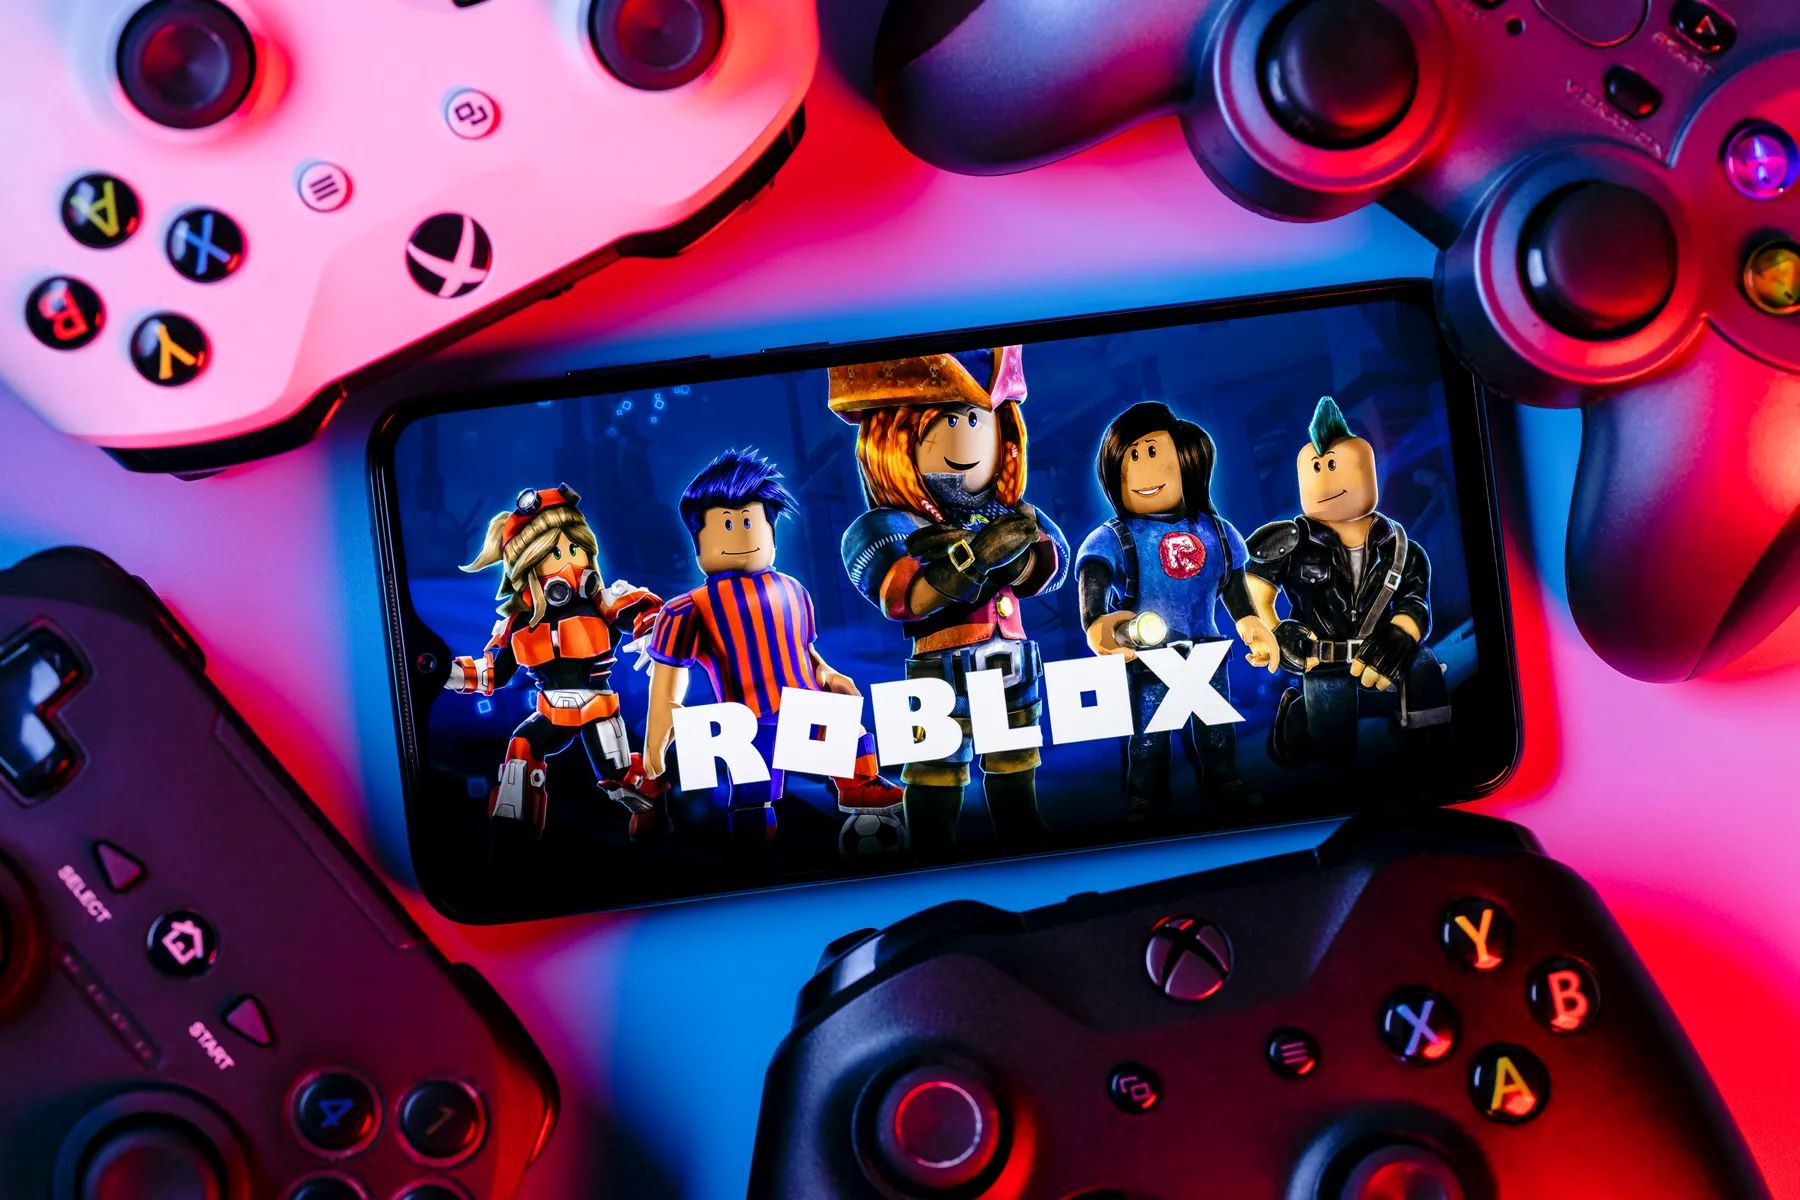
Roblox, the popular online gaming platform, has captured the imagination of millions of players worldwide. With its user-generated games and immersive experiences, Roblox has become a hub for creativity and innovation. One of the key features that developers can utilize to enhance their games is the Gamepass. This in-game item allows players to access special privileges, exclusive content, or unique abilities within a game. In this guide, we will explore the process of creating a Gamepass on Roblox Studio using a mobile device. While Roblox Studio is traditionally associated with desktop usage, the mobile version empowers developers to craft and manage their games on the go. Whether you're a seasoned developer or a newcomer to the world of game creation, understanding how to make a Gamepass on Roblox mobile can add a new dimension to your game's appeal. So, let's dive into the steps and unleash your creativity in the Roblox universe.
Step 1: Accessing Roblox Studio on Mobile
Accessing Roblox Studio on a mobile device opens up a world of possibilities for game developers, allowing them to create and manage their games from anywhere. Here's a detailed guide on how to access Roblox Studio on mobile:
-
Download Roblox Studio: To begin, ensure that you have the Roblox app installed on your mobile device. If you haven't already done so, head to the App Store (for iOS devices) or the Google Play Store (for Android devices) and download the Roblox app. Once installed, launch the app and log in to your Roblox account.
-
Navigate to Create: After logging in, tap on the "Create" button located on the Roblox app's navigation bar. This will direct you to the creation interface, where you can start building and managing your games.
-
Accessing Roblox Studio: Within the creation interface, you will find the option to access Roblox Studio. Tap on the "Edit" button next to the game you wish to work on. This will launch Roblox Studio, providing you with a suite of powerful tools and features to design and customize your game.
-
Exploring the Interface: Once in Roblox Studio, take some time to familiarize yourself with the interface. You'll find various tabs and menus that enable you to create and modify game elements, scripts, and assets. The mobile version of Roblox Studio is designed to offer a user-friendly experience, allowing you to navigate through the tools and options with ease.
-
Begin Crafting: With Roblox Studio at your fingertips, you can now start building, scripting, and designing your game. Whether it's creating environments, scripting game mechanics, or integrating assets, the mobile version of Roblox Studio empowers you to bring your game ideas to life while on the move.
Accessing Roblox Studio on mobile brings the creative potential of game development to your fingertips, enabling you to work on your projects anytime, anywhere. With the ability to access Roblox Studio on mobile, developers can seamlessly integrate their creative vision into their games, ensuring that their creations are engaging and immersive for players across the Roblox platform.
Step 2: Creating a Gamepass
Creating a Gamepass on Roblox mobile is a straightforward process that allows developers to introduce exclusive perks and content within their games. By offering Gamepasses, developers can enhance the gameplay experience and provide additional value to players. Here's a detailed walkthrough on how to create a Gamepass using Roblox Studio on a mobile device:
-
Accessing Gamepasses Section: After launching Roblox Studio on your mobile device, navigate to the "Game Explorer" tab, which can typically be found in the lower menu. Within the Game Explorer, locate and select the "Gamepasses" option. This will open up the Gamepasses section, where you can manage existing Gamepasses and create new ones.
-
Creating a New Gamepass: Within the Gamepasses section, look for the "Create New Gamepass" button. Tapping on this button will initiate the process of crafting a new Gamepass for your game. This action will prompt you to provide essential details for the Gamepass, such as its name, description, and icon.
-
Setting the Gamepass Icon: When creating a Gamepass, you have the opportunity to select an icon that visually represents the Gamepass within the game. Roblox Studio on mobile allows you to upload custom images or choose from a library of pre-existing icons to serve as the visual identifier for your Gamepass.
-
Defining Gamepass Benefits: As you proceed with creating the Gamepass, you'll have the option to define the benefits or privileges that players will receive upon purchasing the Gamepass. This could include exclusive in-game items, access to restricted areas, special abilities, or any other perks that enhance the gameplay experience.
-
Save and Review: Once you've filled in the necessary details and defined the Gamepass benefits, it's crucial to review the information to ensure accuracy and completeness. After confirming the details, save the Gamepass to integrate it into your game.
By following these steps, developers can seamlessly create Gamepasses for their games using Roblox Studio on a mobile device. This process empowers developers to introduce compelling content and rewards, enriching the gameplay experience for their players. With the ability to create Gamepasses on the go, developers can actively engage with their game's development and provide players with exciting opportunities to enhance their in-game adventures.
Step 3: Setting the Price and Description
Once the Gamepass has been created, the next crucial step is to set the price and description, which play a pivotal role in attracting potential buyers and effectively communicating the value of the Gamepass. Here's a detailed guide on how to set the price and description for your Gamepass using Roblox Studio on a mobile device:
Setting the Price
-
Navigate to Gamepasses Section: Return to the Gamepasses section within Roblox Studio on your mobile device. Locate the Gamepass you've created and tap on it to access the editing options.
-
Price Configuration: Within the Gamepass editing interface, you will find the option to set the price for the Gamepass. This step involves determining the Robux amount required for players to purchase the Gamepass. Consider the value and exclusivity of the content offered by the Gamepass when setting the price, ensuring that it aligns with the perceived benefits.
-
Consideration of Player Base: It's essential to consider the player base and the perceived value of the Gamepass within the context of your game. Conducting market research and understanding player preferences can aid in setting a competitive and appealing price for the Gamepass.
-
Review and Confirmation: After setting the price, review the decision to ensure that it aligns with the perceived value of the Gamepass. Once satisfied, save the changes to finalize the price configuration.
Read more: How To Sell Items On Roblox
Crafting the Description
-
Captivating Description: Crafting an engaging and informative description is vital in conveying the unique benefits and features of the Gamepass. Tap on the description field within the Gamepass editing interface to begin composing the content.
-
Highlighting Benefits: Describe the exclusive perks, privileges, or in-game advantages that players will gain upon purchasing the Gamepass. Clearly articulate the value proposition to entice potential buyers and provide them with a compelling reason to invest in the Gamepass.
-
Visual Presentation: Utilize formatting options such as bold text or bullet points to enhance the visual appeal and readability of the description. This can effectively highlight key features and benefits, making the description more impactful.
-
Language and Tone: Tailor the language and tone of the description to resonate with your game's theme and audience. Whether it's adopting a casual and friendly tone or maintaining a professional demeanor, the description should align with the overall experience of the game.
-
Final Review: Before saving the description, review the content to ensure clarity, accuracy, and persuasiveness. A well-crafted description can significantly influence players' purchasing decisions, making it a crucial element in the Gamepass creation process.
By meticulously setting the price and crafting a compelling description, developers can effectively communicate the value of their Gamepass and attract the interest of potential buyers. These steps empower developers to strategically position their Gamepasses within the Roblox ecosystem, ultimately enhancing the appeal and commercial success of their games.
Step 4: Uploading the Gamepass
Uploading the Gamepass is the final step in the process of integrating this valuable in-game item into your Roblox game. This pivotal step ensures that the Gamepass becomes accessible to players, allowing them to purchase and enjoy the exclusive benefits it offers. Here's a comprehensive guide on how to upload the Gamepass using Roblox Studio on a mobile device:
-
Accessing Gamepass Configuration: Return to the Gamepasses section within Roblox Studio on your mobile device. Locate the Gamepass you've created and tap on it to access the editing options.
-
Enabling the Gamepass: Within the Gamepass editing interface, you will find the option to enable the Gamepass for sale. By toggling this setting, you make the Gamepass available for purchase, allowing players to acquire it within your game.
-
Verification and Testing: Before finalizing the upload, it's essential to verify that the Gamepass functions as intended. This involves testing the purchase process, ensuring that players can successfully acquire the Gamepass and access the associated benefits within the game environment.
-
Visual Representation: Consider the visual representation of the Gamepass within the game. Ensure that it is prominently displayed, allowing players to easily identify and understand the value it offers. This visual representation can include in-game icons, labels, or indicators that signify the presence of the Gamepass.
-
Save and Publish: After confirming the settings and verifying the functionality, save the changes to upload the Gamepass into your game. This action makes the Gamepass available for purchase by players, enriching their gameplay experience with exclusive content and privileges.
By following these steps, developers can seamlessly integrate the Gamepass into their Roblox games, providing players with the opportunity to enhance their in-game adventures. Uploading the Gamepass marks the culmination of the creation process, unlocking new possibilities for engaging gameplay experiences and fostering a thriving community of players within the Roblox platform.
Conclusion
In conclusion, the ability to create and manage Gamepasses using Roblox Studio on a mobile device empowers developers to enrich their games with exclusive content and privileges, thereby enhancing the overall gameplay experience for players. By following the outlined steps, developers can seamlessly navigate the process of crafting, pricing, and uploading Gamepasses, unlocking new dimensions of creativity and engagement within their games.
Accessing Roblox Studio on mobile devices opens up a world of convenience, allowing developers to work on their games anytime, anywhere. The user-friendly interface of Roblox Studio on mobile ensures that the creative potential of game development is readily accessible, enabling developers to bring their ideas to life with ease and flexibility.
Creating a Gamepass involves defining unique benefits and privileges for players, adding depth and value to the in-game experience. The process of setting the price and crafting a compelling description plays a pivotal role in effectively communicating the value proposition of the Gamepass, attracting potential buyers and fostering a thriving in-game economy.
The final step of uploading the Gamepass marks the culmination of the creation process, making the exclusive content available for purchase by players. This seamless integration ensures that players can access and enjoy the benefits offered by the Gamepass, contributing to a dynamic and engaging gameplay environment.
Overall, the ability to create Gamepasses on Roblox mobile represents a significant opportunity for developers to elevate their games, foster player engagement, and drive commercial success. By leveraging the creative potential of Roblox Studio on mobile devices, developers can actively contribute to the diverse and immersive gaming landscape within the Roblox platform, ultimately shaping compelling experiences for players around the world.