Home>Lifestyle>Transform Your Bathroom Tiles With Water Resistant Paint – Prep Tips Inside!

Lifestyle
Transform Your Bathroom Tiles With Water Resistant Paint – Prep Tips Inside!
Modified: March 13, 2024
Transform your bathroom with water-resistant paint and get expert prep tips for a lifestyle upgrade. Revamp your tiles with ease!
(Many of the links in this article redirect to a specific reviewed product. Your purchase of these products through affiliate links helps to generate commission for Regretless.com, at no extra cost. Learn more)
Table of Contents
Introduction
Are you looking to breathe new life into your bathroom without breaking the bank? The answer might lie in a simple yet transformative solution: painting your bathroom tiles. This innovative approach allows you to revamp the aesthetic of your bathroom with minimal cost and effort, making it an appealing option for those seeking a budget-friendly makeover.
By embracing the versatility of water-resistant paint, you can unleash your creativity and personalize your bathroom space to reflect your unique style. Whether you're aiming for a modern, minimalist look or a vibrant and eclectic ambiance, the possibilities are virtually endless with the right paint and techniques.
In this comprehensive guide, we will delve into the art of transforming your bathroom tiles with water-resistant paint. From selecting the appropriate paint to preparing the tiles and executing the painting process, we will provide you with invaluable insights and practical tips to ensure a successful and visually stunning outcome.
So, if you're ready to embark on a DIY project that promises to elevate the allure of your bathroom, join us as we explore the steps and considerations involved in this exciting endeavor. Get ready to unleash your inner artist and witness the remarkable impact that a fresh coat of paint can have on your bathroom tiles. Let's dive into the world of tile transformation and discover the transformative power of water-resistant paint!
Choosing the Right Paint
When it comes to painting bathroom tiles, choosing the right paint is paramount to achieving a durable and visually appealing finish. Given the unique environment of a bathroom – characterized by high humidity, fluctuating temperatures, and frequent exposure to water – selecting a water-resistant paint is crucial for long-lasting results.
Considerations for Water-Resistant Paint Selection
1. Waterproof and Mold-Resistant Properties
Opt for a high-quality water-resistant paint specifically formulated for damp environments. Look for products that offer waterproof and mold-resistant properties, as these features are essential for maintaining the integrity of the painted surface in a moisture-rich setting.
2. Acrylic Latex or Epoxy-Based Formulas
Explore paint options that are either acrylic latex-based or epoxy-based, as these formulations are renowned for their ability to withstand moisture and resist peeling or flaking. Acrylic latex paints are known for their flexibility and ease of application, while epoxy paints offer exceptional durability and adhesion, making them suitable for high-moisture areas.
3. Color and Finish Choices
Consider the color and finish options available in water-resistant paint ranges. Whether you prefer a glossy sheen for a sleek, modern look or a matte finish for a more subdued aesthetic, ensure that the paint not only meets your style preferences but also complements the overall design scheme of your bathroom.
4. Compatibility with Tile Material
Verify the compatibility of the chosen paint with the material of your existing tiles. Different tile surfaces, such as ceramic, porcelain, or natural stone, may require specific types of paint to ensure proper adhesion and long-term performance. Consult with a knowledgeable paint specialist or refer to the manufacturer's recommendations to determine the most suitable paint for your particular tile material.
Brand Recommendations and Reviews
Research reputable brands that specialize in water-resistant paints for bathrooms. Seek out customer reviews and testimonials to gauge the performance and reliability of the products. Look for paints that have garnered positive feedback regarding their resistance to water, steam, and mold, as well as their overall ease of application and long-term durability.
By carefully evaluating these considerations and exploring the diverse range of water-resistant paint options available, you can confidently select a paint that aligns with your preferences, budget, and the specific requirements of your bathroom. With the right paint in hand, you are one step closer to embarking on a successful transformation of your bathroom tiles, ushering in a fresh new look that deftly combines style and functionality.
Preparing Your Tiles
Before diving into the painting process, it is essential to prepare your tiles diligently to ensure optimal adhesion and a flawless finish. Proper preparation lays the foundation for a successful paint application, allowing the paint to adhere securely and withstand the rigors of a bathroom environment. Here's a comprehensive breakdown of the essential steps involved in preparing your tiles for the transformative journey ahead.
Cleaning and Degreasing
Begin by thoroughly cleaning the tiles to remove any accumulated grime, soap scum, or residues that could hinder paint adhesion. Utilize a powerful tile and grout cleaner, paying particular attention to the grout lines, where dirt and mildew often accumulate. A clean surface is crucial for promoting strong paint adhesion and preventing imperfections in the finished result.
Sanding the Tiles
Next, lightly sand the tiles to create a slightly roughened surface that enhances the paint's grip. Using fine-grit sandpaper, gently scuff the tile surface to promote adhesion without causing damage. This step is especially important for glazed tiles, as it aids in overcoming the smooth, non-porous nature of the glaze, allowing the paint to bond effectively.
Repairing Imperfections
Inspect the tiles for any cracks, chips, or imperfections, and address them before proceeding with the painting process. Fill in any gaps or damaged areas with a high-quality tile filler or epoxy compound, smoothing the surface to create a seamless and uniform backdrop for the paint. By addressing these imperfections, you ensure a polished and professional-looking result once the painting is complete.
Priming the Tiles
Applying a suitable primer to the tiles is a critical preparatory step that enhances adhesion and promotes the longevity of the paint. Choose a high-quality bonding primer specifically designed for use on tiles and follow the manufacturer's instructions for proper application. The primer creates a receptive surface for the paint, allowing it to adhere firmly and resist peeling or flaking over time.
Protecting Surrounding Areas
Before commencing the painting process, take measures to protect surrounding fixtures, surfaces, and flooring from accidental paint splatters or spills. Cover adjacent surfaces with drop cloths or painter's tape to safeguard them from potential damage and simplify the cleanup process.
By meticulously executing these preparatory steps, you set the stage for a seamless and successful painting experience, ensuring that your bathroom tiles are primed and ready to undergo a stunning transformation. With the tiles cleaned, prepped, and primed, you are now poised to embark on the exhilarating process of applying water-resistant paint to breathe new life into your bathroom space.
Applying the Paint
With your tiles meticulously prepared, it's time to embark on the transformative process of applying water-resistant paint to breathe new life into your bathroom space. This pivotal phase demands precision, patience, and a keen eye for detail to ensure a flawless finish that stands the test of time. Let's delve into the essential steps and considerations for executing the painting process with finesse.
Gather Your Supplies
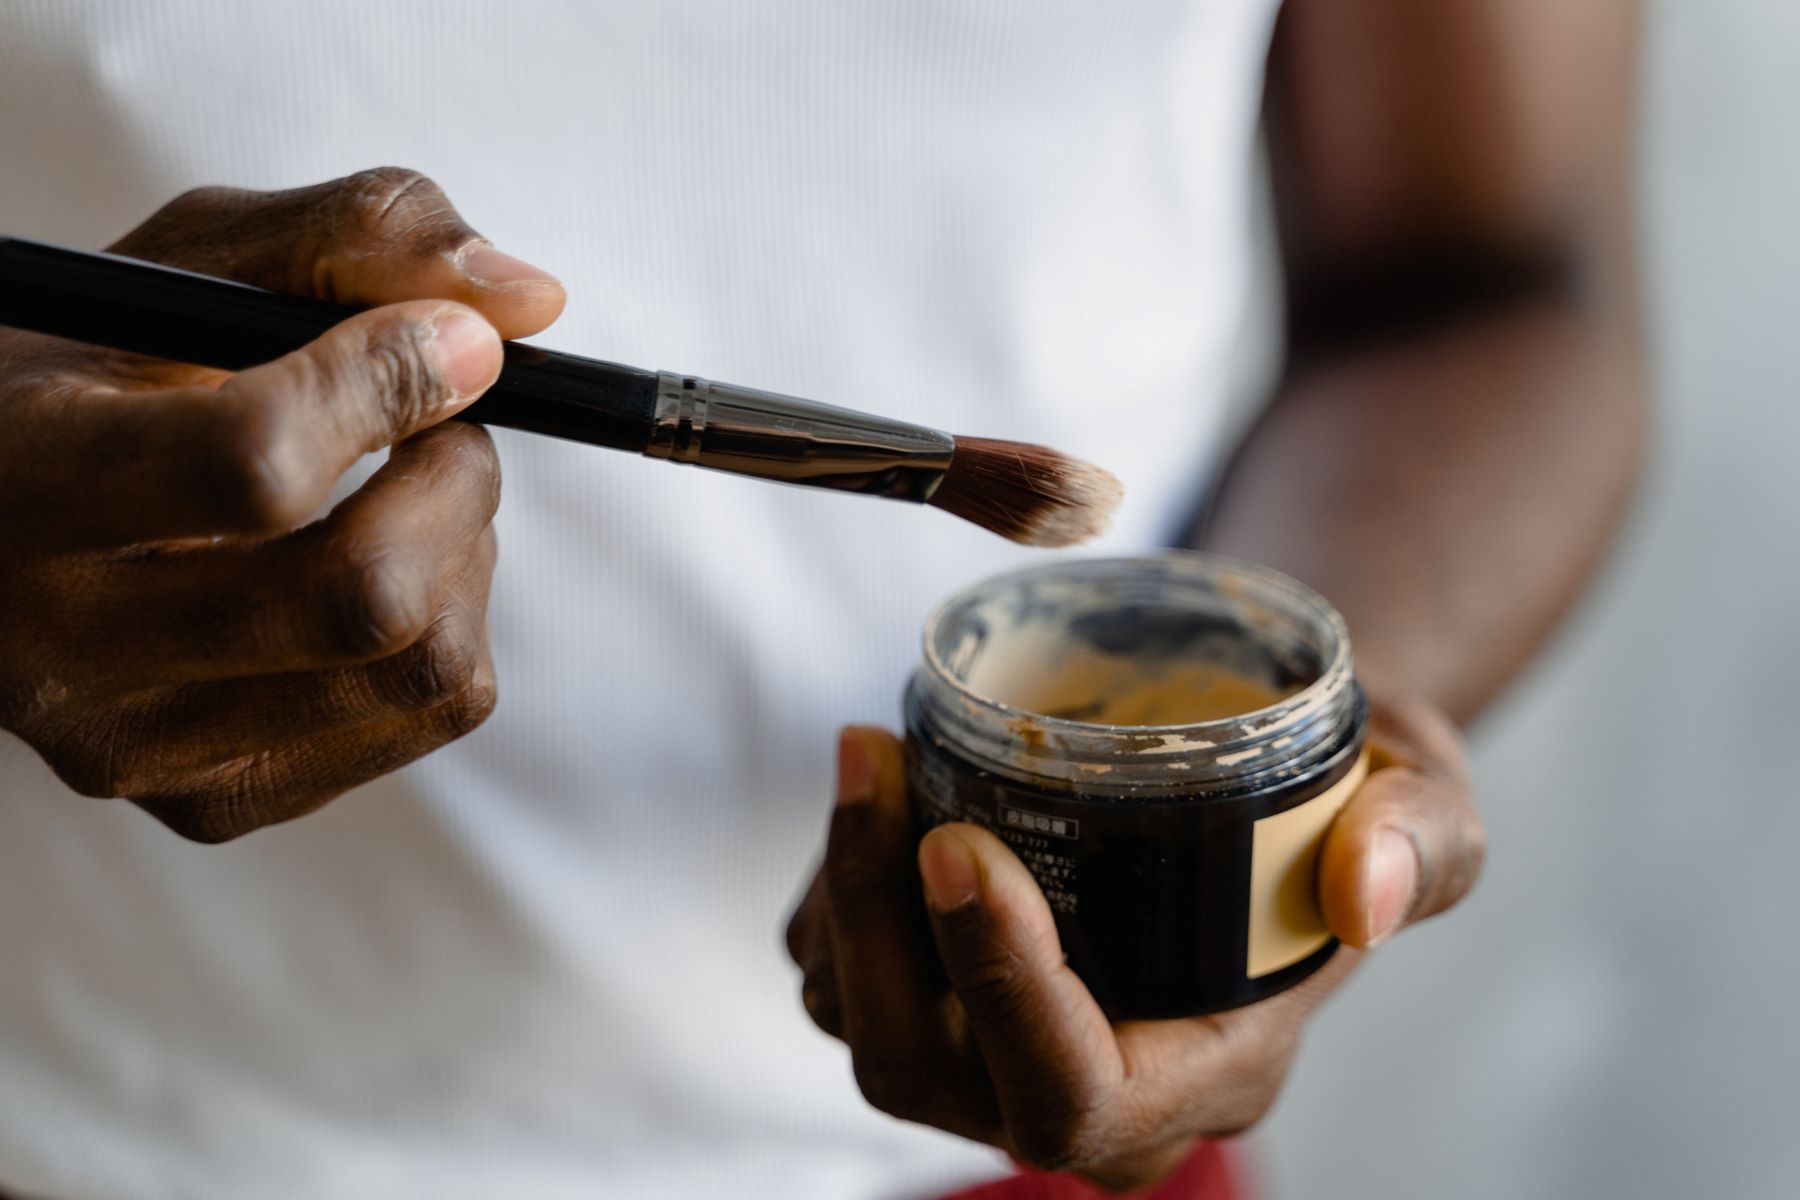
Before commencing the painting endeavor, gather all the necessary supplies to streamline the application process. Ensure that you have high-quality water-resistant paint in the desired color and finish, as well as appropriate brushes or rollers designed for smooth and even application. Additionally, have a paint tray, painter's tape, and a stirring stick on hand to facilitate the painting process and maintain a tidy workspace.
Begin with the Grout
Start by carefully applying paint to the grout lines between the tiles. Utilize a narrow brush or a specialized grout brush to ensure precise application and complete coverage. The grout serves as the intricate framework that binds the tiles together, and enhancing its appearance with a fresh coat of paint contributes to the overall visual impact of the tiled surface.
Read more: Top Tips For Painting Knotty Pine Paneling
Painting the Tiles
Once the grout has been meticulously addressed, proceed to paint the tiles themselves. Employ smooth, overlapping strokes to apply the water-resistant paint evenly across the surface, ensuring thorough coverage without excess pooling or drips. Depending on the type of paint and the desired effect, you may need to apply multiple coats, allowing each layer to dry completely before proceeding to the next.
Achieving a Uniform Finish
Strive to achieve a uniform finish across the entire tiled surface, maintaining consistency in color and texture. Pay close attention to any intricate patterns or textured tiles, adjusting your painting technique to accommodate these nuances and preserve the unique character of the tiles. Take your time to ensure that each tile is coated evenly, resulting in a seamless and professional-looking outcome.
Allowing for Proper Drying
After completing the painting process, allow the tiles to dry thoroughly according to the manufacturer's recommendations. Adequate drying time is crucial for the paint to cure and form a resilient, water-resistant barrier that can withstand the demands of a bathroom environment. Exercise caution to avoid premature contact with the painted tiles to prevent smudges or imperfections.
Final Touches and Clean-Up
Once the paint has dried to perfection, inspect the tiled surface for any touch-ups or imperfections that may require attention. Address any areas that may have been missed or require additional coats to achieve the desired result. Following the completion of the painting process, carefully remove any painter's tape and tidy up the workspace, reveling in the remarkable transformation that has taken place.
By diligently following these steps and exercising precision throughout the painting process, you can elevate your bathroom's aesthetic allure and infuse it with a renewed sense of style. With the tiles adorned in a fresh coat of water-resistant paint, your bathroom undergoes a stunning metamorphosis, exuding charm and personality while standing resilient against the challenges of moisture and daily use.
Read more: How To Get Paint Off Of Vinyl Floor
Caring for Your Newly Painted Tiles
Maintaining the pristine allure of your newly painted bathroom tiles is essential to preserve the beauty and longevity of the transformative makeover. By implementing proper care and maintenance practices, you can safeguard the integrity of the painted surface and ensure that it remains a focal point of elegance and charm within your bathroom. Here's a comprehensive guide to caring for your newly painted tiles, allowing you to relish the enduring impact of your DIY project for years to come.
Gentle Cleaning Regimen
Adopt a gentle cleaning regimen to safeguard the freshly painted tiles from damage or premature wear. Use mild, non-abrasive cleaning solutions and soft cloths to wipe down the tiled surface, avoiding harsh chemicals or abrasive scrubbing tools that could compromise the paint's integrity. Regularly removing dust, moisture, and surface contaminants helps preserve the luster and vibrancy of the painted tiles, contributing to a well-maintained and visually appealing bathroom environment.
Avoiding Abrasive Actions
Steer clear of abrasive actions that could mar the painted surface, such as vigorous scrubbing, scraping, or using abrasive cleaning pads. These activities may lead to the gradual erosion of the paint, diminishing its visual appeal and protective properties. Exercise caution when cleaning or performing maintenance tasks around the painted tiles, opting for gentle methods that prioritize the preservation of the paint's pristine condition.
Prompt Spill Cleanup
Address spills and splashes promptly to prevent staining or damage to the painted tiles. Whether it's water, toiletries, or other substances, swift cleanup minimizes the risk of discoloration or deterioration of the paint. Use absorbent materials to blot and remove spills without exerting excessive pressure on the painted surface, thereby mitigating the potential for adverse effects on the paint's appearance and longevity.
Ventilation and Moisture Control
Maintain adequate ventilation in your bathroom to regulate humidity levels and minimize the impact of moisture on the painted tiles. Proper ventilation helps expedite the drying of the painted surface after showers or baths, reducing the prolonged exposure to moisture that could compromise the paint's resilience. Additionally, consider using exhaust fans or dehumidifiers to manage humidity levels and create a more favorable environment for the painted tiles.
Periodic Inspection and Touch-Ups
Conduct periodic inspections of the painted tiles to identify any signs of wear, chipping, or imperfections that may require touch-ups. Addressing minor issues promptly prevents them from escalating into more extensive damage, preserving the overall integrity of the painted surface. Keep a small quantity of the original paint on hand for touch-ups, allowing you to maintain the seamless beauty of the tiles and address any blemishes as soon as they arise.
By adhering to these care guidelines and incorporating them into your regular maintenance routine, you can uphold the allure and durability of your newly painted tiles, ensuring that they continue to enrich your bathroom environment with their captivating charm and enduring visual impact. With a commitment to gentle care and vigilant maintenance, your painted tiles stand as a testament to your DIY prowess and dedication to elevating the aesthetic appeal of your home.