Home>Home and Garden>Ingenious Solutions To Conceal Water Stains On Your Ceiling

Home and Garden
Ingenious Solutions To Conceal Water Stains On Your Ceiling
Modified: March 13, 2024
Discover ingenious home and garden solutions to effectively conceal water stains on your ceiling. Transform your space with these practical tips and tricks.
(Many of the links in this article redirect to a specific reviewed product. Your purchase of these products through affiliate links helps to generate commission for Regretless.com, at no extra cost. Learn more)
Table of Contents
Introduction
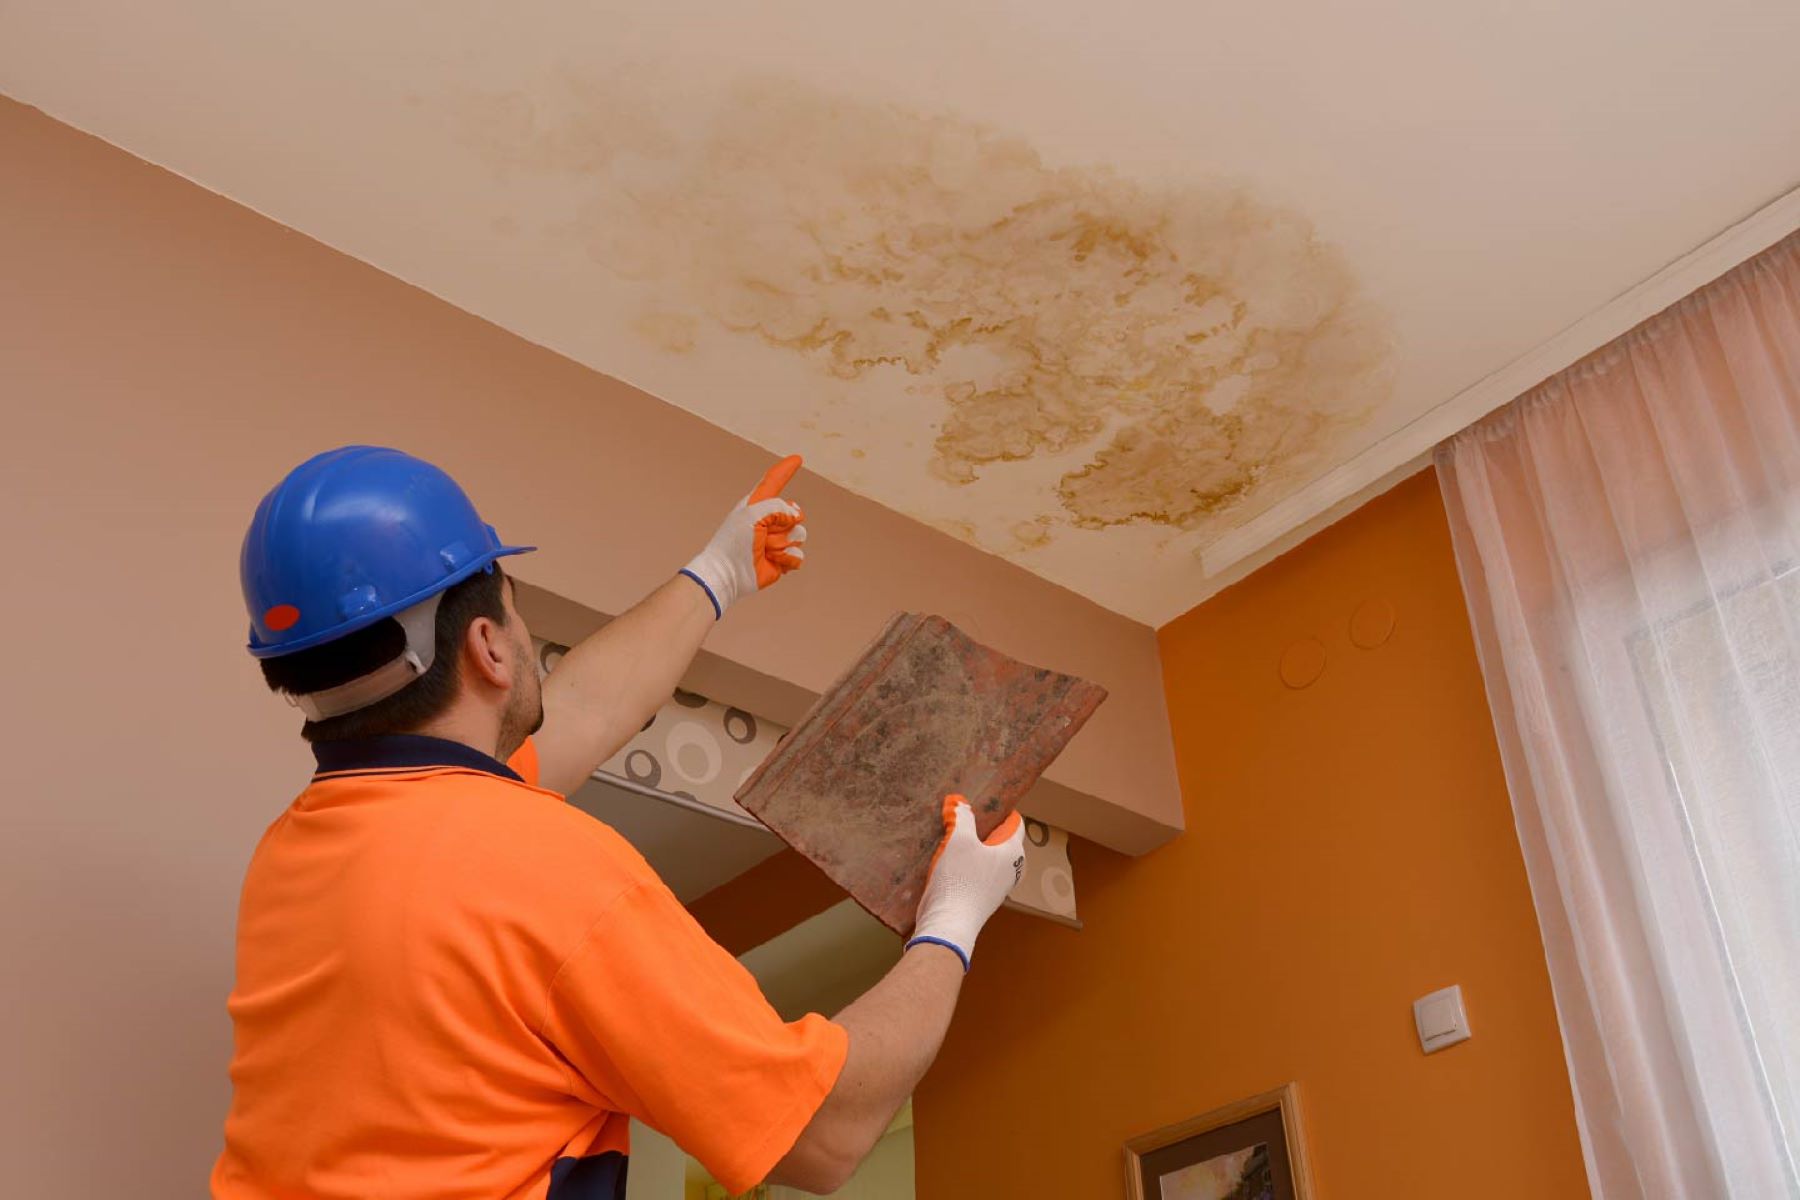
Water stains on a ceiling can be a frustrating eyesore, often serving as a constant reminder of past leaks or water damage. These unsightly marks not only detract from the aesthetic appeal of your home but also raise concerns about potential structural issues. However, there's no need to let these blemishes dampen your spirits. With a touch of creativity and resourcefulness, you can effectively conceal water stains and restore the beauty of your ceiling.
In this comprehensive guide, we will explore a range of ingenious solutions to address water stains on your ceiling. Whether you prefer a simple DIY approach or are open to more elaborate options, there are numerous strategies to consider. From painting over the stains to utilizing decorative ceiling tiles, installing a suspended ceiling, or even applying a faux finish, each method offers its unique blend of practicality and visual appeal.
By delving into these innovative solutions, you'll discover how to transform an unsightly reminder of water damage into a captivating feature of your home. With a bit of inspiration and the right techniques, you can revitalize your ceiling, leaving behind the woes of water stains and embracing a renewed sense of elegance and charm.
So, let's embark on this journey to reclaim the beauty of your ceiling and bid farewell to those pesky water stains. Whether you're a seasoned DIY enthusiast or a homeowner seeking professional insights, there's a solution tailored to your preferences and needs. Get ready to explore a world of creativity and practicality as we unveil the secrets to concealing water stains on your ceiling.
Paint Over the Stain
One of the most straightforward and cost-effective methods to conceal water stains on your ceiling is to paint over them. This approach not only camouflages the unsightly marks but also rejuvenates the entire ceiling, creating a seamless and uniform appearance. Before diving into the painting process, it's crucial to address any underlying issues that may have caused the water stains, such as leaks or moisture infiltration. Once these issues are resolved, you can proceed with the following steps to effectively paint over the stains:
-
Preparation: Begin by thoroughly cleaning the affected area to remove any dirt, debris, or residual discoloration. Use a mild detergent solution and a soft sponge to gently scrub the surface, ensuring that it is free from any contaminants that could affect the paint's adhesion.
-
Priming: Apply a high-quality stain-blocking primer to the stained area. This step is essential for preventing the underlying water stains from bleeding through the new paint. Opt for a primer specifically designed to conceal water stains, as it offers superior coverage and adhesion.
-
Paint Selection: Choose a premium-quality ceiling paint that matches the existing ceiling color. It's advisable to select a paint with a flat or matte finish to minimize the visibility of imperfections and achieve a uniform look. Additionally, consider using a paint with mold and mildew-resistant properties to safeguard against future moisture-related issues.
-
Application: With the stained area primed and prepared, carefully apply the ceiling paint using a high-quality roller or brush. Ensure even coverage and feather the edges to seamlessly blend the painted section with the surrounding ceiling. Depending on the severity of the water stains, multiple coats may be necessary to achieve optimal coverage and color consistency.
-
Finishing Touches: Once the paint has dried, assess the results and make any necessary touch-ups to achieve a flawless finish. Take the time to inspect the entire ceiling for uniformity and address any remaining imperfections to achieve a polished appearance.
By painting over the water stains, you can effectively transform the visual appeal of your ceiling while addressing the underlying discoloration. This simple yet impactful solution offers a budget-friendly way to conceal water stains and revitalize your living space, providing a renewed sense of cleanliness and elegance. Whether you opt for a DIY approach or enlist professional assistance, painting over the stains presents a versatile and accessible method to restore the beauty of your ceiling.
Use a Decorative Ceiling Tile
Elevating the aesthetic appeal of your ceiling while effectively concealing water stains can be achieved through the use of decorative ceiling tiles. These innovative tiles offer a versatile and visually captivating solution to transform the look of your ceiling, adding a touch of elegance and sophistication to your living space.
When considering decorative ceiling tiles to conceal water stains, you'll find a diverse range of options to suit various interior styles and preferences. From intricately designed faux tin tiles that exude a vintage charm to sleek and modern styles that complement contemporary decor, the versatility of decorative ceiling tiles makes them a compelling choice for concealing imperfections and enhancing the overall ambiance of a room.
The installation process for decorative ceiling tiles is relatively straightforward, making it an accessible option for homeowners seeking a DIY solution. Here's a general outline of the steps involved in using decorative ceiling tiles to conceal water stains:
-
Preparation: Begin by measuring the dimensions of the ceiling area to determine the quantity of tiles needed. Ensure that the surface is clean and free from any debris or residual staining to facilitate optimal adhesion.
-
Tile Selection: Explore a variety of decorative ceiling tiles to find a design that complements your interior decor and aligns with your aesthetic preferences. Consider the material, pattern, and color of the tiles to achieve the desired visual impact.
-
Installation: Depending on the type of decorative tiles chosen, follow the manufacturer's instructions for installation. In many cases, these tiles can be affixed directly to the existing ceiling using adhesive, making the process relatively quick and hassle-free.
-
Customization: If necessary, trim the tiles to fit the dimensions of the ceiling, ensuring a seamless and professional-looking installation. Pay attention to alignment and symmetry to create a cohesive and visually appealing result.
By incorporating decorative ceiling tiles into your interior design, you can effectively conceal water stains while infusing your living space with a renewed sense of style and sophistication. Whether you opt for ornate and intricately detailed tiles or sleek, modern designs, this approach presents a versatile and visually impactful solution to elevate the ambiance of your home.
The use of decorative ceiling tiles not only conceals water stains but also adds a layer of visual interest and personality to your living space, transforming an ordinary ceiling into a captivating focal point. With a wide array of styles and materials to choose from, you have the creative freedom to tailor the look of your ceiling to align with your unique aesthetic vision, ultimately achieving a harmonious and visually stunning result.
Incorporating decorative ceiling tiles offers a seamless and visually appealing method to conceal water stains, breathing new life into your living space and instilling a renewed sense of elegance and charm. Whether you're aiming for a vintage-inspired ambiance or a contemporary flair, the diverse selection of decorative tiles empowers you to redefine the look of your ceiling while effectively addressing the challenge of water stains.
Install a Suspended Ceiling
When it comes to concealing water stains on your ceiling, installing a suspended ceiling presents a highly effective and visually appealing solution. Also known as a drop ceiling, this innovative approach not only camouflages unsightly water stains but also offers a host of additional benefits, including improved acoustics, enhanced insulation, and easy access to utilities and wiring.
The process of installing a suspended ceiling involves creating a secondary ceiling grid below the existing ceiling, allowing for the insertion of individual ceiling tiles. This grid system, typically composed of metal tracks and hanger wires, provides a sturdy framework for supporting the ceiling tiles while concealing the underlying water stains.
To embark on the installation of a suspended ceiling, meticulous planning and attention to detail are essential. Here's a comprehensive overview of the steps involved in this transformative process:
-
Measurement and Planning: Begin by carefully measuring the dimensions of the ceiling area to determine the quantity of materials needed for the installation. Consider the placement of lighting fixtures, air vents, and any other existing ceiling features to ensure a seamless integration of the suspended ceiling.
-
Material Selection: Choose high-quality ceiling tiles that align with your interior decor and aesthetic preferences. Opt for tiles that offer moisture resistance and easy maintenance, ensuring long-term durability and visual appeal.
-
Framework Installation: Install the metal tracks along the perimeter of the room, ensuring a level and secure placement. Subsequently, suspend the hanger wires from the existing ceiling structure, creating a stable framework for the suspended ceiling grid.
-
Tile Placement: With the grid framework in place, carefully insert the individual ceiling tiles into their designated positions, ensuring a snug fit and uniform alignment. Consider incorporating acoustic tiles to enhance sound insulation and create a more tranquil indoor environment.
-
Finishing Touches: Once the ceiling tiles are securely in place, assess the overall appearance and make any necessary adjustments to achieve a polished and cohesive look. Pay attention to the uniformity of the grid and ensure that the suspended ceiling seamlessly conceals the water stains, imparting a fresh and pristine aesthetic to the room.
By installing a suspended ceiling, you can effectively conceal water stains while transforming the ambiance of your living space. This approach not only addresses the visual impact of water damage but also offers practical benefits, such as improved acoustics and insulation. Whether you're seeking a DIY project or enlisting professional assistance, the installation of a suspended ceiling empowers you to revitalize your ceiling and create a renewed sense of elegance and sophistication within your home.
Cover with a Fabric Canopy
Concealing water stains on your ceiling with a fabric canopy offers a unique and aesthetically pleasing solution that adds a touch of elegance to your living space. This approach not only effectively hides the unsightly marks but also introduces a soft and inviting element that transforms the ambiance of the room.
To begin, select a lightweight and breathable fabric that complements your interior decor and aligns with your desired aesthetic. Consider factors such as color, texture, and translucency to achieve the desired visual impact. Additionally, ensure that the fabric is easy to maintain and can be securely attached to the ceiling without causing damage or strain.
The installation process involves careful planning and attention to detail. Here's a comprehensive overview of the steps involved in covering water stains with a fabric canopy:
-
Fabric Selection: Choose a high-quality fabric that aligns with your interior decor and personal style. Consider the dimensions of the ceiling area to determine the quantity of fabric needed, allowing for a graceful drape that effectively conceals the water stains.
-
Attachment Method: Depending on the desired aesthetic and the structural integrity of the ceiling, you can opt for various attachment methods. For a seamless and ethereal look, consider using discreet hooks or fasteners to suspend the fabric canopy from the ceiling. Alternatively, a tension rod or curtain hardware can be utilized to create a graceful and flowing canopy effect.
-
Customization: Tailor the fabric canopy to achieve the desired visual impact. Experiment with different draping techniques and configurations to create an alluring and harmonious display. Consider incorporating gentle pleats or cascading folds to add depth and dimension to the canopy, imparting a sense of grace and sophistication to the room.
-
Lighting Considerations: Assess the impact of lighting on the fabric canopy to create a captivating ambiance. Soft, diffused lighting can enhance the ethereal quality of the canopy, casting a warm and inviting glow throughout the space. Consider integrating subtle accent lighting to highlight the fabric's texture and create a visually captivating focal point.
By covering water stains with a fabric canopy, you can infuse your living space with a sense of grace and refinement while effectively concealing imperfections on the ceiling. This approach offers a versatile and visually captivating solution that transcends traditional methods of addressing water stains, adding a touch of luxury and sophistication to your home. Whether you opt for a flowing and ethereal canopy or a tailored and structured display, the fabric canopy presents an innovative and visually appealing way to transform your living space and elevate the overall ambiance of the room.
Apply a Faux Finish
Concealing water stains on your ceiling through the application of a faux finish offers a creative and visually captivating solution that transcends traditional methods of addressing imperfections. By employing specialized painting techniques, you can transform the appearance of your ceiling, effectively camouflaging water stains while infusing the space with a touch of artistry and sophistication.
The process of applying a faux finish involves the skillful manipulation of paint to create the illusion of texture, depth, and intricate patterns. This method not only conceals water stains but also adds a layer of visual interest and personality to your living space, elevating the overall aesthetic appeal of the room.
To embark on the application of a faux finish, careful planning and attention to detail are essential. Here's a comprehensive overview of the steps involved in this transformative process:
-
Surface Preparation: Begin by thoroughly cleaning the ceiling surface to ensure that it is free from any debris, dust, or residual staining. Repair any existing imperfections and ensure that the surface is smooth and primed for the application of the faux finish.
-
Selection of Techniques: Explore a variety of faux finish techniques, such as sponging, ragging, stippling, or marbling, to achieve the desired visual effect. Consider the existing decor and ambiance of the room to select a technique that harmonizes with the overall aesthetic.
-
Color Selection: Choose a color palette that complements the existing decor and aligns with your vision for the space. Consider incorporating subtle variations and complementary hues to create depth and dimension within the faux finish.
-
Application Process: Skillfully apply the chosen faux finish technique to the ceiling surface, utilizing specialized tools and brushes to achieve the desired texture and pattern. Exercise precision and artistry to create a visually captivating result that effectively conceals the water stains.
-
Finishing Touches: Once the faux finish is applied, assess the overall appearance and make any necessary adjustments to achieve a cohesive and polished look. Pay attention to the uniformity of the finish and ensure that it seamlessly conceals the water stains, imparting a fresh and artistic aesthetic to the room.
By applying a faux finish to your ceiling, you can effectively conceal water stains while infusing your living space with a renewed sense of artistry and elegance. This approach offers a versatile and visually captivating solution that empowers you to redefine the look of your ceiling, transforming it into a captivating focal point within your home. Whether you opt for a subtle and understated finish or an elaborate and intricate design, the faux finish method presents an innovative and visually appealing way to revitalize your living space and elevate the overall ambiance of the room.
Conclusion
In conclusion, addressing water stains on your ceiling presents an opportunity to unleash your creativity and resourcefulness, transforming an unsightly reminder of past damage into a captivating feature of your home. Whether you opt for a simple DIY approach or seek professional assistance, the solutions explored in this guide offer a diverse array of strategies to conceal water stains while revitalizing the aesthetic appeal of your living space.
From the practicality of painting over the stains to the artistic allure of applying a faux finish, each method presents a unique blend of functionality and visual impact. The versatility of these approaches empowers homeowners to tailor the solution to their specific preferences and interior decor, ensuring a seamless integration with the overall ambiance of the room.
Furthermore, the utilization of decorative ceiling tiles and the installation of a suspended ceiling offer innovative ways to conceal water stains while introducing a layer of sophistication and elegance to the ceiling. These methods transcend traditional approaches, providing homeowners with the opportunity to redefine the look of their living space and create a visually captivating focal point within their home.
Moreover, the concept of covering water stains with a fabric canopy adds a touch of grace and refinement to the room, offering a unique and visually appealing solution that transcends conventional methods of addressing imperfections. This approach introduces an element of luxury and artistry, transforming the ceiling into a captivating feature that elevates the overall ambiance of the space.
In essence, the journey to conceal water stains on your ceiling is not merely about addressing imperfections; it's an opportunity to infuse your living space with creativity, elegance, and a renewed sense of charm. By exploring these ingenious solutions and embracing the potential for artistic expression, homeowners can reclaim the beauty of their ceilings, bidding farewell to the woes of water stains and welcoming a renewed sense of sophistication and allure into their homes.


