Home>Automotive>How To Replace Your O2 Sensor
Automotive
How To Replace Your O2 Sensor
Published: February 28, 2024
Learn how to replace your O2 sensor in a few simple steps with our automotive guide. Keep your vehicle running smoothly with our expert tips.
(Many of the links in this article redirect to a specific reviewed product. Your purchase of these products through affiliate links helps to generate commission for Regretless.com, at no extra cost. Learn more)
Table of Contents
Introduction
Replacing the oxygen (O2) sensor in your vehicle is a crucial maintenance task that can significantly impact its performance and fuel efficiency. The O2 sensor plays a pivotal role in monitoring the level of oxygen in the exhaust gases, providing essential data for the engine control unit to adjust the air-fuel mixture. Over time, the sensor can become contaminated or fail, leading to issues such as decreased fuel economy, rough idling, and increased emissions.
By understanding the process of replacing the O2 sensor, you can save on costly repairs and ensure that your vehicle operates at its optimal level. This comprehensive guide will walk you through the step-by-step process, empowering you to tackle this task with confidence. From gathering the necessary tools and materials to testing the new O2 sensor, each step is designed to help you successfully complete the replacement and keep your vehicle running smoothly.
Whether you're a seasoned DIY enthusiast or a novice looking to expand your automotive skills, this guide will provide valuable insights and practical tips to streamline the replacement process. With a clear understanding of the importance of the O2 sensor and the steps involved in its replacement, you'll be well-equipped to maintain your vehicle's performance and efficiency.
Now, let's dive into the essential steps for replacing your O2 sensor, ensuring that your vehicle continues to operate at its best.
Step 1: Gather Necessary Tools and Materials
Before embarking on the O2 sensor replacement process, it's essential to gather the required tools and materials to ensure a smooth and efficient procedure. Here's a comprehensive list of items you'll need:
Tools:
- Ratchet and Socket Set: A ratchet and socket set is indispensable for removing the O2 sensor. Ensure that the socket size matches the O2 sensor's fitting to avoid damaging the sensor during removal.
- O2 Sensor Socket: This specialized socket features a cutout to accommodate the O2 sensor's wiring, allowing for easy removal and installation.
- Breaker Bar: In case the O2 sensor is tightly secured, a breaker bar provides extra leverage to loosen it without exerting excessive force.
- Wire Cutters/Strippers: These tools are necessary for dealing with the electrical connections of the O2 sensor.
- Anti-Seize Compound: Applying anti-seize compound to the threads of the new O2 sensor helps prevent seizing and facilitates future replacements.
- Jack and Jack Stands: If accessing the O2 sensor requires getting underneath the vehicle, a jack and jack stands are essential for safely elevating and securing the vehicle.
Materials:
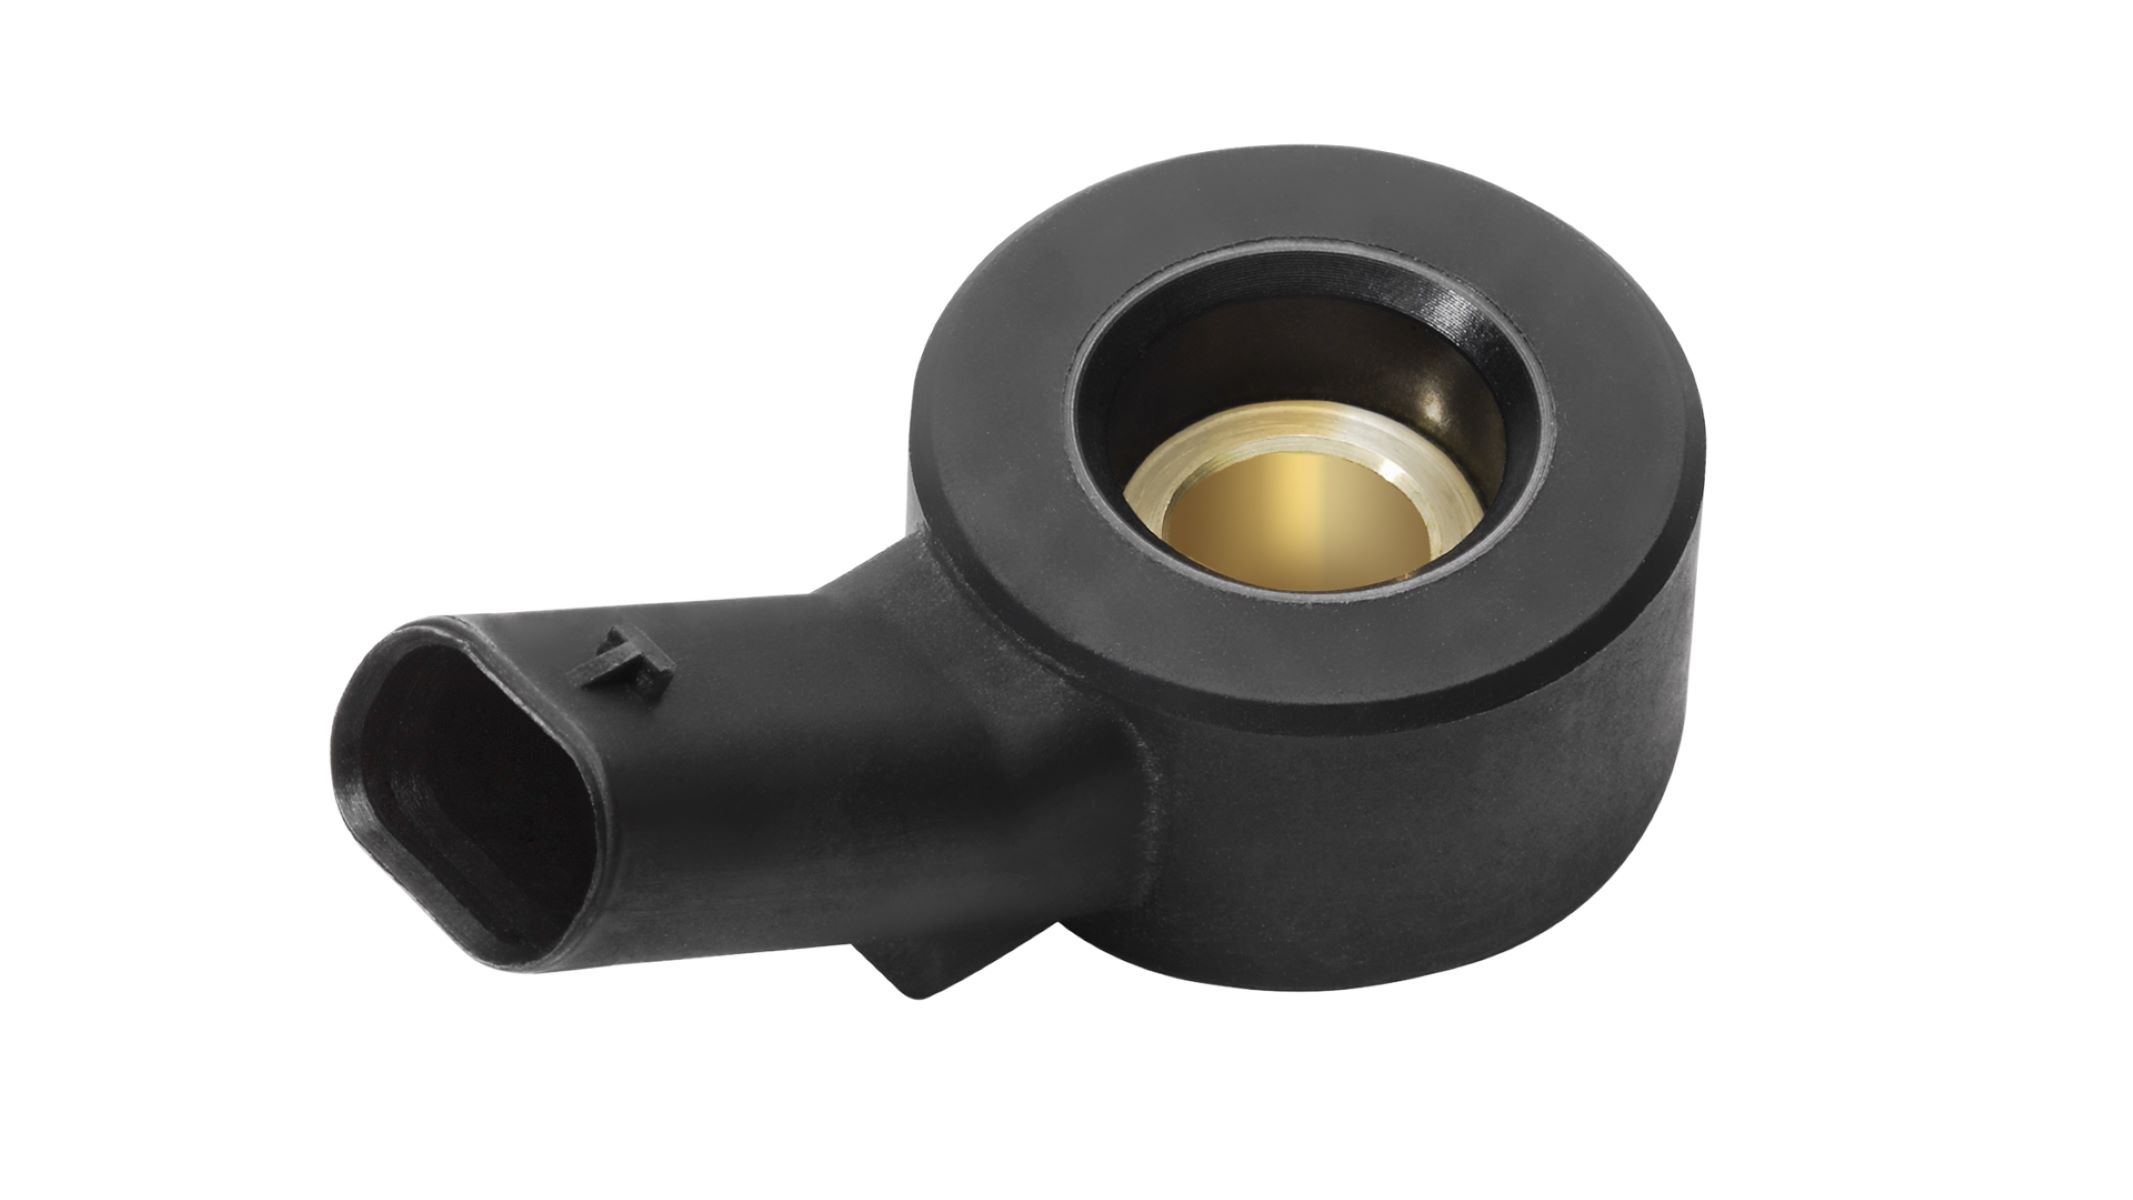
- New O2 Sensor: Ensure that the replacement sensor is compatible with your vehicle's make and model. Refer to the vehicle's manual or consult with an automotive expert to select the appropriate O2 sensor.
- Safety Gloves and Goggles: Protect your hands and eyes from dirt, grime, and potential debris during the replacement process.
- Cleaning Solvent: Having a cleaning solvent on hand allows you to clean the O2 sensor's mounting location and surrounding area, ensuring a secure fit for the new sensor.
- Electrical Tape: This will be used to secure the electrical connections of the new O2 sensor, preventing any potential issues with loose wiring.
By ensuring that you have all the necessary tools and materials at your disposal, you'll be well-prepared to proceed with the O2 sensor replacement. This proactive approach minimizes interruptions during the process, allowing you to focus on the subsequent steps with confidence and efficiency.
Step 2: Locate the O2 Sensor
Locating the oxygen (O2) sensor in your vehicle is a crucial initial step in the replacement process. The O2 sensor is typically situated in the exhaust system, either before or after the catalytic converter, depending on the vehicle's configuration. Here's a detailed guide to help you pinpoint the O2 sensor:
-
Consult the Vehicle Manual: The first step is to refer to your vehicle's manual to identify the precise location of the O2 sensor. The manual provides valuable insights into the specific layout of the exhaust system and the O2 sensor's placement, ensuring that you can approach the task with accuracy.
-
Understand Exhaust System Components: Familiarize yourself with the components of the exhaust system, including the catalytic converter and the exhaust manifold. The O2 sensor is positioned along the exhaust pipe, often near the manifold or the catalytic converter, to monitor the oxygen levels in the exhaust gases.
-
Visual Inspection: With the vehicle safely elevated on jack stands, visually inspect the exhaust system underneath the vehicle. Look for a component resembling a small protruding plug with a wire extending from it. This wire connects to the vehicle's electrical system and leads to the O2 sensor, aiding in its identification.
-
Utilize Online Resources: If you encounter difficulty locating the O2 sensor, consider utilizing online resources such as vehicle forums, manufacturer websites, or instructional videos. These resources often provide visual aids and detailed descriptions to assist in identifying the O2 sensor's precise position.
-
Identify Sensor Banks: In vehicles with multiple O2 sensors, it's essential to differentiate between the sensor banks. The bank containing the faulty O2 sensor must be accurately identified to ensure that the replacement is carried out on the correct sensor, preventing unnecessary disassembly and replacement errors.
By meticulously following these steps and leveraging available resources, you can confidently locate the O2 sensor in your vehicle. This foundational knowledge sets the stage for the subsequent steps in the replacement process, ensuring that you approach the task with precision and clarity. Once the O2 sensor is successfully located, you can proceed to the next crucial steps of removing the old sensor and installing the new one, ultimately enhancing your vehicle's performance and efficiency.
Read more: How To Test A Crankshaft Position Sensor
Step 3: Remove the Old O2 Sensor
Removing the old oxygen (O2) sensor is a pivotal step in the replacement process, requiring careful attention to detail and precision to ensure a seamless transition to the new sensor. Here's a comprehensive guide to effectively removing the old O2 sensor from your vehicle:
-
Safety Precautions: Prior to initiating the removal process, it's crucial to prioritize safety. Ensure that the vehicle is parked on a level surface and the engine is turned off. Additionally, allow the exhaust system to cool down to prevent any potential burns or injuries during the removal procedure.
-
Accessing the Sensor: If the O2 sensor is located underneath the vehicle, use a jack and jack stands to elevate and secure the vehicle, providing ample space to access the sensor. Once underneath the vehicle, locate the O2 sensor based on the information gathered in the previous step.
-
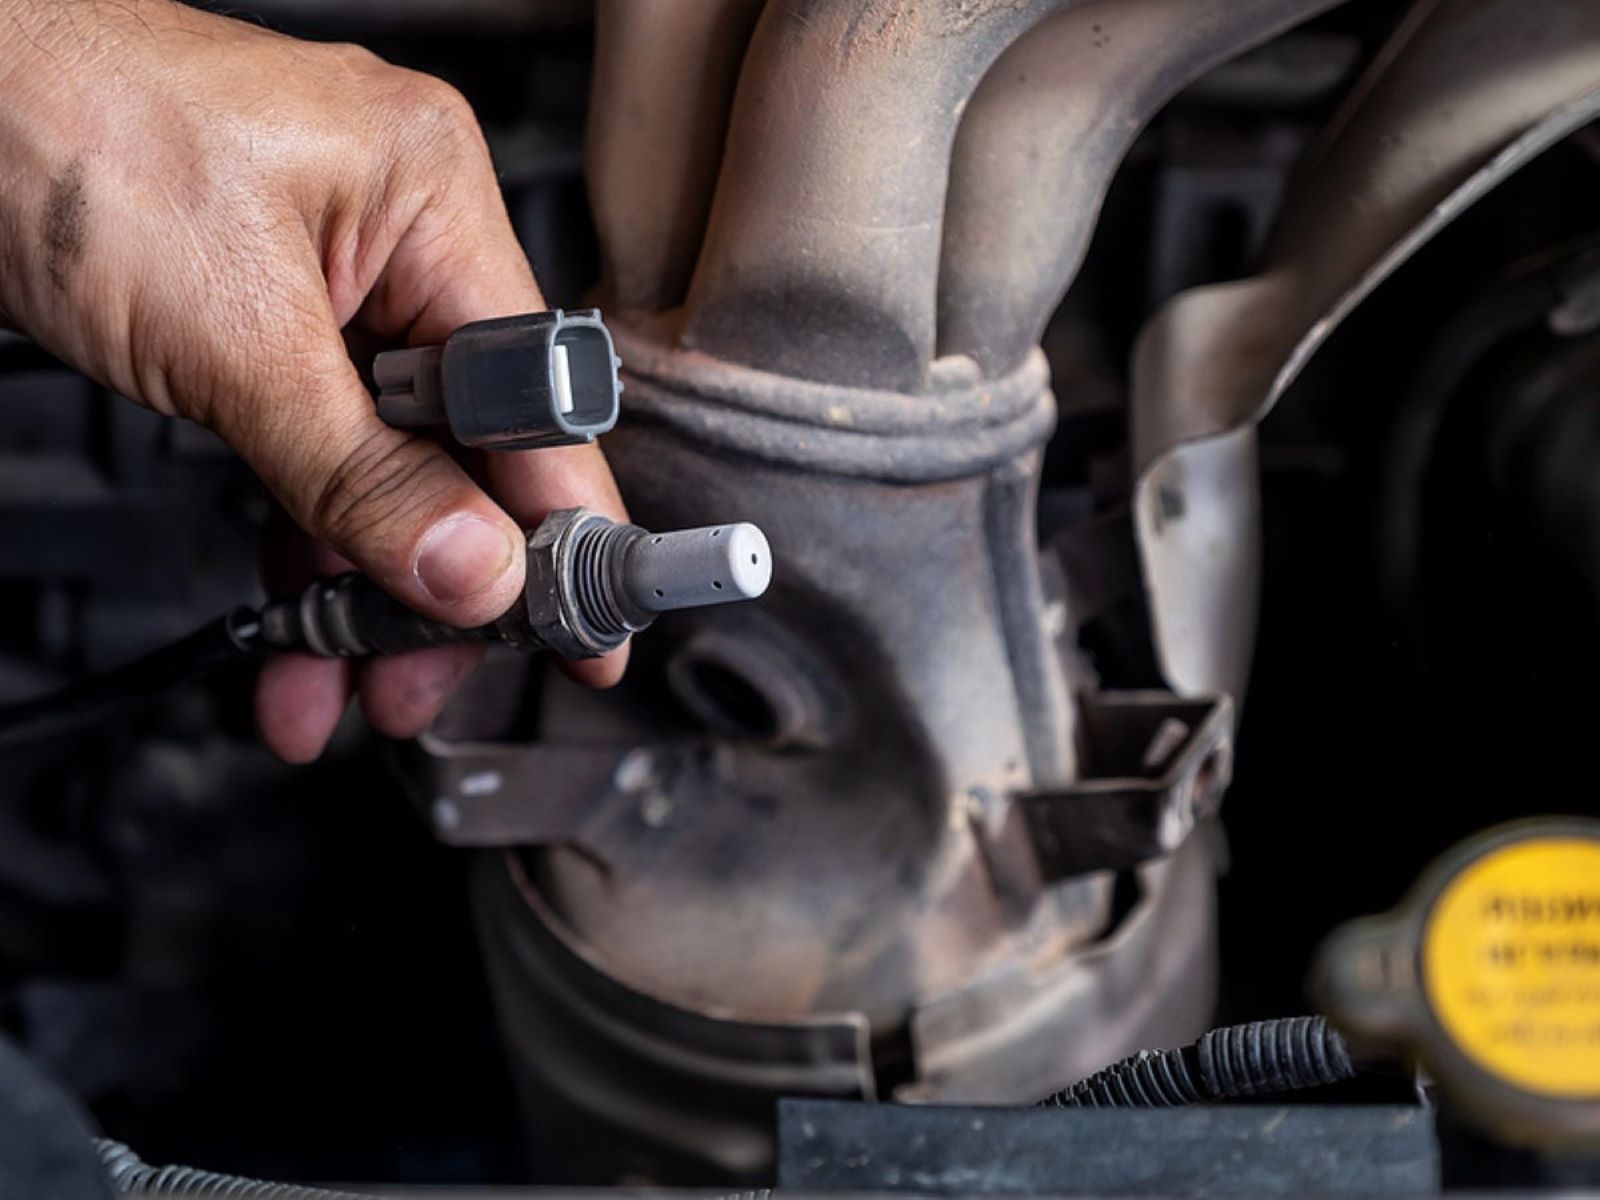
Unplugging the Electrical Connector: Carefully disconnect the electrical connector attached to the O2 sensor. This connector is typically secured with a clip or locking mechanism, which should be gently released to detach the wiring from the sensor. Exercise caution to avoid damaging the electrical connections during this process.
-
Removing the Sensor: Utilize the appropriate size of the O2 sensor socket and a ratchet to loosen and remove the old sensor from its mounting location. If the sensor is tightly secured, a breaker bar can provide additional leverage to facilitate its removal without causing damage to the surrounding components.
-
Inspecting the Mounting Location: Once the old O2 sensor is removed, take a moment to inspect the mounting location for any signs of corrosion, debris, or damage. Use a cleaning solvent and a wire brush to clean the area, ensuring a smooth and secure fit for the new sensor.
-
Discarding the Old Sensor: Properly dispose of the old O2 sensor in accordance with local regulations and environmental guidelines. Many automotive parts stores offer recycling programs for used sensors, contributing to sustainable waste management practices.
By meticulously following these steps, you can effectively remove the old O2 sensor from your vehicle, setting the stage for the subsequent installation of the new sensor. This methodical approach ensures that the replacement process proceeds smoothly, allowing you to maintain your vehicle's optimal performance and efficiency.
Step 4: Install the New O2 Sensor
With the old oxygen (O2) sensor successfully removed, the next critical step is to install the new sensor, ensuring a seamless transition and optimal performance for your vehicle. Follow these detailed guidelines to effectively install the new O2 sensor:
-
Prepare the New Sensor: Prior to installation, carefully inspect the new O2 sensor to ensure that it matches the specifications of your vehicle. Verify that the sensor's threads are clean and free from any debris or damage. Additionally, apply a thin layer of anti-seize compound to the sensor's threads to facilitate future removal and prevent seizing.
-
Positioning the New Sensor: Align the new O2 sensor with the mounting location, taking care not to cross-thread the sensor during installation. Gently thread the sensor into place by hand to avoid damaging the threads or the sensor itself. Once the sensor is securely positioned, utilize the O2 sensor socket and a ratchet to tighten it to the manufacturer's recommended torque specification. This ensures a snug fit without over-tightening, which could potentially damage the sensor or the mounting location.
-
Reconnecting the Electrical Connector: With the new O2 sensor securely installed, reconnect the electrical connector to the sensor's wiring. Ensure that the connector clicks into place, indicating a secure and proper connection. Use electrical tape to secure the wiring and prevent any potential issues with loose connections.
-
Double-Check the Installation: Once the new O2 sensor is in place and the electrical connector is secured, perform a final inspection to confirm that the sensor is properly installed. Ensure that there are no obstructions or interference with surrounding components and that the sensor is positioned correctly within the exhaust system.
By meticulously following these steps, you can effectively install the new O2 sensor, setting the stage for the subsequent testing and validation of the sensor's functionality. This methodical approach ensures that the replacement process proceeds smoothly, allowing you to maintain your vehicle's optimal performance and efficiency.
Step 5: Reconnect the Electrical Connector
Once the new O2 sensor is securely installed, the next crucial step is to reconnect the electrical connector to the sensor's wiring. This step is essential to ensure that the O2 sensor can effectively transmit data to the vehicle's engine control unit, enabling it to make real-time adjustments to the air-fuel mixture. Here's a detailed guide to effectively reconnecting the electrical connector:
-
Secure Connection: Begin by carefully aligning the electrical connector with the corresponding port on the new O2 sensor. Ensure that the connector and the sensor's wiring are properly aligned to facilitate a secure and proper connection. Taking the time to align the components correctly minimizes the risk of potential electrical issues and ensures a seamless integration of the new sensor into the vehicle's system.
-
Engage the Locking Mechanism: Most electrical connectors feature a locking mechanism designed to secure the connection and prevent accidental disengagement. Gently press the connector into place, listening for a distinct click that indicates the locking mechanism has engaged. This audible confirmation signifies that the connector is securely fastened to the sensor, providing peace of mind regarding the integrity of the electrical connection.
-
Inspect for Proper Engagement: After securing the electrical connector, visually inspect the connection to confirm that it is properly engaged. Verify that the connector is flush with the sensor's housing, indicating a snug and secure fit. Additionally, check for any signs of misalignment or partial engagement, addressing any discrepancies to ensure a reliable electrical connection.
-
Use of Electrical Tape: To further safeguard the electrical connection from potential issues such as vibration-induced loosening, consider using electrical tape to secure the wiring. Wrapping the connector and a portion of the sensor's wiring with electrical tape provides an additional layer of protection, minimizing the risk of accidental disconnection and enhancing the overall durability of the connection.
By meticulously following these steps, you can effectively reconnect the electrical connector to the new O2 sensor, ensuring a reliable and seamless integration into the vehicle's system. This meticulous approach sets the stage for the subsequent testing and validation of the new sensor, ultimately contributing to the sustained performance and efficiency of your vehicle.
Step 6: Test the New O2 Sensor
Testing the new oxygen (O2) sensor is a critical step in the replacement process, allowing you to validate its functionality and ensure that it effectively contributes to your vehicle's performance and fuel efficiency. Here's a comprehensive guide to effectively testing the new O2 sensor:
-
Engine Start-Up: Start the vehicle's engine and allow it to reach operating temperature. This enables the O2 sensor to begin generating data based on the exhaust gases' oxygen levels, providing valuable insights into the engine's air-fuel mixture.
-
Monitor Sensor Readings: Utilize an OBD-II scanner or a diagnostic tool to monitor the real-time readings from the new O2 sensor. Pay close attention to the sensor's voltage output and response patterns, which should fluctuate within specified parameters as the engine operates under varying conditions.
-
Idle and Revving: While the engine is idling, observe the O2 sensor's response to changes in the air-fuel mixture. Additionally, gently rev the engine and note the sensor's reaction to the increased exhaust flow and engine load. These observations provide valuable indications of the sensor's responsiveness and its ability to accurately relay data to the engine control unit.
-
Visual Inspection: Perform a visual inspection of the new O2 sensor and its surrounding area, ensuring that there are no signs of exhaust leaks, abnormal vibrations, or unusual odors. Any irregularities could indicate potential issues with the sensor's installation or functionality, warranting further investigation and potential adjustments.
-
Data Analysis: Analyze the data collected from the O2 sensor, comparing it to the expected values for your specific vehicle make and model. Look for consistency in the sensor's response across different driving conditions, confirming that it accurately reflects the engine's performance and facilitates optimal fuel combustion.
-
Clearing Error Codes: If the O2 sensor replacement was prompted by a diagnostic trouble code (DTC) related to the sensor's performance, use the diagnostic tool to clear any existing error codes. This step ensures that the vehicle's onboard computer recognizes the new sensor and allows for accurate monitoring of its functionality without interference from previous fault codes.
By meticulously following these steps and conducting a comprehensive test of the new O2 sensor, you can effectively validate its performance and integration into the vehicle's system. This proactive approach ensures that the replacement process is thorough and that the new sensor contributes to the sustained efficiency and performance of your vehicle.
Read more: How To Replace Power Steering Pump
Conclusion
In conclusion, the process of replacing the oxygen (O2) sensor in your vehicle is a fundamental maintenance task that significantly impacts its overall performance and fuel efficiency. By following the comprehensive steps outlined in this guide, you have gained valuable insights into the intricacies of O2 sensor replacement, empowering you to maintain your vehicle with confidence and precision.
From the initial step of gathering the necessary tools and materials to the final phase of testing the new O2 sensor, each stage of the replacement process plays a crucial role in ensuring the seamless integration and functionality of the sensor. By meticulously adhering to safety precautions, locating the O2 sensor, removing the old sensor, and installing the new one, you have demonstrated a proactive approach to vehicle maintenance, contributing to the sustained performance and efficiency of your vehicle.
The thorough understanding of the O2 sensor's role in monitoring exhaust gases and facilitating optimal air-fuel mixture adjustments has equipped you with the knowledge to address potential issues and maintain your vehicle's peak performance. Additionally, the emphasis on safety measures and meticulous attention to detail throughout the replacement process underscores the importance of precision and care when working on your vehicle.
By testing the new O2 sensor and analyzing its real-time data, you have validated its functionality and integration into the vehicle's system, ensuring that it effectively contributes to the engine's performance and fuel combustion. This proactive approach not only enhances your vehicle's efficiency but also provides valuable insights into its overall health and functionality.
As you conclude the O2 sensor replacement process, you can take pride in your ability to tackle essential maintenance tasks, contributing to the longevity and optimal performance of your vehicle. By embracing a proactive and informed approach to vehicle maintenance, you are well-positioned to address future challenges and ensure that your vehicle continues to operate at its best.
In essence, the successful replacement of the O2 sensor exemplifies your commitment to maintaining your vehicle's performance and efficiency, underscoring the value of proactive maintenance and informed decision-making in the realm of automotive care. With these newfound skills and insights, you are poised to navigate future maintenance tasks with confidence and precision, ensuring that your vehicle remains a reliable and efficient mode of transportation for years to come.