Lifestyle
How To Use A 3 Barrel Curling Iron
Modified: March 13, 2024
Learn how to create beautiful, effortless waves with a 3 barrel curling iron. Elevate your lifestyle with these easy styling tips and techniques.
(Many of the links in this article redirect to a specific reviewed product. Your purchase of these products through affiliate links helps to generate commission for Regretless.com, at no extra cost. Learn more)
Table of Contents
Introduction
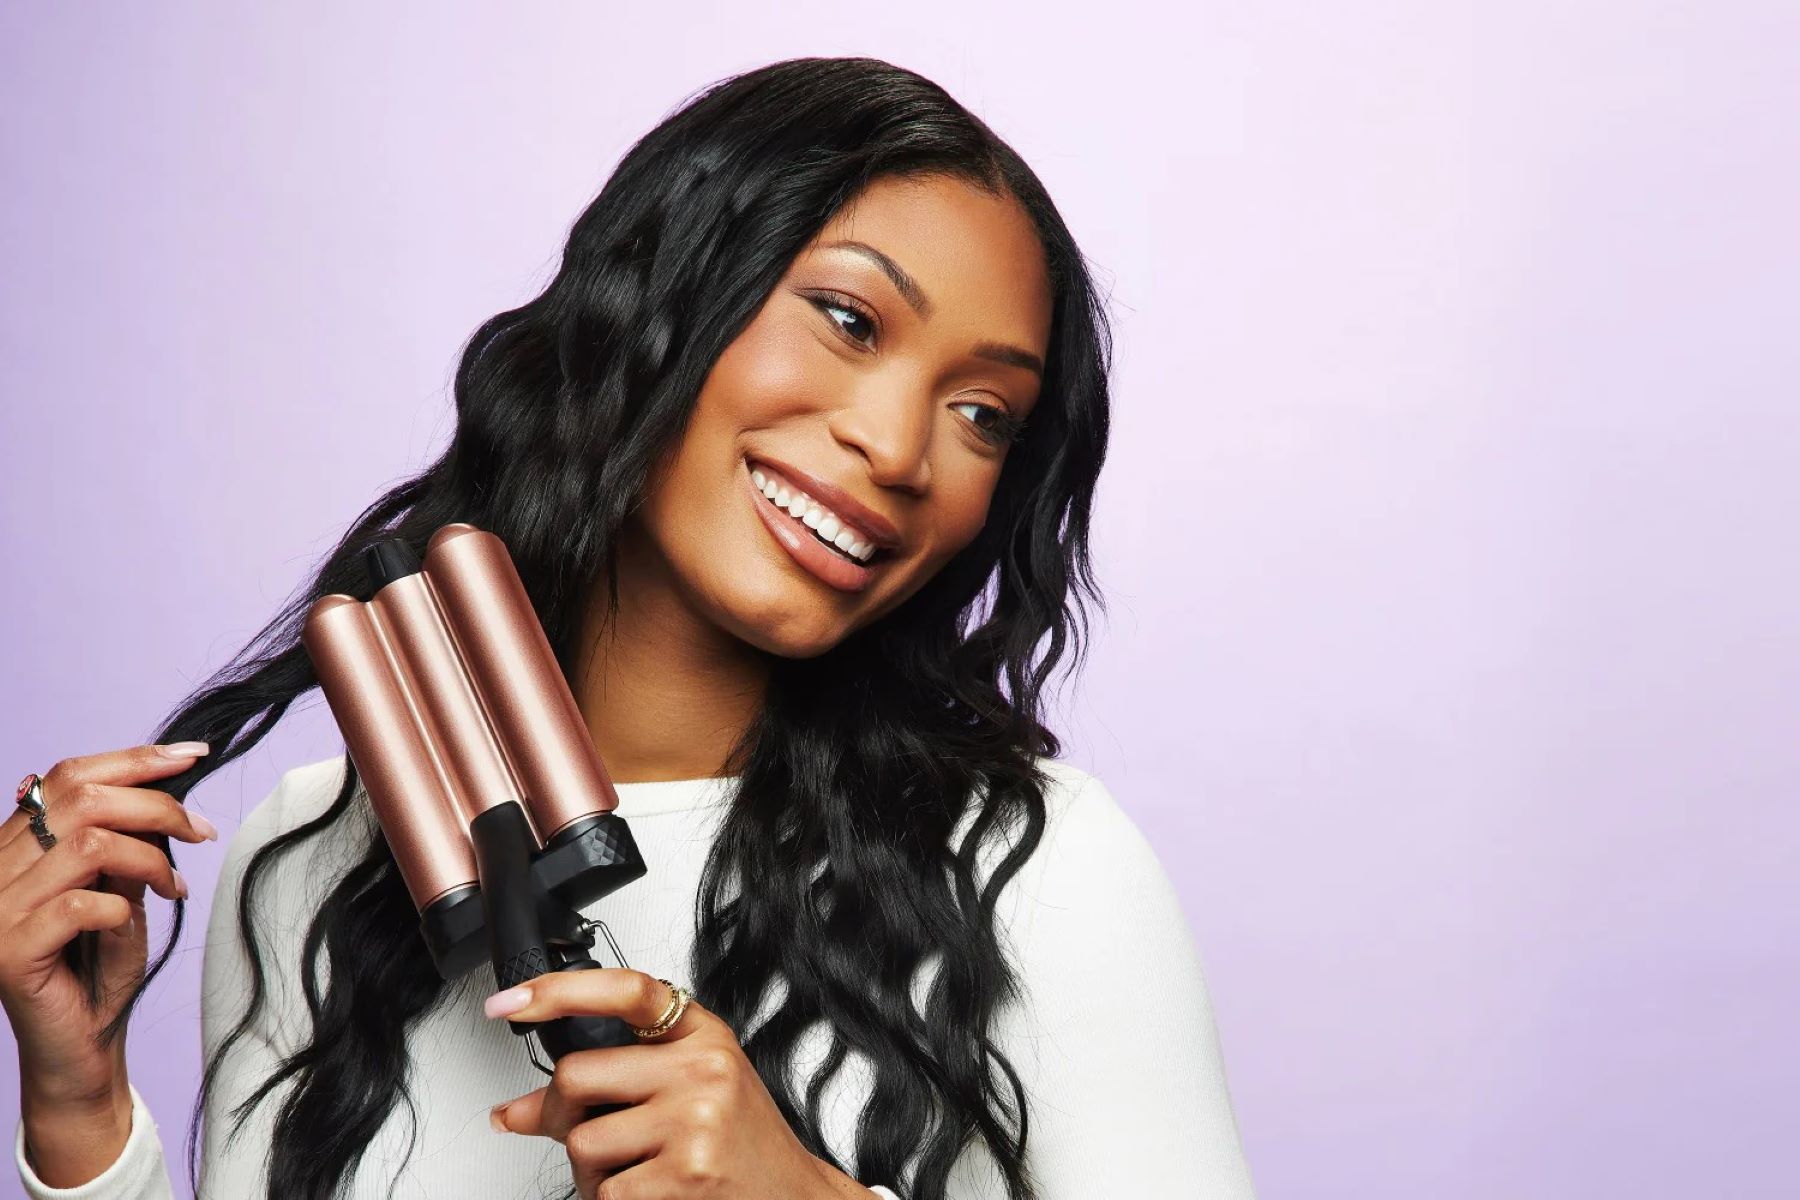
A 3 barrel curling iron, also known as a triple barrel waver, is a versatile hairstyling tool that can effortlessly create beautiful, beachy waves or glamorous, voluminous curls. Whether you're aiming for a relaxed, bohemian look or a red-carpet-worthy hairstyle, the 3 barrel curling iron is a game-changer in the world of hair styling.
This innovative tool features three barrels, each with its own heating element, allowing you to style large sections of hair quickly and efficiently. The unique design of the 3 barrel curling iron makes it ideal for achieving a variety of stunning looks, making it a must-have for anyone who loves experimenting with different hairstyles.
In this comprehensive guide, we will explore everything you need to know about using a 3 barrel curling iron to achieve gorgeous waves and curls. From choosing the right tool for your hair type to mastering the art of creating flawless waves, this article will equip you with the knowledge and techniques to elevate your hairstyling game.
Whether you're a seasoned pro or a complete beginner, this guide will provide valuable insights and tips to help you make the most of your 3 barrel curling iron. So, get ready to unleash your creativity and transform your hair into stunning, head-turning styles with the help of this incredible hairstyling tool.
Choosing the Right 3 Barrel Curling Iron
When it comes to choosing the right 3 barrel curling iron, there are several factors to consider to ensure that you select a tool that meets your specific hairstyling needs. Here's a detailed look at the key aspects to keep in mind when shopping for a 3 barrel curling iron:
Barrel Size
The size of the barrels plays a crucial role in determining the type of waves or curls you can achieve. If you prefer loose, beachy waves, opt for a 3 barrel curling iron with larger barrels, typically around 1 to 1.5 inches in diameter. On the other hand, if you desire tighter, more defined curls, consider a tool with smaller barrels, usually around 0.5 to 1 inch in diameter.
Material
The material of the barrels is another important consideration. Ceramic barrels are known for their ability to distribute heat evenly, reducing the risk of hot spots that can cause damage to the hair. Titanium barrels heat up quickly and are lightweight, making them ideal for achieving long-lasting curls. Tourmaline barrels emit negative ions, resulting in smoother, shinier curls while minimizing frizz. Consider your hair type and styling preferences when choosing the material of the 3 barrel curling iron.
Temperature Settings
Look for a 3 barrel curling iron with adjustable temperature settings. Different hair types require different heat levels for optimal styling results. Fine or damaged hair should be styled at lower temperatures, while thick or coarse hair may require higher heat settings. A tool with variable temperature controls allows you to customize the heat according to your hair's needs, minimizing the risk of heat damage.
Read more: How To Achieve Gorgeous Curls Using Socks
Safety Features
Prioritize safety features such as a heat-resistant handle, automatic shut-off, and a swivel cord to prevent tangling. These features not only enhance the usability of the 3 barrel curling iron but also contribute to a safer and more convenient styling experience.
Brand Reputation and Reviews
Research the reputation of the brand and read customer reviews before making a purchase. A reputable brand with positive reviews is more likely to offer a high-quality 3 barrel curling iron that delivers on performance and durability.
By considering these factors, you can make an informed decision when selecting a 3 barrel curling iron that aligns with your hairstyling goals and preferences. Whether you prioritize versatility, hair health, or user-friendly features, the right 3 barrel curling iron can elevate your styling capabilities and help you achieve stunning waves and curls with ease.
Preparing Your Hair
Before using a 3 barrel curling iron to create gorgeous waves or curls, it's essential to prepare your hair to ensure optimal results and minimize the risk of damage. Proper preparation sets the stage for a flawless styling experience and helps your hair hold the curls for an extended period. Here's a step-by-step guide to preparing your hair for styling with a 3 barrel curling iron:
Step 1: Cleanse and Condition
Start by washing your hair with a high-quality shampoo and conditioner suitable for your hair type. Clean, well-conditioned hair provides a smooth and manageable canvas for styling. Opt for a lightweight conditioner if you have fine hair, and consider a more hydrating formula for dry or coarse hair.
Step 2: Apply Heat Protectant
Before exposing your hair to heat styling tools, it's crucial to shield it from potential damage. Apply a heat protectant spray or serum evenly throughout your hair, focusing on the mid-lengths and ends. Heat protectants form a protective barrier that minimizes heat damage and helps maintain the hair's natural moisture balance.
Step 3: Detangle and Dry
Gently detangle your hair using a wide-tooth comb or a detangling brush to remove any knots or tangles. Proceed to blow-dry your hair using a hair dryer set to a medium heat setting. If you prefer air-drying, ensure that your hair is completely dry before using the 3 barrel curling iron to avoid heat damage and uneven results.
Step 4: Section Your Hair
Divide your hair into manageable sections using hair clips or hair ties. Working with smaller sections allows for more precise styling and ensures that each strand receives adequate heat for consistent curls or waves.
Step 5: Set the Temperature
If your 3 barrel curling iron features adjustable temperature settings, set it to the appropriate heat level for your hair type. Fine or damaged hair typically requires lower heat, while thicker or coarser hair may benefit from higher temperatures. Always refer to the manufacturer's guidelines for recommended heat settings.
By following these preparatory steps, you can create an optimal foundation for styling your hair with a 3 barrel curling iron. Properly prepared hair not only enhances the longevity of your waves or curls but also contributes to the overall health and appearance of your styled hair. With your hair primed and ready, you're now equipped to use the 3 barrel curling iron to achieve stunning, salon-worthy waves and curls effortlessly.
Read more: How To Curl Synthetic Hair
Using the 3 Barrel Curling Iron
Using a 3 barrel curling iron to create beautiful waves or curls is a straightforward process that can yield stunning results with the right technique. Follow these step-by-step instructions to master the art of using a 3 barrel curling iron and achieve the hairstyle of your dreams.
Step 1: Heat Up the Curling Iron
Before styling your hair, ensure that the 3 barrel curling iron is fully heated to the appropriate temperature for your hair type. Allow the tool to reach the desired heat level, as indicated by the manufacturer's guidelines or the adjustable temperature settings. Properly heated barrels are essential for creating long-lasting waves or curls.
Step 2: Begin with a Section of Hair
Start by selecting a small section of hair to work with, typically about 1 to 2 inches wide. For larger, looser waves, you can opt for slightly wider sections. Ensure that the rest of your hair is secured with clips or ties to prevent interference while styling.
Step 3: Position the Curling Iron
Hold the 3 barrel curling iron vertically with the barrels facing outward. Place the selected section of hair between the barrels, positioning it close to the roots for a natural-looking wave or closer to the ends for a more uniform curl.
Read more: The Surprising Reason Why Your Bird Of Paradise Leaves Are Curling In After Just 3 Hours!
Step 4: Clamp and Release
Gently clamp the curling iron onto the section of hair, holding it in place for a few seconds to allow the heat to set the wave or curl. The duration of clamping depends on your hair type and the desired level of curliness. Once the section has been heated adequately, release the clamp and carefully remove the curling iron from the hair.
Step 5: Repeat and Alternate
Continue working through the rest of your hair, repeating the clamping and releasing process for each section. For a more natural look, alternate the direction in which you position the curling iron for each section. This technique creates dimension and prevents the waves or curls from blending together, resulting in a more textured and voluminous hairstyle.
Step 6: Set the Style
Once all sections of hair have been styled, allow the waves or curls to cool and set for a few minutes. Gently tousle your hair with your fingers or a wide-tooth comb to blend the waves and create a seamless, effortless look. Finish with a light mist of flexible-hold hairspray to lock in the style and enhance its longevity.
By following these steps, you can effectively use a 3 barrel curling iron to create stunning waves or curls that elevate your hairstyle to a whole new level. With practice and experimentation, you'll discover the perfect techniques to achieve the desired wave pattern or curl definition, allowing you to unleash your creativity and express your unique style through beautifully styled hair.
Tips for Achieving the Perfect Waves
Creating the perfect waves with a 3 barrel curling iron is an art that can be mastered with the right techniques and a touch of creativity. Whether you're aiming for effortless beach waves or glamorous, red-carpet-worthy curls, these tips will help you achieve stunning results that elevate your hairstyle to a whole new level.
1. Texture and Volume
Before using the 3 barrel curling iron, apply a volumizing mousse or texturizing spray to your hair to enhance its natural texture and create long-lasting waves. These products add grip and hold to the hair, making it easier to achieve defined waves that exude volume and movement.
2. Angle of the Curling Iron
Experiment with the angle at which you hold the 3 barrel curling iron to create varied wave patterns. Tilting the iron slightly horizontally or vertically can produce different types of waves, allowing you to customize the look according to your preference. For natural-looking waves, consider alternating the angle for each section of hair.
3. Tousling Technique
After styling your hair with the 3 barrel curling iron, use a gentle tousling technique to break up the waves and create a more relaxed, lived-in look. Lightly run your fingers through the waves or use a wide-tooth comb to separate and soften the curls, resulting in a beautifully tousled hairstyle with effortless charm.
4. Hair Parting
Experiment with different hair partings to create versatile wave patterns. A center parting can lend a symmetrical and balanced appearance to the waves, while a deep side parting can add drama and elegance. By varying your hair parting, you can achieve diverse wave styles that complement your facial features and overall look.
Read more: How To Use The Emergency Brake
5. Hair Length Consideration
The length of your hair plays a role in the type of waves you can achieve with a 3 barrel curling iron. For shorter hair, focus on creating subtle, textured waves that add dimension and movement. Longer hair allows for more pronounced waves, offering a luxurious and voluminous effect that cascades beautifully.
6. Finishing Touches
Complete your wave styling with a spritz of sea salt spray or texturizing mist to enhance the natural, beachy vibe of the waves. These products add a touch of tousled texture and definition, giving your waves a relaxed and carefree appearance that exudes effortless chic.
By incorporating these tips into your wave styling routine, you can unleash the full potential of your 3 barrel curling iron and create waves that are not only visually captivating but also reflect your unique style and personality. With practice and experimentation, you'll discover the perfect techniques to achieve the perfect waves, allowing you to express your individuality through beautifully styled hair.
Caring for Your 3 Barrel Curling Iron
Proper maintenance and care are essential for ensuring the longevity and optimal performance of your 3 barrel curling iron. By implementing a few simple yet effective practices, you can preserve the quality of the tool and continue to create stunning waves and curls with ease. Here's a comprehensive guide to caring for your 3 barrel curling iron:
1. Cleaning the Barrels
Regularly clean the barrels of the curling iron to remove any product buildup, oils, or residue that may accumulate during styling. Allow the tool to cool completely, then use a soft, damp cloth to gently wipe the barrels, ensuring that no moisture enters the internal components. For stubborn residue, a small amount of rubbing alcohol can be used to effectively clean the barrels without causing damage.
Read more: How To Use Oil Pastels
2. Storage and Handling
Proper storage is crucial for maintaining the integrity of the 3 barrel curling iron. Store the tool in a cool, dry place away from direct sunlight and moisture. Avoid wrapping the cord around the curling iron, as this can lead to damage or wear on the cord and affect its functionality over time. Additionally, handle the tool with care to prevent accidental drops or impacts that may compromise its performance.
3. Checking the Power Cord
Regularly inspect the power cord for any signs of wear, fraying, or damage. If you notice any issues with the cord, discontinue use and have it repaired or replaced by a professional. Avoid using the curling iron if the cord shows signs of damage, as this can pose a safety hazard and affect the overall functionality of the tool.
4. Avoiding Product Buildup
Minimize the use of excessive styling products such as hairsprays, gels, or serums directly on the barrels of the curling iron. Product buildup can not only affect the heat distribution of the tool but also lead to residue accumulation that is challenging to clean. When using styling products, apply them to your hair before using the curling iron to prevent buildup on the tool.
5. Periodic Maintenance
Consider periodic maintenance checks for your 3 barrel curling iron to ensure that all components are functioning optimally. If you notice any unusual sounds, odors, or performance issues, have the tool inspected by a professional to address any potential issues and maintain its reliability.
By incorporating these care practices into your routine, you can prolong the lifespan of your 3 barrel curling iron and continue to enjoy effortless styling with consistently beautiful results. Caring for your hairstyling tools not only preserves their functionality but also contributes to the overall health and appearance of your hair, allowing you to maintain stunning waves and curls with confidence and ease.
Read more: How To Use Letters On Phone
Conclusion
In conclusion, the 3 barrel curling iron is a remarkable hairstyling tool that empowers individuals to create an array of stunning waves and curls with ease. From choosing the right tool to mastering the art of wave styling, this comprehensive guide has provided valuable insights and techniques to elevate your hairstyling game.
By understanding the key factors to consider when selecting a 3 barrel curling iron, such as barrel size, material, temperature settings, safety features, and brand reputation, you can make an informed decision that aligns with your hairstyling goals and preferences. The right tool not only enhances your styling capabilities but also contributes to the overall health and appearance of your hair.
Properly preparing your hair before using the 3 barrel curling iron is essential for achieving optimal results and minimizing the risk of damage. From cleansing and conditioning to applying heat protectant and sectioning your hair, these preparatory steps create a smooth and manageable canvas for styling, ensuring that your waves or curls hold beautifully.
Mastering the art of using a 3 barrel curling iron involves understanding the step-by-step process of heating up the tool, positioning the iron, clamping and releasing, and setting the style. With practice and experimentation, you can create stunning waves and curls that reflect your unique style and personality, allowing you to express yourself through beautifully styled hair.
Additionally, the tips for achieving the perfect waves provide valuable insights into enhancing texture and volume, experimenting with the angle of the curling iron, utilizing a tousling technique, exploring different hair partings, considering hair length, and applying finishing touches. These tips empower you to unleash the full potential of your 3 barrel curling iron and create waves that are visually captivating and reflective of your individuality.
Caring for your 3 barrel curling iron is crucial for preserving its quality and performance. By implementing simple practices such as cleaning the barrels, proper storage and handling, checking the power cord, avoiding product buildup, and periodic maintenance, you can ensure the longevity of the tool and continue to create stunning waves and curls with confidence.
In essence, the 3 barrel curling iron is not just a hairstyling tool; it is a catalyst for creativity, self-expression, and confidence. Whether you're aiming for effortless, beachy waves or glamorous, red-carpet-worthy curls, the 3 barrel curling iron empowers you to transform your hair into stunning, head-turning styles. With the knowledge and techniques gained from this guide, you're well-equipped to unleash your creativity and elevate your hairstyling game to new heights.