Lifestyle
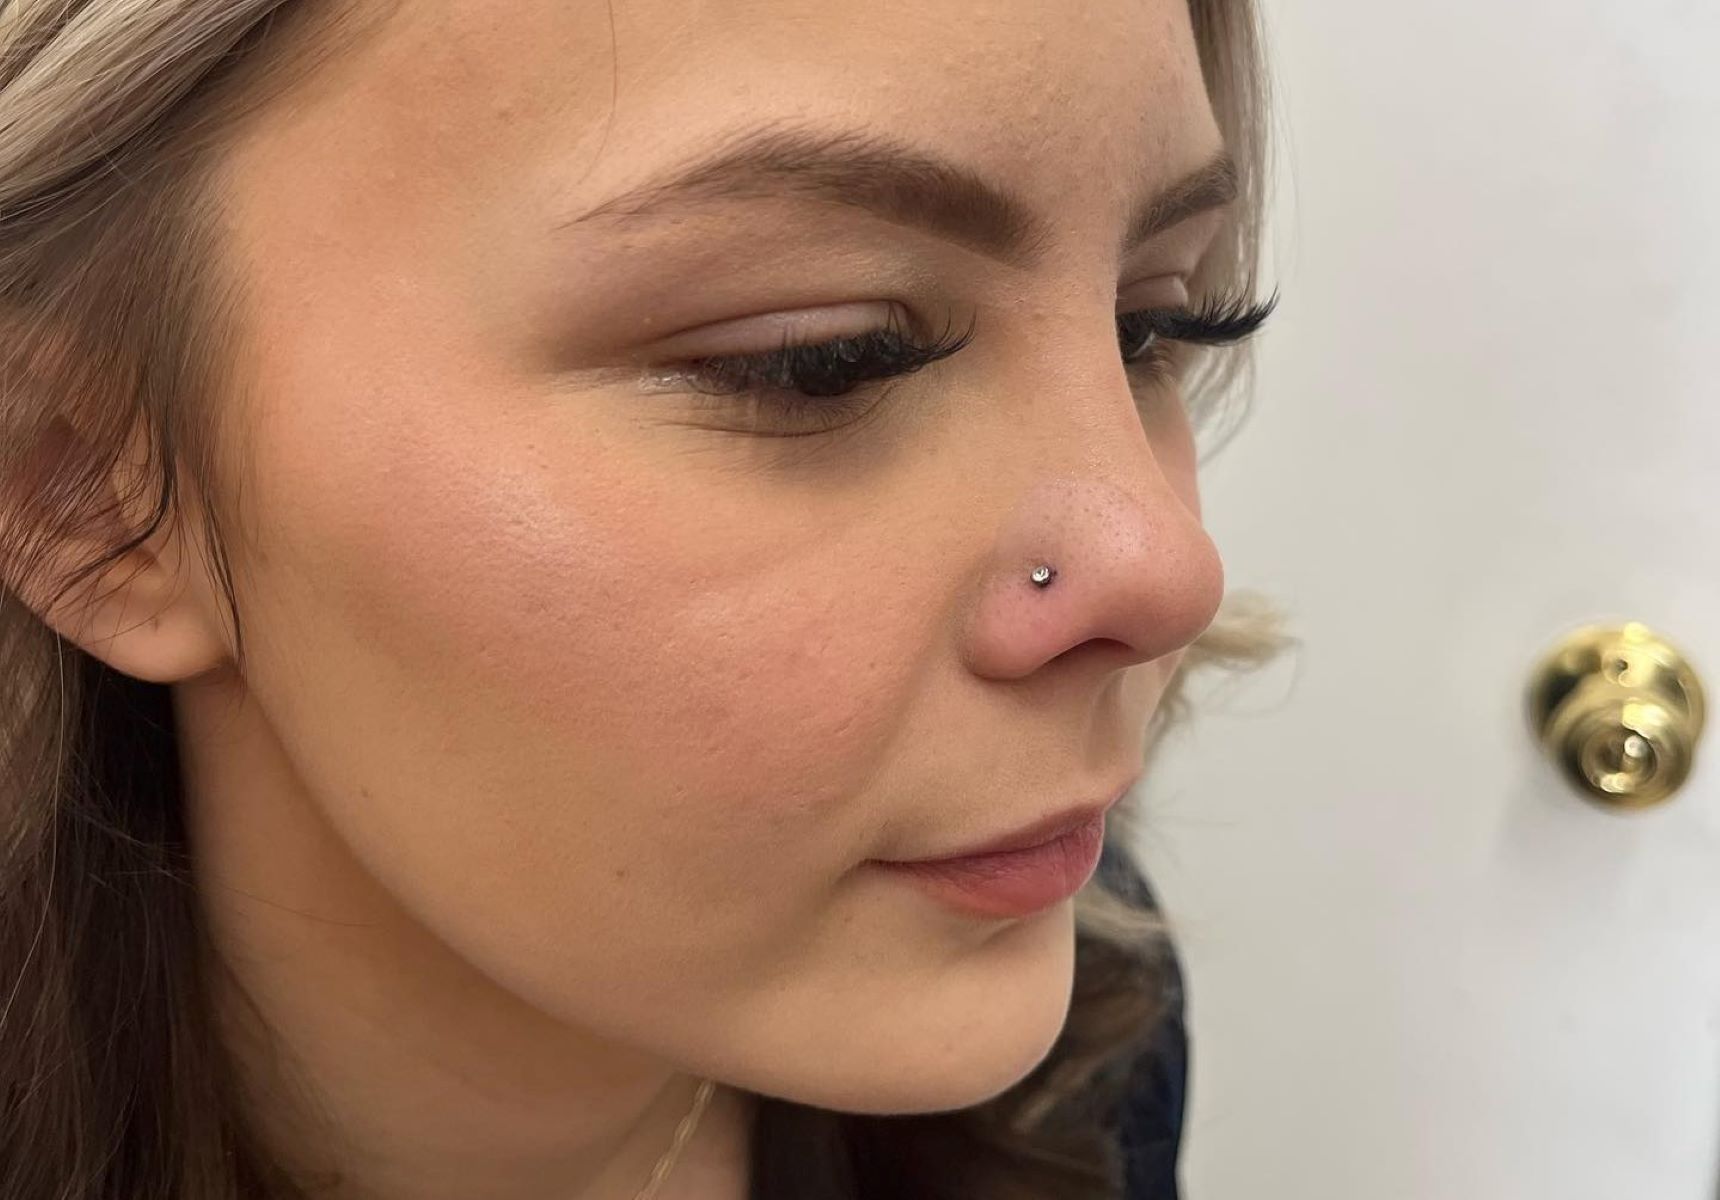
How To Take Out A Cartilage Piercing
Published: March 6, 2024
Learn the best practices for removing a cartilage piercing safely and effectively. Discover lifestyle tips for aftercare and healing to ensure a smooth recovery.
(Many of the links in this article redirect to a specific reviewed product. Your purchase of these products through affiliate links helps to generate commission for Regretless.com, at no extra cost. Learn more)
Table of Contents
Introduction
Removing a cartilage piercing can be a delicate process that requires careful attention to ensure a safe and hygienic experience. Whether you're looking to switch up your style or simply bid farewell to your cartilage piercing, it's essential to approach the removal process with the right knowledge and tools. By following the proper steps, you can minimize discomfort and reduce the risk of infection, allowing the piercing site to heal effectively.
In this comprehensive guide, we will walk you through the step-by-step process of taking out a cartilage piercing. From gathering the necessary supplies to caring for the area after removal, each stage plays a crucial role in ensuring a smooth and successful transition. By understanding the importance of cleanliness and precision, you can navigate the removal process with confidence and ease.
So, whether you're a seasoned piercing enthusiast or a first-time cartilage piercing owner, this guide will equip you with the knowledge and insights needed to safely and effectively remove your cartilage piercing. Let's embark on this journey together and discover the essential steps to bid adieu to your cartilage piercing while prioritizing your well-being and comfort.
Read more: How To Remove Tragus Piercing
Step 1: Gather necessary supplies
Before embarking on the process of removing your cartilage piercing, it's crucial to gather the necessary supplies to ensure a smooth and hygienic experience. By having the right tools at your disposal, you can effectively navigate each step of the removal process with confidence and precision.
Here's a list of essential supplies you'll need:
-
Rubbing Alcohol or Saline Solution: Prepare a small amount of rubbing alcohol or saline solution to disinfect the area around the piercing. These solutions help eliminate bacteria and reduce the risk of infection during the removal process.
-
Sterile Cotton Balls or Gauze Pads: These will be used to apply the rubbing alcohol or saline solution to the piercing site. Ensure that the cotton balls or gauze pads are sterile to maintain a clean environment during the removal process.
-
Piercing-Specific Removal Tool (Optional): If you have access to a piercing-specific removal tool, such as ring opening pliers or captive bead ring opening pliers, it can facilitate the safe and efficient removal of the jewelry from your cartilage piercing.
-
Clean Towel or Tissue: Keep a clean towel or tissue nearby to gently pat the piercing site dry after cleaning. Maintaining a dry environment is essential for preventing moisture-related complications during and after the removal process.
-
Antibacterial Soap (Unscented): While not always necessary, having unscented antibacterial soap on hand can be beneficial for cleansing your hands before touching the piercing site. This extra precaution helps minimize the risk of introducing harmful bacteria during the removal process.
-
Mirror: A mirror will aid in providing a clear view of the piercing site, allowing you to navigate the removal process with precision and confidence.
By ensuring that you have these supplies readily available, you can approach the cartilage piercing removal process with the necessary tools and preparations. This proactive approach sets the stage for a successful and hygienic removal experience, prioritizing both your well-being and the condition of the piercing site.
Step 2: Clean the area
Before proceeding with the removal of your cartilage piercing, it's essential to prioritize cleanliness to minimize the risk of infection and ensure a hygienic environment. Cleaning the area around the piercing site is a crucial preparatory step that sets the stage for a smooth and safe removal process.
To begin, wash your hands thoroughly with unscented antibacterial soap and warm water. This step is vital for eliminating any potential bacteria or contaminants that could pose a risk during the removal process. Once your hands are clean, dry them with a clean towel or tissue to maintain a sterile environment.
Next, prepare a small amount of rubbing alcohol or saline solution. These disinfectants play a pivotal role in cleansing the area around the piercing, effectively reducing the presence of bacteria and minimizing the risk of infection. Using a sterile cotton ball or gauze pad, gently apply the rubbing alcohol or saline solution to the skin surrounding the piercing. Ensure that the entire area is thoroughly cleansed, and any residual debris or discharge is carefully removed.
As you proceed with cleaning the area, it's important to approach the process with gentle and deliberate movements, avoiding excessive pressure that could cause discomfort or irritation. Additionally, maintaining a clear view of the piercing site using a mirror can aid in ensuring thorough and precise cleaning.
After applying the rubbing alcohol or saline solution, allow the area to air dry or use a clean towel or tissue to gently pat it dry. Ensuring that the piercing site is completely dry is crucial for preventing moisture-related complications during and after the removal process.
By prioritizing the cleanliness of the area surrounding the cartilage piercing, you establish a foundation of hygiene and care that is essential for a successful removal process. This meticulous approach not only minimizes the risk of infection but also sets the stage for a smooth and comfortable experience as you proceed with the subsequent steps of removing the jewelry from your cartilage piercing.
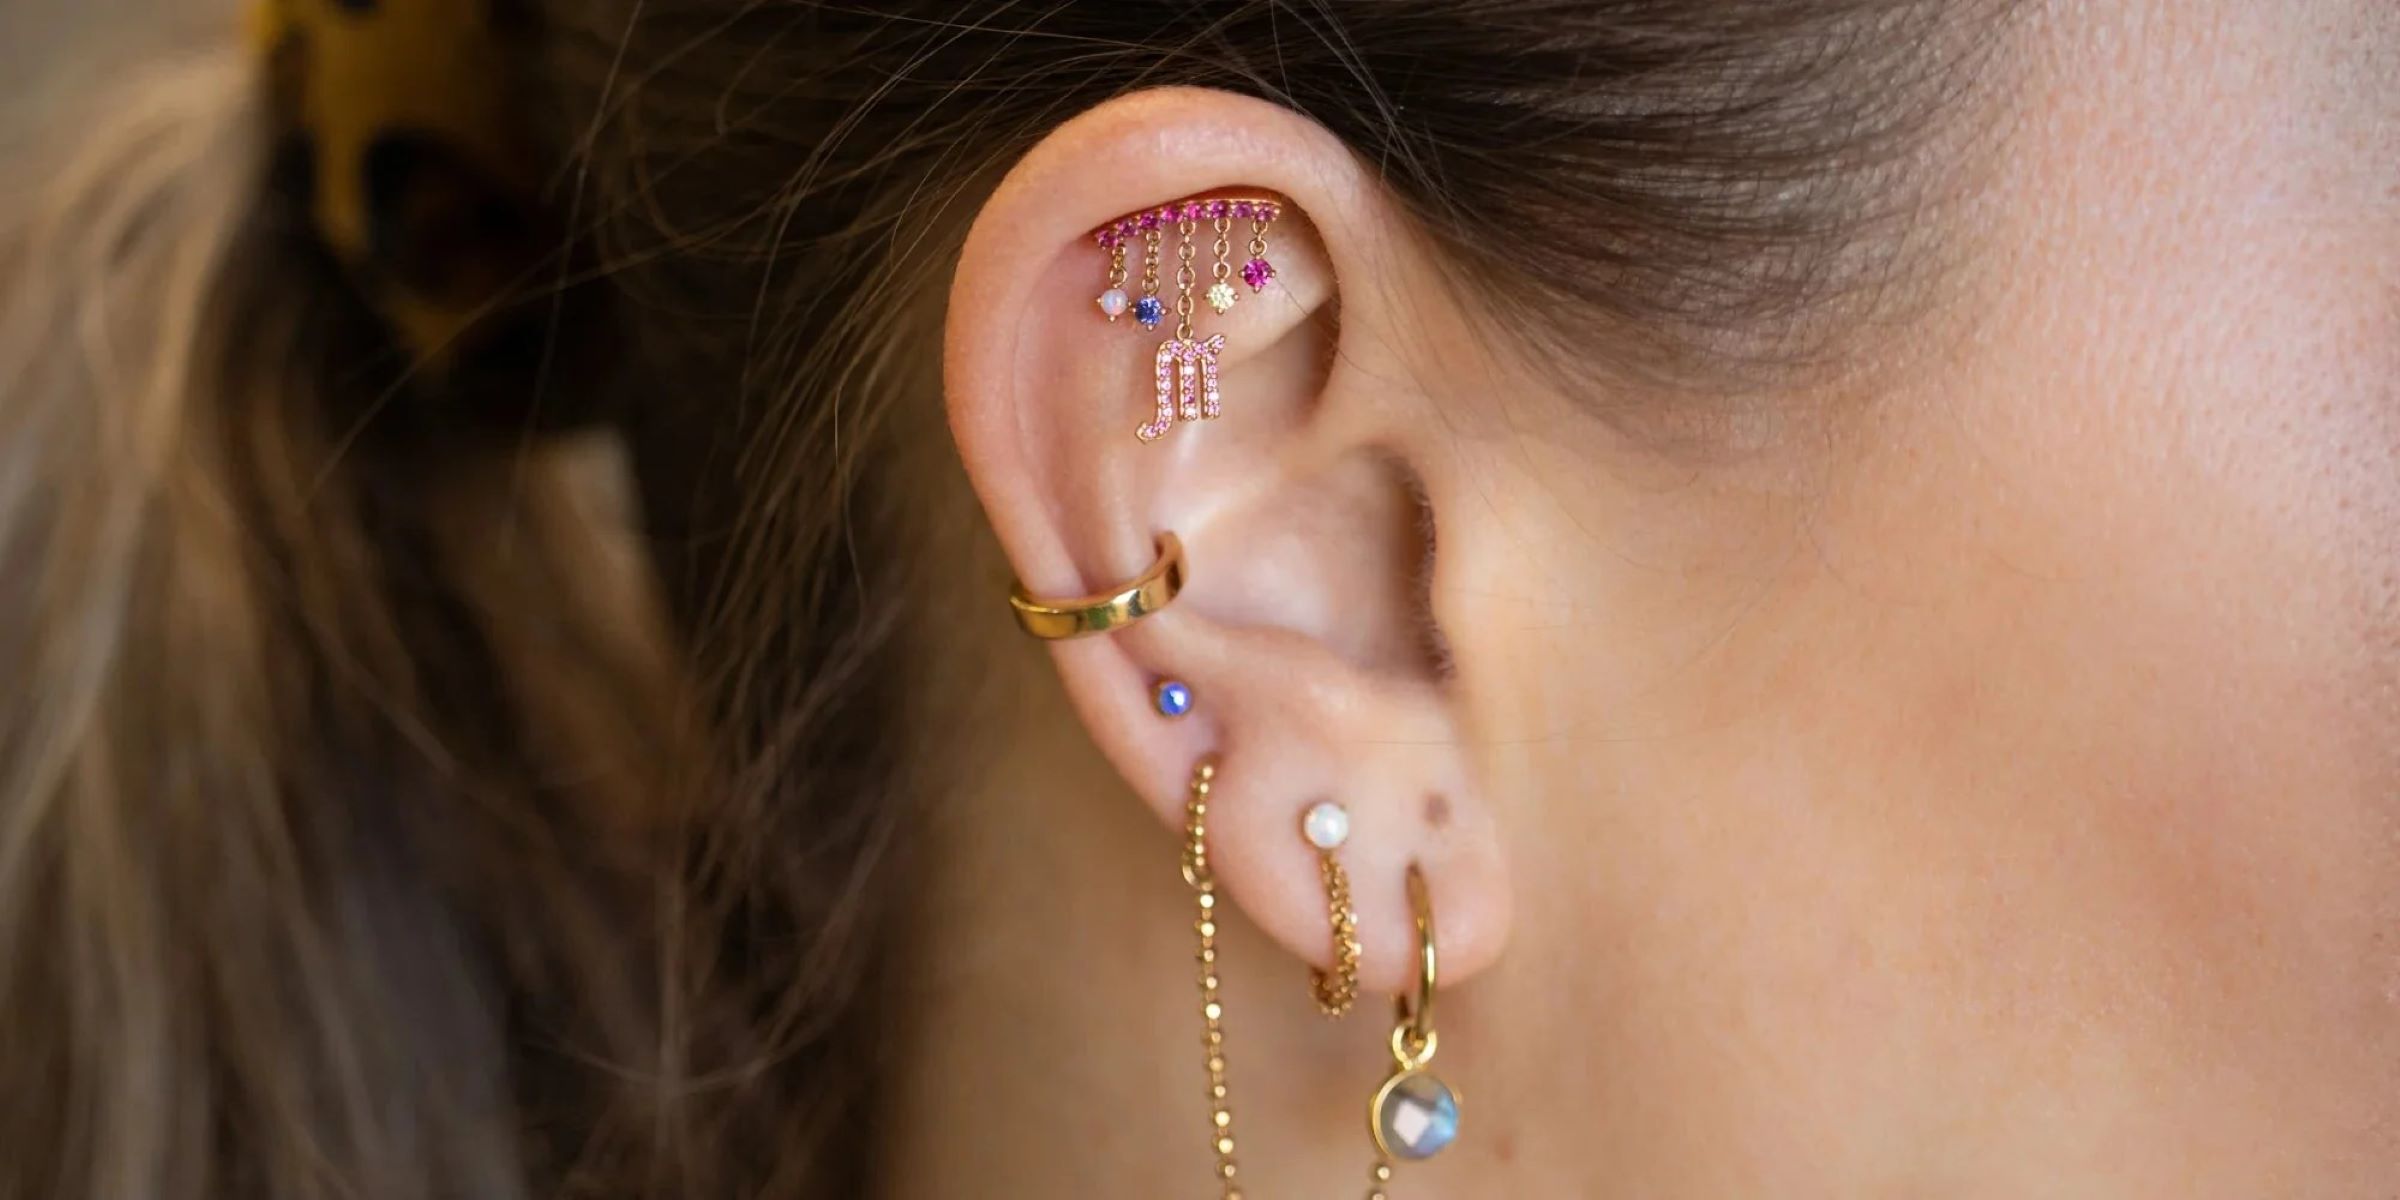
Step 3: Remove the jewelry
With the area meticulously cleaned and prepared, the next crucial step in the process of taking out a cartilage piercing is the removal of the jewelry. This step requires patience, precision, and a gentle touch to ensure a smooth and comfortable experience.
If your cartilage piercing features a captive bead ring or a similar type of jewelry, you may require specialized tools such as ring opening pliers or captive bead ring opening pliers to facilitate the removal process. These tools are designed to safely and efficiently manipulate the jewelry, allowing for easier extraction without causing unnecessary discomfort or trauma to the piercing site.
Begin by carefully examining the jewelry and identifying the closure mechanism. In the case of a captive bead ring, locate the small dimple on the ring that indicates the opening where the bead is held in place. Using the appropriate tool, gently manipulate the ring to create a slight separation, providing enough space to release the bead from its position.
Once the bead is removed, carefully maneuver the ring to widen the opening, allowing for a smooth and gradual extraction from the piercing site. It's crucial to approach this step with patience, ensuring that the jewelry is removed in a controlled manner to minimize any potential discomfort or irritation.
If your cartilage piercing features a different type of jewelry, such as a barbell or a stud, the removal process may vary slightly. For barbells, unscrew the ball or decorative end from the bar, taking care to maintain a firm grip on the bar to prevent it from sliding through the piercing. When dealing with studs, gently unscrew the backing or push mechanism to release the jewelry from the piercing site.
Throughout the jewelry removal process, maintaining a clear view of the piercing site using a mirror can aid in ensuring precision and control. By approaching the removal with a gentle and deliberate touch, you can navigate this step with confidence, prioritizing the comfort and well-being of the piercing site.
As the jewelry is successfully removed, take a moment to inspect the piercing site, ensuring that it appears healthy and free from any signs of infection or irritation. If you encounter any resistance or discomfort during the removal process, it's important to exercise patience and refrain from applying excessive force, as this could potentially cause damage to the piercing site.
By following these careful and methodical steps, you can effectively remove the jewelry from your cartilage piercing, setting the stage for the subsequent stages of cleaning and caring for the area after removal. This attentive approach ensures that the removal process is conducted with precision and consideration, prioritizing the well-being and comfort of the individual undergoing the procedure.
Read more: How To Sit Out In Fortnite
Step 4: Clean the piercing site
After successfully removing the jewelry from your cartilage piercing, the next critical step is to thoroughly clean the piercing site. This pivotal stage plays a crucial role in minimizing the risk of infection and promoting the healing process, ensuring that the area remains hygienic and well-maintained.
To initiate the cleaning process, prepare a fresh batch of rubbing alcohol or saline solution. These disinfectants serve as essential tools for maintaining the cleanliness of the piercing site, effectively reducing the presence of bacteria and preventing potential complications.
Using a sterile cotton ball or gauze pad, carefully apply the rubbing alcohol or saline solution to the area surrounding the piercing. Ensure that the entire site is thoroughly cleansed, gently removing any residual debris or discharge that may have accumulated during the jewelry removal process. It's important to approach this step with a gentle touch, avoiding excessive pressure that could cause discomfort or irritation to the sensitive skin around the piercing.
As you cleanse the piercing site, maintain a clear view using a mirror to ensure thorough and precise cleaning. Pay close attention to any areas where debris or buildup may be present, taking the time to delicately remove any remnants to promote a pristine and hygienic environment.
After applying the rubbing alcohol or saline solution, allow the piercing site to air dry or use a clean towel or tissue to gently pat it dry. Ensuring that the area is completely dry is essential for preventing moisture-related complications and promoting optimal healing conditions.
Throughout the cleaning process, it's important to prioritize gentle and deliberate movements, avoiding any actions that could potentially cause discomfort or disrupt the healing process. By approaching the cleaning of the piercing site with care and attention to detail, you can create an environment that is conducive to healing and free from the risk of infection.
By following these meticulous steps to clean the piercing site, you establish a foundation of hygiene and care that is essential for the post-removal phase. This proactive approach not only promotes the healing process but also ensures that the area remains free from potential contaminants, allowing for a smooth and comfortable transition as the site continues to recover from the removal process.
Step 5: Care for the area after removal
After successfully removing the jewelry and thoroughly cleaning the piercing site, it's crucial to prioritize ongoing care and maintenance to support the healing process and ensure the well-being of the area after removal. This post-removal phase plays a pivotal role in promoting optimal healing conditions and minimizing the risk of complications, allowing the skin to recover and regenerate effectively.
To care for the area after removal, it's essential to adhere to a gentle and consistent cleaning routine. Prepare a fresh batch of rubbing alcohol or saline solution, and delicately cleanse the piercing site using a sterile cotton ball or gauze pad. By maintaining a hygienic environment, you can reduce the risk of infection and support the natural healing process.
In addition to regular cleaning, it's important to avoid any activities or behaviors that could potentially irritate or disrupt the healing area. Refrain from touching the piercing site with unwashed hands, and avoid exposing it to harsh chemicals or excessive moisture. By minimizing potential sources of irritation, you can create a conducive environment for the skin to heal without unnecessary complications.
As the area continues to heal, it's normal to experience mild discomfort, redness, or swelling. To alleviate these symptoms, consider using a warm saline solution compress to soothe the area and reduce any associated inflammation. However, if you notice any persistent or concerning symptoms, such as excessive pain, unusual discharge, or signs of infection, it's crucial to seek professional medical advice promptly.
Throughout the post-removal phase, it's important to monitor the healing progress and remain attentive to any changes in the appearance or sensation of the area. Keep the piercing site dry and avoid covering it with tight or restrictive clothing that could impede the healing process. By allowing the area to breathe and remain undisturbed, you can support the natural healing journey.
As the days pass, the skin around the former piercing may gradually close and heal, forming a protective barrier. During this time, continue to maintain a gentle cleaning routine and monitor the area for any signs of complications. By prioritizing ongoing care and attention, you can facilitate a smooth and successful recovery, allowing the skin to regain its natural state.
By following these essential steps to care for the area after removal, you can support the healing process and minimize the risk of complications, ensuring that the skin recovers effectively and comfortably. This proactive approach prioritizes the well-being of the individual and sets the stage for a successful transition beyond the removal of the cartilage piercing.
Conclusion
In conclusion, the process of taking out a cartilage piercing involves a series of essential steps that prioritize hygiene, precision, and ongoing care. By following the comprehensive guide outlined in this article, individuals can navigate the removal process with confidence and ensure a smooth transition as the piercing site heals and regains its natural state.
From gathering the necessary supplies to meticulously cleaning the area and removing the jewelry with care, each step plays a pivotal role in promoting a safe and comfortable experience. The emphasis on cleanliness and gentle handling underscores the importance of prioritizing the well-being of the individual undergoing the removal process.
After successfully removing the jewelry, the post-removal phase requires ongoing attention and maintenance to support the healing process. By adhering to a gentle cleaning routine and minimizing potential sources of irritation, individuals can create an environment that fosters optimal healing conditions, allowing the skin to recover effectively.
Throughout the entire process, the use of rubbing alcohol or saline solution, sterile cotton balls or gauze pads, and a mirror for clear visibility ensures that each step is approached with meticulous care and attention to detail. This proactive approach minimizes the risk of infection and promotes a smooth and comfortable transition beyond the removal of the cartilage piercing.
As individuals care for the area after removal, monitoring the healing progress and remaining attentive to any changes in the appearance or sensation of the area is crucial. By maintaining a gentle and consistent approach to ongoing care, individuals can support the natural healing journey and minimize the risk of complications.
Ultimately, the process of taking out a cartilage piercing is a delicate yet manageable endeavor that, when approached with the right knowledge and tools, can be conducted with confidence and ease. By prioritizing hygiene, precision, and ongoing care, individuals can ensure that the removal process is conducted in a manner that prioritizes their well-being and sets the stage for a successful recovery.
In essence, the journey of removing a cartilage piercing is a testament to the individual's commitment to self-care and well-being. By following the steps outlined in this guide and approaching the process with patience and attention to detail, individuals can bid adieu to their cartilage piercing while prioritizing their comfort and the health of the piercing site.