Home>Home and Garden>How To Measure Kitchen Sink
Home and Garden
How To Measure Kitchen Sink
Published: March 5, 2024
Learn how to measure your kitchen sink for a perfect fit. Get expert tips and advice for your home and garden projects.
(Many of the links in this article redirect to a specific reviewed product. Your purchase of these products through affiliate links helps to generate commission for Regretless.com, at no extra cost. Learn more)
Table of Contents
Introduction
Measuring a kitchen sink may seem like a straightforward task, but it's a crucial step in the process of replacing or installing a new sink. Whether you're upgrading your kitchen or simply replacing an old sink, accurate measurements are essential to ensure a seamless fit and proper functionality. By taking the time to measure your kitchen sink correctly, you can avoid the frustration of dealing with ill-fitting fixtures and the need for costly adjustments down the line.
In this comprehensive guide, we will walk you through the step-by-step process of measuring your kitchen sink. From gathering the necessary tools to recording precise measurements, you'll gain the knowledge and confidence to tackle this essential task with ease. By following these instructions, you'll be well-equipped to make informed decisions when selecting a new sink and ensure a successful installation process.
So, grab your measuring tape and let's dive into the details of how to accurately measure your kitchen sink. Whether you're a seasoned DIY enthusiast or a first-time homeowner, this guide will equip you with the essential skills to tackle this project like a pro. Let's get started!
Step 1: Gather Necessary Tools
Before embarking on the task of measuring your kitchen sink, it's essential to gather the necessary tools to ensure accuracy and efficiency. Here's a list of tools you'll need for this project:
-
Measuring Tape: A reliable measuring tape is a fundamental tool for accurately determining the dimensions of your kitchen sink. Opt for a tape measure that extends to at least the length and width of your sink to facilitate precise measurements.
-
Notebook and Pen: Keeping a notebook and pen handy will allow you to record the measurements as you go. This step is crucial for maintaining organized and easily accessible records, especially if you're comparing multiple sink options or consulting with a professional.
-
Flashlight: In some cases, the underside of the sink may be dimly lit or obstructed by plumbing fixtures. A flashlight will enable you to illuminate the area and ensure that you can take accurate measurements without any hindrances.
-
Step Stool or Ladder: If your sink is mounted under a countertop, a step stool or ladder may be necessary to access the underside of the sink. This will provide a clear view and easy access to measure the sink's dimensions accurately.
-
Masking Tape or Painter's Tape: Using masking tape or painter's tape to mark specific points on the sink can help you keep track of measurements and ensure that you don't lose track of critical dimensions during the process.
By assembling these essential tools, you'll be well-prepared to tackle the task of measuring your kitchen sink with confidence and precision. With the right tools at your disposal, you can streamline the process and set the stage for a successful sink replacement or installation project. Now that you have the necessary tools in hand, let's move on to the next step of measuring the width and length of the sink.
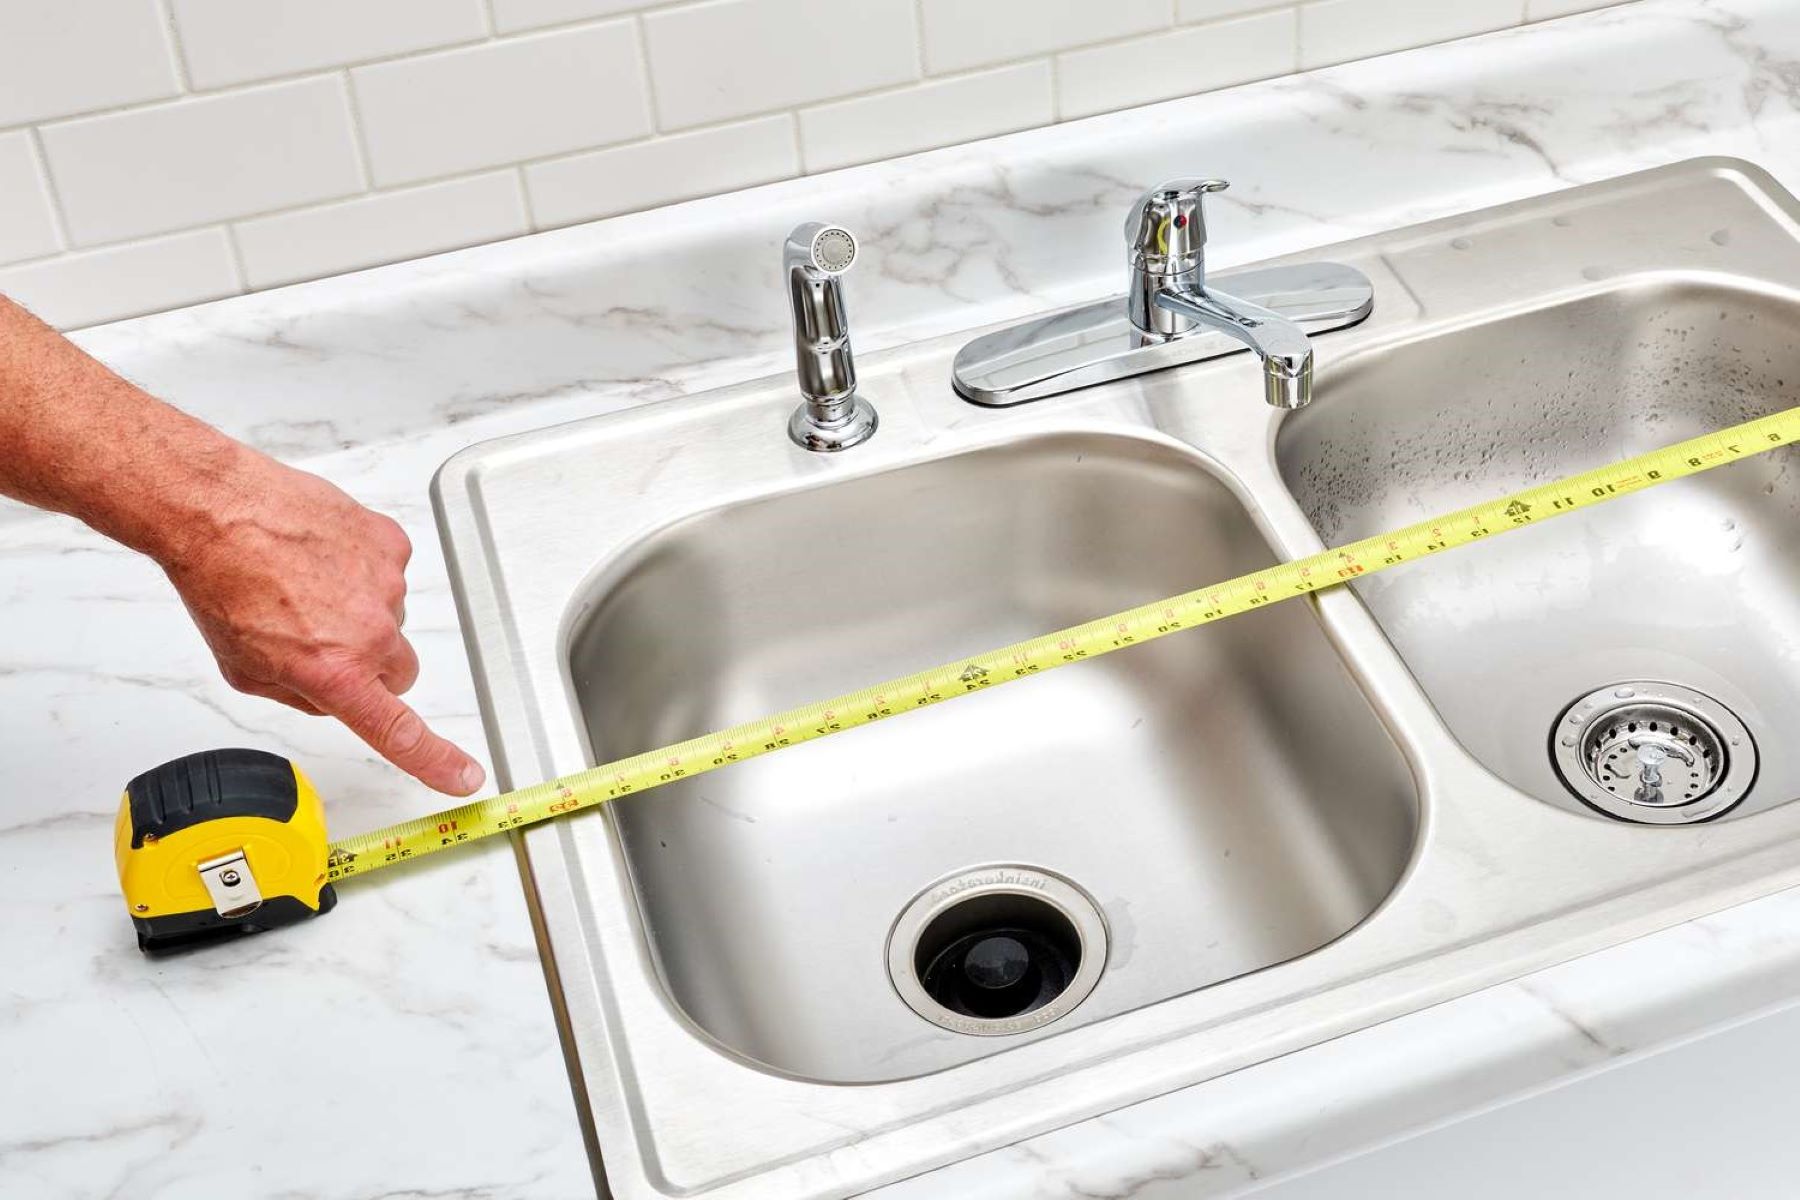
Step 2: Measure the Width and Length of the Sink
Measuring the width and length of your kitchen sink is a fundamental step in ensuring a proper fit for a replacement or new installation. Follow these detailed steps to accurately measure the width and length of your sink:
-
Clear the Area: Before taking measurements, ensure that the sink area is clear of any obstructions. Remove any dishes, utensils, or accessories from the sink and surrounding countertop to provide unobstructed access for precise measurements.
-
Start with the Width: Using your measuring tape, position the end at the far left edge of the sink and extend it across to the far right edge. Take note of the measurement in inches, ensuring that the tape is taut and straight to capture the accurate width of the sink.
-
Measure the Length: Next, position the measuring tape at the back edge of the sink and extend it towards the front, capturing the full length of the sink. Again, ensure that the tape is straight and taut to obtain an exact measurement of the sink's length in inches.
-
Consider the Bowl Dimensions: If your sink has multiple bowls, such as a double or triple basin sink, measure the width and length of each individual bowl separately. This step is crucial for understanding the dimensions of each compartment and ensuring that your new sink will accommodate your specific needs.
-
Record the Measurements: After obtaining the width and length measurements, record them in your notebook along with clear labels to distinguish between the width and length dimensions. This organized approach will prevent confusion and facilitate easy reference when comparing sink options or consulting with professionals.
-
Double-Check for Accuracy: To ensure precision, double-check your measurements by repeating the width and length measurements. Consistency in your recorded measurements will provide confidence in the accuracy of your data, ultimately guiding your sink selection and installation decisions.
By meticulously measuring the width and length of your kitchen sink, you'll lay the groundwork for a successful sink replacement or installation project. These precise measurements will serve as valuable reference points as you explore various sink options and make informed decisions based on your specific kitchen layout and requirements. With the width and length measurements accurately recorded, you're ready to move on to the next step of measuring the depth of the sink.
Step 3: Measure the Depth of the Sink
Measuring the depth of your kitchen sink is a critical step in obtaining comprehensive dimensions for a replacement or new installation. Follow these detailed steps to accurately measure the depth of your sink:
-
Clear the Sink: Begin by ensuring that the sink is free of any dishes, debris, or obstructions. Clearing the sink will provide unobstructed access to the basin, allowing for accurate measurements.
-
Position the Measuring Tape: With the sink cleared, position the end of the measuring tape at the highest point of the sink's rim. Extend the tape down to the bottom of the basin, ensuring that it follows the contour of the sink's interior to capture the true depth.
-
Check for Variations: Some sinks may have a sloped or curved bottom, so it's essential to take multiple depth measurements at various points within the basin to account for any irregularities. This comprehensive approach ensures that you capture the maximum depth of the sink accurately.
-
Record the Measurements: As you obtain the depth measurements, record the values in your notebook, clearly labeling them to distinguish the depth dimension from the width and length measurements. This organized record-keeping will facilitate easy reference and comparison as you explore sink options.
-
Consider Undermount Sinks: If you have an undermount sink, measure the depth from the top of the countertop to the bottom of the sink. This measurement is crucial for ensuring that the new sink will align seamlessly with the countertop and accommodate any additional features, such as a garbage disposal unit.
-
Verify the Measurements: To ensure accuracy, double-check the depth measurements by repeating the process at different points within the sink. Consistency in your recorded measurements will provide confidence in the precision of your data, guiding your decision-making process effectively.
By meticulously measuring the depth of your kitchen sink, you'll gain a comprehensive understanding of its dimensions, setting the stage for a successful sink replacement or installation. These precise measurements will serve as valuable reference points as you explore various sink options, ensuring that the new sink aligns seamlessly with your kitchen layout and meets your specific requirements. With the depth measurements accurately recorded, you're well-prepared to move on to the next step of measuring the faucet holes.
Step 4: Measure the Faucet Holes
Measuring the faucet holes is a crucial step in ensuring that your new sink accommodates the specific requirements of your kitchen fixtures. Follow these detailed steps to accurately measure the faucet holes in your sink:
-
Identify the Number of Holes: Begin by identifying the number of pre-existing faucet holes in your current sink. Most sinks typically have either one, two, three, or four holes, depending on the configuration of the faucet and additional accessories such as a soap dispenser or sprayer. Counting the number of existing holes will provide a clear understanding of the faucet hole layout.
-
Measure the Hole Spacing: Using your measuring tape, determine the precise spacing between the center of each faucet hole. Start by measuring from the center of the leftmost hole to the center of the rightmost hole. Additionally, measure the distance from the center of the leftmost hole to the center of the hole farthest from it. These measurements will help you identify the standard hole spacing, which is crucial when selecting a new sink to ensure compatibility with your existing faucet or the installation of a new one.
-
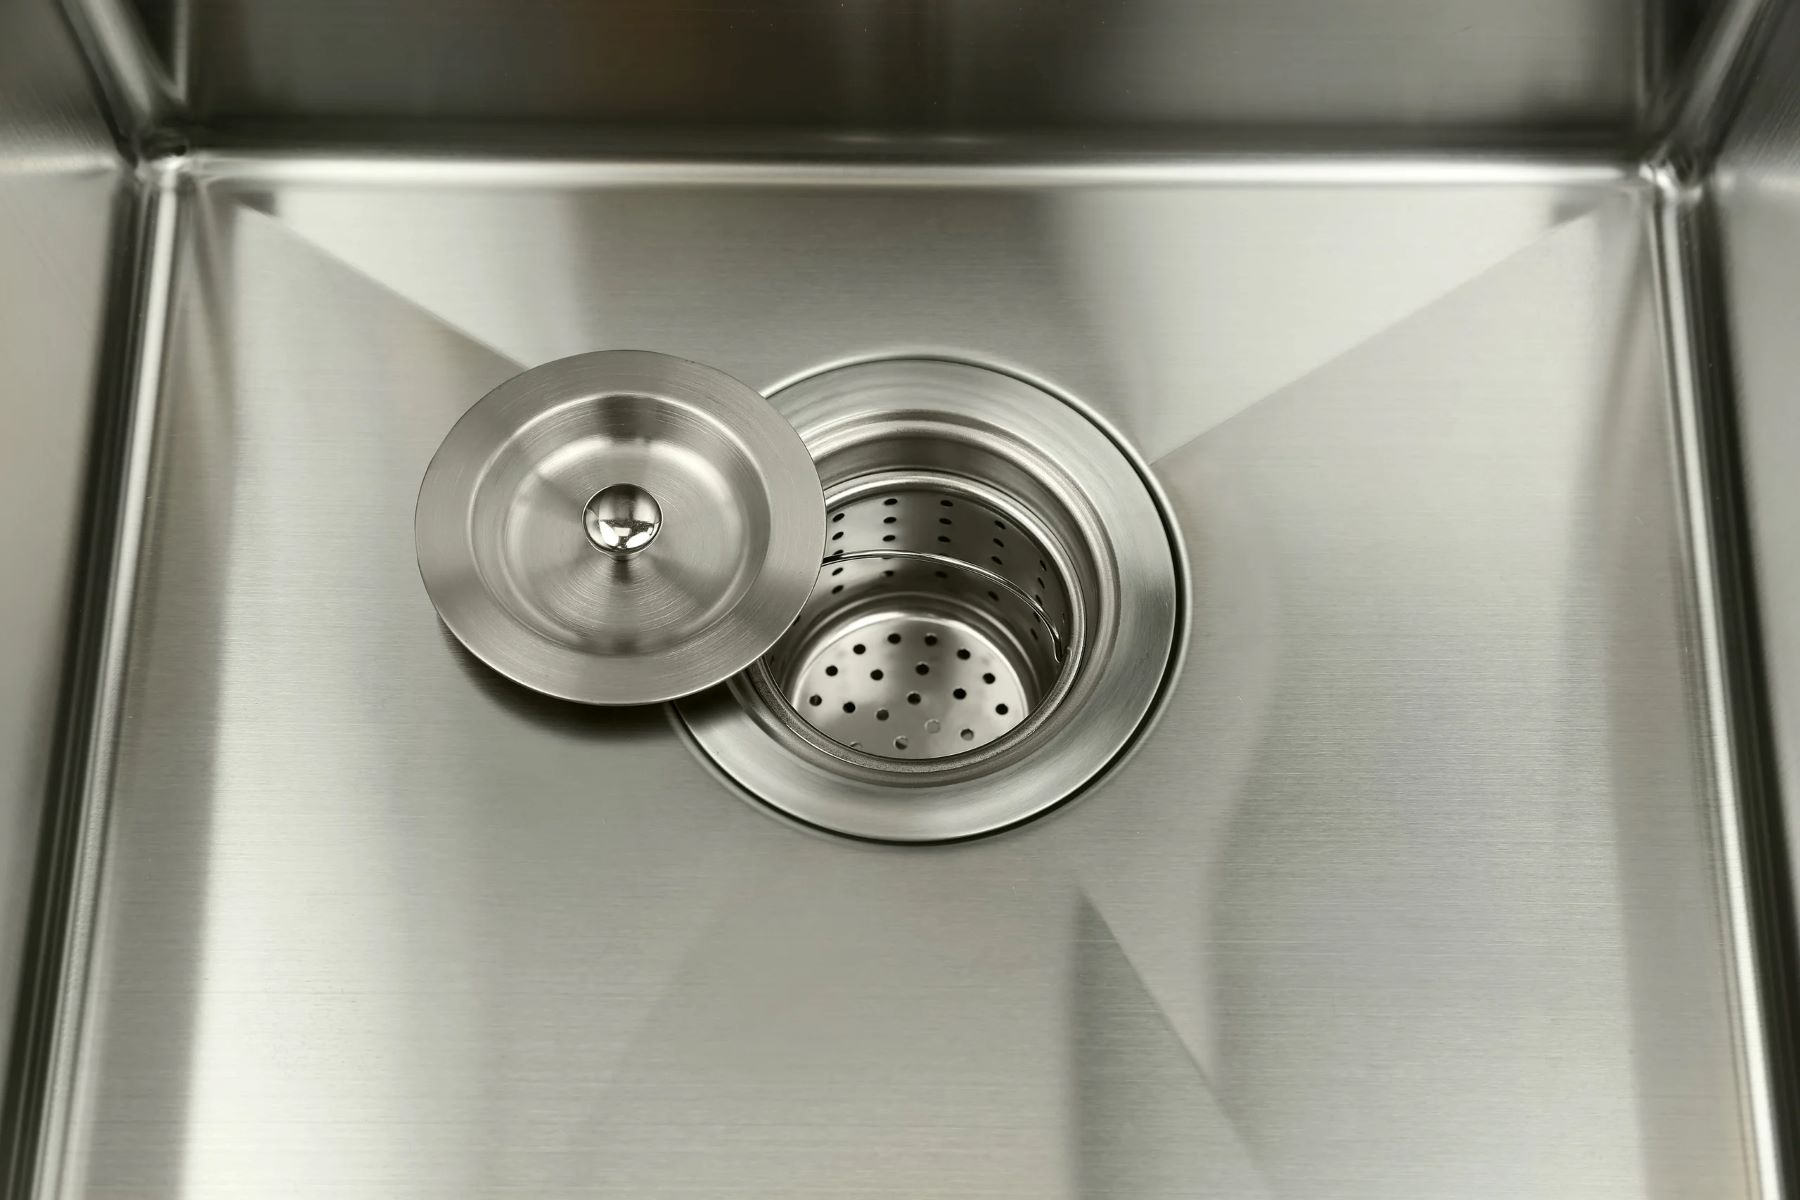
Note the Hole Diameter: Measure the diameter of each faucet hole to ensure that it aligns with the requirements of your new faucet. Standard faucet hole diameters are typically around 1-3/8 inches, but variations may exist based on the specific faucet model or sink design. Accurately recording the hole diameters will guide your selection of a compatible faucet and streamline the installation process.
-
Consider Additional Accessories: If your sink accommodates additional accessories such as a soap dispenser or sprayer, measure the diameter and spacing of these supplementary holes as well. This comprehensive approach ensures that your new sink can seamlessly integrate with all existing fixtures and accessories, avoiding any compatibility issues during the installation.
-
Record the Measurements: As you obtain the faucet hole measurements, record the values in your notebook, clearly labeling them to distinguish the hole spacing and diameters from the width, length, and depth measurements. This organized record-keeping will facilitate easy reference and comparison as you explore sink options and select the appropriate fixtures for your kitchen.
By meticulously measuring the faucet holes in your kitchen sink, you'll ensure that your new sink aligns perfectly with your existing fixtures and accessories, setting the stage for a seamless installation process. These precise measurements will serve as valuable reference points as you explore various sink options, ensuring that the new sink accommodates your specific faucet and accessory requirements. With the faucet hole measurements accurately recorded, you're well-prepared to make informed decisions when selecting a new sink and coordinating the installation of your kitchen fixtures.
Read more: How To Measure The Inseam On Shorts
Step 5: Record the Measurements
Recording the measurements of your kitchen sink is a critical aspect of the measuring process, ensuring that you have organized and easily accessible data for reference during the selection and installation of a new sink. Here's a detailed guide on how to effectively record the measurements:
-
Organized Documentation: As you obtain each measurement, whether it's the width, length, depth, or faucet hole dimensions, immediately record the values in your notebook. Create clear labels for each measurement category to distinguish between the various dimensions. This organized approach will prevent confusion and streamline the comparison process when evaluating different sink options.
-
Clear Labelling: When recording the measurements, clearly label each value with the corresponding dimension it represents. For example, use "Width" and "Length" for the sink's outer dimensions, "Depth" for the basin's depth, and "Faucet Holes" for the spacing and diameters of the holes. This level of clarity will be invaluable when reviewing the measurements at a later stage.
-
Accurate Representation: Ensure that the measurements are accurately transcribed in your notebook, avoiding any discrepancies or errors. Double-check each recorded value to confirm its precision and consistency with the actual measurements taken. Accurate documentation is essential for making informed decisions during the sink selection process.
-
Additional Notes: If there are specific considerations related to the measurements, such as irregularities in the sink's dimensions or unique features that may impact the installation, make note of these details alongside the recorded measurements. This additional information can provide valuable insights when consulting with professionals or comparing sink options.
-
Visual Aids: Consider supplementing the recorded measurements with simple diagrams or sketches in your notebook. Visual representations can offer a clear overview of the sink's dimensions, including the placement of faucet holes and any distinctive features. These visual aids can enhance your understanding of the measurements and facilitate effective communication when seeking advice or assistance.
By diligently recording the measurements of your kitchen sink, you'll create a comprehensive reference document that empowers you to make informed decisions when selecting a new sink and coordinating the installation process. This organized approach will streamline the entire project, from exploring sink options to ensuring a seamless fit during the installation. With the measurements accurately documented, you're well-equipped to move forward with confidence and clarity in your sink replacement or installation endeavor.
Conclusion
In conclusion, the process of measuring your kitchen sink is a fundamental step that lays the groundwork for a successful replacement or installation project. By following the detailed steps outlined in this guide and diligently recording the measurements, you've equipped yourself with the essential knowledge to make informed decisions and ensure a seamless fit for your new sink.
Accurate measurements of the width, length, depth, and faucet holes provide a comprehensive understanding of your current sink's dimensions, enabling you to explore various sink options with confidence. Whether you're upgrading to a larger sink, transitioning to a stylish undermount design, or simply replacing an existing fixture, the precise measurements serve as invaluable reference points throughout the decision-making process.
Furthermore, the organized documentation of your sink's measurements in a notebook facilitates easy comparison and consultation with professionals, ensuring that the selected sink aligns seamlessly with your kitchen layout and specific requirements. The clear labeling and accurate representation of the measurements in your records will serve as a reliable guide, preventing any confusion or errors during the sink selection and installation stages.
By meticulously measuring the faucet holes, including the spacing and diameters, you've positioned yourself to select compatible fixtures and accessories that integrate seamlessly with your new sink. This attention to detail ensures that the installation process progresses smoothly, avoiding any compatibility issues and streamlining the overall project.
As you move forward with your sink replacement or installation endeavor, the recorded measurements, supplemented by visual aids and additional notes, will serve as a comprehensive reference document. This resource will empower you to communicate effectively with professionals, make informed decisions when selecting a new sink, and coordinate the installation with confidence and clarity.
In essence, the meticulous process of measuring your kitchen sink is not only a practical task but also a foundational step that sets the stage for a successful and satisfying upgrade to your kitchen space. With the knowledge and skills gained from this guide, you're well-prepared to embark on this project with confidence, ensuring that your new sink seamlessly integrates into your kitchen environment, enhancing both functionality and aesthetics.