Home>Home and Garden>How To Hang Mirror On Door

Home and Garden
How To Hang Mirror On Door
Published: March 5, 2024
Learn how to easily hang a mirror on a door with our step-by-step guide. Transform your home with this simple home and garden DIY project.
(Many of the links in this article redirect to a specific reviewed product. Your purchase of these products through affiliate links helps to generate commission for Regretless.com, at no extra cost. Learn more)
Table of Contents
Introduction
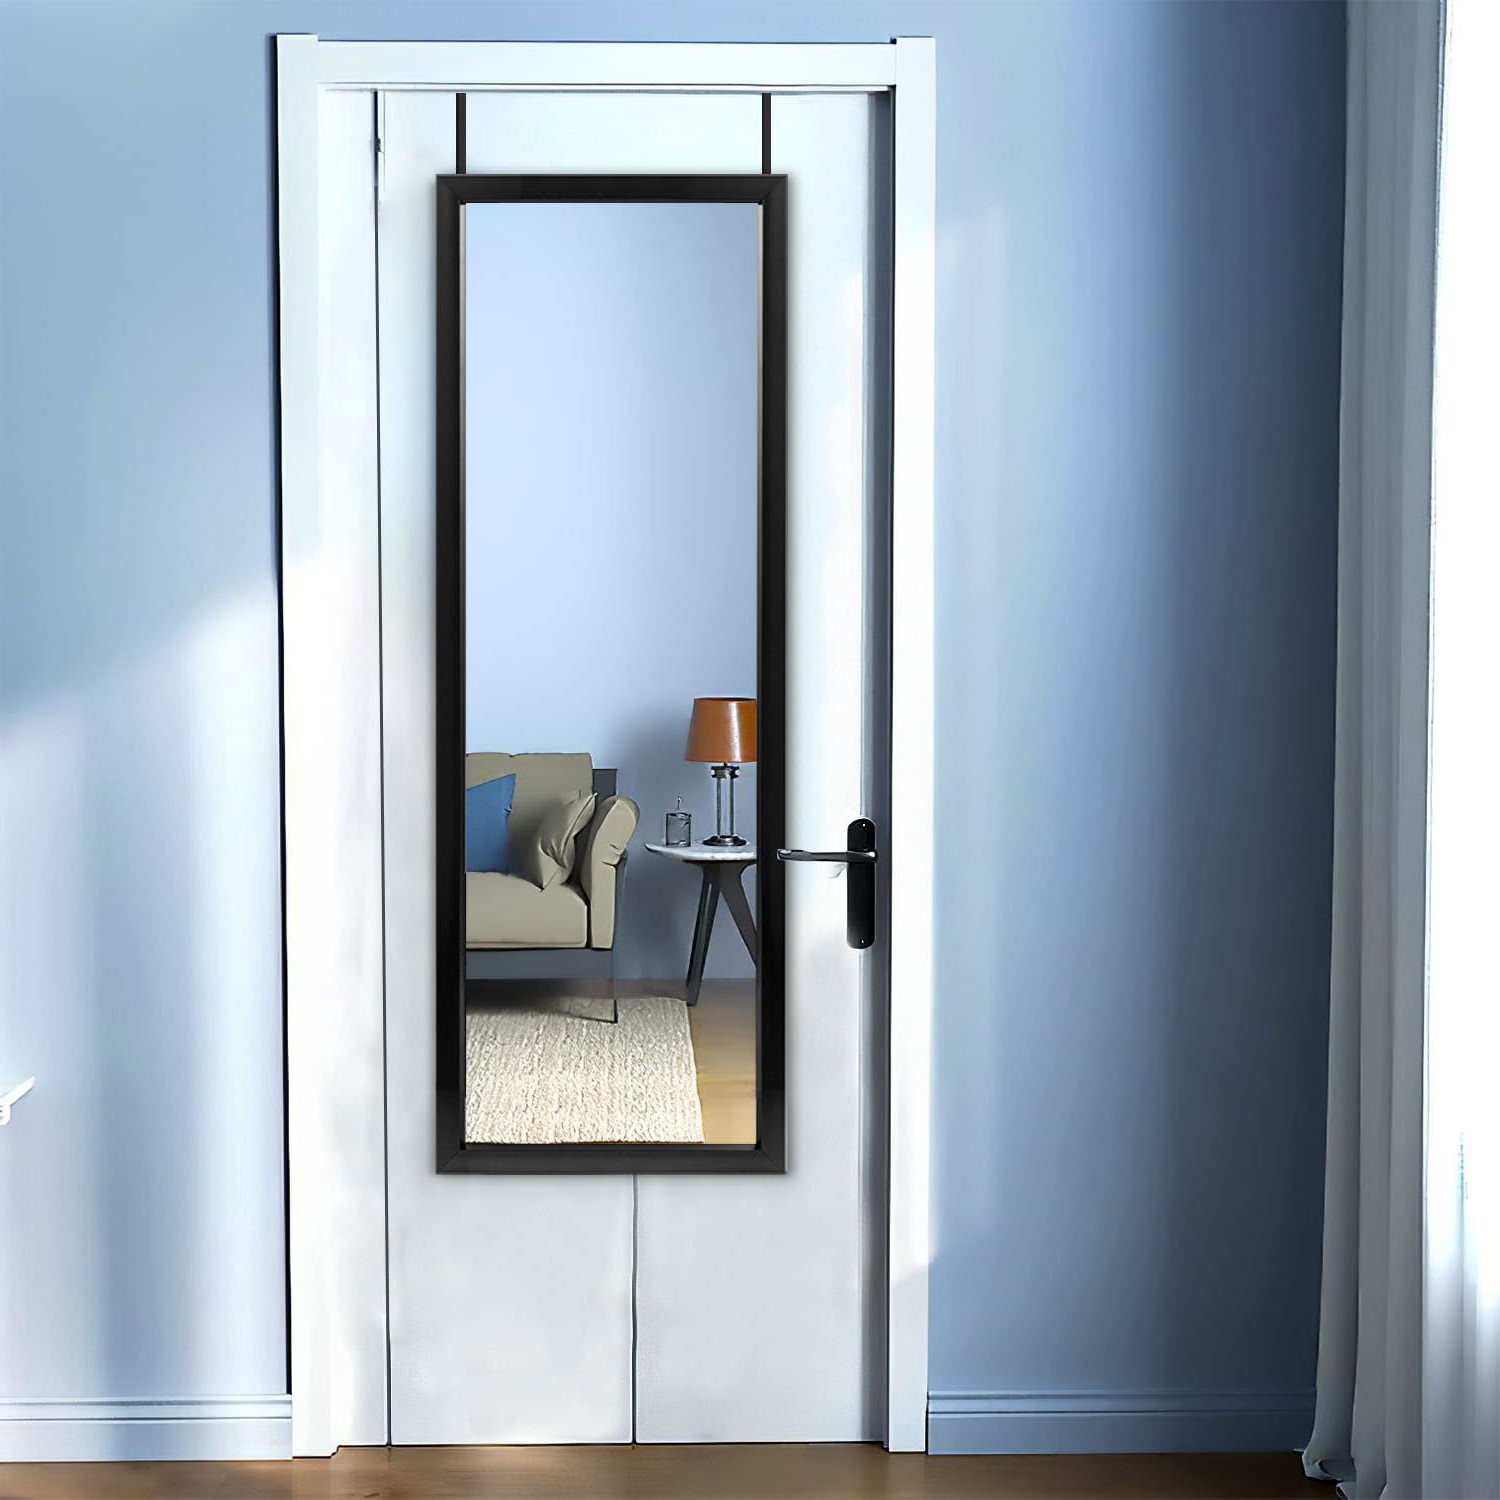
Hanging a mirror on a door can be a practical and stylish solution for adding functionality and aesthetic appeal to a room. Whether you're looking to create the illusion of more space, enhance natural light, or simply need a convenient spot for a last-minute outfit check, a well-placed mirror on a door can serve as a versatile and visually pleasing addition to your home decor.
In this comprehensive guide, we will walk you through the step-by-step process of securely and stylishly hanging a mirror on a door. By following these instructions, you can transform a plain door into a functional and decorative element within your living space. With the right tools, a bit of precision, and a touch of creativity, you can achieve a professional-looking result that complements your interior design while serving a practical purpose.
Whether you're a seasoned DIY enthusiast or a novice looking to embark on your first home improvement project, this guide is designed to provide clear and accessible instructions for successfully mounting a mirror on a door. From gathering the necessary tools and materials to measuring and marking the placement, attaching the mounting hardware, and finally hanging the mirror, each step is outlined in detail to ensure a seamless and satisfying experience.
By the end of this guide, you will have the knowledge and confidence to undertake this project with ease, allowing you to enjoy the benefits of a well-placed mirror on your door. So, roll up your sleeves, gather your tools, and let's embark on this transformative journey to elevate the functionality and aesthetics of your living space with a beautifully hung mirror on your door.
Read more: How To Hang Pictures Without Nails
Step 1: Gather Necessary Tools and Materials
Before embarking on the process of hanging a mirror on a door, it's essential to gather all the necessary tools and materials to ensure a smooth and efficient installation. Here's a comprehensive list of items you'll need:
Tools:
- Tape Measure: Accurate measurements are crucial for determining the placement of the mirror on the door.
- Pencil: To mark the precise spots for mounting hardware and other reference points.
- Level: Ensures that the mirror hangs straight and aligned with the door.
- Screwdriver: Depending on the type of mounting hardware, you may need a Phillips or flat-head screwdriver.
- Drill and Bits: If the mounting hardware requires screws, a drill and appropriate bits will be necessary.
- Stud Finder: If you're attaching the mirror to a solid-core door, a stud finder will help locate the wooden studs for secure installation.
Materials:
- Mirror: Choose a mirror that complements the style and dimensions of the door. Ensure it's equipped with appropriate mounting hardware or purchase it separately.
- Mounting Hardware: This may include mirror clips, adhesive hooks, or D-ring hangers, depending on the weight and design of the mirror.
- Screws and Anchors: If the mirror requires screws for mounting, ensure you have the right size and type for the door material.
- Adhesive Strips or Hooks: If you prefer not to drill into the door, adhesive strips or hooks can be used for lightweight mirrors.
- Safety Gear: Gloves and safety goggles are essential if you're using a drill or handling sharp objects during the installation process.
By gathering these tools and materials, you'll be well-prepared to proceed with the subsequent steps of measuring, marking, and securely hanging the mirror on the door. Having everything at hand will streamline the installation process and contribute to a successful and visually appealing outcome.
Step 2: Measure and Mark the Placement
Accurate measurement and precise marking are pivotal to ensure the mirror is positioned perfectly on the door. Before proceeding with any installation, it's essential to take the time to measure and mark the placement with care and attention to detail.
-
Door Selection: Begin by selecting the most suitable door for mounting the mirror. Consider the size, material, and location of the door within the room. Ensure that the chosen door can accommodate the dimensions and weight of the mirror without compromising its structural integrity.
-
Mirror Positioning: Decide on the ideal placement of the mirror on the door. Consider factors such as the door's height, the mirror's dimensions, and the desired visual impact. Whether you opt for a centered position or a specific height from the floor, envision how the mirror will complement the door and the surrounding space.
-
Marking Reference Points: Using a tape measure and a pencil, mark the precise spots where the mounting hardware will be attached. If the mirror comes with pre-installed mounting brackets, measure the distance between them and transfer these measurements onto the door. For mirrors without built-in hardware, determine the appropriate placement based on the mirror's weight distribution and dimensions.
-
Leveling: Utilize a level to ensure that the markings for the mounting hardware are perfectly aligned and straight. This step is crucial for achieving a visually pleasing result, as a crookedly hung mirror can detract from the overall aesthetic appeal.
-
Consider Door Material: If the door is hollow-core, take extra care to identify the locations of the internal support structure. For solid-core doors, use a stud finder to locate the wooden studs, which will provide secure anchoring points for the mounting hardware.
-
Safety Precautions: Prioritize safety by wearing protective gear, such as gloves and safety goggles, especially if you're using a drill to attach the mounting hardware. Additionally, ensure that the chosen mounting method aligns with the door's material and construction to prevent any damage during the installation process.
By meticulously measuring and marking the placement of the mirror on the door, you lay the foundation for a successful and visually appealing installation. This preparatory step sets the stage for the subsequent attachment of mounting hardware, ensuring that the mirror is securely and attractively positioned on the door.
Read more: How To Use A Double Sided Mirror Effectively
Step 3: Attach Mounting Hardware to the Mirror
Attaching the mounting hardware to the mirror is a crucial step that ensures secure and stable positioning on the door. The method of attaching the hardware may vary depending on the mirror's design and weight, but the following general guidelines can be adapted to suit different types of mirrors.
-
Assess the Mirror's Back: Begin by examining the back of the mirror to identify any pre-installed mounting brackets or hooks. If the mirror lacks built-in hardware, determine the most suitable type of mounting hardware based on its weight and dimensions. For heavier mirrors, consider using sturdy D-ring hangers or mirror clips, while lightweight mirrors may be compatible with adhesive hooks or sawtooth hangers.
-
Positioning the Hardware: Once the appropriate mounting hardware is selected, position it on the back of the mirror according to the markings made during the placement measurement. Ensure that the hardware is symmetrically aligned to facilitate a balanced and level installation. Use a pencil to mark the spots where screws or fasteners will be inserted to secure the hardware in place.
-
Drilling or Screwing: If the mounting hardware requires screws, use a drill with the appropriate bit to create pilot holes at the marked spots on the back of the mirror. Pilot holes prevent the mirror from cracking or splintering when the screws are inserted. For adhesive hooks or hangers, follow the manufacturer's instructions for proper application, ensuring a firm and durable attachment to the mirror.
-
Secure Attachment: Once the pilot holes are prepared, attach the mounting hardware to the mirror using screws or fasteners. Ensure that the hardware is firmly and securely affixed to the mirror's back, providing ample support for its weight. Use a level to confirm that the hardware is aligned and positioned correctly, as this will contribute to a straight and visually pleasing installation on the door.
-
Weight Distribution: Consider the distribution of weight when attaching the mounting hardware. For larger mirrors, ensure that the hardware is positioned to evenly support the mirror's weight, minimizing the risk of imbalance or strain on the door. This attention to weight distribution is essential for both the mirror's stability and the door's structural integrity.
By following these steps to attach the mounting hardware to the mirror, you establish a solid foundation for the subsequent phase of mounting the mirror on the door. This meticulous approach ensures that the mirror is equipped with reliable and appropriately positioned hardware, setting the stage for a secure and visually harmonious installation.
Step 4: Attach Mounting Hardware to the Door
With the mirror's mounting hardware securely in place, the next crucial step is to attach the corresponding hardware to the door. This process ensures that the mirror is affixed to the door in a stable and visually appealing manner. The following detailed steps outline the procedure for attaching the mounting hardware to the door:
-
Door Surface Preparation: Before attaching any hardware, ensure that the surface of the door is clean and free from any dust, debris, or moisture. A clean surface provides optimal conditions for the mounting hardware to adhere securely, whether through screws, adhesive, or other fastening methods.
-
Marking Mounting Points: Using the measurements and markings from the previous step, transfer the reference points for the mounting hardware from the mirror to the corresponding positions on the door. This ensures alignment and symmetry between the hardware on the mirror and the door, contributing to a visually balanced installation.
-
Drilling Pilot Holes: If the mounting hardware requires screws for attachment, use a drill with the appropriate bit to create pilot holes at the marked positions on the door. Pilot holes facilitate the insertion of screws, reducing the risk of splintering or damaging the door's surface during the installation process.
-
Attaching the Hardware: With the pilot holes prepared, proceed to attach the mounting hardware to the door using screws or fasteners. Ensure that the hardware is firmly and securely affixed to the door, providing a stable foundation for supporting the mirror's weight. If adhesive hooks or strips are used, follow the manufacturer's instructions for proper application, ensuring a strong and durable attachment to the door.
-
Leveling and Alignment: Utilize a level to confirm that the mounting hardware on the door is aligned and positioned correctly. This step is crucial for achieving a visually pleasing result, as it ensures that the mirror will hang straight and parallel to the door's surface.
-
Consider Door Material: Depending on whether the door is hollow-core or solid-core, adjust the attachment method to suit the door's construction. For solid-core doors, ensure that the mounting hardware is anchored into the wooden studs for maximum stability and support.
By meticulously following these steps to attach the mounting hardware to the door, you establish a solid foundation for the final phase of hanging the mirror. This careful and precise approach ensures that the mirror will be securely and attractively positioned on the door, enhancing both its functionality and aesthetic appeal within your living space.
Step 5: Hang the Mirror on the Door
With the mounting hardware securely attached to both the mirror and the door, it's time to proceed with the final step of hanging the mirror. This phase requires precision and attention to detail to ensure that the mirror is positioned securely and aesthetically on the door.
-
Lifting and Aligning: Carefully lift the mirror and position it against the door, aligning the mounting hardware on the mirror with the corresponding hardware on the door. Take your time to ensure that the alignment is accurate, and the mirror is positioned exactly as intended.
-
Securing the Mirror: Once the mirror is aligned with the door, proceed to secure it in place by attaching the mounting hardware. If the mirror utilizes clips or hooks, ensure that they interlock seamlessly with the hardware on the door. For mirrors with screws, carefully insert and tighten them to firmly affix the mirror to the door.
-
Leveling and Adjustments: Utilize a level to confirm that the mirror is hanging straight and aligned with the door. Make any necessary adjustments to ensure that the mirror is level and visually pleasing. This step is crucial for achieving a professional and polished result.
-
Weight Distribution: As the mirror is being hung, pay attention to its weight distribution and stability. Ensure that it feels secure and well-supported by the mounting hardware. This is particularly important for larger or heavier mirrors, as proper weight distribution minimizes the risk of strain on the door and ensures the mirror's long-term stability.
-
Final Checks: Once the mirror is hung, perform a final visual inspection to ensure that it is positioned as desired and complements the door and surrounding space. Check for any signs of imbalance or instability, and make any necessary adjustments to achieve the perfect placement.
By following these detailed steps to hang the mirror on the door, you complete the installation process with confidence and precision. The mirror now serves as a functional and visually appealing addition to the door, enhancing the aesthetics and functionality of the room while offering the practical benefits of a well-placed mirror.
Conclusion
In conclusion, the process of hanging a mirror on a door encompasses a series of meticulous steps that culminate in a visually appealing and functional addition to your living space. By following the comprehensive guide outlined in this article, you have gained the knowledge and confidence to undertake this transformative project with ease and precision.
From the initial gathering of tools and materials to the careful measurement and marking of the mirror's placement on the door, each step contributes to the seamless and successful installation of the mirror. The attachment of mounting hardware to both the mirror and the door ensures a secure and stable foundation for hanging the mirror, while the final phase of hanging the mirror requires precision and attention to detail to achieve a visually pleasing result.
By hanging a mirror on a door, you not only enhance the aesthetics of the room but also introduce practical benefits such as the illusion of more space, enhanced natural light, and the convenience of a dedicated spot for quick outfit checks. The mirror becomes a versatile and visually striking element within your home decor, elevating the functionality and visual appeal of the door while contributing to the overall ambiance of the room.
As you admire the beautifully hung mirror on your door, take pride in the accomplishment of transforming a plain door into a stylish and functional feature of your living space. The seamless integration of the mirror adds depth, character, and practicality to the room, reflecting your attention to detail and your commitment to creating a visually captivating and functional environment.
With the completion of this project, you have not only enhanced the aesthetics and functionality of your living space but also honed your DIY skills, gaining valuable experience that can be applied to future home improvement endeavors. Embrace the transformative power of a well-placed mirror on your door, and let it serve as a testament to your creativity, precision, and dedication to creating a home that is both visually appealing and practical.
In the end, the process of hanging a mirror on a door is not merely a home improvement project; it is a journey of creativity, precision, and transformation that enriches your living space and reflects your unique sense of style and practicality. So, revel in the accomplishment of this project, and let the beautifully hung mirror on your door serve as a daily reminder of the transformative power of thoughtful and purposeful home decor enhancements.


