Home>Home and Garden>How To Cut The Neck Of A Shirt
Home and Garden
How To Cut The Neck Of A Shirt
Published: February 29, 2024
Learn how to cut the neck of a shirt with our easy step-by-step guide. Perfect for DIY enthusiasts and home and garden enthusiasts alike.
(Many of the links in this article redirect to a specific reviewed product. Your purchase of these products through affiliate links helps to generate commission for Regretless.com, at no extra cost. Learn more)
Table of Contents
Introduction
Cutting the neckline of a shirt can breathe new life into an old garment or add a personal touch to a new one. Whether you're aiming for a trendy off-the-shoulder look, a classic scoop neck, or a stylish V-neck, mastering the art of cutting a shirt's neckline can unleash your creativity and elevate your wardrobe. With the right tools, materials, and techniques, you can transform a simple shirt into a fashion statement that reflects your unique style.
The process of cutting a shirt's neckline is not only a practical skill but also a form of self-expression. It allows you to customize your clothing to suit your preferences, whether you prefer a casual, laid-back vibe or a more polished and sophisticated look. By learning how to cut the neckline of a shirt, you can unleash your inner designer and create one-of-a-kind pieces that showcase your individuality.
In this guide, we will explore the step-by-step process of cutting a shirt's neckline, from marking the cutting line to adding the finishing touches. By following these instructions and unleashing your creativity, you can breathe new life into your wardrobe and elevate your style with custom-designed shirts that reflect your personality and fashion sensibilities. So, gather your tools and materials, and let's embark on this creative journey to transform your shirts into unique, personalized pieces that make a statement.
Tools and materials needed
To embark on the journey of cutting a shirt's neckline, you'll need a few essential tools and materials to ensure a smooth and successful transformation. Here's a comprehensive list of what you'll need:
Tools:
- Fabric chalk or washable marker: This will be used to mark the cutting line on the shirt accurately. Opt for a color that contrasts with the fabric for better visibility.
- Sharp fabric scissors: A pair of high-quality fabric scissors is crucial for achieving clean and precise cuts. Ensure that the scissors are designated for fabric cutting to prevent dulling the blades.
- Measuring tape or ruler: Having a measuring tape or ruler on hand will help you determine the desired neckline shape and ensure uniformity in the cutting process.
- Iron and ironing board: It's essential to have these tools available for pressing the shirt before and after cutting, ensuring a smooth and wrinkle-free fabric surface for accurate marking and cutting.
Materials:
- Shirt: Select a shirt that you'd like to customize. Whether it's a plain t-shirt, a long-sleeved top, or a tank top, choose a garment that you envision transforming into a stylish piece with a personalized neckline.
- Stabilizer (optional): If you're working with stretchy or delicate fabrics, using stabilizer can help maintain the fabric's stability during the cutting process, preventing stretching or distortion.
- Embellishments (optional): Depending on your design vision, you may want to gather embellishments such as lace, beads, or fabric patches to adorn the neckline after cutting, adding a unique touch to your customized shirt.
By ensuring that you have these tools and materials at your disposal, you'll be well-equipped to embark on the process of cutting a shirt's neckline with confidence and precision. With these essentials in hand, you're ready to move on to the next steps and bring your creative vision to life.
Step 1: Marking the cutting line
Before diving into the cutting process, it's crucial to mark the cutting line accurately to ensure the desired neckline shape and symmetry. Here's a detailed guide on how to mark the cutting line effectively:
-
Prepare the Shirt: Lay the shirt on a flat surface, ensuring that it's smooth and free of wrinkles. If the shirt has seams, align them to guarantee that the neckline will be symmetrical.
-
Determine the Neckline Style: Visualize the desired neckline style, whether it's a classic crew neck, a trendy scoop neck, an elegant V-neck, or an off-the-shoulder design. This vision will guide the marking process and ensure that the final result aligns with your creative vision.
-
Measure and Mark: Using a fabric chalk or washable marker, carefully mark the cutting line on the shirt. For a crew neck or scoop neck, mark a gentle curve from shoulder to shoulder. If creating a V-neck, mark a V shape, ensuring that the point of the V aligns with the desired depth. For an off-the-shoulder neckline, mark a line slightly below the collarbone.
-
Maintain Symmetry: To achieve a balanced neckline, measure and mark both sides of the shirt simultaneously. This approach ensures that the cutting line is symmetrical, preventing lopsided or uneven results.
-
Double-Check the Markings: Once the cutting line is marked, step back and visually assess the symmetry and shape of the markings. Make any necessary adjustments to ensure that the marked line reflects the intended neckline style accurately.
-
Consider the Depth: If creating a V-neck or off-the-shoulder neckline, consider the depth of the cut and adjust the markings accordingly. The depth will determine the shirt's final look and the amount of skin exposure, so take this into account when marking the cutting line.
By following these detailed steps, you can effectively mark the cutting line on your shirt, setting the stage for the precise and intentional cutting process. With the cutting line accurately marked, you're ready to proceed to the next step and bring your custom neckline design to life.
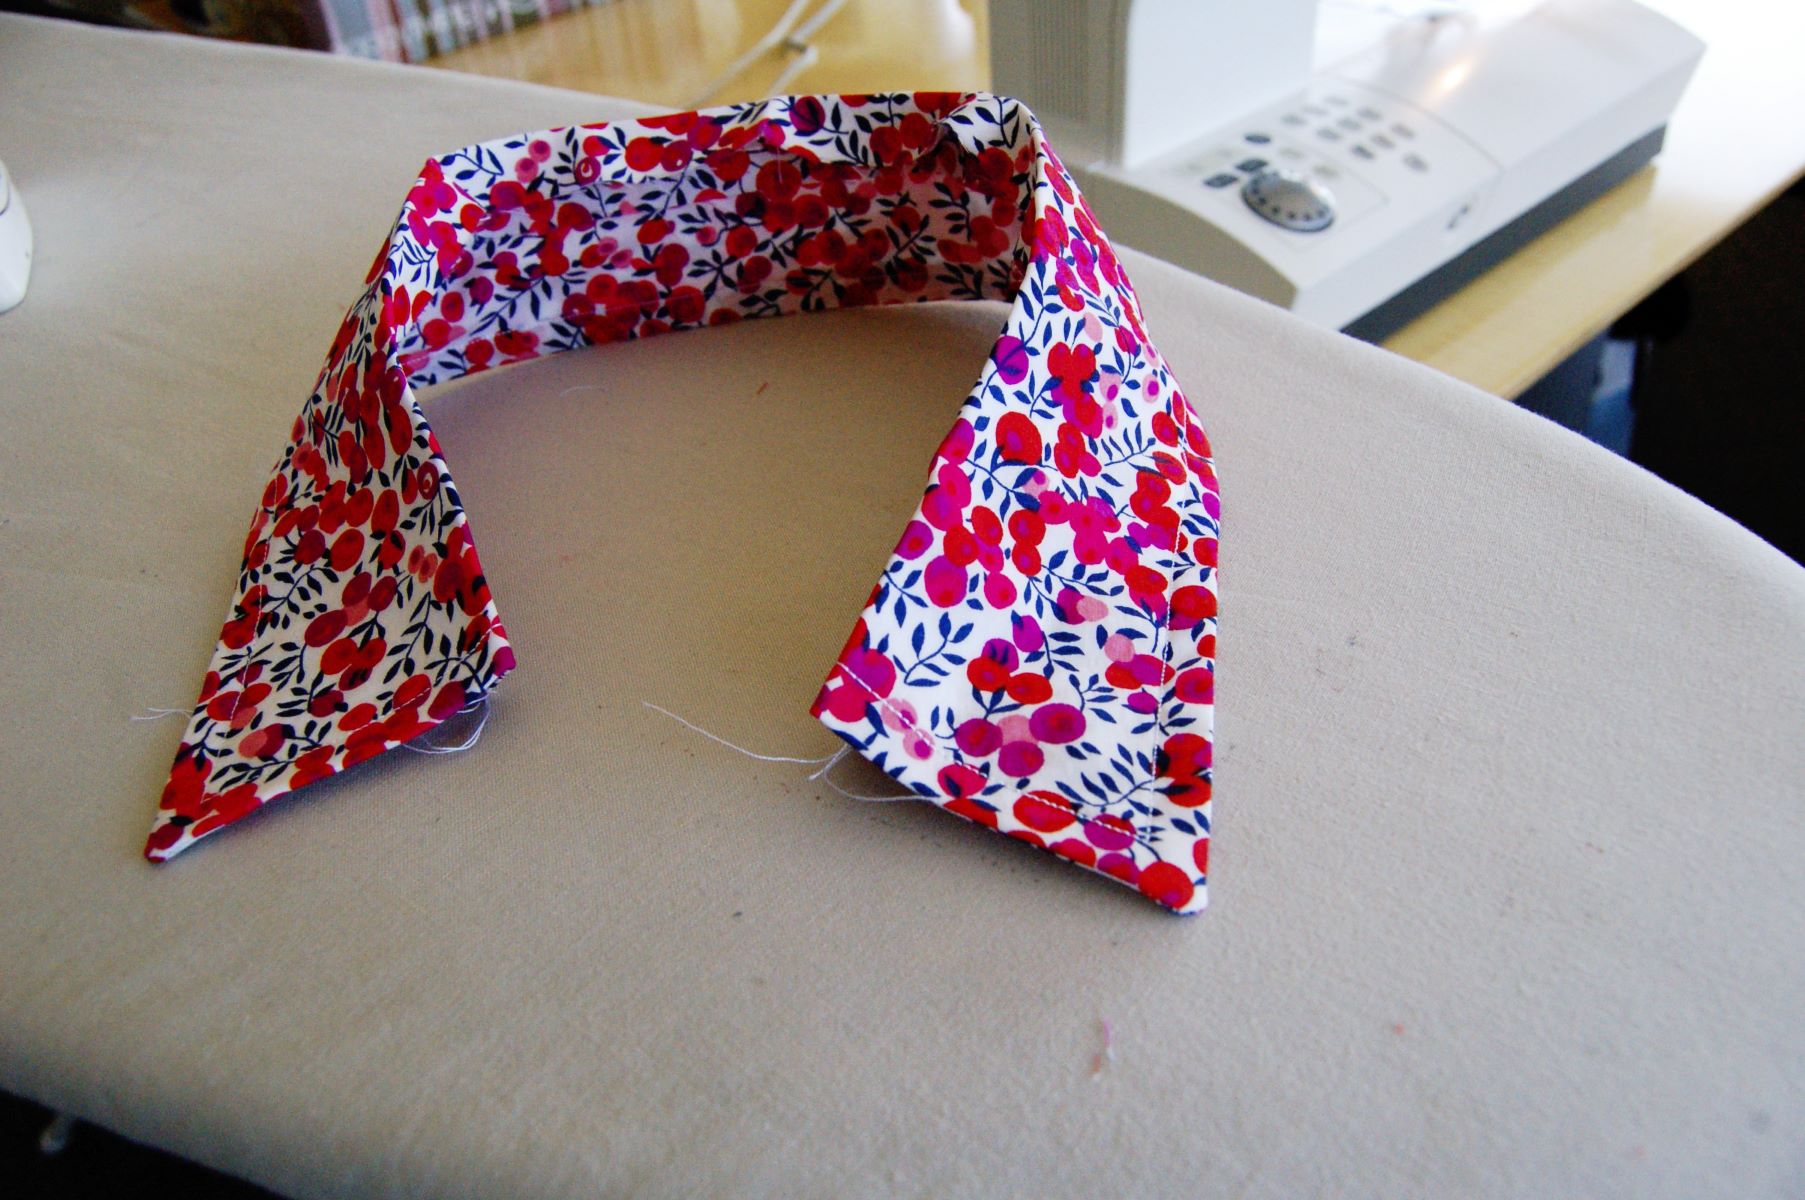
Step 2: Cutting the neckline
With the cutting line accurately marked, it's time to bring your vision to life by delicately cutting the neckline of the shirt. This step requires precision and patience to ensure clean, even cuts that align with the marked line. Here's a detailed guide on how to execute this crucial phase of the customization process:
-
Prepare for Cutting: Before making any incisions, ensure that the shirt is laid flat on a stable surface, free of wrinkles or folds. Smooth out the fabric to create a stable cutting area, allowing for greater control and accuracy during the cutting process.
-
Use Sharp Fabric Scissors: Select a pair of sharp fabric scissors designed for clean and precise cuts. Position the scissors perpendicular to the fabric, ensuring that the blades are aligned with the marked cutting line. This positioning will facilitate smooth, even cuts and prevent jagged edges.
-
Begin Cutting: With steady hands, carefully cut along the marked line, following the curvature or angles specified for the desired neckline style. Exercise patience and control to maintain a consistent cutting pace, preventing rushed or uneven cuts that could compromise the final result.
-
Maintain Smooth Movements: As you progress along the cutting line, use smooth, continuous motions to guide the scissors through the fabric. Avoid abrupt or jerky movements, as they can lead to irregular cuts and affect the overall symmetry of the neckline.
-
Double-Check Symmetry: Periodically pause to assess the symmetry of the cuts and ensure that both sides of the neckline align seamlessly. This visual inspection will help identify any discrepancies and allow for immediate adjustments to maintain uniformity.
-
Refine the Edges: Once the initial cutting is complete, refine the edges by trimming any stray threads or uneven sections. This step contributes to a polished finish and ensures that the neckline appears neat and professionally tailored.
-
Inspect the Final Cut: After completing the cutting process, step back and examine the shirt to ensure that the neckline reflects the intended style and symmetry. Make any necessary adjustments to perfect the cut, ensuring that it aligns with your creative vision.
By following these detailed steps, you can confidently navigate the process of cutting a shirt's neckline, transforming a simple garment into a personalized, fashion-forward piece that embodies your unique style. With the neckline expertly cut, you're ready to proceed to the final step and add the finishing touches to your customized shirt.
Step 3: Finishing touches
After meticulously cutting the neckline of the shirt, the final step involves adding the finishing touches to refine the customized garment and ensure a polished, professional appearance. This phase allows you to elevate the shirt's aesthetic appeal and personalize it further to align with your unique style preferences. Here's a detailed guide on how to execute the finishing touches with precision and creativity:
-
Pressing the Edges: Once the neckline is cut, carefully press the edges with an iron to create a smooth, crisp finish. This step helps the fabric settle neatly and ensures that the cut edges lay flat against the body, enhancing comfort and visual appeal.
-
Stitching or Hemming (Optional): Depending on the fabric and your design vision, you may choose to stitch or hem the neckline to reinforce the edges and prevent fraying. This step is particularly beneficial for delicate fabrics or garments intended for long-term use, as it enhances durability and longevity.
-
Embellishments and Personalization: If you desire additional flair, consider embellishing the neckline with decorative elements such as lace, beads, or fabric patches. These embellishments can add a touch of individuality to the shirt, transforming it into a unique, statement-making piece that reflects your personality.
-
Customization with Fabric Paint or Dye (Optional): For those seeking a more artistic touch, fabric paint or dye can be used to customize the neckline further. Whether it's adding a subtle design, creating a gradient effect, or incorporating personalized artwork, this step allows for boundless creativity and customization.
-
Try on and Assess: After completing the finishing touches, try on the customized shirt to assess the fit and overall aesthetic. This step provides an opportunity to ensure that the neckline aligns with your expectations and offers the desired level of comfort and style.
-
Personalized Styling: Once the finishing touches are complete, experiment with styling the customized shirt to showcase its newfound appeal. Whether paired with jeans for a casual look or layered under a blazer for a more polished ensemble, the personalized shirt can become a versatile and eye-catching addition to your wardrobe.
By embracing these finishing touches, you can elevate the customized shirt from a simple garment to a personalized fashion statement that embodies your creativity and style. The attention to detail in this final phase ensures that the shirt reflects your unique vision and showcases the artistry and craftsmanship invested in its transformation. With the finishing touches complete, your customized shirt is ready to make a stylish impact and become a cherished addition to your wardrobe.
Conclusion
In conclusion, mastering the art of cutting a shirt's neckline is not only a practical skill but also a form of self-expression and creativity. By following the step-by-step process outlined in this guide and infusing your unique vision into the customization journey, you can transform ordinary shirts into personalized fashion statements that reflect your individual style and personality.
The journey begins with gathering the essential tools and materials, setting the stage for a seamless and successful customization process. From fabric chalk and sharp fabric scissors to measuring tape and a selection of shirts ripe for transformation, the right resources empower you to embark on this creative endeavor with confidence and precision.
Marking the cutting line serves as the foundational step, allowing you to visualize and define the desired neckline style before delicately cutting the fabric. Whether crafting a classic crew neck, a trendy scoop neck, an elegant V-neck, or an alluring off-the-shoulder design, the marking process sets the stage for a tailored and intentional customization journey.
The meticulous process of cutting the neckline demands patience, precision, and a keen eye for symmetry. With steady hands and sharp fabric scissors, you delicately bring your vision to life, ensuring clean, even cuts that align seamlessly with the marked line. The careful execution of this step paves the way for a professionally tailored neckline that embodies your creative flair.
Adding the finishing touches elevates the customized shirt to new heights, allowing you to refine the garment and infuse it with personalized details. From pressing the edges for a crisp finish to exploring embellishments, fabric paint, or dye for added flair, this phase empowers you to transform the shirt into a one-of-a-kind piece that captures attention and reflects your artistic sensibilities.
As you complete the finishing touches and try on the customized shirt, the culmination of your efforts becomes evident. The personalized garment not only aligns with your style preferences but also serves as a testament to your creativity and craftsmanship. Whether worn casually or styled for a more polished ensemble, the customized shirt becomes a versatile and cherished addition to your wardrobe.
In essence, the process of cutting a shirt's neckline transcends mere customization; it represents a journey of self-expression, creativity, and sartorial artistry. By mastering this skill and infusing your unique touch into each customized piece, you can breathe new life into your wardrobe and showcase your individuality through fashion. With the knowledge and techniques acquired, you're poised to embark on a creative journey that elevates your style and sets your customized shirts apart as true reflections of your personality and vision.