Home>Technology and Computers>Troubleshooting Guide: PC Showing No Signal Despite Testing Cables, Monitor, GPU, And RAM.
Technology and Computers
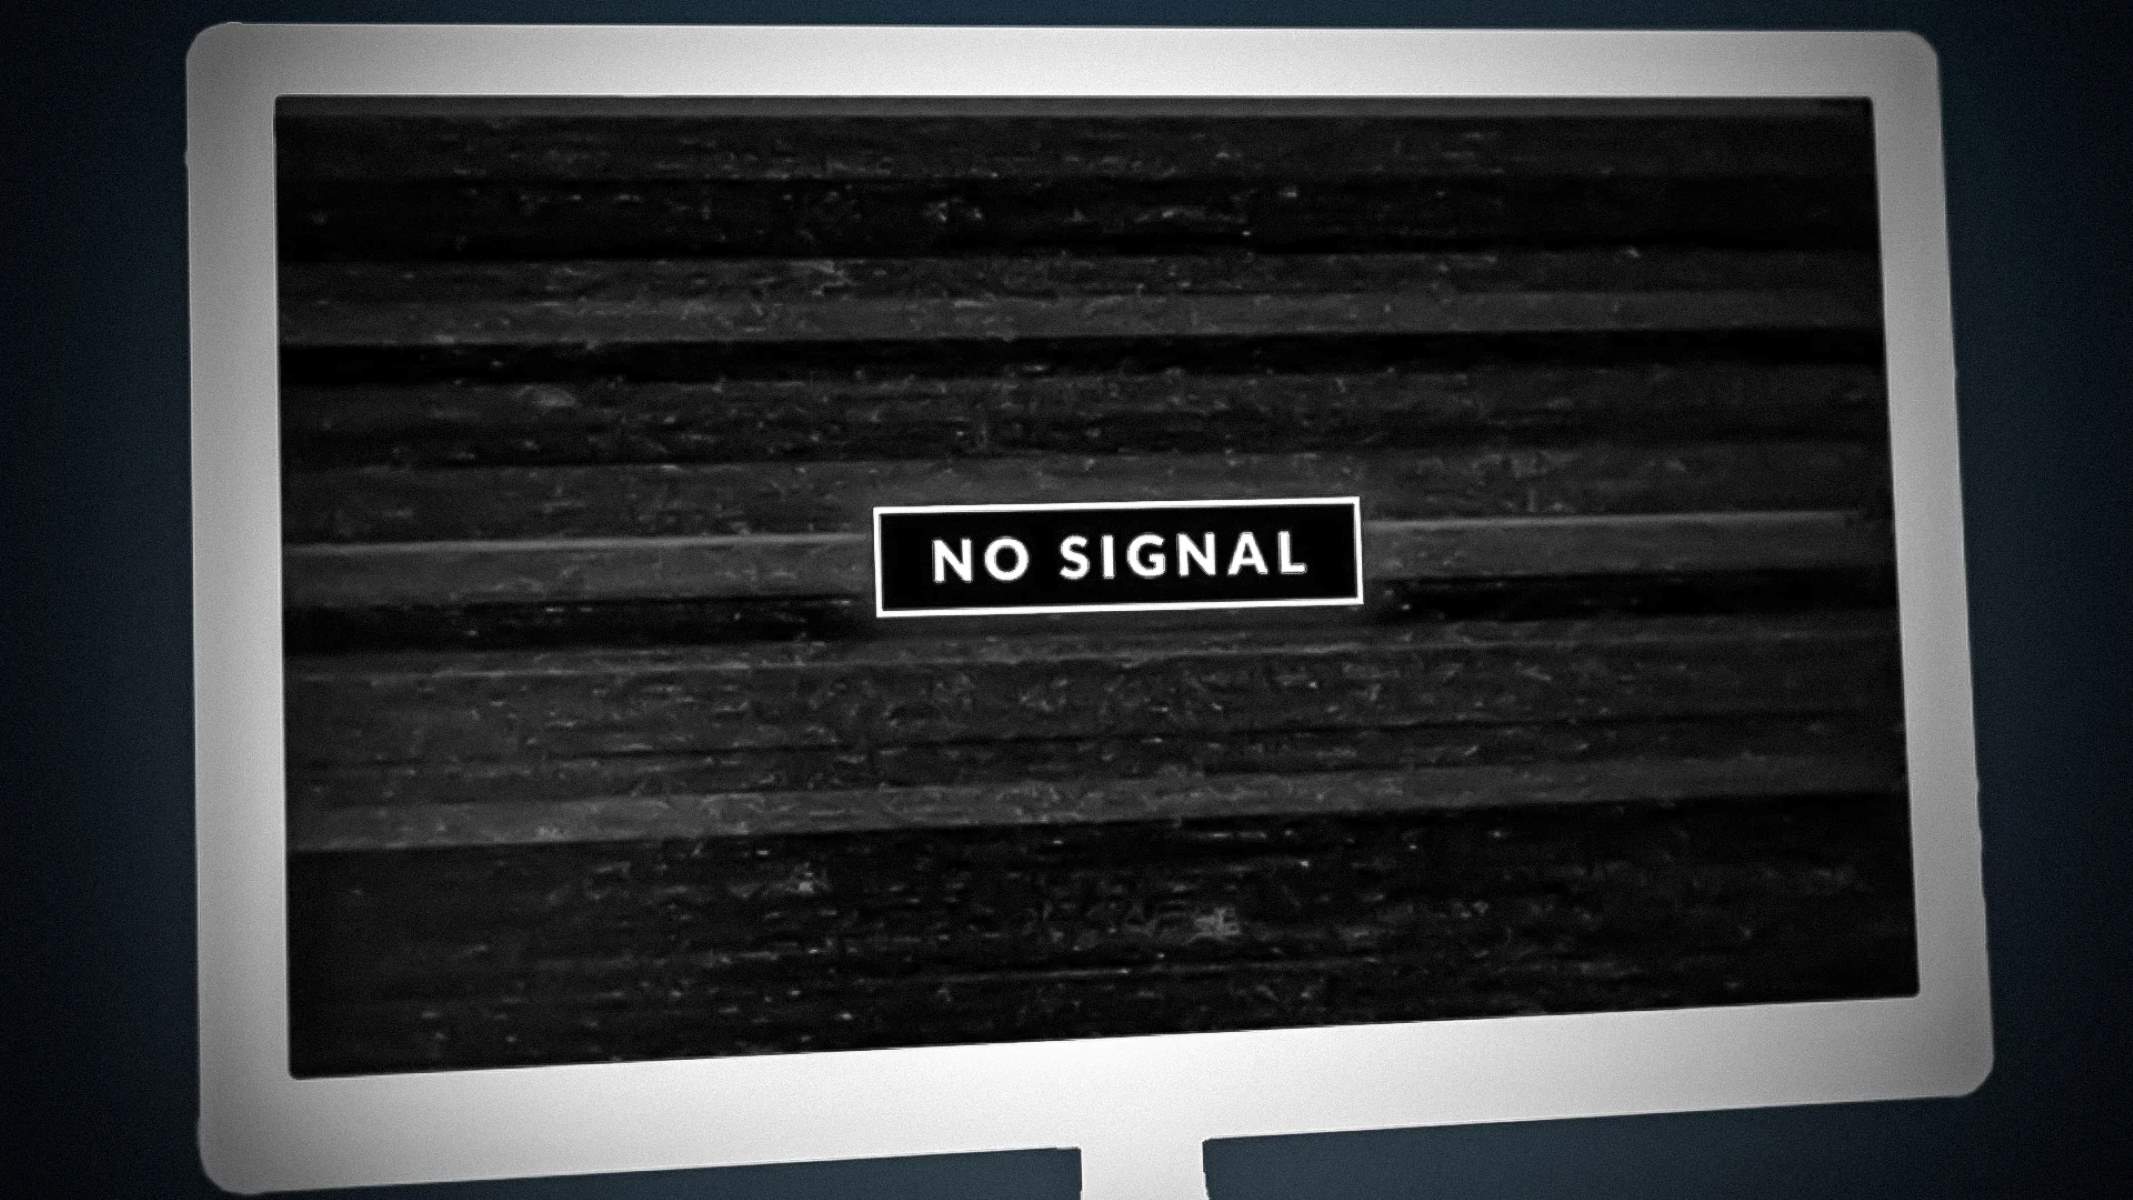
Troubleshooting Guide: PC Showing No Signal Despite Testing Cables, Monitor, GPU, And RAM.
Published: February 20, 2024
Having trouble with your PC showing no signal despite testing cables, monitor, GPU, and RAM? Our troubleshooting guide has the solutions you need. Explore now!
(Many of the links in this article redirect to a specific reviewed product. Your purchase of these products through affiliate links helps to generate commission for Regretless.com, at no extra cost. Learn more)
Table of Contents
Introduction
Encountering the dreaded "no signal" message on your PC monitor can be a frustrating experience, especially when you're eager to dive into your favorite games or tackle important tasks. This issue often leaves users scratching their heads, wondering what could be causing the display problem despite seemingly functional components. However, fear not, as we're here to guide you through the troubleshooting process to identify and resolve the root cause of this vexing issue.
When your PC fails to establish a connection with the monitor, it's crucial to approach the situation systematically. By following a step-by-step troubleshooting process, you can effectively pinpoint the source of the problem and take the necessary measures to rectify it. In this comprehensive guide, we'll delve into the key steps to take when your PC displays no signal despite testing the cables, monitor, GPU, and RAM.
So, if you're currently facing this perplexing dilemma, don't fret. We'll walk you through the troubleshooting process, providing insights and practical tips to help you get your PC up and running again. Let's embark on this troubleshooting journey together and unravel the mystery behind the elusive "no signal" message.
Read more: How To Test A Starter
Step 1: Check the Cables
The first and foremost step in troubleshooting a "no signal" issue on your PC is to meticulously inspect the cables connecting your computer to the monitor. Oftentimes, a loose or faulty cable can be the culprit behind the frustrating lack of display. Here's a detailed breakdown of the essential aspects to consider during this crucial step:
-
Power Cables: Begin by ensuring that the power cable connecting your monitor to a power source is firmly plugged in. It's not uncommon for this connection to become loose over time, leading to power supply disruptions and subsequently, a "no signal" message on the screen.
-
Video Cables: Next, examine the video cable linking your PC to the monitor. If you're using a desktop, this is typically a VGA, DVI, HDMI, or DisplayPort cable. For laptops, it could be an HDMI or VGA cable. Check for any signs of physical damage, such as fraying or bent pins, and ensure that the cable is securely connected to both the PC and the monitor.
-
Adapter Compatibility: In cases where adapters are used to connect the video cable to the PC or monitor, verify that they are compatible with both devices. Using incompatible adapters can lead to signal transmission issues, resulting in a blank screen.
-
Multiple Inputs: Some monitors support multiple input sources. If your monitor has this feature, ensure that it is set to the correct input source corresponding to the cable connected to your PC. For instance, if your PC is connected via HDMI, ensure that the monitor is set to receive input from the HDMI port.
-
Alternate Cables: Consider testing the connection using alternate cables, especially if you have spares available. This can help rule out the possibility of a faulty cable causing the "no signal" problem.
By meticulously examining and addressing potential cable-related issues, you can effectively eliminate this common source of the "no signal" problem. Once you've thoroughly checked the cables and ensured that they are in optimal condition, it's time to move on to the next step in our troubleshooting journey.
This step is crucial in identifying and resolving the "no signal" issue, and by methodically addressing cable-related concerns, you're one step closer to restoring the display functionality of your PC.
Step 2: Test the Monitor
After meticulously examining the cables and ensuring that they are in optimal condition, the next pivotal step in troubleshooting the "no signal" issue on your PC involves testing the monitor itself. While the monitor may appear to be functioning, there are underlying factors that could contribute to the lack of display signal. Here's a comprehensive breakdown of the essential aspects to consider during this critical phase:
-
Power Status: Begin by verifying that the monitor is receiving power and turned on. Check for any indicator lights or on-screen displays that signify the monitor's power status. If the monitor appears to be unresponsive or lacking power, ensure that it is securely connected to a functional power source.
-
Display Source Selection: Many modern monitors support multiple display input sources, such as HDMI, VGA, DVI, or DisplayPort. It's imperative to confirm that the monitor is set to receive input from the correct source corresponding to the cable connected to your PC. Navigate through the monitor's on-screen display menu to select the appropriate input source, ensuring that it aligns with the cable connected to your PC.
-
Physical Inspection: Thoroughly examine the monitor for any signs of physical damage, such as cracked screens, loose connections, or malfunctioning buttons. Additionally, check the monitor's ports for any debris or foreign objects that may impede the connection with the PC.
-
External Interference: External factors, such as electromagnetic interference from nearby electronic devices, can disrupt the monitor's display functionality. Ensure that the monitor is positioned away from potential sources of interference, such as speakers, routers, or other electronic devices.
-
Test with Another Device: To ascertain the monitor's functionality, consider connecting it to another compatible device, such as a laptop or another PC. By doing so, you can determine whether the monitor displays content from the alternate device, thereby isolating the issue to either the monitor or the PC.
By meticulously testing the monitor and addressing potential issues that may impede its functionality, you can effectively narrow down the root cause of the "no signal" problem. Once you've completed the monitor testing phase and confirmed its operational status, you can proceed to the next step in our troubleshooting journey.
This step is pivotal in identifying and resolving the "no signal" issue, and by methodically addressing monitor-related concerns, you're one step closer to restoring the display functionality of your PC.
Step 3: Troubleshoot the GPU
As we delve deeper into the troubleshooting process for the "no signal" issue on your PC, the next critical step involves focusing on the Graphics Processing Unit (GPU). The GPU plays a pivotal role in rendering and transmitting visual data to your monitor, making it a key component to scrutinize when encountering display problems. Here's a comprehensive exploration of the essential aspects to consider during this crucial phase:
-
Driver Status: Begin by assessing the status of your GPU drivers. Outdated or corrupted drivers can lead to display issues, including the "no signal" problem. Ensure that your GPU drivers are up to date by accessing the manufacturer's official website or utilizing dedicated driver update software. By installing the latest drivers, you can potentially resolve compatibility issues and enhance the GPU's performance.
-
Physical Inspection: Thoroughly examine the GPU for any visible signs of damage or irregularities. Check for loose connections, damaged ports, or accumulated dust that may impede the GPU's functionality. Additionally, ensure that the GPU is securely seated in its designated slot on the motherboard, as a loose connection can disrupt the display output.
-
Integrated Graphics: If your CPU includes integrated graphics capabilities, consider temporarily connecting the monitor directly to the motherboard's video output. By bypassing the dedicated GPU and utilizing the integrated graphics, you can determine whether the issue stems from the GPU or other potential factors.
-
Temperature and Cooling: Overheating can adversely affect the GPU's performance and lead to display anomalies. Monitor the GPU's temperature using dedicated software and ensure that the cooling system, including fans and heatsinks, is effectively dissipating heat. Cleaning the GPU's cooling components can mitigate thermal issues and potentially alleviate display problems.
-
Testing with Another GPU: If available, consider testing the PC with an alternate GPU. By swapping out the GPU with a known functional one, you can ascertain whether the "no signal" issue persists. This step can help isolate the problem to the GPU itself, providing valuable insights for further troubleshooting.
By meticulously scrutinizing the GPU and addressing potential issues that may impact its functionality, you can effectively narrow down the root cause of the "no signal" problem. Once you've completed the GPU troubleshooting phase and confirmed its operational status, you can proceed to the subsequent steps in our troubleshooting journey.
This step is pivotal in identifying and resolving the "no signal" issue, and by methodically addressing GPU-related concerns, you're one step closer to restoring the display functionality of your PC.
Step 4: Examine the RAM
As we progress through the comprehensive troubleshooting process for the "no signal" issue on your PC, it's imperative to direct our attention to the Random Access Memory (RAM). The RAM plays a crucial role in storing and accessing data required for the smooth operation of your system, including the display output. Here's an in-depth exploration of the essential aspects to consider during this critical phase:
-
Memory Configuration: Begin by verifying the configuration and seating of the RAM modules on the motherboard. Ensure that the RAM modules are securely inserted into their designated slots, with the retention clips fully engaged. A loose or improperly seated RAM module can lead to erratic system behavior, including display issues.
-
Memory Testing: Utilize diagnostic tools, such as Memtest86 or Windows Memory Diagnostic, to conduct a thorough assessment of the RAM's integrity. These tools can identify potential memory errors or malfunctions that may contribute to the "no signal" problem. Running a comprehensive memory test can provide valuable insights into the overall health of your system's RAM.
-
Module Interchangeability: If your system incorporates multiple RAM modules, consider testing each module individually. By isolating and testing each module in different slots, you can identify whether a specific RAM module or slot is causing the display problem. This step can help pinpoint the source of the issue and guide subsequent troubleshooting actions.
-
Cleaning and Re-seating: Over time, dust and debris can accumulate on the RAM modules and motherboard slots, potentially leading to poor connectivity and intermittent issues. Carefully remove the RAM modules, clean the contacts using a soft, dry brush or compressed air, and re-seat the modules firmly. This process can help eliminate connectivity-related issues and ensure optimal contact between the RAM and the motherboard.
-
BIOS Settings: Access the system's BIOS or UEFI interface to review the memory-related settings. Ensure that the RAM frequency, timings, and voltage settings align with the manufacturer's specifications. Making adjustments to these settings should be approached with caution, as improper configurations can lead to system instability. However, verifying that the BIOS settings are in line with the recommended parameters can contribute to resolving potential RAM-related issues.
By meticulously examining the RAM and addressing potential issues that may impact its functionality, you can effectively narrow down the root cause of the "no signal" problem. Once you've completed the RAM examination phase and confirmed its operational status, you can proceed to the subsequent steps in our troubleshooting journey.
This step is pivotal in identifying and resolving the "no signal" issue, and by methodically addressing RAM-related concerns, you're one step closer to restoring the display functionality of your PC.
Conclusion
In conclusion, troubleshooting a "no signal" issue on your PC demands a systematic and thorough approach to identify and resolve the underlying causes. By meticulously examining the cables, testing the monitor, scrutinizing the GPU, and examining the RAM, you've embarked on a journey to unravel the mystery behind the elusive display problem.
Throughout this troubleshooting process, you've delved into the intricate details of each component, ensuring that potential issues, whether related to connectivity, functionality, or configuration, were meticulously addressed. From verifying the integrity of the power and video cables to assessing the operational status of the GPU and RAM, you've navigated through a comprehensive diagnostic path to restore the display functionality of your PC.
It's important to acknowledge the significance of patience and methodical analysis when troubleshooting technical issues. The process of identifying and resolving a "no signal" problem often involves meticulous attention to detail, a willingness to explore multiple potential causes, and the perseverance to test and validate each step along the way.
As you conclude this troubleshooting endeavor, it's essential to reflect on the insights gained and the skills honed throughout the process. Whether you've successfully resolved the issue or uncovered valuable diagnostic information, this experience contributes to your technical proficiency and problem-solving capabilities.
While the specific resolution to the "no signal" problem may vary based on individual circumstances, the journey you've undertaken serves as a testament to your resilience and determination in the face of technical challenges. Whether it's a faulty cable, a misconfigured setting, or a component in need of replacement, your commitment to troubleshooting has equipped you with valuable knowledge and skills that extend beyond this particular issue.
As you move forward, remember that the troubleshooting process is not just about resolving immediate problems; it's an opportunity for continuous learning and growth. The insights gained from this experience will undoubtedly serve you well in future technical endeavors, empowering you to tackle challenges with confidence and expertise.
In the realm of technology, each troubleshooting journey contributes to a deeper understanding of systems, components, and their interdependencies. Embrace the lessons learned, celebrate the victories, and carry forward the invaluable skills honed during this troubleshooting expedition. Your dedication to unraveling the "no signal" mystery exemplifies your commitment to mastering the intricacies of technology and overcoming obstacles with unwavering resolve.