Home>Technology and Computers>Say Goodbye To Annoying Air Bubbles Under Your Screen Protector With These Genius Hacks!
Technology and Computers
Say Goodbye To Annoying Air Bubbles Under Your Screen Protector With These Genius Hacks!
Published: January 26, 2024
Say goodbye to annoying air bubbles under your screen protector with these genius technology and computer hacks! Keep your devices looking flawless and bubble-free.
(Many of the links in this article redirect to a specific reviewed product. Your purchase of these products through affiliate links helps to generate commission for Regretless.com, at no extra cost. Learn more)
Table of Contents
Introduction
Screen protectors are an essential accessory for safeguarding the delicate displays of our beloved devices. Whether it's a smartphone, tablet, or laptop, these transparent layers serve as the first line of defense against scratches, smudges, and cracks. However, the process of applying a screen protector can often be frustrating, especially when air bubbles stubbornly refuse to vanish beneath the surface. Fear not, for there are ingenious hacks and techniques that can bid farewell to these pesky air bubbles once and for all.
In this comprehensive guide, we will explore a range of expert-approved methods to ensure a flawless application of your screen protector. From mastering the art of proper cleaning to employing clever dust removal techniques, we've got you covered. Say goodbye to the exasperating sight of trapped air bubbles marring your screen, as we delve into the secrets of achieving a pristine, bubble-free finish. So, grab your preferred device and let's embark on this journey to conquer the notorious air bubbles that plague screen protector applications.
Proper Cleaning Technique
Before embarking on the application of a screen protector, it is paramount to ensure that the device's screen is immaculately clean. Any lingering dust, fingerprints, or debris can disrupt the seamless adhesion of the protector, leading to the formation of unsightly air bubbles. To execute the proper cleaning technique, follow these meticulous steps:
-
Gather the Essential Supplies: Begin by assembling the necessary cleaning supplies, including a microfiber cloth, screen cleaner solution, and adhesive tape.
-
Power Off and Detach Accessories: Power off the device and detach any accessories, such as chargers or earphones, to facilitate unobstructed access to the screen.
-
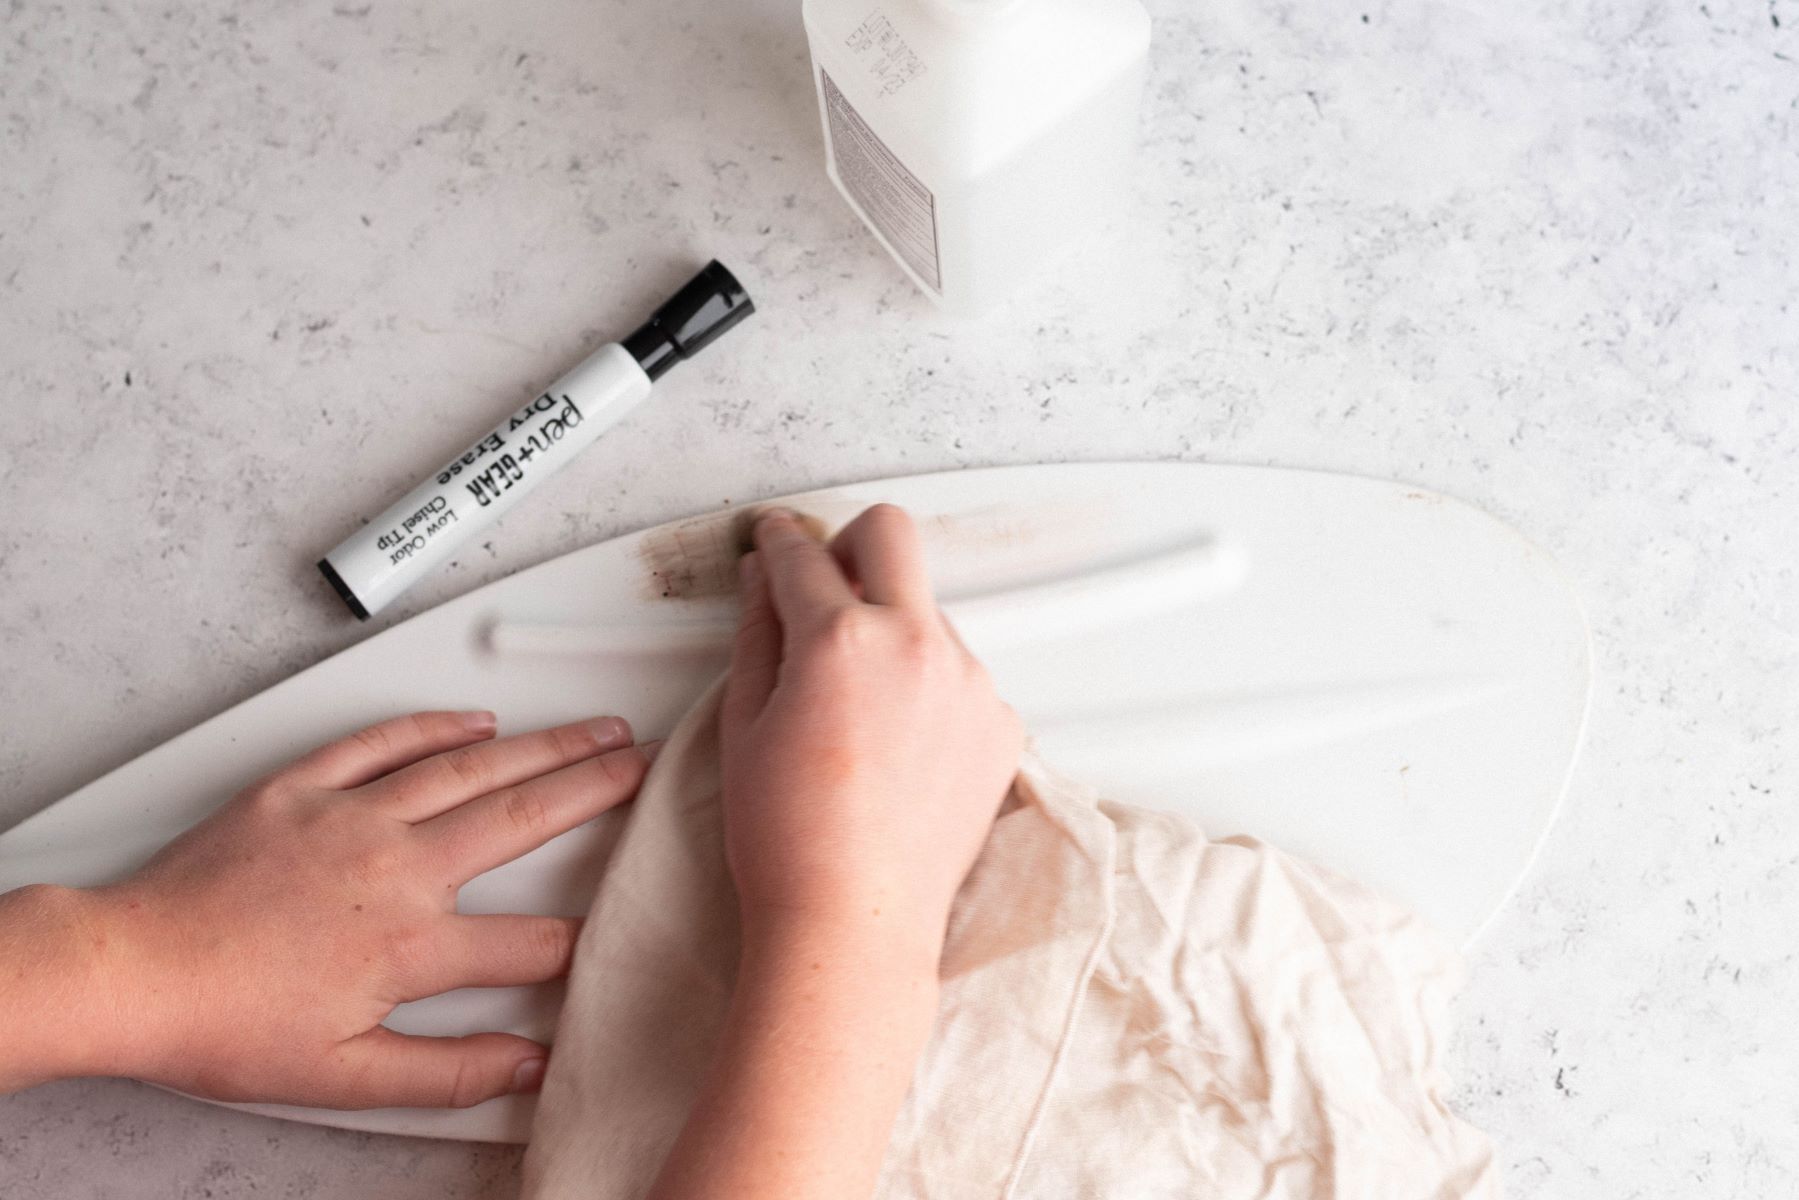
Dust Removal: Utilize the microfiber cloth to gently wipe away any visible dust particles and smudges from the screen's surface. Ensure that the cloth is clean and free from abrasive particles that could potentially scratch the screen.
-
Screen Cleaner Application: Apply a small amount of the screen cleaner solution to the microfiber cloth. Gently wipe the screen in a circular motion, ensuring thorough coverage while avoiding excessive moisture.
-
Precision with Edges and Corners: Pay particular attention to the edges and corners of the screen, as these areas are prone to accumulating dirt and grime. Use precise, gentle motions to remove any stubborn residue.
-
Tape Technique for Stubborn Debris: For persistent debris or dust particles that resist conventional cleaning methods, the adhesive tape technique can be employed. Simply dab a piece of adhesive tape onto the affected areas to lift off any remaining particles.
By meticulously adhering to this proper cleaning technique, you can effectively create an optimal foundation for the subsequent application of the screen protector. A pristine and debris-free screen significantly reduces the likelihood of air bubbles forming during the installation process, ensuring a seamless and visually appealing outcome.
Dust Removal Method
Proper dust removal is a critical precursor to achieving a flawless screen protector application. Even the tiniest particles of dust can wreak havoc, resulting in those irksome air bubbles that detract from the pristine appearance of the screen. To combat this common nuisance, employing an effective dust removal method is paramount.
Step 1: Controlled Environment
Begin by setting the stage for a dust-free operation. Choose a well-lit, low-dust environment to minimize the risk of airborne particles settling onto the screen during the application process. A controlled environment significantly reduces the likelihood of dust interference.
Step 2: Compressed Air
Utilize a can of compressed air to gently blow away any lingering dust particles from the screen. Hold the can upright and employ short, controlled bursts to dislodge any minute debris that may be present. This method is particularly effective in clearing dust from the screen's surface and its surrounding areas.
Step 3: Dust Removal Sticker
A dust removal sticker, often included in screen protector kits, is a valuable tool for eliminating stubborn particles. Carefully peel off the dust removal sticker from its packaging and lightly press it onto the screen. The adhesive properties of the sticker effectively lift away any remaining dust, ensuring a pristine surface for the screen protector's application.
Step 4: Inspection
Thoroughly inspect the screen to ensure that all visible dust particles have been successfully removed. Utilize a gentle, oblique light source to identify any lingering specks that may have escaped previous removal attempts. This meticulous inspection is crucial in preemptively addressing any potential sources of air bubbles.
By meticulously following this dust removal method, you can significantly minimize the risk of air bubbles forming during the screen protector application. A diligent approach to dust removal sets the stage for a seamless and visually pleasing outcome, ensuring that your device's screen remains free from unsightly imperfections.
The dust removal method is a fundamental aspect of the screen protector application process, and its importance cannot be overstated. By incorporating these meticulous dust removal techniques into your application routine, you can bid farewell to the frustration of battling air bubbles and revel in the satisfaction of a flawlessly applied screen protector.
Slow and Steady Application
The process of applying a screen protector demands patience, precision, and a methodical approach to ensure a bubble-free outcome. The "slow and steady" application technique is a fundamental principle that underpins the successful installation of a screen protector. By adhering to this method, you can mitigate the risk of air bubbles and achieve a seamlessly applied protector that enhances the visual appeal of your device's screen.
Step 1: Aligning the Protector
Commence the application process by carefully aligning the screen protector with the device's screen. Take note of the precise positioning to ensure proper alignment before proceeding further. This initial step sets the stage for the subsequent stages of the application, emphasizing the significance of a meticulous approach.
Step 2: Peeling Off the Backing
Once the alignment is perfected, gently peel off the backing of the screen protector, exposing the adhesive side that will come into direct contact with the device's screen. Exercise caution and avoid hasty movements, as a gradual and deliberate approach is essential to prevent the formation of air bubbles during this crucial phase.
Step 3: Controlled Adhesion
As the adhesive side is revealed, begin the controlled adhesion process by gradually lowering the protector onto the screen. Initiate the application from one edge, allowing the protector to make contact with the screen in a methodical manner. Avoid abrupt movements or applying excessive pressure, as these actions can inadvertently trap air beneath the protector, leading to the formation of bubbles.
Step 4: Smoothing Out the Protector
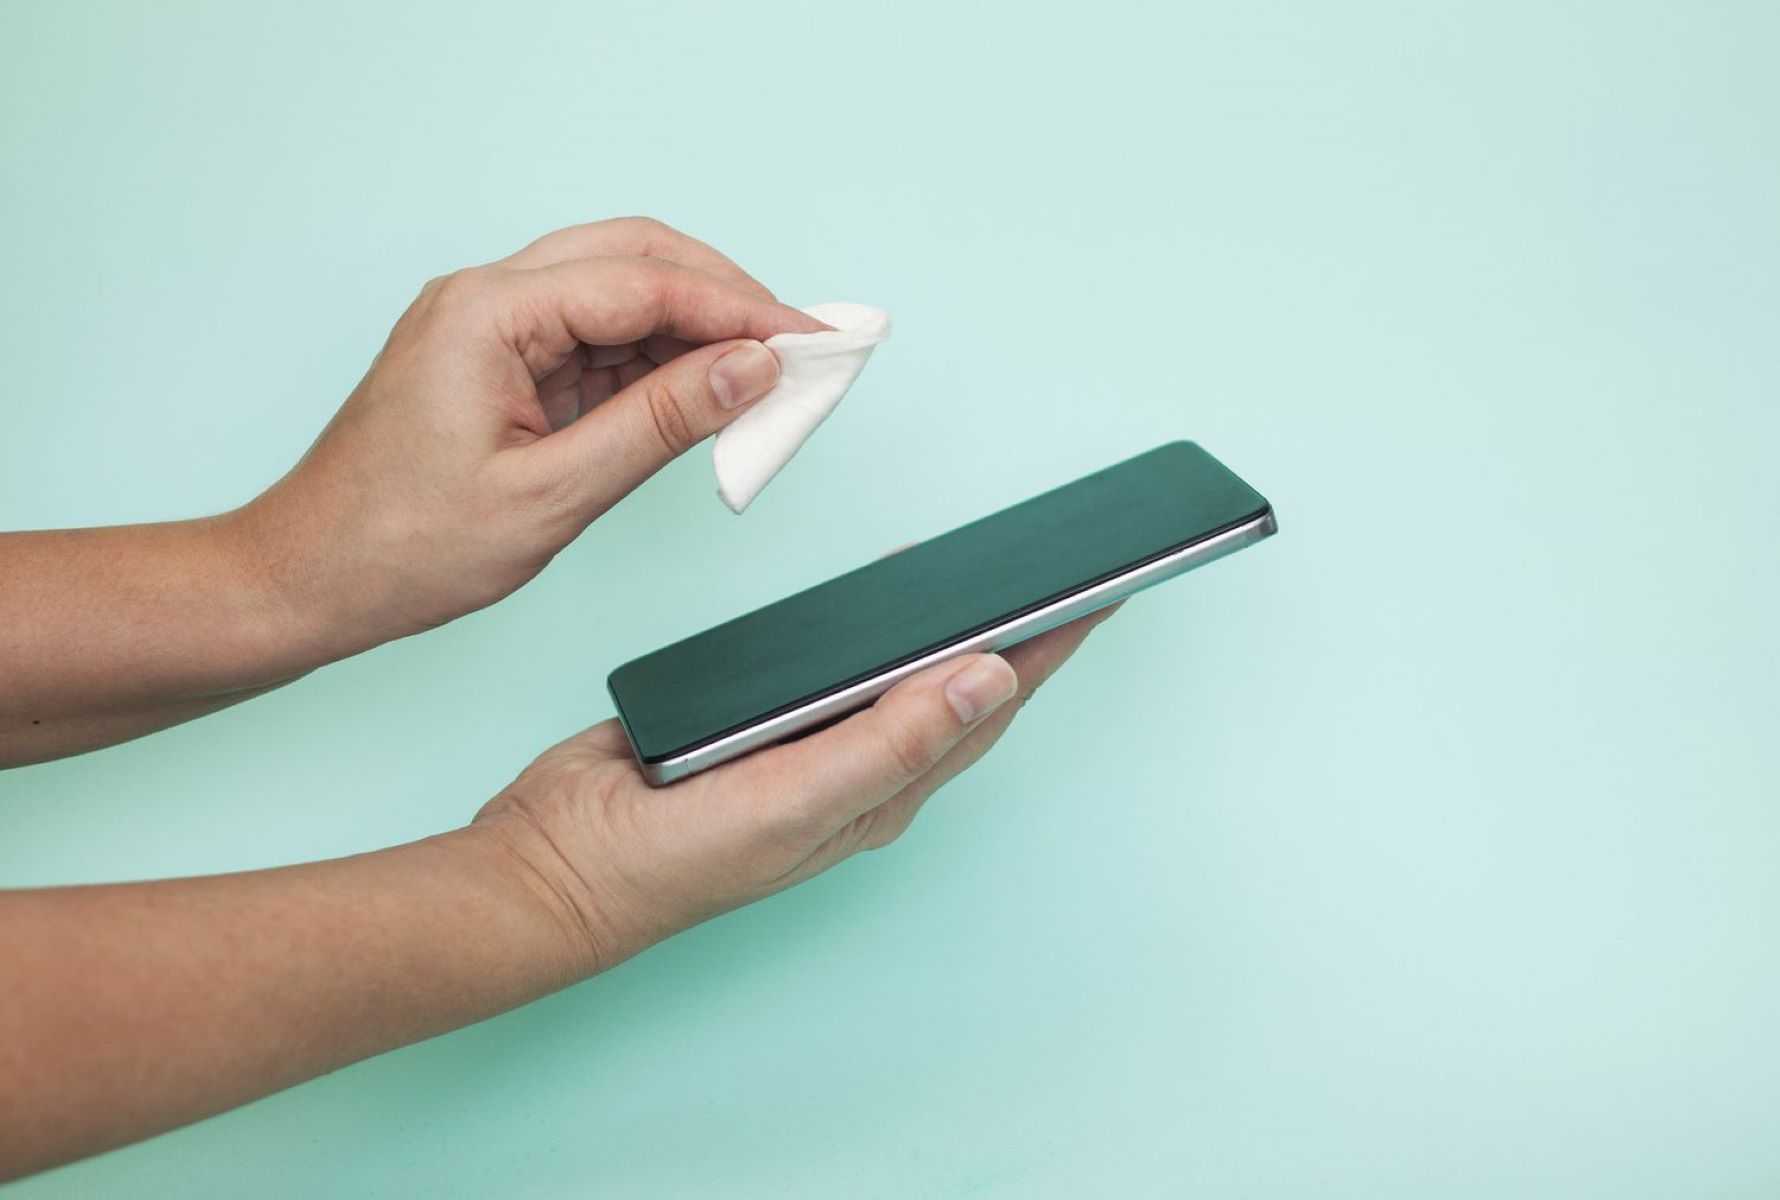
Once the protector is in contact with the screen, utilize a soft, lint-free cloth or a dedicated squeegee to gently smooth out the protector's surface. Employ gentle, sweeping motions to eliminate any potential air pockets and ensure optimal adhesion. This meticulous smoothing process contributes to the prevention of air bubbles, resulting in a flawless finish.
Step 5: Final Inspection
Conclude the application process by conducting a comprehensive inspection of the screen. Carefully examine the edges and surface of the protector to detect any signs of air bubbles. If any bubbles are detected, employ the squeegee or a microfiber cloth to gently press them outwards, guiding them towards the protector's edge for a seamless expulsion.
By embracing the "slow and steady" application technique, you can navigate the process with precision and finesse, minimizing the likelihood of air bubbles and achieving a pristine result. Patience and attention to detail are paramount throughout each stage, culminating in a flawlessly applied screen protector that enhances the visual clarity and protection of your device's screen.
Squeegee Technique
The squeegee technique is a pivotal step in the process of applying a screen protector, playing a crucial role in ensuring a smooth, bubble-free outcome. This method involves the strategic use of a squeegee, a dedicated tool designed to facilitate the expulsion of air bubbles and the seamless adhesion of the protector to the device's screen.
Step 1: Selecting the Appropriate Squeegee
Before embarking on the application process, it is essential to select the appropriate squeegee for the task at hand. Opt for a squeegee specifically designed for screen protector applications, as these tools are engineered to exert controlled pressure without causing damage to the delicate surface of the protector or the device's screen. The squeegee's material should be soft and non-abrasive, ensuring that it effectively smooths out the protector while minimizing the risk of scratches or blemishes.
Step 2: Guided Pressure Application
Once the screen protector is in position, the squeegee is employed to gently guide the expulsion of air bubbles from beneath the protector. Begin by placing the squeegee at the center of the protector and exerting controlled pressure as you gradually move towards the edges. Employ smooth, sweeping motions to encourage the air bubbles to disperse, effectively maneuvering them towards the protector's periphery for effortless elimination.
Step 3: Ensuring Optimal Adhesion
As the squeegee glides across the protector's surface, it facilitates optimal adhesion by pressing the protector firmly against the device's screen. The strategic application of pressure aids in minimizing the presence of air pockets, resulting in a visually pleasing, bubble-free finish. It is crucial to maintain a steady, even pressure throughout the process, ensuring that the protector adheres seamlessly without the intrusion of air bubbles.
Read more: Say Goodbye To Annoying Squeaks And Reverse Rotation With This Simple Fix For Your Ceiling Fan!
Step 4: Addressing Persistent Air Bubbles
In the event of persistent air bubbles that resist initial expulsion, the squeegee serves as a valuable tool for targeted intervention. By concentrating the pressure on specific areas where air bubbles are present, the squeegee enables precise manipulation, guiding the bubbles towards the protector's edges for swift elimination. This meticulous approach ensures that even the most stubborn air bubbles are effectively addressed, contributing to the attainment of a flawless outcome.
Step 5: Final Assessment
Upon completing the squeegee technique, conduct a thorough visual inspection to ascertain the success of the process. Carefully scrutinize the protector's surface to identify any remaining air bubbles, utilizing the squeegee or a microfiber cloth to gently expel any lingering imperfections. This final assessment ensures that the protector is impeccably applied, free from the intrusion of air bubbles that could compromise its visual appeal and functionality.
By mastering the squeegee technique, you can navigate the screen protector application process with confidence, knowing that you possess the expertise to achieve a seamless, bubble-free result. The strategic utilization of the squeegee empowers you to exert precise control over the adhesion and expulsion of air bubbles, culminating in a flawlessly applied protector that enhances the clarity and protection of your device's screen.
Tape Trick
The "Tape Trick" stands as a clever and effective method to combat stubborn air bubbles during the application of a screen protector. This ingenious technique harnesses the adhesive properties of tape to address persistent air pockets, ensuring a flawless and visually appealing outcome.
Step 1: Selection of the Tape
The Tape Trick commences with the selection of an appropriate adhesive tape. Opt for a piece of clear, transparent tape that adheres securely without leaving behind residue or causing damage to the screen protector or the device's screen. The tape should possess sufficient adhesive strength to lift and expel air bubbles while maintaining gentle adhesion to the protector's surface.
Step 2: Identifying Air Bubbles
Upon detecting the presence of air bubbles beneath the screen protector, carefully pinpoint their locations to facilitate targeted intervention. The Tape Trick is particularly effective in addressing isolated or persistent air bubbles that evade expulsion through conventional methods, offering a tailored solution to achieve a pristine finish.
Step 3: Application of the Tape
Gently affix the clear tape directly onto the surface of the screen protector, precisely positioning it over the area occupied by the air bubble. Employ delicate pressure to ensure that the tape adheres securely to the protector's surface, encapsulating the air bubble beneath its transparent layer.
Step 4: Expulsion of Air Bubbles
With the tape securely in place, utilize controlled movements to lift and expel the air bubble from beneath the protector. Employ your fingertips or a dedicated tool to press down on the tape, guiding the air bubble towards the tape's edge for swift and effortless expulsion. This meticulous process ensures that the air bubble is effectively eliminated, contributing to a seamless and visually pleasing outcome.
Step 5: Removal of the Tape
After successfully expelling the air bubble, gently peel away the tape from the screen protector, taking care to avoid disrupting the protector's adhesion to the device's screen. The transparent tape leaves behind a pristine surface, devoid of the previously trapped air bubble, ensuring that the protector remains flawlessly applied.
By integrating the Tape Trick into the screen protector application process, you gain a valuable tool for addressing persistent air bubbles with precision and efficacy. This method complements existing techniques, offering a targeted approach to expelling air bubbles and achieving a visually immaculate result. Embrace the Tape Trick as a strategic ally in your quest for a flawless screen protector application, harnessing its adhesive prowess to conquer the challenge of stubborn air bubbles.
Press and Hold Method
The "Press and Hold" method represents a fundamental technique in the pursuit of a flawless screen protector application. This approach emphasizes the strategic utilization of pressure and time to ensure optimal adhesion and the expulsion of air bubbles, culminating in a visually pleasing and seamlessly applied protector.
Step 1: Controlled Application of Pressure
Upon positioning the screen protector onto the device's screen, commence the "Press and Hold" method by exerting controlled pressure across the surface of the protector. Utilize your fingertips or a dedicated tool to apply gentle, even pressure, initiating from the center and gradually progressing towards the edges. This methodical approach facilitates the expulsion of air pockets and encourages the protector to adhere seamlessly to the screen, minimizing the risk of air bubble formation.
Step 2: Sustained Application of Pressure
Following the initial application of pressure, maintain the contact between the protector and the screen, sustaining the applied pressure for a designated period. This sustained pressure allows the adhesive properties of the protector to establish a secure bond with the screen, minimizing the potential for air bubbles to form during the crucial adhesion phase. The duration of sustained pressure may vary based on the specific instructions provided with the screen protector, ensuring that the adhesive achieves optimal activation and adhesion.
Step 3: Meticulous Inspection
After the sustained application of pressure, conduct a meticulous inspection of the screen protector to ascertain the success of the method. Carefully scrutinize the surface for any signs of air bubbles, utilizing a gentle, oblique light source to reveal any imperfections that may have emerged during the adhesion process. If any air bubbles are detected, employ targeted pressure and manipulation to guide them towards the protector's edges, ensuring their swift expulsion and the attainment of a pristine finish.
Step 4: Visual Confirmation
Upon completing the "Press and Hold" method, visually confirm the outcome of the application. Thoroughly examine the protector's surface to verify the absence of air bubbles and the seamless adhesion to the screen. This visual confirmation serves as a testament to the efficacy of the method, affirming the successful application of the protector and the elimination of potential imperfections that could compromise its visual clarity and protective capabilities.
By embracing the "Press and Hold" method, you empower yourself with a fundamental technique that fosters the seamless adhesion of a screen protector while minimizing the intrusion of air bubbles. This methodical approach, characterized by controlled pressure and sustained adhesion, contributes to the attainment of a visually immaculate outcome, enhancing the protection and aesthetic appeal of your device's screen.
Conclusion
In conclusion, the successful application of a screen protector hinges upon a combination of meticulous techniques, patience, and a keen eye for detail. The journey to achieving a flawless, bubble-free outcome begins with the implementation of a proper cleaning technique, ensuring that the device's screen is pristine and free from debris. This foundational step sets the stage for subsequent methods, such as the strategic removal of dust particles and the slow and steady application of the screen protector.
The dust removal method stands as a pivotal aspect of the application process, offering targeted solutions to combat the intrusion of air bubbles. By creating a controlled environment and employing the can of compressed air and dust removal sticker, the risk of air bubbles is significantly minimized, paving the way for a seamless application.
The "slow and steady" application technique underscores the importance of precision and patience, guiding users through the delicate process of aligning, peeling, and smoothing the screen protector. This methodical approach, complemented by the strategic utilization of a squeegee, empowers individuals to navigate the application process with finesse, mitigating the risk of air bubbles and achieving a visually pleasing outcome.
The squeegee technique, coupled with the innovative "Tape Trick" and the strategic "Press and Hold" method, equips individuals with a comprehensive toolkit to address and expel air bubbles effectively. These methods offer tailored solutions to combat persistent air pockets, ensuring that the screen protector adheres seamlessly to the device's screen, free from the visual imperfections caused by trapped air bubbles.
By integrating these expert-approved techniques into the screen protector application process, individuals can bid farewell to the exasperating sight of air bubbles and revel in the satisfaction of a flawlessly applied protector. The culmination of these methods leads to a visually immaculate outcome, enhancing the clarity and protection of the device's screen while elevating the overall user experience.
In essence, the journey to conquering air bubbles during screen protector applications is a testament to the power of precision, patience, and ingenuity. By embracing these techniques and infusing the process with meticulous care, individuals can achieve a seamless, bubble-free result, ensuring that their devices remain safeguarded and visually pristine.