Home>Technology and Computers>How To Build A Minecraft Elevator
Technology and Computers
How To Build A Minecraft Elevator
Published: March 5, 2024
Learn how to build a Minecraft elevator using redstone and pistons. Explore the latest technology and computer advancements in gaming. Elevate your gaming experience today!
(Many of the links in this article redirect to a specific reviewed product. Your purchase of these products through affiliate links helps to generate commission for Regretless.com, at no extra cost. Learn more)
Table of Contents
Introduction
Minecraft, the beloved sandbox game, offers players the freedom to unleash their creativity and engineering skills. One of the most fascinating projects within the game is building a functional elevator. Imagine effortlessly moving between different levels of your Minecraft world with the push of a button. This article will guide you through the process of constructing a Minecraft elevator, providing step-by-step instructions and valuable tips to ensure your elevator operates smoothly.
Whether you're a seasoned Minecraft player or a novice explorer, the prospect of creating a fully functional elevator within the game is undeniably exciting. By following the instructions outlined in this article, you will gain a deeper understanding of redstone mechanics and piston functionality, essential components for constructing the elevator. Additionally, you will experience the satisfaction of bringing a complex engineering project to life within the virtual realm of Minecraft.
The journey to build a Minecraft elevator is not only a technical endeavor but also a creative one. As you delve into the intricacies of redstone circuitry and piston placement, you'll have the opportunity to infuse your personal touch into the design. From the initial excavation of the elevator shaft to the meticulous wiring of the redstone circuitry, each step presents an opportunity to express your unique style and problem-solving skills.
By mastering the art of building a Minecraft elevator, you'll expand your repertoire of in-game engineering techniques, setting the stage for future ambitious projects. The skills and knowledge acquired during this process will undoubtedly enhance your overall gameplay experience, empowering you to tackle even more complex and innovative constructions in the Minecraft universe.
Embark on this exhilarating journey to construct a Minecraft elevator, and unlock the potential to seamlessly traverse your virtual domain with style and efficiency. Let's dive into the materials needed and the step-by-step process of bringing your Minecraft elevator to life.
Read more: How To Get Honey In Minecraft
Materials Needed
To embark on the exciting endeavor of building a Minecraft elevator, you'll need a selection of essential materials to bring your vision to life. These materials are crucial for constructing the elevator's framework, wiring the redstone circuitry, and ensuring the smooth operation of the piston mechanism. Here's a comprehensive list of the materials required for this ambitious project:
-
Building Blocks: Gather a substantial quantity of building blocks to create the elevator shaft. Stone, cobblestone, or any other sturdy material will serve as the foundation for the elevator's structure.
-
Pistons: Acquire a sufficient number of pistons to facilitate the vertical movement of the elevator platform. Pistons are integral to the functionality of the elevator, enabling seamless transportation between different levels of your Minecraft world.
-
Redstone Dust: Stock up on redstone dust, a fundamental component for creating the intricate circuitry that powers the elevator. Redstone dust serves as the conduit for transmitting signals and activating the pistons within the elevator mechanism.
-
Redstone Torches: These torches play a crucial role in the redstone circuitry, serving as power sources to activate and deactivate various components within the elevator system.
-
Buttons or Pressure Plates: Obtain buttons or pressure plates to serve as the input mechanism for summoning and activating the elevator. These input devices will enable players to call the elevator to their current level and initiate its movement.
-
Building Materials for Decoration: Consider incorporating decorative elements such as glass panes, carpets, or any other aesthetic blocks to enhance the visual appeal of the elevator. While not essential for the elevator's functionality, these decorative touches can elevate the overall design.
-
Ladders or Water Buckets: Depending on your preferred method of descending from the elevator platform, you may need ladders or water buckets to ensure a safe and convenient means of reaching lower levels.
-
Optional: Slime Blocks or Honey Blocks: For advanced elevator designs, incorporating slime blocks or honey blocks can add an extra layer of functionality and creativity to the elevator's construction.
By assembling these materials, you'll be well-equipped to commence the construction of your Minecraft elevator. With the necessary components in hand, you're ready to delve into the step-by-step process of bringing your elevator to fruition. Let's proceed to the next phase of this exhilarating project: digging the shaft.
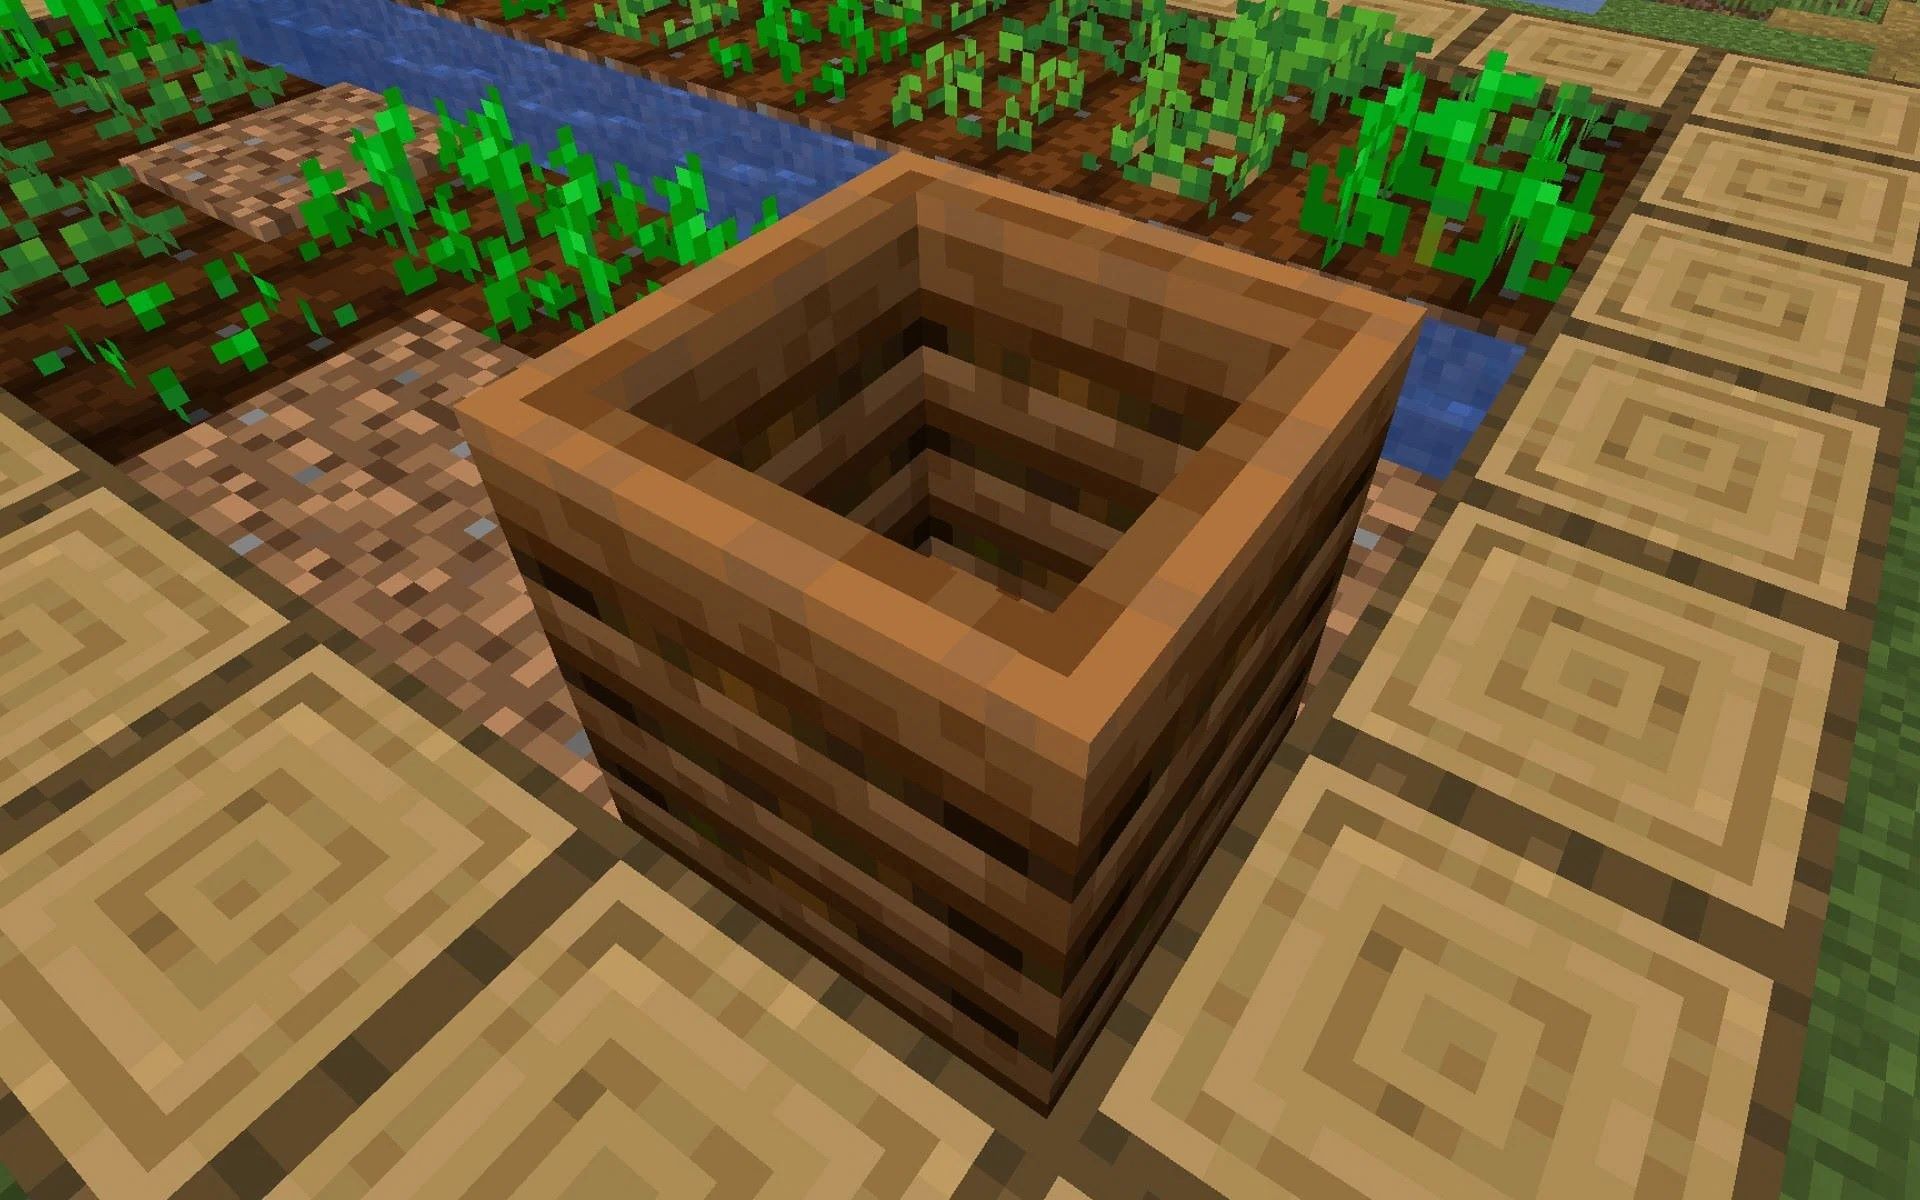
Step 1: Digging the Shaft
The first crucial step in building a Minecraft elevator involves excavating the vertical shaft that will house the elevator mechanism. This shaft serves as the central conduit for the elevator's movement, providing a clear path for the platform to ascend and descend between different levels of your Minecraft world. Here's a detailed walkthrough of the process:
-
Selecting the Location: Begin by identifying the ideal location for your elevator shaft. Consider factors such as the proximity to frequently visited areas within your world and the overall aesthetic appeal of the chosen site. Once you've pinpointed the location, mark the boundaries of the shaft to delineate its vertical path.
-
Determining the Shaft Dimensions: Decide on the dimensions of the shaft based on the intended design of your elevator. Typically, a 3×3 or 2×2 square shaft works well for accommodating the elevator platform and its surrounding components. Ensure that the dimensions align with the space available and the architectural context of the surrounding environment.
-
Excavating the Shaft: Armed with the necessary building blocks, commence the excavation process by digging out the designated area for the shaft. Utilize your chosen building material, such as stone or cobblestone, to construct the walls of the shaft as you dig deeper into the ground. Maintain a consistent vertical path, ensuring that the shaft extends to the desired height for accessing multiple levels within your Minecraft world.
-
Creating Entry and Exit Points: As you dig the shaft, consider incorporating entry and exit points at various levels to facilitate seamless access to the elevator. These points will serve as the doorways for entering and exiting the elevator platform, enhancing the functionality and accessibility of the entire system.
-
Adding Structural Support: To reinforce the stability of the shaft, periodically reinforce the walls with additional building blocks as you dig deeper. This reinforcement will prevent the shaft from collapsing and ensure the structural integrity necessary for supporting the elevator mechanism and its associated components.
By meticulously following these steps, you'll successfully excavate a well-defined shaft that forms the backbone of your Minecraft elevator. With the shaft in place, you're now ready to progress to the next phase of the construction process: placing the pistons.
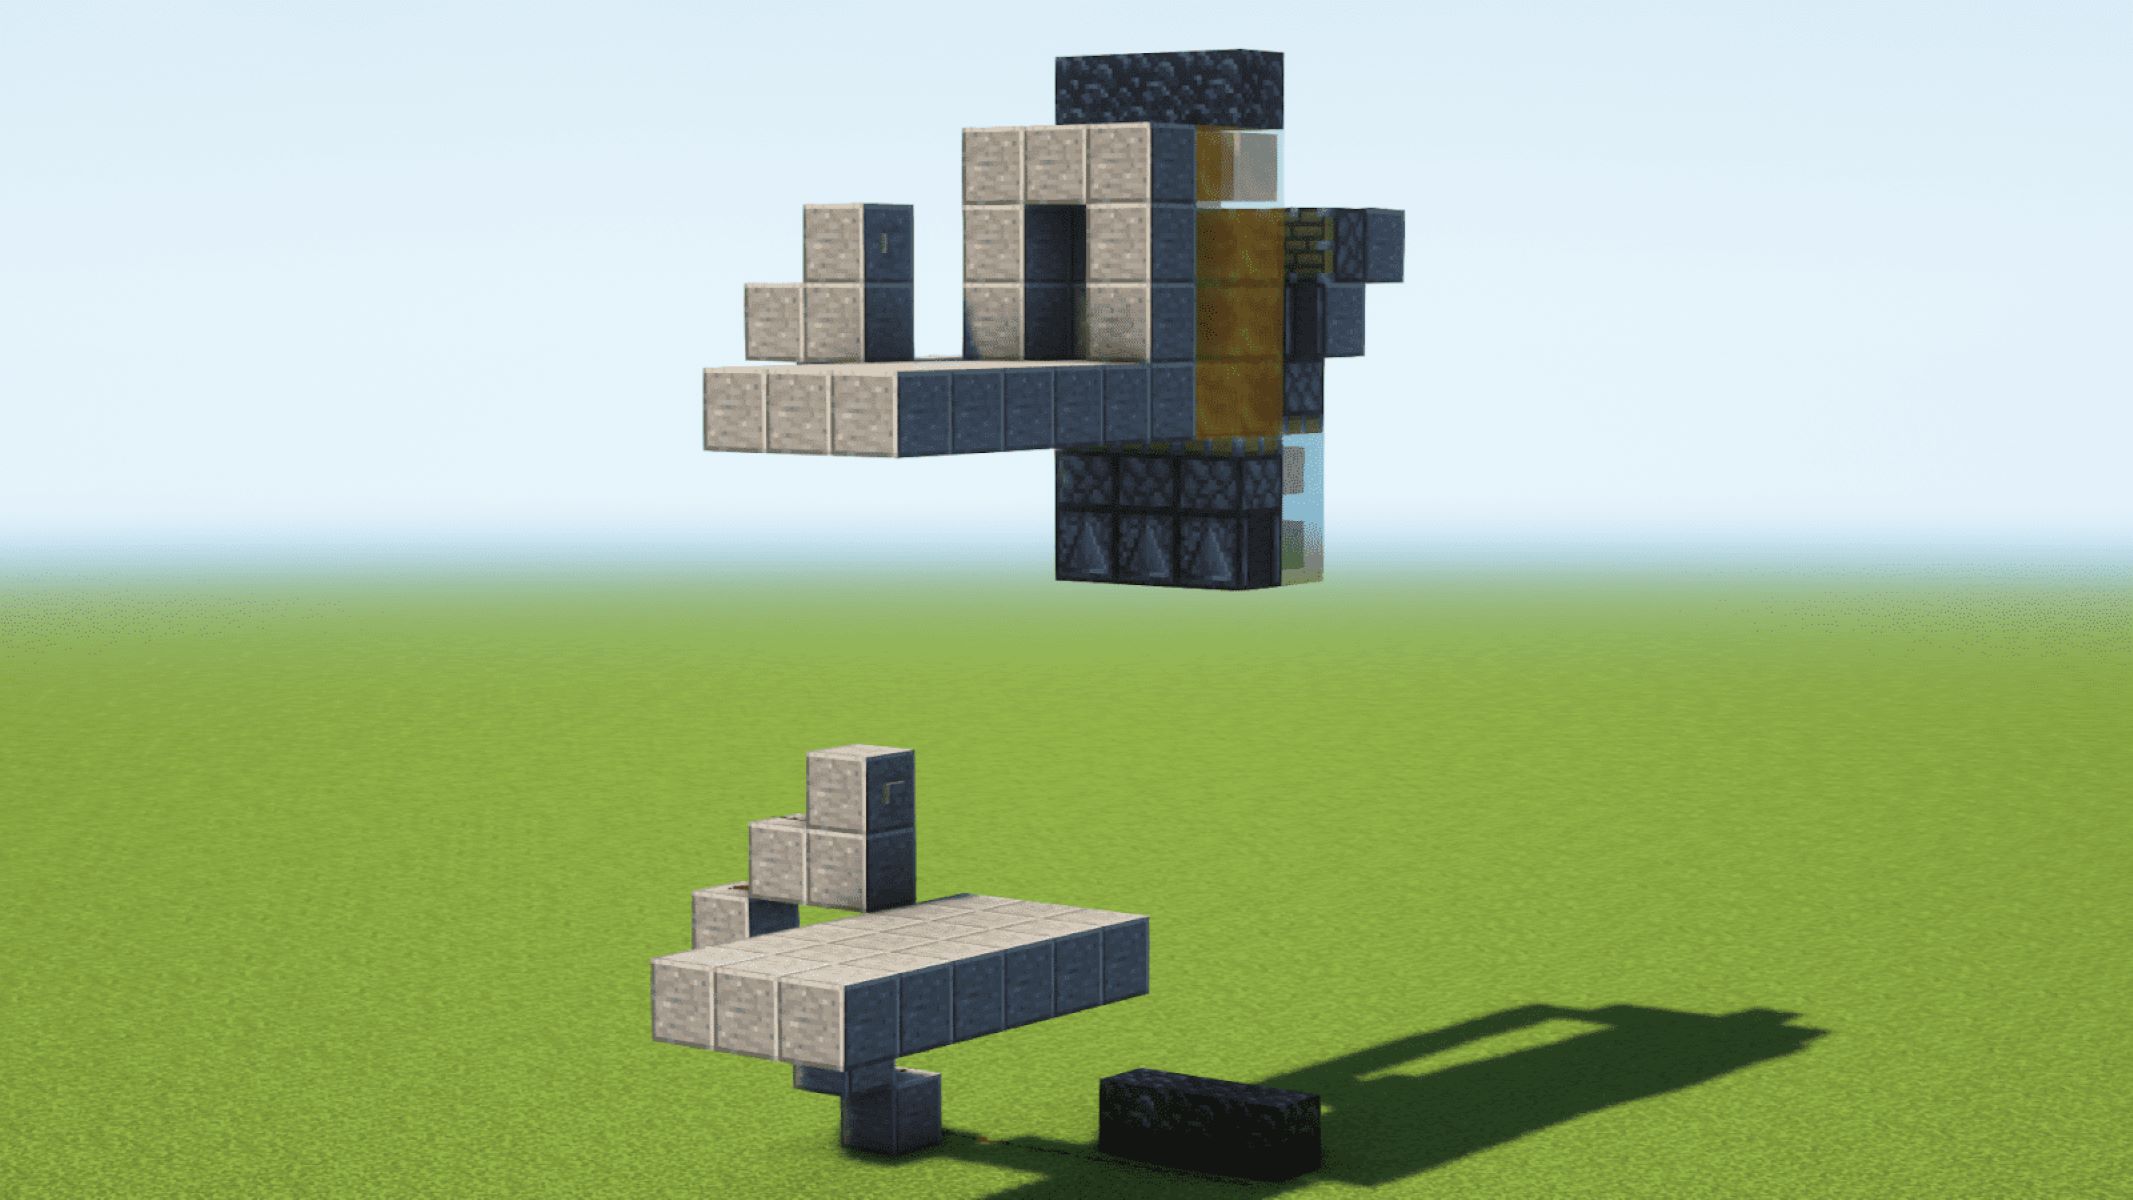
Step 2: Placing the Pistons
With the elevator shaft meticulously excavated, the next pivotal phase of constructing a Minecraft elevator involves strategically placing the pistons within the shaft. These pistons serve as the mechanical force behind the vertical movement of the elevator platform, enabling seamless transportation between different levels of your Minecraft world. Here's a comprehensive guide to the process of placing the pistons and integrating them into the elevator mechanism:
-
Determining Piston Placement: Before commencing the placement of pistons, carefully plan the positioning of these essential components within the shaft. Consider the desired functionality of the elevator and the space available for accommodating the pistons. Depending on the elevator design, you may opt for a single set of pistons to facilitate upward and downward movement, or you might incorporate multiple sets of pistons for enhanced stability and efficiency.
-
Installing the Lower Pistons: Begin by placing the lower set of pistons at the base of the shaft. These pistons will serve as the foundation for supporting the elevator platform and initiating its upward movement. Ensure that the pistons are aligned vertically and securely embedded within the structure of the shaft to prevent any displacement during operation.
-
Positioning the Upper Pistons: Following the installation of the lower pistons, proceed to position the upper set of pistons at the top of the shaft. These pistons play a crucial role in facilitating the downward movement of the elevator platform and maintaining its stability at higher levels. Align the upper pistons meticulously to ensure synchronized operation with the lower pistons, creating a harmonious vertical movement for the elevator.
-
Configuring Piston Orientation: Pay close attention to the orientation of the pistons to ensure their coordinated functionality within the elevator mechanism. Depending on the elevator design, you may need to adjust the direction in which the pistons extend and retract to achieve the desired movement pattern for the elevator platform. Carefully configure the pistons to harmonize with the overall design and operational requirements of the elevator.
-
Testing Piston Functionality: Once the pistons are securely in place, conduct thorough testing to verify their operational efficiency. Activate the pistons using redstone signals to observe their movement and assess their synchronization within the elevator mechanism. This testing phase is essential for identifying any potential issues and fine-tuning the piston placement to optimize the performance of the elevator.
By meticulously executing these steps, you'll successfully integrate the pistons into the elevator mechanism, laying the foundation for the seamless vertical movement of the platform. With the pistons strategically positioned, the next phase of the construction process involves wiring the redstone circuitry to power and control the elevator.
Step 3: Wiring the Redstone
Wiring the redstone circuitry is a critical phase in the construction of a Minecraft elevator, as it forms the intricate network responsible for powering and controlling the movement of the elevator platform. This phase involves the strategic placement of redstone components, such as redstone dust, redstone torches, repeaters, and redstone comparators, to create a functional circuit that seamlessly activates the pistons and orchestrates the vertical movement of the elevator.
The process begins with carefully planning the layout of the redstone circuitry within the elevator shaft. It's essential to establish a clear pathway for the redstone signals to traverse, ensuring that the circuitry effectively reaches all the pistons and input devices. Precision and attention to detail are paramount during this phase, as any misalignment or interruption in the redstone circuitry can impede the smooth operation of the elevator.
As the redstone circuitry is meticulously laid out, redstone repeaters and comparators may be strategically incorporated to regulate the timing and strength of the redstone signals. These components play a crucial role in synchronizing the activation of the pistons, ensuring that they extend and retract in unison to facilitate the seamless movement of the elevator platform. Additionally, redstone torches are strategically positioned to serve as power sources, activating and deactivating various segments of the circuitry to initiate the elevator's movement upon player input.
Thorough testing and troubleshooting are integral to the wiring phase, allowing for the identification and resolution of any potential issues within the redstone circuitry. By activating the input devices and observing the behavior of the pistons in response to the redstone signals, any discrepancies or malfunctions can be promptly addressed, guaranteeing the optimal functionality of the elevator mechanism.
The successful completion of this phase culminates in the establishment of a robust and efficient redstone circuitry network that empowers the elevator with seamless vertical movement capabilities. With the redstone circuitry intricately woven into the fabric of the elevator's infrastructure, the stage is set for the final phase: testing the elevator to ensure its smooth and reliable operation.
In the next phase, we will delve into the exhilarating process of testing the elevator, validating the functionality of the redstone circuitry, and fine-tuning any remaining adjustments to bring the Minecraft elevator to life.
Read more: How To Get Sponges In Minecraft
Step 4: Testing the Elevator
With the construction of the Minecraft elevator nearing completion, the crucial phase of testing the elevator's functionality and performance takes center stage. This pivotal step involves validating the seamless operation of the elevator, ensuring that the redstone circuitry, piston mechanism, and input devices harmoniously collaborate to facilitate smooth vertical movement within the shaft.
The testing process commences with a comprehensive assessment of the elevator's response to player input. By activating the designated input devices, such as buttons or pressure plates, players can summon the elevator to their current level and initiate its movement. This initial interaction provides valuable insights into the responsiveness of the elevator, allowing for real-time observation of the piston activation and the platform's ascent or descent.
As the elevator platform transitions between levels, meticulous attention is directed towards the synchronization of the pistons and the stability of the platform's movement. Any irregularities or disruptions in the vertical motion are promptly identified and addressed, ensuring that the elevator operates with precision and reliability.
Thorough testing also encompasses the evaluation of the redstone circuitry's performance, including the timing and coordination of the signals transmitted to the pistons. By closely monitoring the behavior of the redstone components during elevator operation, any discrepancies or inefficiencies in the circuitry are meticulously scrutinized and rectified to optimize the elevator's functionality.
Additionally, the testing phase provides an opportunity to fine-tune the elevator's design and operational parameters. Adjustments to the piston orientation, redstone signal strength, and input device placement may be implemented to enhance the overall performance and user experience of the elevator.
Throughout the testing process, meticulous documentation of the elevator's behavior and any observed anomalies serves as a valuable reference for troubleshooting and refinement. By maintaining detailed records of the testing outcomes, future modifications and enhancements to the elevator can be informed by empirical data, ensuring continuous improvement and innovation.
Upon successful completion of the testing phase, the Minecraft elevator stands as a testament to ingenuity and engineering prowess, offering players a seamless and efficient means of vertical transportation within their virtual domain. The culmination of meticulous testing signifies the realization of a fully functional and reliable elevator, poised to elevate the gameplay experience and inspire further architectural and engineering marvels within the Minecraft universe.
Conclusion
In conclusion, the journey of constructing a Minecraft elevator is a testament to the limitless creativity and engineering ingenuity that players can unleash within the virtual realm of Minecraft. From the initial excavation of the vertical shaft to the meticulous integration of pistons and the intricate wiring of redstone circuitry, the process of building a functional elevator is a captivating blend of technical prowess and artistic expression.
The completion of the Minecraft elevator marks a significant achievement, symbolizing the fusion of engineering innovation and immersive gameplay experience. As players summon the elevator to effortlessly traverse between different levels of their meticulously crafted worlds, the seamless vertical movement becomes a testament to their mastery of redstone mechanics and piston functionality.
Beyond its utilitarian purpose, the Minecraft elevator serves as a compelling showcase of architectural and engineering prowess, inspiring awe and admiration from fellow players. The incorporation of decorative elements and personalized touches further elevates the elevator's visual appeal, transforming it into a captivating centerpiece within the virtual landscape.
Moreover, the skills and knowledge acquired during the construction process extend far beyond the confines of the elevator itself. Players gain a deeper understanding of redstone circuitry, piston mechanics, and the intricacies of creating complex systems within the Minecraft universe. These newfound capabilities empower players to embark on even more ambitious projects, pushing the boundaries of creativity and technical expertise.
As the Minecraft elevator seamlessly transports players between different levels of their world, it becomes a symbol of achievement and a testament to the limitless potential for innovation within the game. The successful construction of the elevator not only enhances the gameplay experience but also serves as a source of pride and inspiration, fueling the desire to embark on new engineering endeavors and architectural marvels.
In essence, the Minecraft elevator stands as a testament to the boundless possibilities that await within the game, inviting players to continue pushing the boundaries of creativity, innovation, and technical mastery. With the completion of the elevator, players embark on a new chapter of exploration and discovery, armed with the knowledge and expertise to conquer even more ambitious feats within the captivating realm of Minecraft.