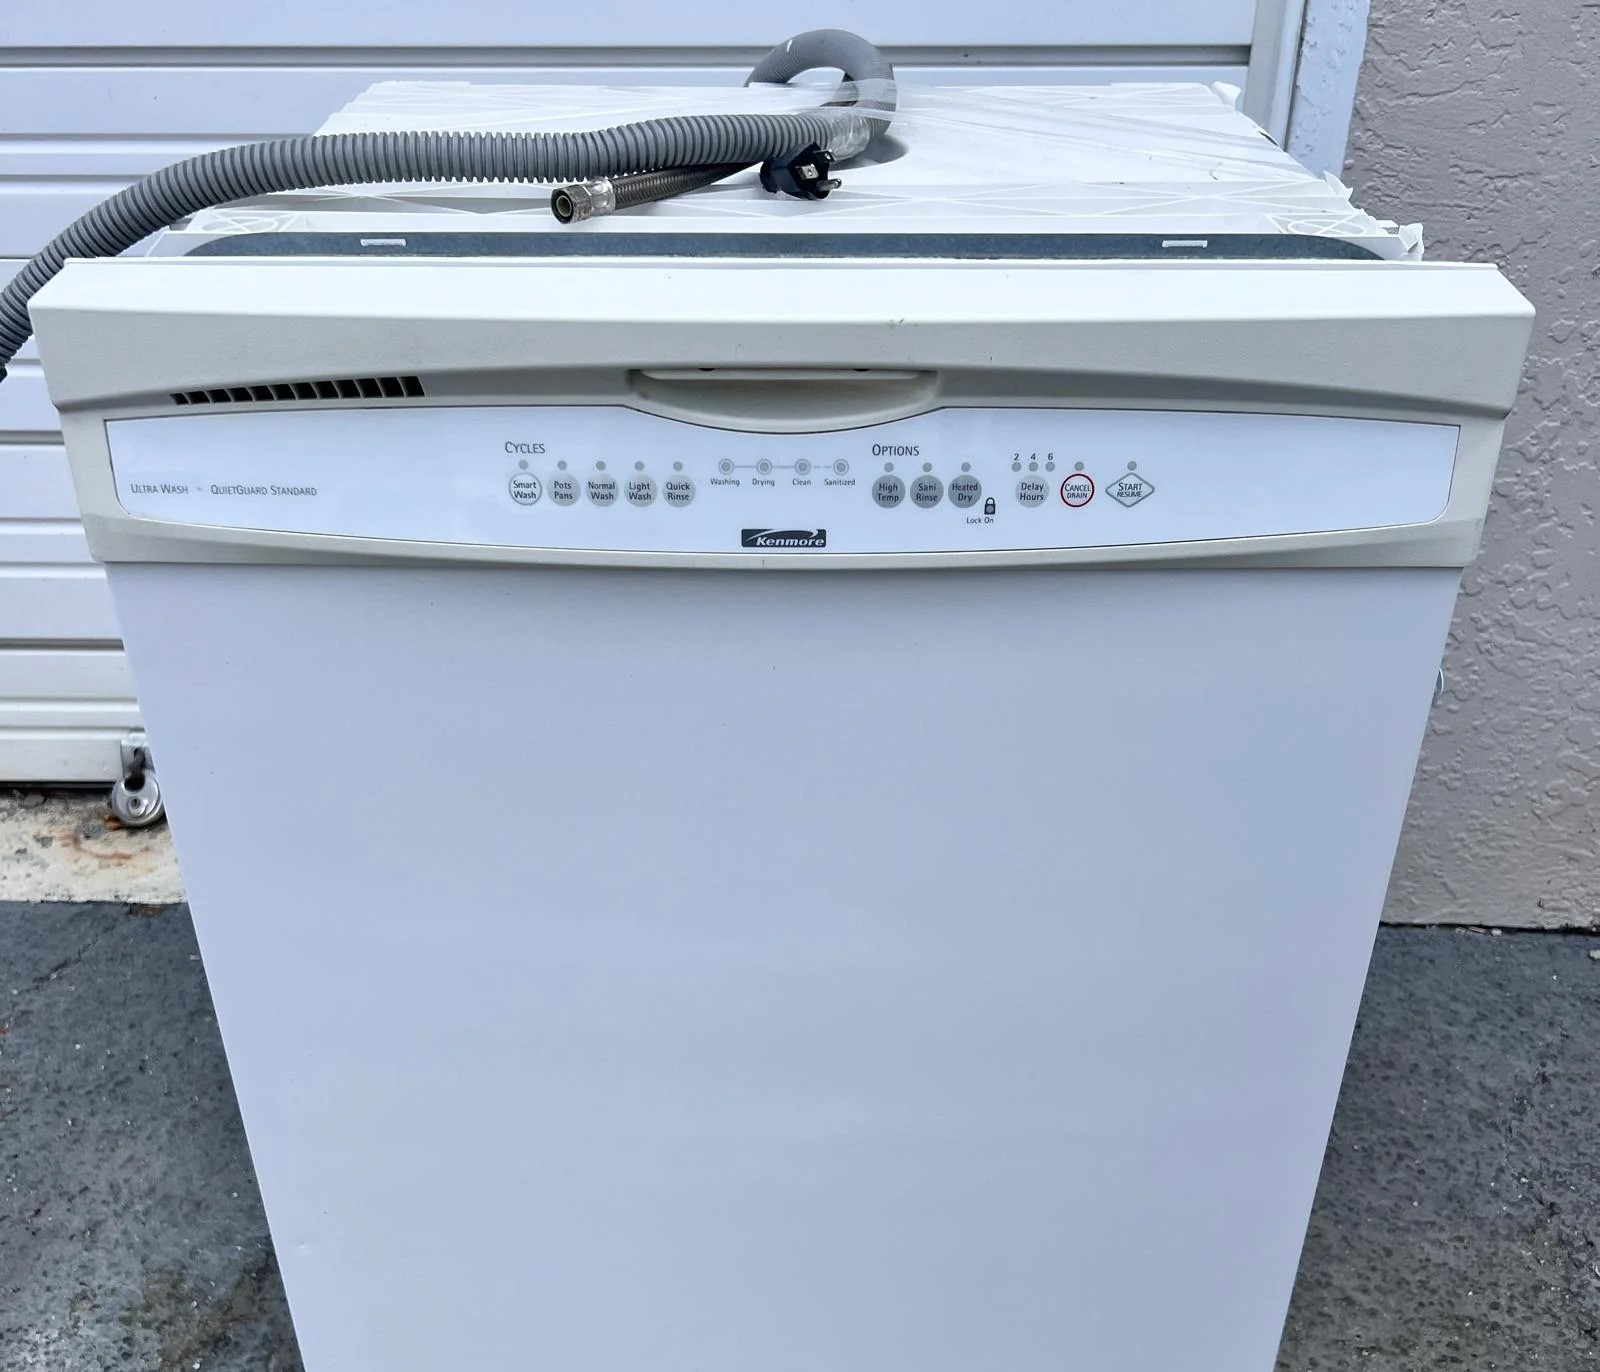
Home>Home and Garden>Troubleshooting: Upright Kenmore Freezer Not Freezing
Home and Garden
Troubleshooting: Upright Kenmore Freezer Not Freezing
Published: January 12, 2024
Discover effective troubleshooting tips for a non-freezing Kenmore upright freezer. Get your home and garden back in order with our expert advice.
(Many of the links in this article redirect to a specific reviewed product. Your purchase of these products through affiliate links helps to generate commission for Regretless.com, at no extra cost. Learn more)
Table of Contents
Introduction
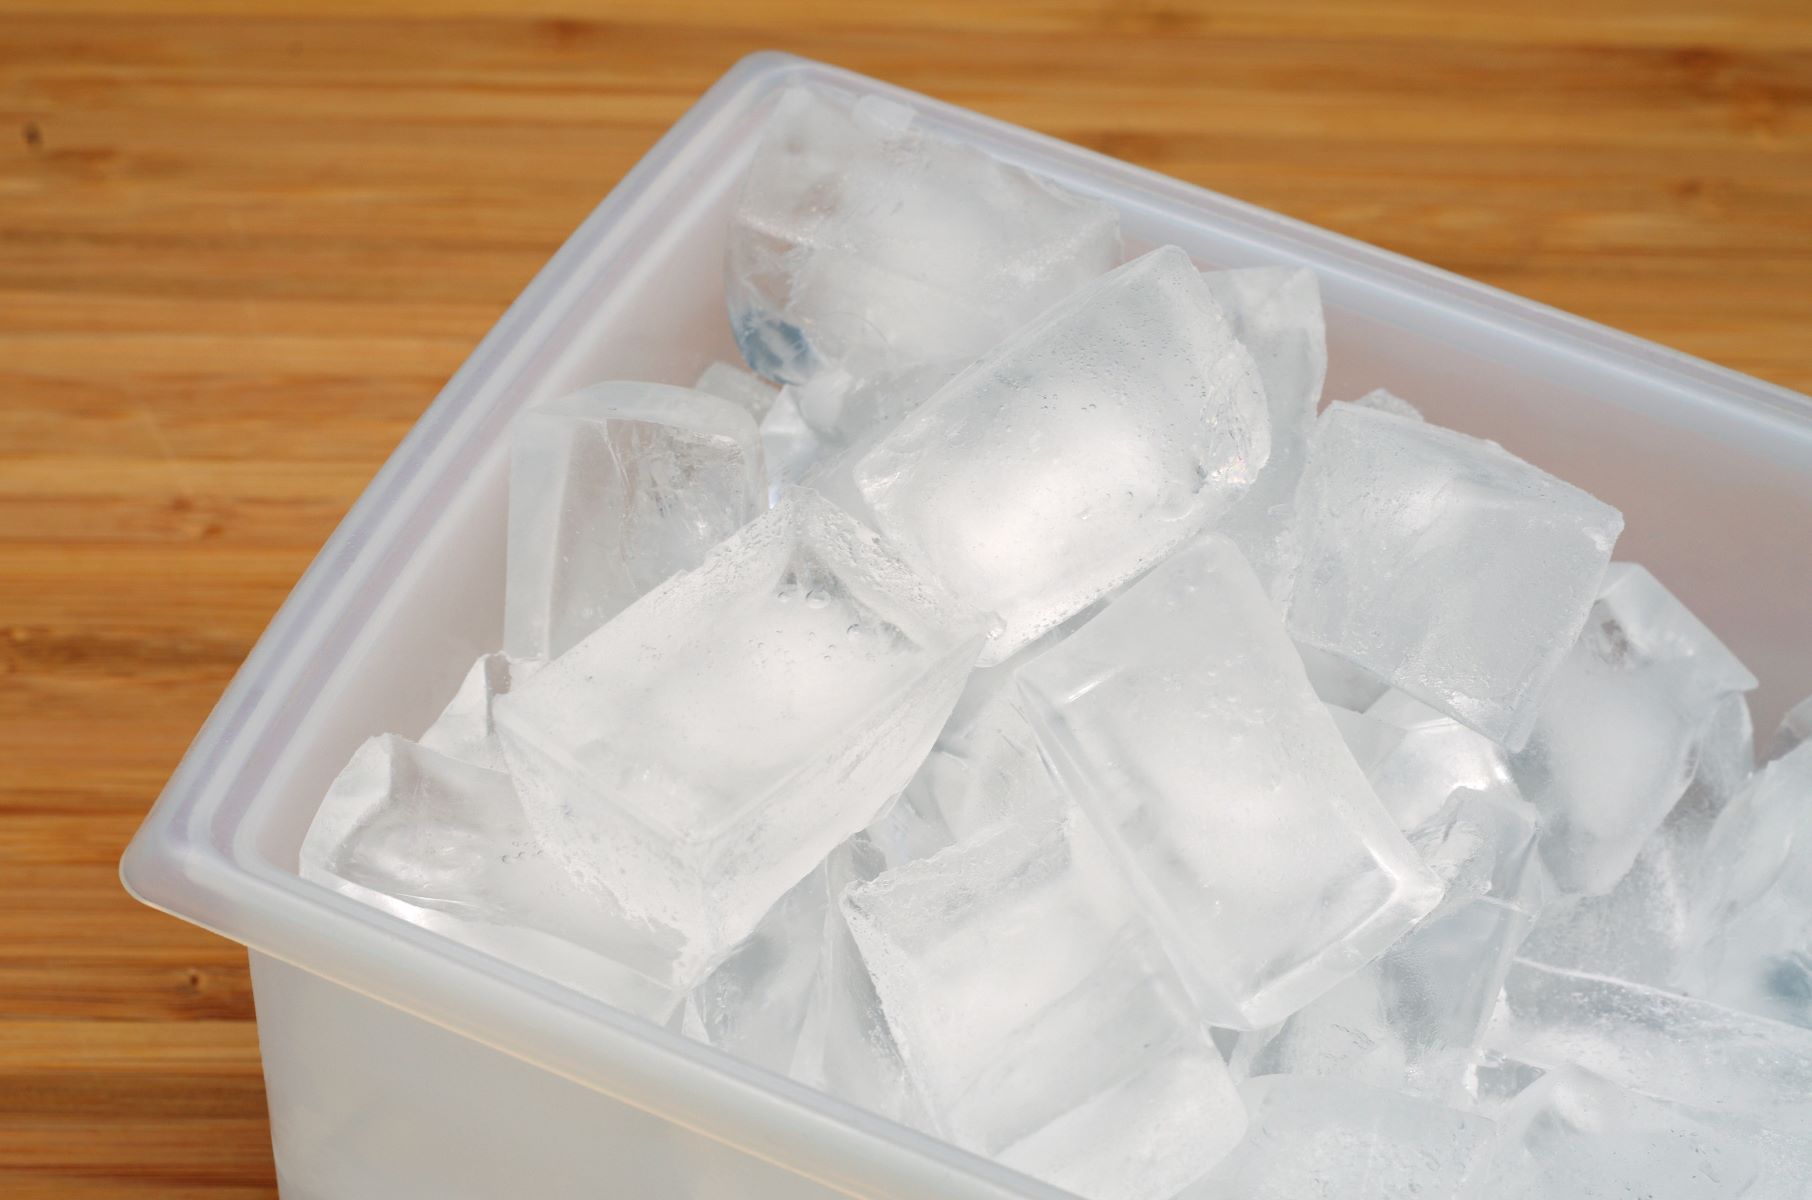
A Kenmore upright freezer is a valuable appliance for preserving food, ensuring that perishables remain fresh for extended periods. However, encountering issues with the freezer not freezing can be a cause for concern. When faced with this predicament, it's essential to conduct a systematic troubleshooting process to identify and resolve the underlying problem. By understanding the potential causes of a malfunctioning upright Kenmore freezer, individuals can take proactive measures to rectify the issue and restore the appliance to optimal functionality.
In the following sections, we will delve into the various troubleshooting steps to address a non-freezing Kenmore upright freezer. From checking the power supply to inspecting the temperature control, examining the door seal, cleaning the condenser coils, verifying the evaporator fan motor, and testing the defrost timer, each step is crucial in pinpointing the root cause of the problem. By carefully following these troubleshooting procedures, individuals can gain valuable insights into the potential issues affecting their Kenmore freezer and take the necessary actions to resolve them.
The process of troubleshooting a non-freezing Kenmore upright freezer not only involves technical aspects but also requires a methodical and patient approach. It's important to remain calm and focused while conducting the diagnostic steps, as this will facilitate a more accurate assessment of the situation. By being attentive to detail and diligently following each troubleshooting step, individuals can increase their chances of identifying and addressing the specific issue causing the freezer to malfunction.
As we embark on this troubleshooting journey, it's important to keep in mind that the ultimate goal is to restore the freezer to its optimal freezing capacity. With a methodical approach and a willingness to engage with the troubleshooting process, individuals can enhance their understanding of their Kenmore upright freezer and develop the confidence to address potential issues as they arise. Let's delve into the various troubleshooting steps and unravel the mystery behind a non-freezing Kenmore upright freezer.
Check the Power Supply
When troubleshooting a non-freezing Kenmore upright freezer, the first step is to check the power supply. A lack of proper power supply can lead to the freezer's inability to maintain the necessary freezing temperature. Begin by ensuring that the freezer is securely plugged into a functioning power outlet. It's essential to verify that the outlet itself is operational by testing it with another electrical appliance.
If the outlet is functional and the freezer is securely plugged in, proceed to inspect the power cord for any signs of damage or wear. A frayed or damaged power cord can disrupt the flow of electricity to the freezer, resulting in inadequate cooling. If any damage is detected, the power cord should be replaced to restore the electrical connection and enable the freezer to operate effectively.
In addition to the power cord, it's crucial to examine the circuit breaker or fuse that controls the electrical supply to the freezer. A tripped circuit breaker or a blown fuse can interrupt the power flow, causing the freezer to cease functioning. Check the circuit breaker panel or fuse box to identify any issues and reset the breaker or replace the fuse if necessary.
Furthermore, consider the possibility of a power outage or voltage fluctuation affecting the freezer's operation. In the event of a recent power outage, the freezer may require time to stabilize and resume normal freezing functions. Additionally, voltage fluctuations can impact the freezer's performance, leading to temperature inconsistencies. Investing in a voltage stabilizer or surge protector can help safeguard the freezer against electrical irregularities and ensure consistent power supply.
By meticulously examining the power supply and addressing any potential issues, individuals can eliminate power-related factors as the cause of the freezer's malfunction. This systematic approach sets the foundation for a comprehensive troubleshooting process, enabling individuals to move on to the next steps with a clearer understanding of the freezer's power supply status.
In summary, checking the power supply is a fundamental step in troubleshooting a non-freezing Kenmore upright freezer. By confirming the integrity of the power outlet, power cord, circuit breaker, and addressing potential power-related issues, individuals can lay the groundwork for identifying and resolving the underlying cause of the freezer's malfunction.
Inspect the Temperature Control
The temperature control of a Kenmore upright freezer plays a pivotal role in regulating the internal temperature to ensure optimal freezing conditions. When troubleshooting a non-freezing Kenmore upright freezer, inspecting the temperature control is a critical step in identifying potential issues that may be impeding the freezer's ability to maintain the required freezing temperature.
Begin by locating the temperature control dial or digital display panel, depending on the model of the Kenmore upright freezer. Ensure that the temperature control is set to the appropriate freezing level as recommended by the manufacturer. It's essential to refer to the freezer's user manual to determine the recommended temperature setting for efficient freezing performance.
Next, carefully observe the temperature control mechanism for any signs of damage, wear, or malfunction. Dust, debris, or ice accumulation around the temperature control components can interfere with its operation, leading to inaccurate temperature regulation. Thoroughly clean the temperature control area, ensuring that it is free from any obstructions that may hinder its functionality.
In some cases, the temperature control may require calibration to ensure accurate temperature regulation. Refer to the user manual or manufacturer's guidelines for instructions on calibrating the temperature control to align with the desired freezing temperature. Proper calibration can rectify any discrepancies in temperature settings and contribute to the freezer's ability to maintain consistent freezing conditions.
Additionally, consider the possibility of a faulty temperature control unit contributing to the freezer's inability to freeze effectively. If the temperature control unit is suspected to be malfunctioning, it may require professional inspection and, if necessary, replacement to restore the freezer's optimal freezing functionality.
By meticulously inspecting the temperature control, ensuring proper settings, cleanliness, and calibration, individuals can gain valuable insights into the freezer's temperature regulation mechanisms. This thorough assessment sets the stage for a comprehensive troubleshooting process, allowing individuals to move forward with a clearer understanding of the temperature control's impact on the freezer's freezing performance.
In summary, the temperature control of a Kenmore upright freezer is a critical component in maintaining the desired freezing temperature. By conducting a detailed inspection of the temperature control, individuals can identify potential issues and take proactive measures to optimize its functionality, ultimately contributing to the restoration of the freezer's freezing capabilities.
Examine the Door Seal
The door seal, also known as the gasket, of a Kenmore upright freezer serves a crucial role in maintaining the integrity of the freezer's internal environment. A properly functioning door seal creates an airtight barrier, preventing cold air from escaping and warm air from infiltrating the freezer compartment. When troubleshooting a non-freezing Kenmore upright freezer, examining the door seal is essential in identifying potential issues that may compromise its sealing ability.
Begin by visually inspecting the door seal for any signs of wear, damage, or deformation. Over time, the door seal may experience wear and tear, leading to cracks, tears, or gaps that undermine its sealing capacity. Carefully run your fingers along the entire perimeter of the door seal, paying close attention to any irregularities or inconsistencies in its texture and resilience. If any damage or deterioration is detected, it is imperative to replace the door seal to restore its effectiveness in creating an airtight seal.
In addition to visual inspection, perform a simple yet effective test to assess the door seal's sealing capability. Place a thin sheet of paper or a dollar bill between the closed freezer door and the seal, ensuring that it is positioned along the entire circumference. Gently tug on the paper or bill, and observe whether it offers resistance or slides out with ease. If the paper can be easily pulled out without resistance, it indicates a compromised door seal that requires immediate attention.
Furthermore, ensure that the door seal is free from any obstructions, debris, or ice buildup that may impede its ability to create a tight seal. Clean the door seal using a mild detergent and warm water, gently removing any accumulated dirt or residue that could hinder its sealing function. Proper maintenance and cleanliness of the door seal contribute to its longevity and effectiveness in preserving the freezer's cold environment.
As the primary line of defense against temperature fluctuations, a well-maintained and properly functioning door seal is essential for the efficient operation of a Kenmore upright freezer. By thoroughly examining the door seal, identifying any issues, and taking proactive measures to address them, individuals can enhance the freezer's ability to maintain the necessary freezing temperature, ultimately restoring its optimal functionality.
In summary, the door seal of a Kenmore upright freezer plays a critical role in preserving the internal cold environment. Through meticulous examination and maintenance, individuals can ensure that the door seal remains effective in creating an airtight barrier, contributing to the freezer's ability to maintain consistent freezing conditions.
Clean the Condenser Coils
The condenser coils in a Kenmore upright freezer play a pivotal role in dissipating heat from the appliance's interior, contributing to the efficient cooling process. Over time, the condenser coils can become coated with dust, dirt, and debris, impeding their ability to effectively release heat and regulate the freezer's temperature. When troubleshooting a non-freezing Kenmore upright freezer, cleaning the condenser coils is a fundamental step in optimizing the appliance's cooling performance.
Begin by locating the condenser coils, which are typically situated at the rear or bottom of the freezer, depending on the model. Before proceeding with the cleaning process, it's crucial to disconnect the freezer from the power supply to ensure safety. Once disconnected, carefully access the condenser coils, taking note of any accumulated dust, pet hair, or debris that may be obstructing their functionality.
To effectively clean the condenser coils, use a vacuum cleaner with a soft brush attachment to gently remove the accumulated debris. Exercise caution to avoid bending or damaging the delicate coils during the cleaning process. Additionally, consider using a coil brush, specifically designed for condenser coil maintenance, to dislodge stubborn debris and ensure thorough cleaning.
In instances where the buildup on the condenser coils is more substantial, a specialized coil cleaning solution may be employed to dissolve and remove the accumulated grime. It's essential to follow the manufacturer's instructions when using cleaning solutions, ensuring safe and effective application to restore the condenser coils to their optimal condition.
Furthermore, inspect the surrounding area for any obstructions that may impede the airflow around the condenser coils. Ensure that the space around the coils is clear of clutter, allowing for unrestricted airflow and optimal heat dissipation. By maintaining a clean and unobstructed environment around the condenser coils, individuals can facilitate efficient heat transfer and enhance the freezer's overall cooling performance.
Regular maintenance of the condenser coils is essential to preserve the freezer's functionality and prevent potential cooling issues. By incorporating condenser coil cleaning into a routine maintenance schedule, individuals can contribute to the longevity and efficiency of their Kenmore upright freezer, ensuring consistent and reliable freezing capabilities.
In summary, cleaning the condenser coils of a Kenmore upright freezer is a proactive measure to optimize the appliance's cooling performance. Through meticulous cleaning and maintenance, individuals can mitigate potential cooling issues and ensure that the freezer operates at its optimal capacity, effectively preserving the freshness of stored food items.
Read more: How To Freeze Okra
Verify the Evaporator Fan Motor
The evaporator fan motor in a Kenmore upright freezer is a crucial component responsible for circulating cold air throughout the appliance, facilitating the freezing process and maintaining uniform temperatures. When troubleshooting a non-freezing Kenmore upright freezer, verifying the evaporator fan motor is essential in identifying potential issues that may impede its functionality and disrupt the freezer's cooling performance.
Begin by locating the evaporator fan motor, typically situated within the freezer compartment behind a panel or cover. Before proceeding with the verification process, ensure that the freezer is disconnected from the power supply to prevent any electrical hazards. Once the necessary safety measures are in place, carefully access the evaporator fan motor for inspection.
Visually examine the fan blades and the motor assembly for any signs of obstruction, damage, or irregularities. Accumulated ice, frost, or debris around the fan blades can hinder their rotation and disrupt the airflow, leading to inadequate cooling within the freezer. Clear any obstructions and ensure that the fan blades can rotate freely without any hindrance.
Next, manually rotate the fan blades to assess their smoothness and resistance. The blades should rotate effortlessly and without any grinding or scraping noises. Any resistance or unusual sounds during rotation may indicate a malfunctioning fan motor that requires attention.
Furthermore, inspect the wiring and connections associated with the evaporator fan motor for any signs of damage, wear, or loose connections. Faulty wiring or loose connections can impede the fan motor's operation, leading to irregular airflow and compromised cooling performance. Ensure that the electrical components are securely connected and free from damage to facilitate the fan motor's optimal functionality.
In some cases, the evaporator fan motor may require lubrication to maintain smooth operation and prevent excessive friction. Refer to the freezer's user manual or manufacturer's guidelines for instructions on proper lubrication procedures, if applicable.
If the fan motor exhibits signs of malfunction or irregular operation during the verification process, it may necessitate professional inspection and, if required, replacement to restore the freezer's optimal cooling capabilities.
By meticulously verifying the evaporator fan motor and addressing any potential issues, individuals can gain valuable insights into the freezer's internal airflow and circulation mechanisms. This thorough assessment sets the stage for a comprehensive troubleshooting process, allowing individuals to move forward with a clearer understanding of the fan motor's impact on the freezer's freezing performance.
In summary, verifying the evaporator fan motor of a Kenmore upright freezer is a critical step in troubleshooting a non-freezing appliance. Through careful inspection and attention to potential issues, individuals can ensure that the fan motor operates effectively, contributing to consistent and reliable freezing capabilities.
Test the Defrost Timer
The defrost timer in a Kenmore upright freezer plays a pivotal role in regulating the automatic defrost cycle, ensuring the removal of ice buildup on the evaporator coils. When troubleshooting a non-freezing Kenmore upright freezer, testing the defrost timer is essential in identifying potential issues that may disrupt the freezer's defrosting mechanism and impact its overall freezing performance.
Begin by locating the defrost timer, which is commonly found in the control panel or housing of the freezer. The defrost timer operates on a predefined schedule, initiating the defrost cycle at regular intervals to prevent excessive ice accumulation. To test the defrost timer, individuals can manually advance the timer to activate the defrost cycle and observe its operation.
To manually advance the defrost timer, locate the advance screw or knob on the timer mechanism. Using a flat-head screwdriver, gently rotate the screw or knob clockwise until a clicking sound is heard. This indicates that the defrost cycle has been initiated, prompting the heater to activate and the compressor to temporarily shut off.
Once the defrost cycle is activated, individuals can monitor the freezer's operation to ensure that the heater functions as intended and effectively melts any ice accumulation on the evaporator coils. During the defrost cycle, the freezer's temperature may rise temporarily, accompanied by the sound of sizzling or hissing as the ice melts. This temporary deviation from the freezing temperature is a normal part of the defrost cycle and should not cause alarm.
After the defrost cycle concludes, the timer should automatically revert to the cooling mode, allowing the compressor to resume normal operation and restore the freezer to its optimal freezing temperature. Observing the transition from the defrost cycle back to the cooling mode provides valuable insights into the defrost timer's functionality and its ability to regulate the freezer's defrosting process effectively.
In some instances, the defrost timer may exhibit signs of malfunction, such as failing to initiate the defrost cycle or becoming stuck in a specific position. If the defrost timer fails to advance or transition between the defrost and cooling modes as expected, it may require professional inspection and, if necessary, replacement to restore the freezer's defrosting capabilities.
By meticulously testing the defrost timer and monitoring its operation, individuals can gain valuable insights into the freezer's defrost cycle and its impact on the appliance's overall freezing performance. This thorough assessment sets the stage for a comprehensive troubleshooting process, allowing individuals to move forward with a clearer understanding of the defrost timer's role in maintaining the freezer's optimal functionality.
Conclusion
In conclusion, troubleshooting a non-freezing Kenmore upright freezer encompasses a systematic and thorough process aimed at identifying and addressing potential issues that may impede the appliance's ability to maintain the required freezing temperature. By meticulously examining the power supply, temperature control, door seal, condenser coils, evaporator fan motor, and defrost timer, individuals can gain valuable insights into the intricate mechanisms that contribute to the freezer's optimal functionality.
The troubleshooting journey begins with a comprehensive check of the power supply, ensuring that the freezer is securely connected to a functional power outlet and addressing any potential power-related issues. Subsequently, inspecting the temperature control and verifying its settings, cleanliness, and calibration lays the foundation for precise temperature regulation, essential for efficient freezing performance.
The examination of the door seal emerges as a critical step, emphasizing the importance of a well-maintained seal in preserving the freezer's internal cold environment. By identifying and addressing any damage, wear, or sealing deficiencies, individuals can ensure that the door seal remains effective in creating an airtight barrier, safeguarding the freezer against temperature fluctuations.
Furthermore, the meticulous cleaning of the condenser coils and verification of the evaporator fan motor contribute to the optimization of the freezer's cooling performance. Clearing debris from the condenser coils and ensuring unrestricted airflow facilitates efficient heat dissipation, while the proper functioning of the evaporator fan motor enables consistent circulation of cold air throughout the appliance.
The final step of testing the defrost timer provides insights into the freezer's defrost cycle, ensuring the timely removal of ice buildup on the evaporator coils. By monitoring the defrost cycle and its seamless transition back to the cooling mode, individuals can ascertain the defrost timer's effectiveness in maintaining the freezer's frost-free operation.
In essence, the troubleshooting process not only serves to identify and address specific issues affecting the Kenmore upright freezer but also empowers individuals with a deeper understanding of the appliance's intricate components and their interplay in preserving the optimal freezing environment. By engaging in this methodical approach, individuals can proactively address potential issues, enhance the freezer's longevity, and ensure the continued preservation of perishable items.
Ultimately, the troubleshooting journey culminates in a comprehensive understanding of the Kenmore upright freezer's functionality and the proactive measures necessary to uphold its optimal freezing capabilities. Through diligence, attention to detail, and a commitment to appliance maintenance, individuals can navigate the troubleshooting process with confidence, ensuring the consistent and reliable performance of their Kenmore upright freezer for years to come.