Home>Arts and Culture>How To Tie Friendship Bracelets
Arts and Culture
How To Tie Friendship Bracelets
Published: February 29, 2024
Learn how to tie friendship bracelets with our step-by-step guide. Explore the art of bracelet-making and create beautiful designs with our easy tutorials. Perfect for arts and culture enthusiasts!
(Many of the links in this article redirect to a specific reviewed product. Your purchase of these products through affiliate links helps to generate commission for Regretless.com, at no extra cost. Learn more)
Table of Contents
Introduction
Friendship bracelets are not just colorful accessories; they are symbols of the strong bonds and cherished memories shared between friends. The art of making friendship bracelets has been a beloved pastime for generations, bringing people together through creativity and thoughtful gestures. Whether you're a seasoned bracelet maker or a beginner eager to learn, creating these intricate designs can be a fulfilling and enjoyable experience.
The process of crafting friendship bracelets is more than just tying knots and weaving threads; it's a meaningful expression of care and appreciation for the special people in our lives. From vibrant rainbow patterns to delicate braided designs, each bracelet carries a unique message of friendship and solidarity. As you embark on this creative journey, you'll discover the joy of handcrafting personalized gifts that hold sentimental value and serve as tangible reminders of the cherished connections you share with others.
With a few simple materials and a dash of creativity, you can embark on a delightful adventure of crafting beautiful friendship bracelets. Whether you're making them for your closest friends, family members, or even for yourself, the process of creating these intricate accessories is a heartwarming way to celebrate the bonds that enrich our lives. So, gather your threads, clear a cozy crafting space, and let's dive into the art of making friendship bracelets, where creativity intertwines with heartfelt connections.
Materials Needed
To embark on the delightful journey of creating friendship bracelets, you'll need a few essential materials to bring your colorful creations to life. Here's a comprehensive list of the items you'll need to get started:
-
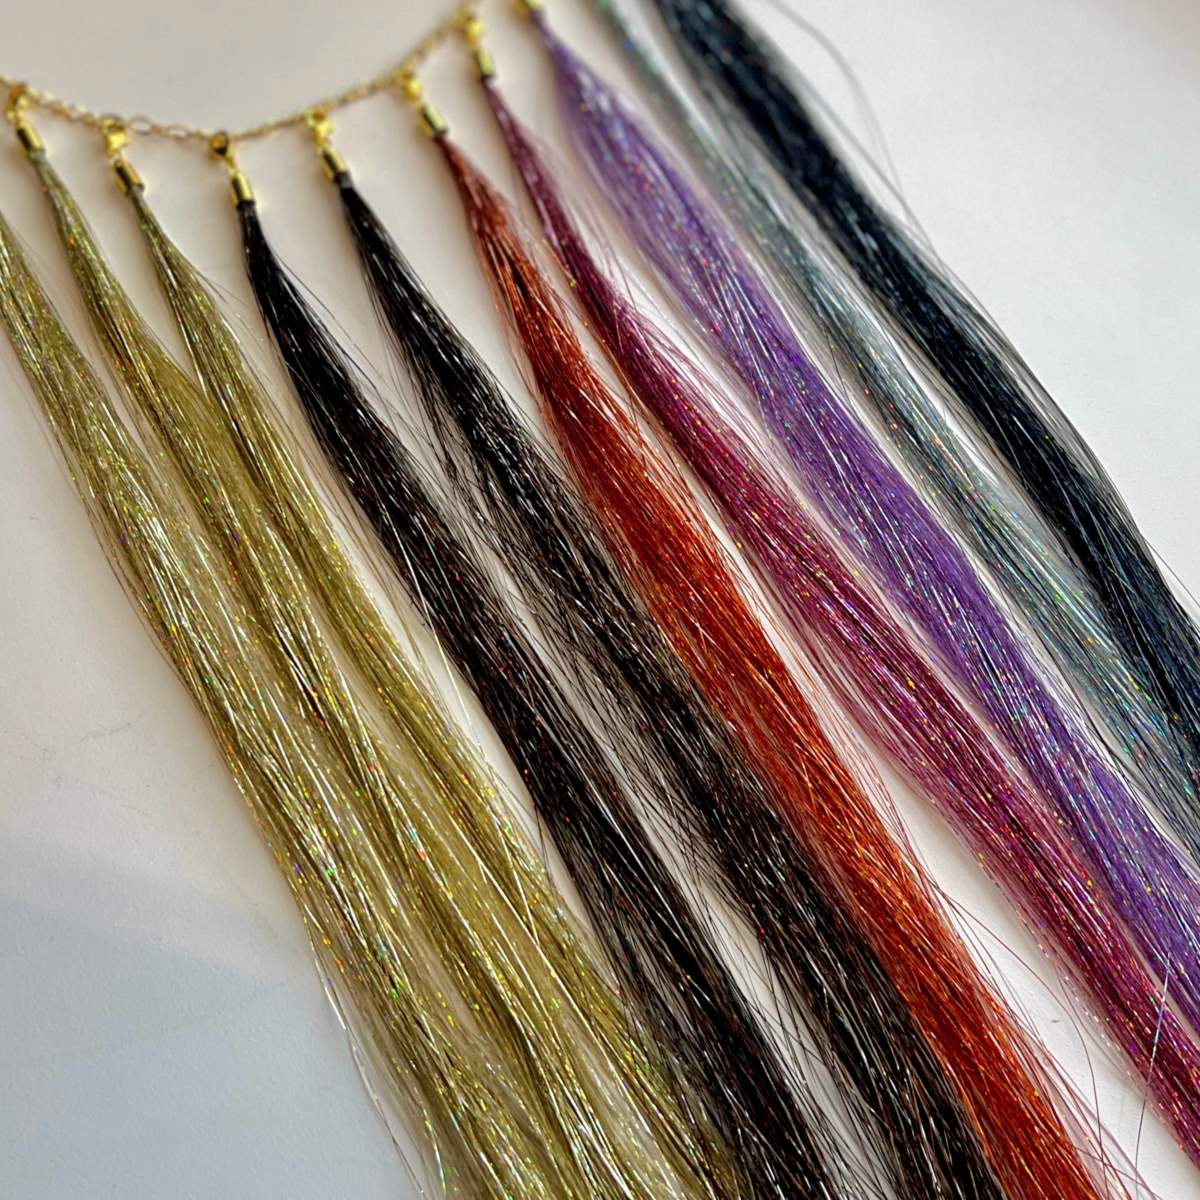
Embroidery Floss: This versatile thread is the cornerstone of friendship bracelet making. Available in a wide array of vibrant colors, embroidery floss allows you to weave intricate patterns and create stunning designs.
-
Scissors: A sharp pair of scissors is essential for cutting the embroidery floss with precision, ensuring neat and tidy ends for your bracelets.
-
Tape or Safety Pin: Securing your bracelet while you work is crucial, and tape or a safety pin can help keep your project in place as you weave the intricate patterns.
-
Clipboard or Cardboard: A clipboard or a piece of sturdy cardboard provides a stable surface for creating your bracelets, keeping the threads taut and organized as you work.
-
Beads (Optional): Adding beads to your friendship bracelets can introduce an extra touch of charm and personalization. Choose beads that complement your color scheme and enhance the overall aesthetic of your design.
-
Measuring Tape or Ruler: For precision in sizing your bracelets, a measuring tape or ruler comes in handy to ensure the perfect fit for your wrist or the wrist of the recipient.
-
Button or Closure (Optional): If you prefer a closure for your bracelets, a decorative button or clasp can add a stylish and functional finishing touch to your creations.
-
Creativity and Enthusiasm: While not a tangible item, a dash of creativity and enthusiasm is essential for infusing your friendship bracelets with heartfelt meaning and personal flair.
Gathering these materials will set the stage for a delightful crafting experience, allowing you to bring your vision to life and create beautiful, meaningful tokens of friendship. With these essentials in hand, you're ready to dive into the art of making friendship bracelets and embark on a creative journey filled with vibrant threads and heartfelt connections.
Basic Knots
When it comes to creating intricate and visually captivating friendship bracelets, mastering a few fundamental knots is the key to bringing your designs to life. These basic knots serve as the building blocks for a wide array of bracelet patterns, allowing you to weave, braid, and knot your way to stunning creations. Here are the essential knots that form the foundation of friendship bracelet making:
1. Forward Knot (F)
The forward knot, often denoted as "F" in bracelet patterns, is a fundamental technique that involves creating a diagonal knot with the threads. To execute a forward knot, take the leftmost thread and cross it over the adjacent thread, forming a "4" shape. Then, loop the left thread under the right thread and pull it through the opening, creating a tight knot. This simple yet versatile knot is used to create diagonal stripes, chevron patterns, and intricate color transitions in friendship bracelets.
2. Backward Knot (B)
The backward knot, represented as "B" in bracelet patterns, is the reverse of the forward knot and is instrumental in crafting symmetrical designs and patterns. To execute a backward knot, take the rightmost thread and cross it over the adjacent thread, forming a backward "4" shape. Then, loop the right thread under the left thread and pull it through the opening, creating a secure knot. This essential knot allows for precise color placement and seamless transitions in your bracelet designs.
Read more: How To Make An Adjustable Bracelet
3. Double Half Hitch Knot
The double half hitch knot is a versatile technique that enables you to create intricate spiral patterns and add texture to your friendship bracelets. To execute this knot, start by dividing your threads into two groups. Take the thread from the left group and create a "4" shape around the thread from the right group. Then, loop the left thread under the right thread and pull it through the opening, forming a half hitch knot. Repeat this process to create a double half hitch knot, adding depth and visual interest to your bracelet designs.
4. Square Knot
The square knot, also known as the "right knot" and "left knot," is a foundational technique for creating braided and woven patterns in friendship bracelets. To execute a square knot, divide your threads into two groups and create a "4" shape with the left group over the right group. Then, loop the left thread under the right thread and pull it through the opening. Next, create a backward "4" shape with the left group under the right group and loop the left thread under the right thread, pulling it through the opening. This sequence forms a square knot, allowing you to craft intricate chevron and diamond patterns with ease.
Mastering these basic knots will empower you to explore a myriad of intricate patterns and designs, infusing your friendship bracelets with creativity and personalized flair. As you familiarize yourself with these fundamental techniques, you'll embark on a captivating journey of crafting vibrant and meaningful tokens of friendship, each knot weaving a story of cherished connections and heartfelt sentiments.
Step-by-Step Instructions
Creating a stunning friendship bracelet is a delightful journey that unfolds through a series of intricate steps, each contributing to the vibrant tapestry of colors and patterns. Follow these step-by-step instructions to embark on your bracelet-making adventure:
1. Select Your Color Palette
Begin by choosing the colors for your friendship bracelet. Whether you opt for a rainbow spectrum, a harmonious blend of pastels, or a bold and contrasting combination, selecting your color palette sets the tone for your bracelet's aesthetic.
Read more: How To Clean A Tie
2. Measure and Cut the Threads
Once you've chosen your colors, measure and cut the embroidery floss to the desired length for your bracelet. Consider the wrist size of the recipient or your own wrist if you're making the bracelet for yourself, ensuring that you have ample thread to work with.
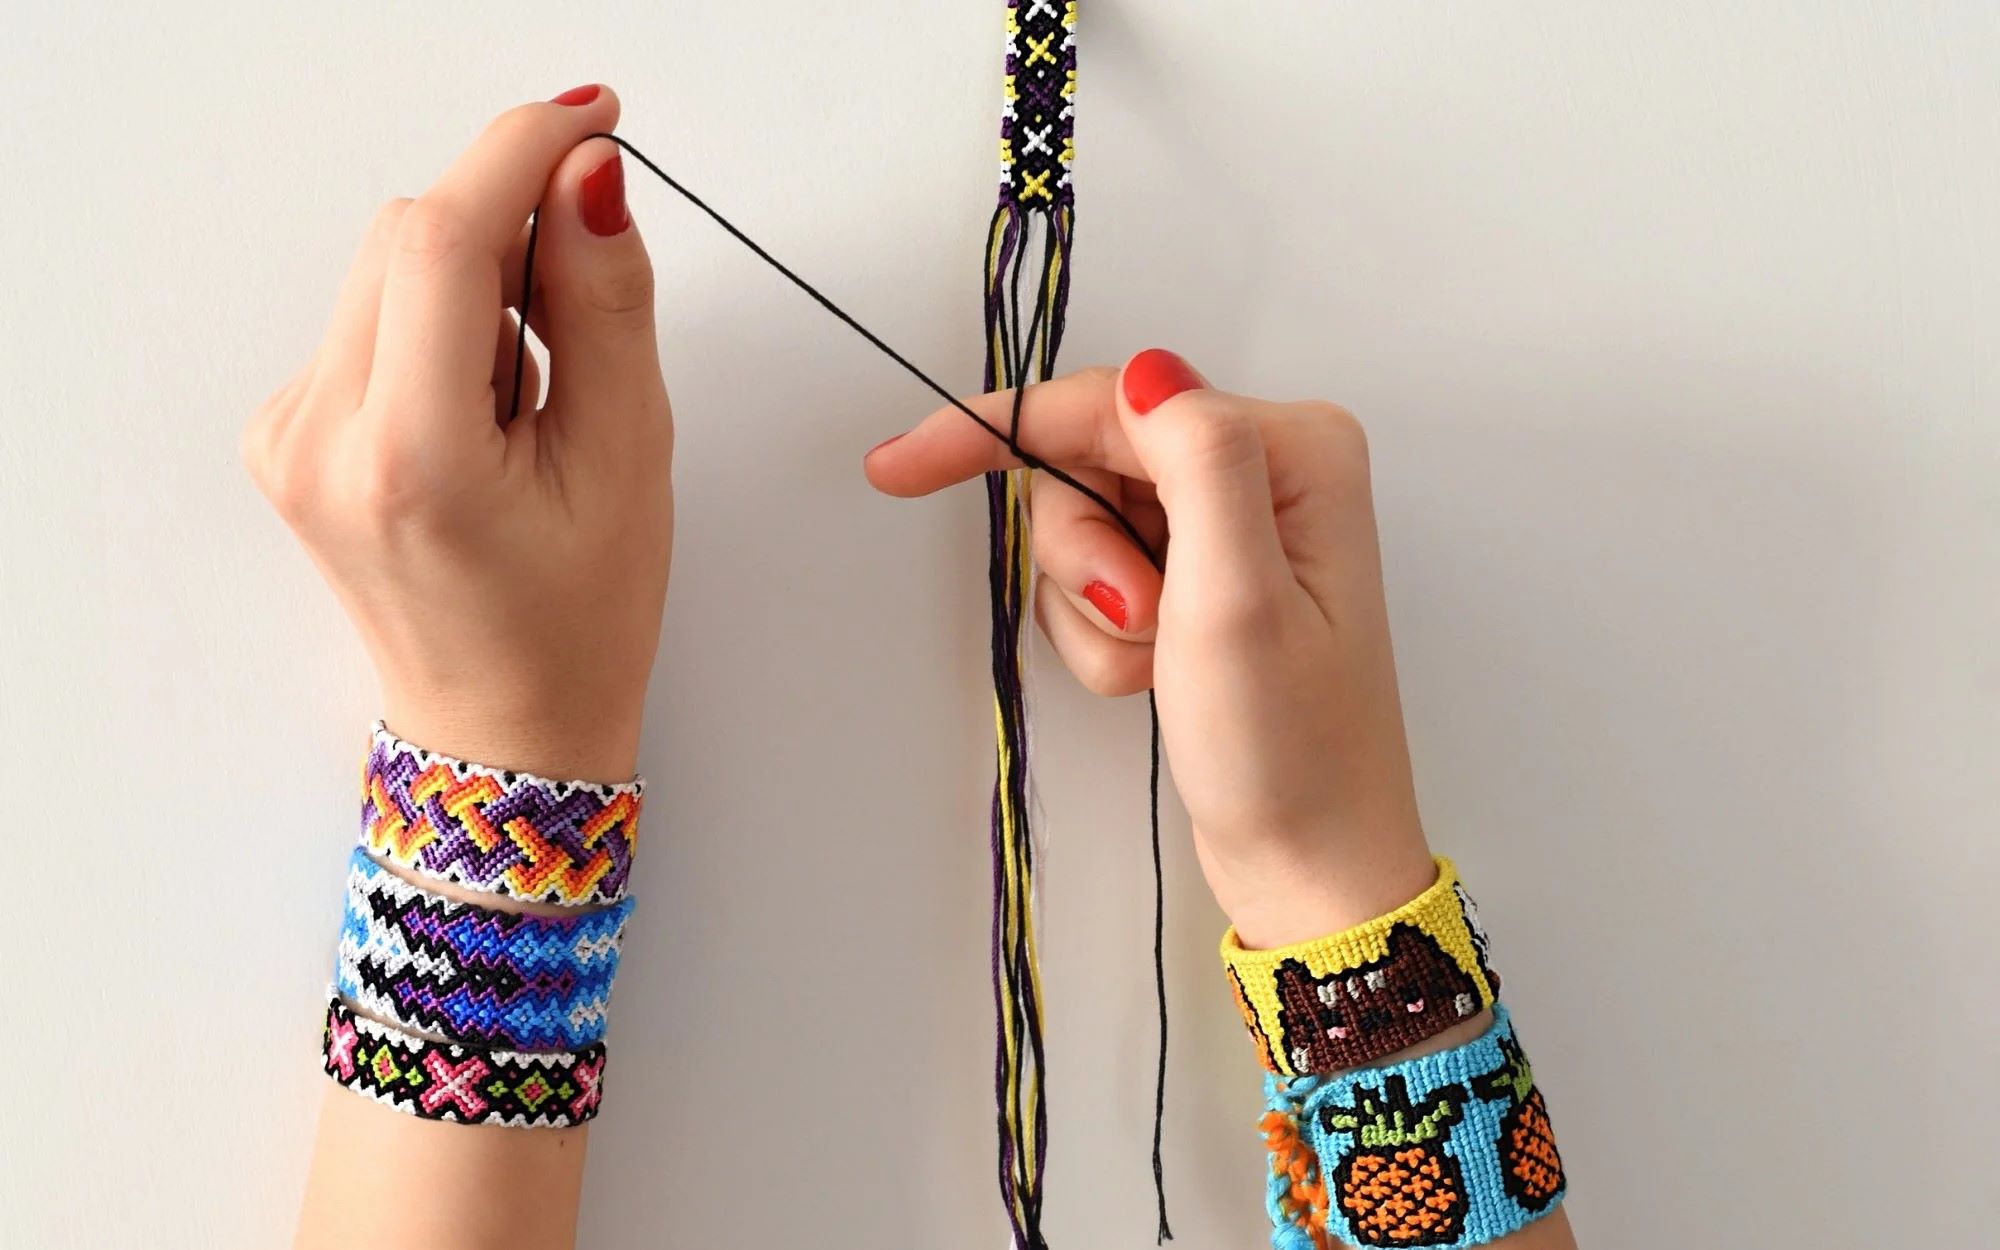
3. Secure the Threads
Gather the threads and secure them using a piece of tape or a safety pin, anchoring them to a stable surface such as a clipboard or a piece of cardboard. This step ensures that the threads remain taut and organized as you weave your bracelet.
4. Arrange the Threads
Arrange the threads in the order you've chosen for your bracelet's design. Whether you're creating a striped pattern, a chevron motif, or a complex combination of knots, organizing the threads in the desired sequence sets the stage for the weaving process.
5. Begin Knotting
Start by executing the chosen pattern using the fundamental knots you've mastered, such as the forward knot, backward knot, double half hitch knot, or square knot. Follow the pattern instructions meticulously, weaving each knot with precision and care.
Read more: How To Tie A Lasso
6. Weave with Intention
As you progress through the weaving process, infuse each knot with intention and meaning, reflecting on the cherished connection the bracelet represents. Whether it's a symbol of enduring friendship, a gesture of gratitude, or a token of support, let your intentions guide your crafting journey.
7. Incorporate Beads or Embellishments
If you've chosen to incorporate beads or other embellishments into your bracelet, carefully weave them into the design at strategic intervals, adding an extra touch of charm and personalization to your creation.
8. Repeat and Refine
Continue weaving and knotting, repeating the pattern sequence as needed to achieve the desired length for your bracelet. Take your time to refine each knot, ensuring that the design unfolds with precision and beauty.
9. Finish with a Closure
Once you've reached the desired length, finish the bracelet with a closure of your choice. Whether it's a simple knot and loop closure, a decorative button, or a stylish clasp, the closure adds a final touch of elegance to your handcrafted creation.
10. Share the Gift of Friendship
With your bracelet complete, share the gift of friendship with its intended recipient or wear it proudly as a symbol of the meaningful connections in your life. Each knot and weave carries the essence of your creativity and the warmth of your sentiments, making it a cherished token of friendship.
Following these step-by-step instructions will guide you through the enchanting process of creating a beautiful friendship bracelet, infusing each knot and weave with the spirit of camaraderie and the joy of handcrafted artistry.
Tips and Tricks
Creating friendship bracelets is a delightful and rewarding endeavor, and incorporating a few tips and tricks into your crafting process can elevate the quality of your creations while enhancing your overall experience. Here are some valuable insights and techniques to enhance your bracelet-making journey:
-
Organize Your Workspace: Before diving into your bracelet-making adventure, ensure that your crafting space is well-organized. Keep your threads, scissors, and other materials within easy reach, and consider using a dedicated storage solution to keep your embroidery floss neatly arranged by color. A tidy workspace fosters a more efficient and enjoyable crafting experience.
-
Experiment with Patterns: While mastering the fundamental knots is essential, don't be afraid to experiment with different patterns and designs. Explore online resources, pattern books, and video tutorials to discover new knotting techniques and intricate patterns that can add depth and visual interest to your bracelets.
-
Embrace Color Combinations: The color palette you choose can significantly impact the visual appeal of your friendship bracelets. Experiment with various color combinations, gradients, and complementary hues to create captivating designs that reflect your unique style and creativity. Bold contrasts, subtle gradients, and harmonious blends can all contribute to stunning bracelet compositions.
-
Incorporate Beads Creatively: If you opt to include beads in your bracelet designs, consider innovative ways to weave them into your patterns. Whether you intersperse beads at regular intervals, create beaded accents within specific sections, or use them as focal points, the strategic placement of beads can add a touch of elegance and individuality to your creations.
-
Personalize with Initials or Charms: Infuse your friendship bracelets with personalized touches by incorporating initials, small charms, or meaningful symbols into the designs. Whether it's the recipient's initials, a heart-shaped charm, or a symbol that holds special significance, these personalized elements can transform your bracelets into cherished keepsakes.
-
Practice Patience and Precision: Crafting intricate friendship bracelets requires patience and precision. Take your time with each knot, ensuring that they are neatly executed and aligned with the pattern. Embracing a mindful and deliberate approach to your crafting process can result in beautifully crafted bracelets that reflect your dedication and attention to detail.
-
Share the Joy of Crafting: Consider organizing a bracelet-making gathering with friends or family members. Sharing the art of bracelet making with others can foster a sense of camaraderie and create memorable bonding experiences. Additionally, exchanging handmade bracelets with loved ones can deepen the sense of connection and appreciation for each other.
-
Document Your Designs: Keep a visual record of your bracelet designs by taking photos of your completed creations. Creating a digital or physical portfolio of your work allows you to track your progress, revisit favorite patterns, and draw inspiration from your previous designs as you embark on new bracelet-making projects.
Incorporating these tips and tricks into your bracelet-making endeavors can enhance your creativity, refine your skills, and infuse your creations with personalized touches and thoughtful details. Embrace the art of friendship bracelet making as a joyful and meaningful expression of creativity and connection.
Conclusion
In the art of crafting friendship bracelets, every knot, weave, and color choice intertwines to form a tapestry of heartfelt connections and cherished memories. As we conclude this journey of creativity and camaraderie, it's evident that the process of making friendship bracelets transcends mere crafting; it's a celebration of the enduring bonds that enrich our lives.
Through the act of meticulously knotting and weaving vibrant threads, we not only create beautiful accessories but also imbue them with the essence of our affection, gratitude, and solidarity. Each bracelet becomes a tangible symbol of the meaningful connections we share with friends, family, and kindred spirits, serving as a testament to the enduring power of friendship.
As we reflect on the intricate patterns, vibrant color palettes, and personalized touches that adorn our handcrafted bracelets, we are reminded of the joyous moments spent creating these tokens of affection. The laughter shared during crafting sessions, the thoughtful selection of colors, and the careful execution of each knot all contribute to the rich tapestry of memories woven into every bracelet.
Furthermore, the act of gifting a friendship bracelet or wearing one proudly serves as a poignant gesture, conveying sentiments of love, support, and appreciation. Whether exchanged during moments of celebration, times of solace, or as spontaneous acts of kindness, these bracelets encapsulate the enduring spirit of friendship and the beauty of human connection.
As we bid adieu to this creative journey, let us carry forward the spirit of camaraderie and creativity that infuses the art of friendship bracelet making. May we continue to weave the threads of friendship, both figuratively and literally, nurturing the bonds that enrich our lives and celebrating the unique connections that make each relationship a cherished treasure.
In the tapestry of life, friendship bracelets stand as vibrant threads, weaving stories of love, laughter, and enduring companionship. Let us continue to craft these tangible symbols of friendship, each knot and weave serving as a testament to the enduring beauty of heartfelt connections.